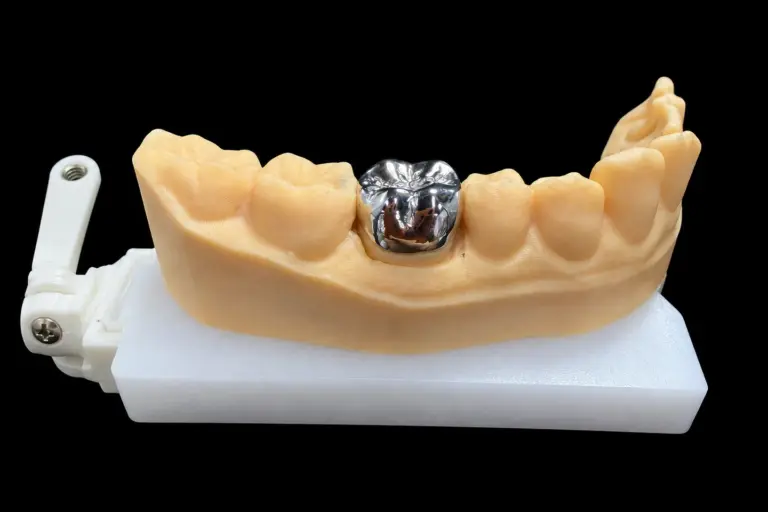
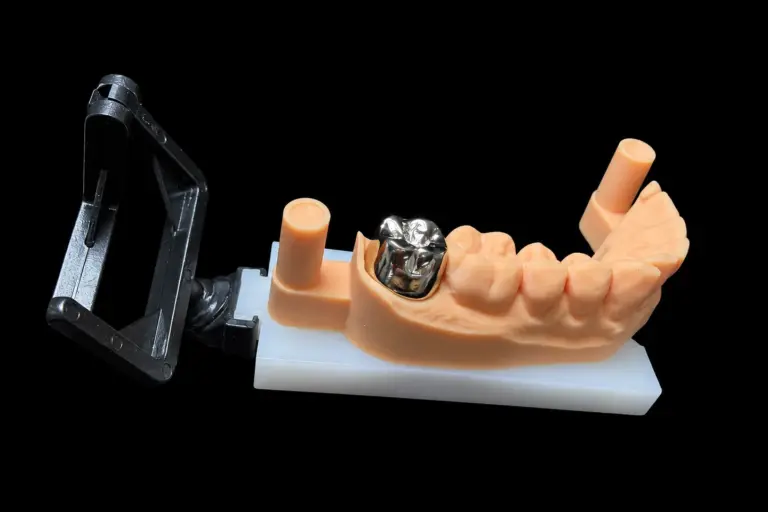
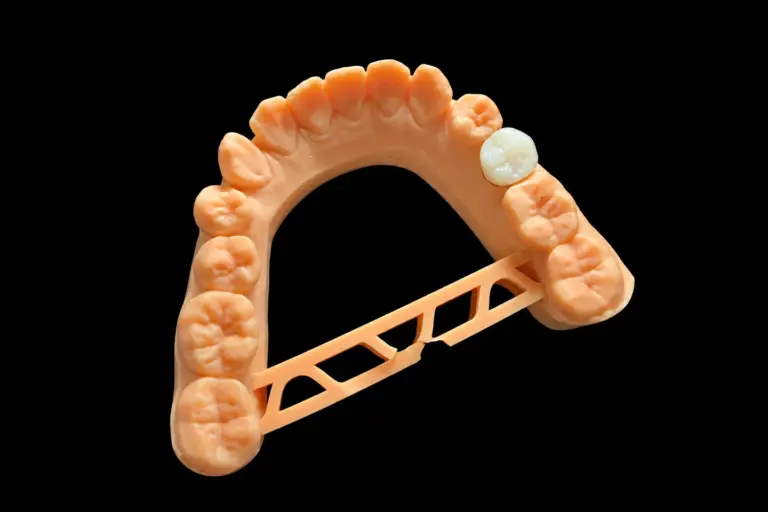
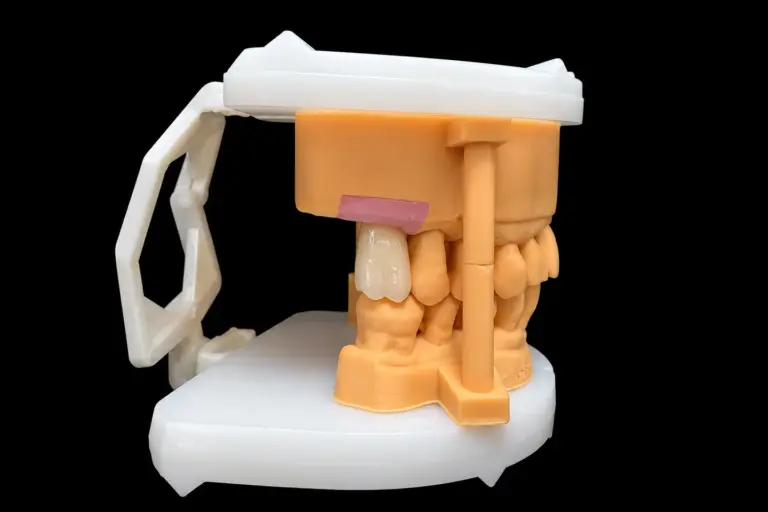
Temporary Dental Crowns
A temporary crown fails in one of three places, and two of them are decided before the crown ever reaches the chair. Knowing which one you’re looking at tells you whether to pick up a handpiece or pick up the phone.
We fabricate temporary dental crowns and bridges at Istar Digital Dental Lab, for dentists, practices, and other labs. Most of the remakes we see come from the same short list of causes, and the fix usually sits upstream of the restoration itself.
The three ways a temporary comes back
Tight proximal contact
The crown won’t seat without force, or it seats and shreds floss.
Causes, in the order we see them: the proximal contact was built too convex, or an undercut on the adjacent tooth wasn’t relieved before the scan. If the contact is firm but the crown seats fully and the margin reads closed, this is a chairside adjustment. Polish the proximal, re-polish the adjusted surface, check contact strength with floss and shim stock.
It has to be remade when the crown won’t seat at all, or when relieving the contact enough to seat opens the margin or thins a wall past what the material can carry.
High in occlusion
Marks heavy on one cusp or through all excursions. The patient calls within a day with tenderness.
Two causes dominate. Either the opposing tooth moved after the pre-op scan, or the bite record used to design the case was unstable. Supra-eruption of a lower second molar into the space over a long-standing extraction is the classic version of the first. The second is almost always a wax record, which softens at hand temperature, creeps under its own weight, and deforms in a warm delivery van. By the time a technician opens the box, the relationship it captured is gone. Vinyl polysiloxane or polyether holds that relationship across a shipment, which is why a case that arrives high off a soft registration rarely has an occlusion problem at all. It has a record problem.
Chairside: equilibrate in centric, then check protrusive and both lateral excursions. One light touch that clears the interference and you’re finished. If you’re cutting away occlusal anatomy to get there, stop and remake.
Open margin, lifted edge, or short crown
Floss catches. The explorer drops in. One aspect lifts at try-in even though the rest seats.
This is the failure that gets blamed on the lab and usually isn’t. Four things produce it:
- The margin was never captured cleanly. Sulcus not retracted enough, blood or saliva pooled in the trough, or the scanner tracked across the finish line too fast without overlapping passes. Design software fills a blank region with a plausible edge, and a plausible edge is not your preparation.
- The die was trimmed in the wrong place. Over-trimmed stone moves the apparent finish line coronally; under-trimmed stone buries it.
- Shrinkage wasn’t compensated. PMMA pulls on polymerization. A crown designed to the margin comes up short if the cement space wasn’t set for that specific material.
- The production route. A bench study comparing conventionally processed, milled, and printed provisional crowns found smaller marginal gaps and lower microleakage in the milled and printed groups, with every group still inside the 120 µm limit the authors treated as clinically acceptable (Vulović et al., European Journal of Oral Sciences). The same study found that the temporary cement changed the numbers too.
An open margin is not a cosmetic problem you can wait out. Marginal leakage under a crown is one of the established routes to post-cementation sensitivity and pulpal irritation (Brännström, Quintessence International, 1996). That’s why this is the one failure on the list we treat as a remake rather than an adjustment.
A flowable composite seal over a hairline gap buys a few days if the patient can’t come back immediately. It is not a repair.
Two kinds of temporary crown
“Temporary crown” covers two things a dentist buys for entirely different reasons.
Prefabricated
A kit item. Selected by tooth position and size, tinted chairside with a liner, seated on the prep the same visit. Ordered by SKU, stocked on a shelf, matched approximately, because the tint sits behind a translucent shell. The right answer when something has to be on that prep in the next ten minutes.
Lab-fabricated
Designed against your scan, on your preparation, from the file set that will also drive the final restoration. Shade is taken from the prep and the adjacent teeth. Contours are specified rather than averaged.
There’s a third route some practices run: a chairside custom crown from a bis-acryl matrix built off a diagnostic mock-up. It’s a legitimate technique for a single unit on a short timeline, and it costs less in lab fees than either of the other two, because there’s no lab in it.
Where the line falls:
| Case | Prefabricated is the right call | Lab-fabricated earns its turnaround |
|---|---|---|
| Single posterior unit, prep to seat in under two weeks | Occlusion is forgiving and shade doesn’t matter | The tooth shows in the smile line, or the prep is a core build-up, or the final will run past two weeks |
| Multi-unit anterior | Rarely | Nearly always, because contour and shade are the point and they carry into the final |
| Implant provisional | No | Yes, when soft tissue has to form around a specific emergence profile |
| Provisional expected to run three months or longer | No | Yes, and the material choice changes |
Materials, and what each one actually does
We run two: PMMA and bis-acryl composite. The choice is a trade, not a ranking, and the bench evidence doesn’t crown a winner outright.
In a comparison of five provisional materials on standardized specimens, a bis-acryl composite finished with higher flexural strength than the PMMA-based materials tested; the authors still flagged esthetics, handling, and cost as part of the decision (flexural strength of provisional crown materials). Bench strength is not clinical survival, but it does predict which one cracks first when a unit is thin and the patient is hard on it.
PMMA is the cheaper of the two per unit and the default for short-span, short-duration work. Its weakness is the property that study measured: less flexural strength before failure.
Bis-acryl composite takes more load before it breaks, which is why it goes on posterior bridge units, on patients with a grinding habit, and anywhere the provisional has to survive months rather than weeks.
If the patient grinds, or has a documented acrylic sensitivity, put it on the Rx. Both change what we’d recommend before anything is cut.
If a case needs something outside those two, say so at submission: a reinforced long-term provisional, a multi-unit bridge under heavy load. We’ll tell you whether it’s inside what we do, and if it isn’t we’d rather say that than take the case.
Where the margin gets lost, and how to keep it
Four inputs decide whether your scan carries a usable finish line.
Retraction before the scan, not during
Cord, laser trough, or retraction paste, then dry the field. A margin sitting in a puddle scans as prep surface, and no amount of design work recovers the difference.
Multiple slow passes across the finish line
Subgingival margins need overlapping sweeps from different angles. One fast pass gets the gross contour and loses the edge.
Hand-traced margins, flagged on the Rx
Automatic margin detection is fine on a clean, supragingival chamfer. On anything shadowed it guesses. Trace it yourself where you can, and tell us you did.
Finish-line type and depth written down
Shoulder or chamfer, supragingival or subgingival, and how far under the tissue the margin sits. In our intake review, this is the field most often left blank, and it’s the one that decides whether a borderline scan is workable.
Three habits that cut remakes on the clinic side: scan the margin last, after the arch and the opposing are captured, with a warmed scanner; keep the adjacent two teeth and the soft tissue in the field; photograph the prep with the margin visible so there’s something to check the design against.
What to send
An open-format export from your scanner is all we need. On intake we check:
- Formats. STL, PLY, OBJ, and DCM (3Shape native), plus .3oxz case packages. iTero and CEREC/Sirona have to push STL or PLY out of the system; the encrypted native files won’t open anywhere else.
- Size. Single-arch STL stays under 150 MB. Colored scans run to 300 MB before uploads start timing out.
- Color where it decides something. Anterior esthetic work needs the colored export, because gingival and adjacent-tooth color is what we match shade transition and surface character against. A plain STL is enough for a posterior single unit.
- Packaging. ZIP, not RAR. One folder per case, named with the case ID that should appear on the invoice and the Rx.
- Rx fields. Finish-line type and depth, pontic design where relevant, contact firmness, opposing dentition, target shade and base shade recorded separately, tooth position. A blank in any of these means we come back to you with a question before the clock starts.
Scan data is verified within one working day. If the margin is unclear, you get a message asking for a rescan or an extra view, not a silent case. Turnaround is confirmed with the case, because a single unit, a multi-unit bridge, and a staged implant case don’t share a clock.
For labs sending design or milling work, we work from your exported file, your material library, and your tool parameters.
Inspection before anything ships
Three checkpoints: on intake, between operations, and at final. The final release is signed by a QC technician who does no production work, so the person approving the crown isn’t the person who made it.
Final inspection covers margin fit on the model, internal fit and passive seating, contact firmness against the Rx note, occlusion in centric, protrusive and both laterals, surface finish, shade against the specified system, and for bridges the pontic design and the hygiene space beneath it.
Cases that fail go back for rework. Nothing ships with a known defect and a note attached.
Istar Digital is FDA-registered and listed for custom dental restorations, with the listing covering crowns, bridges, inlays, onlays, veneers, custom abutments, implant superstructures, dentures, and temporary restorations. The lab operates under ISO 13485 and holds MDR and MHRA registrations for the markets we serve. Certificates and case-specific material batch records are available on request.
When something is wrong
Report within 24 hours of opening the case at the chair. Send the case number, the product, a description, and one clear photo. For a margin complaint, a photo with floss or an explorer on the margin does more than a paragraph.
Remade at no charge: open margin, occlusal interference that can’t be cleared without destroying anatomy, open contact, a crown that won’t seat, an esthetic defect against the agreed shade, a form that doesn’t match the design you approved, and workmanship defects in the restoration.
Charged: a shade, material, or design change made after approval; rework on a prep or impression you flagged as compromised and asked us to attempt anyway.
Remakes go to the front of the queue. If a remake also fails, the case moves to a senior technician and we work through the chain with you rather than shipping a third attempt; if repeated remakes don’t resolve it, the lab fee for that case is refunded. Return freight on a remake is settled against the original invoice.
Shipping across borders
Couriers are DHL, FedEx, and UPS, with SPIDER for France. Transit time is the carrier’s commitment. Customs clearance is not, and it doesn’t sit inside the production window we quote. Build a few days of slack into the schedule for a first shipment to a new country.
We can book pickup on our account and consolidate returns to keep freight down. On request we send the declaration format we use for impressions, gypsum models, and finished restorations: declaration name, declared value basis (the lab fee, not a retail price), and intended use. Declared values are accurate, because under-declaring a shipment creates a customs problem for the clinic, not for us.
Who this works for
A solo practice sending one or two units a quarter won’t come out ahead once international freight is in the math. A lab sending overflow design and milling, a group practice batching cases, or a solo practice willing to hold a week of work for one shipment all will.
Trial cases are welcome, including a single unit. Lab-to-lab work runs to your material library, tool parameters, file naming, and packaging and labeling conventions; private-label packaging and a no-contact agreement are standard, and we don’t approach your dentists.
For a lab-to-lab account, the practical floor is around $500 in monthly lab fees. Under that, freight consumes the margin on both sides. Clinic accounts have no such floor. One case can start the relationship, and we send the return label.
Pricing is quoted per case against units, material, and workflow. There’s no public price list, because a list price wouldn’t survive contact with real cases.
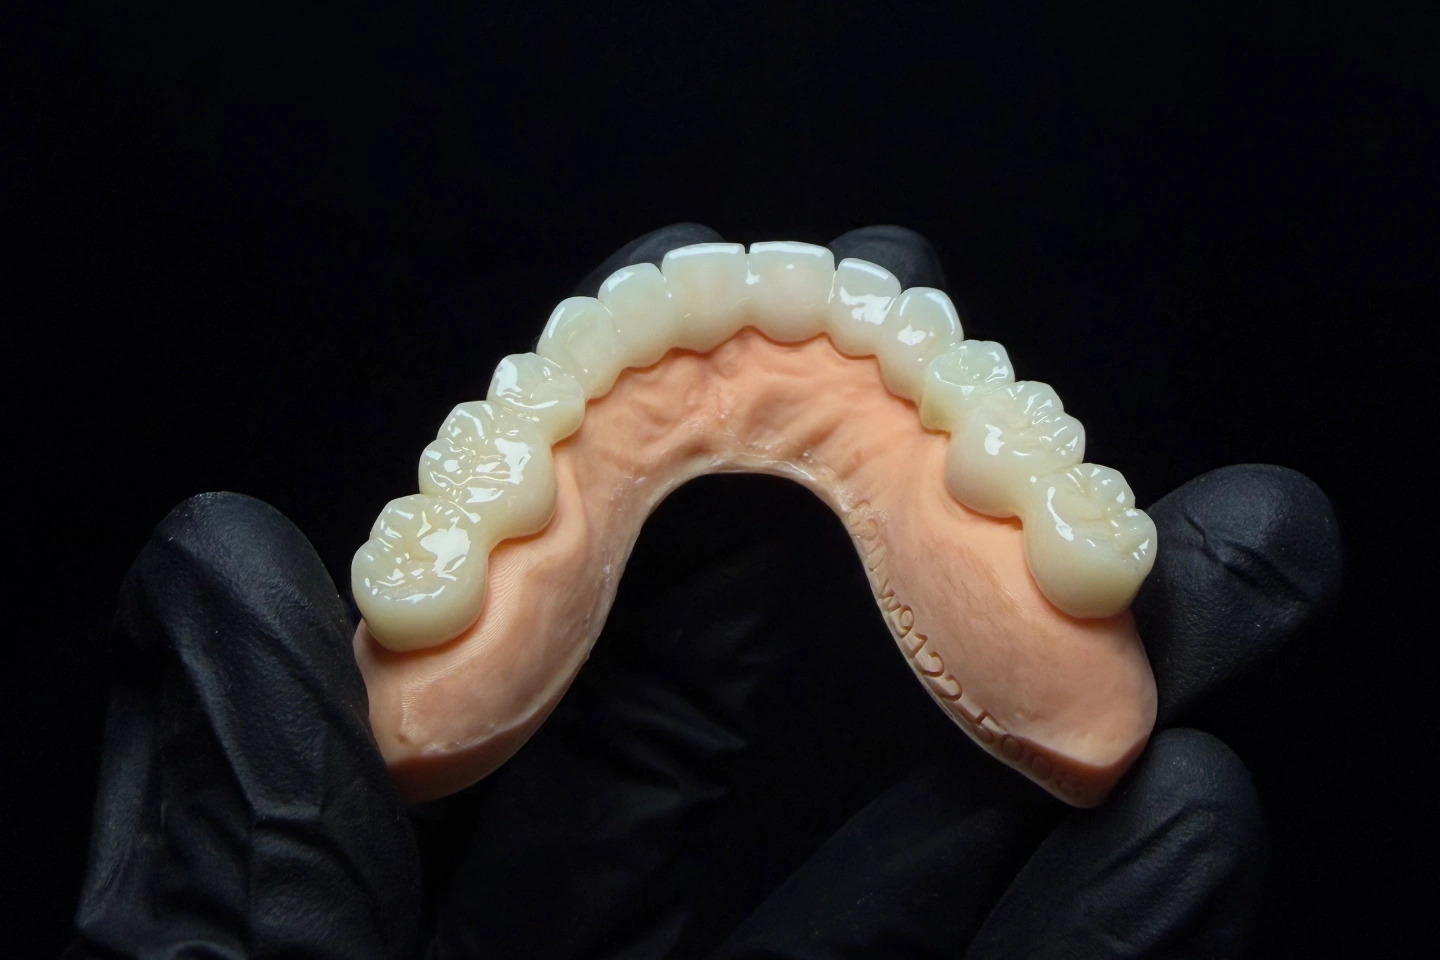
Cases from our lab
Questions
Do we have to send patient names?
No. A clinic case number is enough to match the work to the record, and it’s what we’d prefer. Only the case coordination team can open case files, and production talks in case numbers rather than names.
Who owns the scan and the design, and how long do you keep them?
The clinic or lab that sent the data owns it. We hold a right to use it for that case only, and we don’t reuse files for anything else. Case records follow a documented retention schedule (three months by default, longer if you ask us to hold them) and are deleted on written request, apart from the minimum compliance audit trail we’re required to keep.
Can you copy the contours of a crown the patient already has?
Yes, if we can see it. A scan or impression of the existing crown, the contralateral tooth, or a diagnostic wax-up gives us a reference we can mirror or adapt onto the new restoration. Send the reference with the case and note which tooth it should follow.
Which countries do you work with?
The United States and Western Europe (the Netherlands, Germany, France, Belgium, Austria, the UK, Luxembourg, Switzerland) make up most of the case volume, with other regions served where customs and local device rules allow. Outside those markets, ask before shipping; some countries impose extra requirements on imported dental devices.
Start with a scan
If there’s a scan sitting on your drive, send it. We’ll look at the margin and the bite record and tell you what we can run and what needs a second look before anything is cut. You don’t need an account or a purchase order to get that answer, and you don’t need to commit to the case to ask the question.
If the data holds up and you want to proceed, we open the case and the production clock starts from the day we receive complete records. If it doesn’t hold up, you’ve learned something about the scan before the patient is back in the chair.
Send the scan, or send the case you’ve been meaning to redo.