Crown and Bridge Dental Lab Work, Planned Case by Case
Istar Digital Dental Lab is a crown and bridge dental lab for dentists, clinics and dental labs. Single crowns and conventional, cantilever and Maryland bridges are designed, milled or pressed, finished and inspected by our own technicians in our own labs. Before a bridge goes into production, we weigh the span, the abutments, the connectors and the clearance against the material you prescribed. If something doesn’t add up, you hear from us before anything is milled.
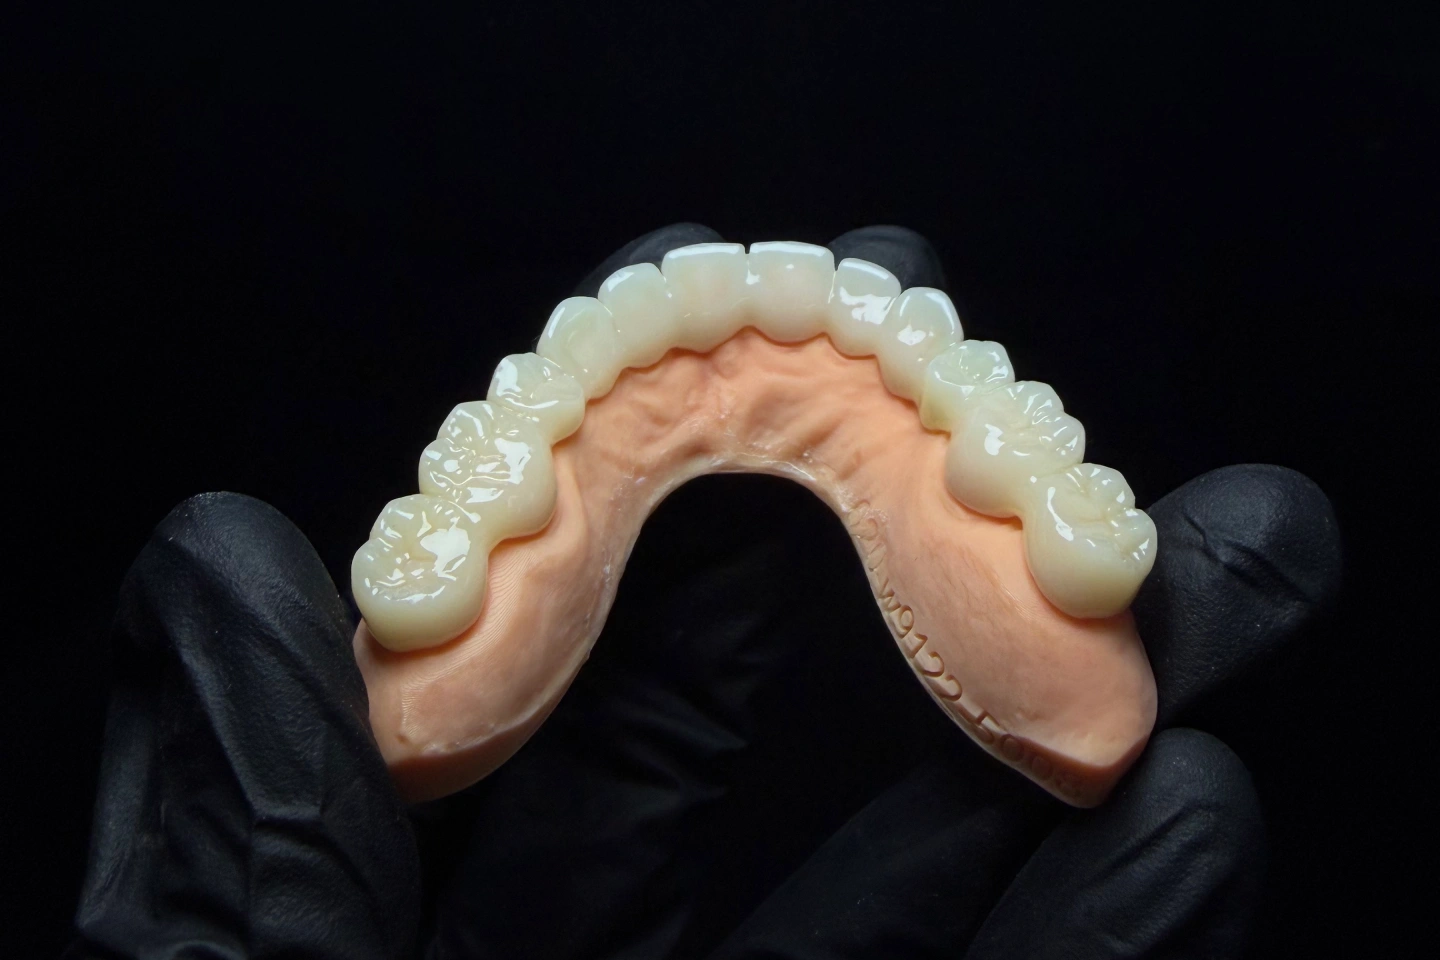
Crowns and Bridges We Make
Single Crowns
Monolithic, multilayer and layered zirconia, pressed e.max, PFM and full cast metal crowns for any position in the arch. We can mirror the contralateral tooth or copy the form of an old crown.
Conventional Bridges
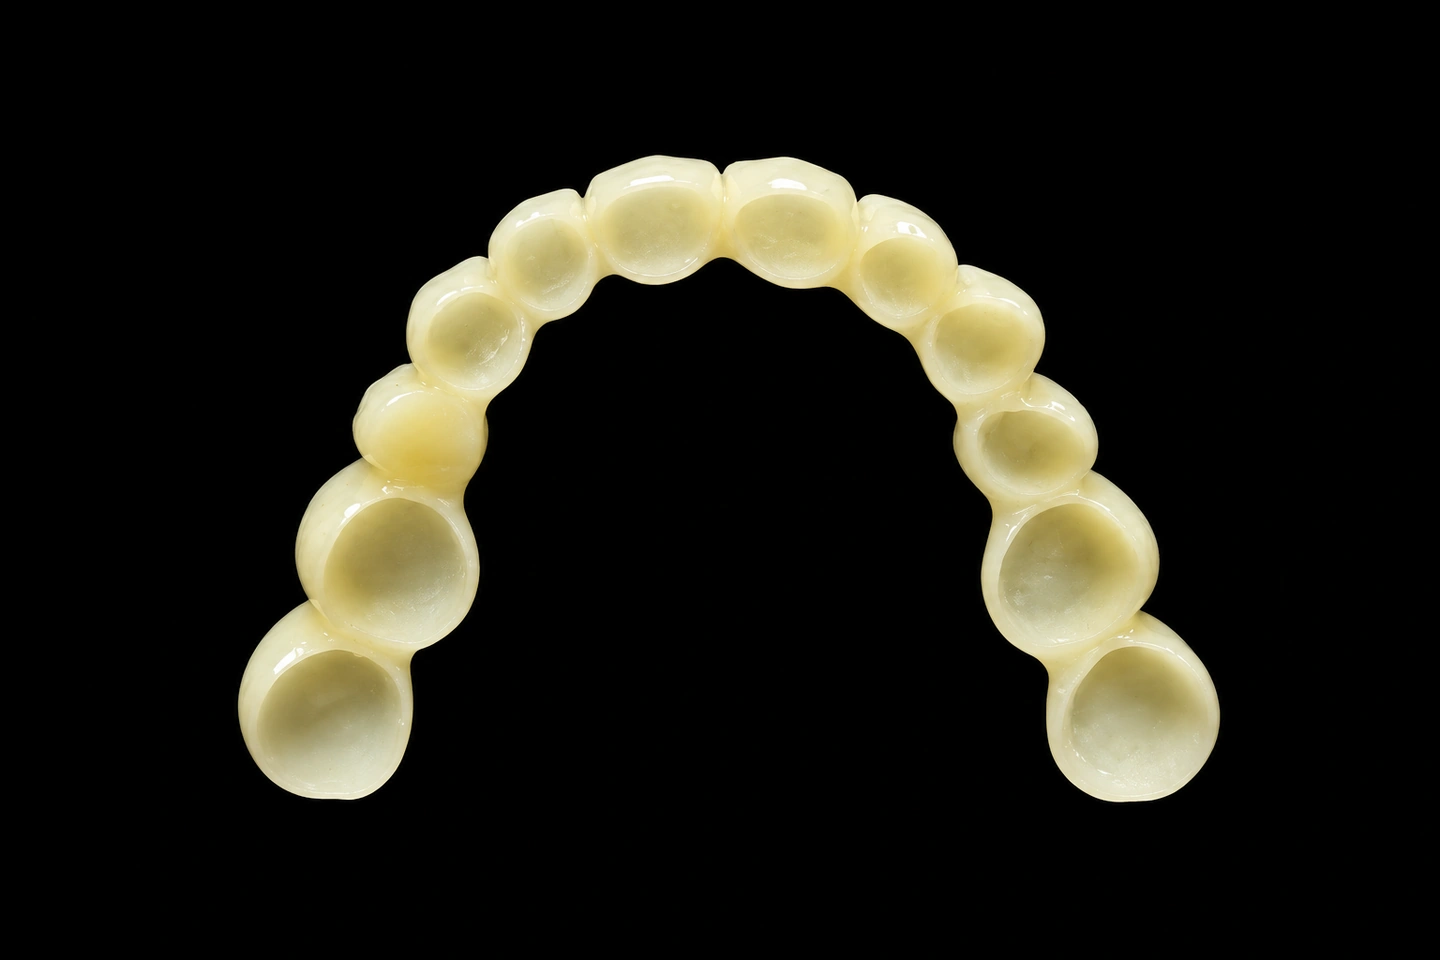
Fixed-fixed bridges with a retainer at each end of the span. Zirconia and PFM bridges work anywhere in the arch, full cast metal on posterior teeth, and pressed e.max on three-unit bridges in the anterior and premolar region.
Cantilever Bridges
A pontic supported from one side only, for short spans where a single strong abutment can take the extra leverage, most often in the anterior region.
Maryland Bridges
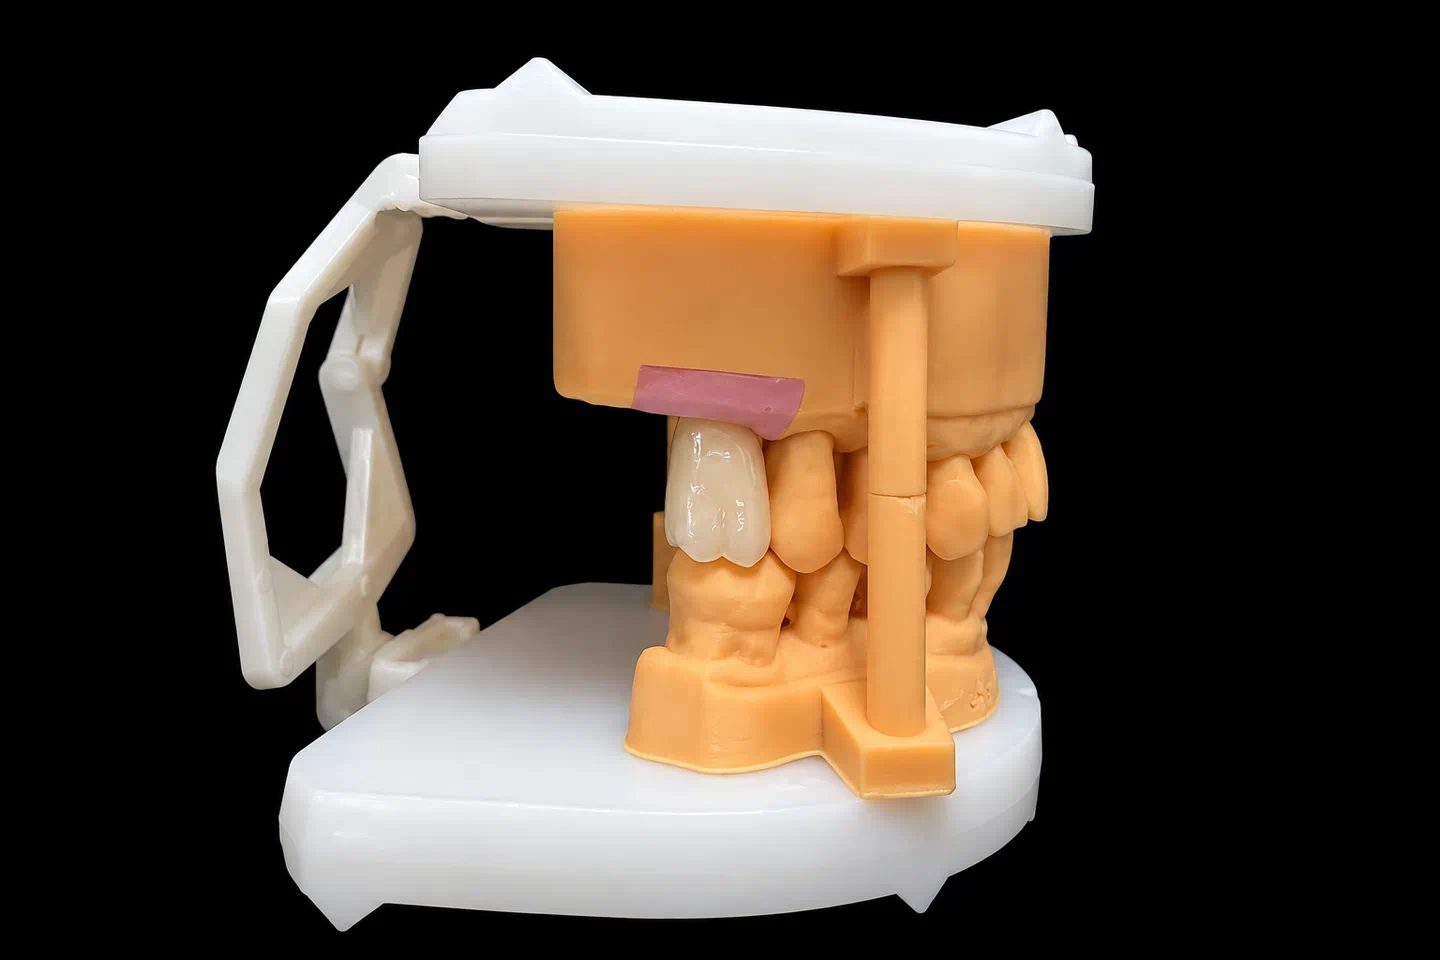
Resin-bonded bridges with one or two lingual wings, for a single missing anterior tooth when the neighboring teeth are sound and have enough enamel to bond to.
Provisionals and Wax-Ups
PMMA and composite provisional crowns and bridges, plus diagnostic wax-ups and mock-ups. Once a provisional has been tested in the mouth, we can carry its form and anterior guidance into the final restoration.
Implant-supported crowns and bridges have their own workflow, covered on our Implant Restorations page.
Crown and bridge products
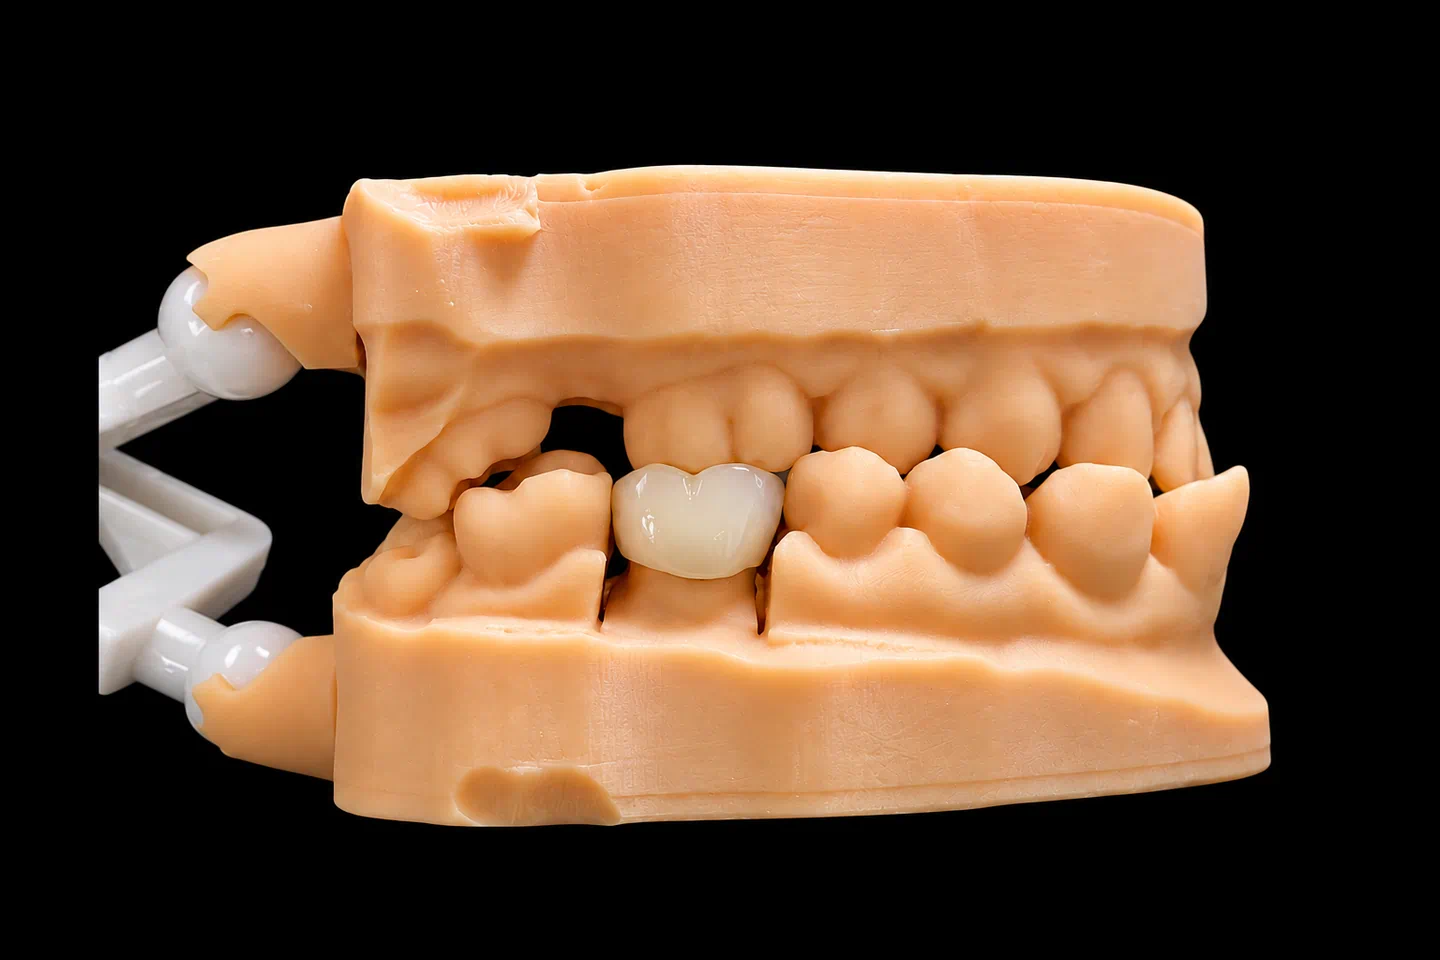
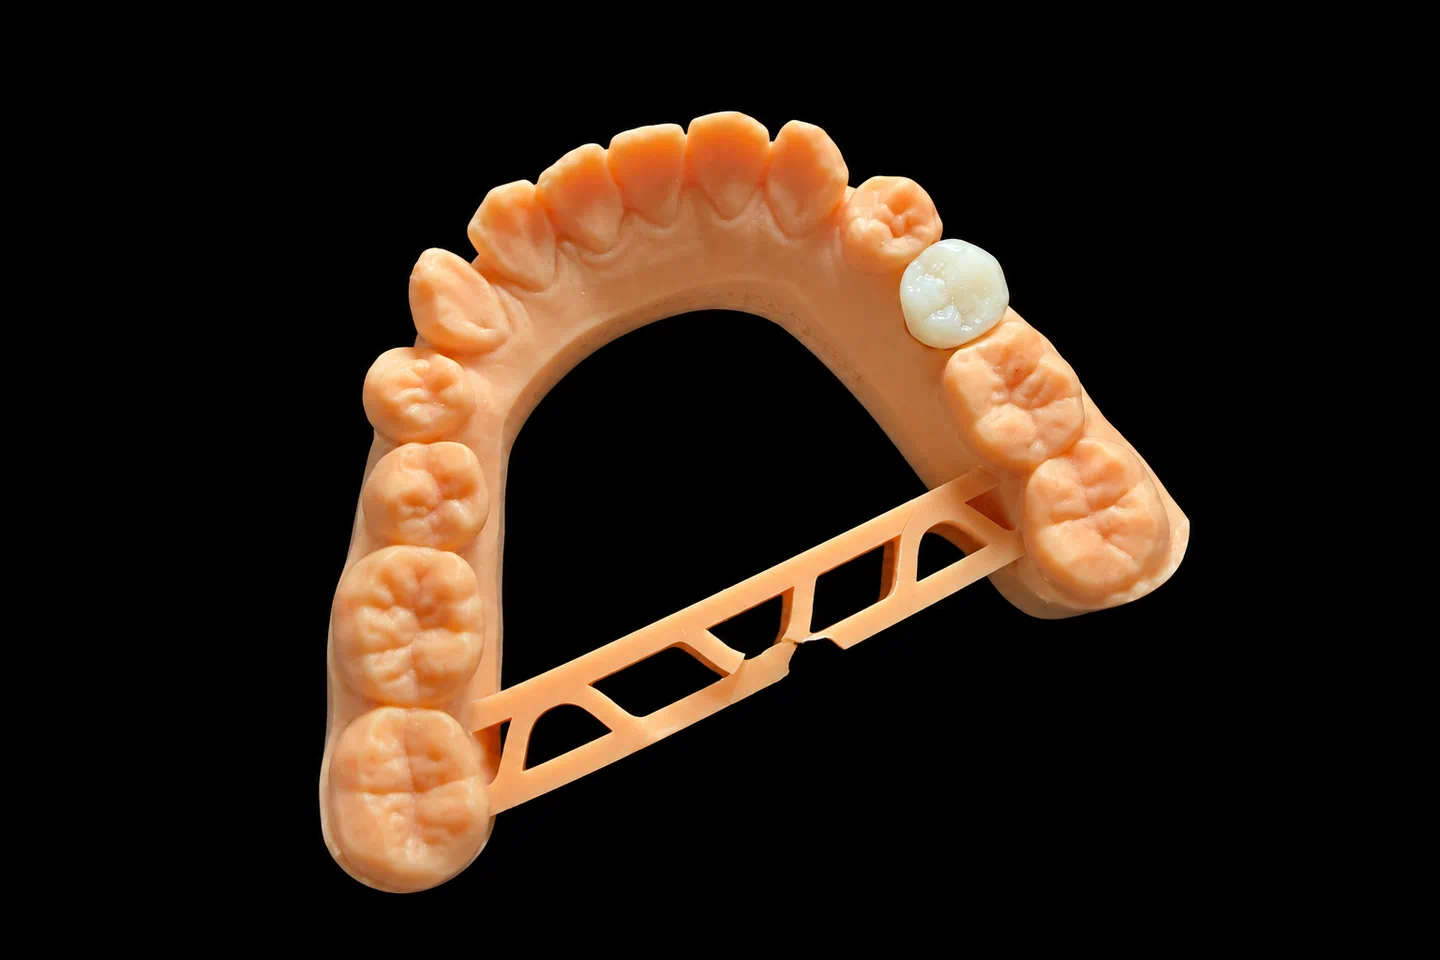
Choosing a Material for Crowns and Bridges
Thickness is the deciding factor. Translucency and strength pull against each other, and esthetics only work when strength and the bond are secure. So material choice starts with clearance, load and span, and esthetics follow from there.
Monolithic Zirconia
Best for: molars, bruxism, heavy occlusion, short clearance and posterior bridges, including long spans. With no veneering porcelain, there is nothing to chip.
Think twice: where a single anterior crown has to blend in. Its translucency is even and fairly flat.
Multilayer Zirconia
Best for: full-contour anterior and premolar crowns and bridges that need strength plus a natural cervical-to-incisal gradient.
Think twice: on long or heavily loaded spans. The more translucent the zirconia, the weaker it is: in a laboratory study of three-unit zirconia bridges, translucent 4Y and 5Y zirconia fractured at loads about 30–40% lower than conventional 3Y zirconia.
Layered Zirconia
Best for: high-esthetic anterior crowns and bridges where the occlusion is stable.
Think twice: under heavy function. Layering needs more reduction, and veneering porcelain can chip. A systematic review of 430 zirconia-based bridges followed for at least five years found veneer chipping in about 17% of cases. A micro-layered facial over full-contour zirconia is often the better compromise for anterior teeth.
Pressed E.max
Best for: anterior esthetics, single crowns on anterior and posterior teeth, including posterior teeth after root canal treatment, and three-unit bridges in the anterior and premolar region, with the second premolar as the most distal abutment, as Ivoclar indicates for IPS e.max Press. Our e.max work is pressed, not milled.
Think twice: with bruxism, short clearance, longer spans, cantilevers and Maryland designs. Lithium disilicate needs more thickness and larger connectors than zirconia.
PFM
Best for: posterior crowns and bridges under heavy load, long spans, and cases where durability and budget come before esthetics.
Think twice: in the esthetic zone, where the metal coping limits translucency and the margin can show a dark line. When clearance is short, a metal occlusal surface saves space.
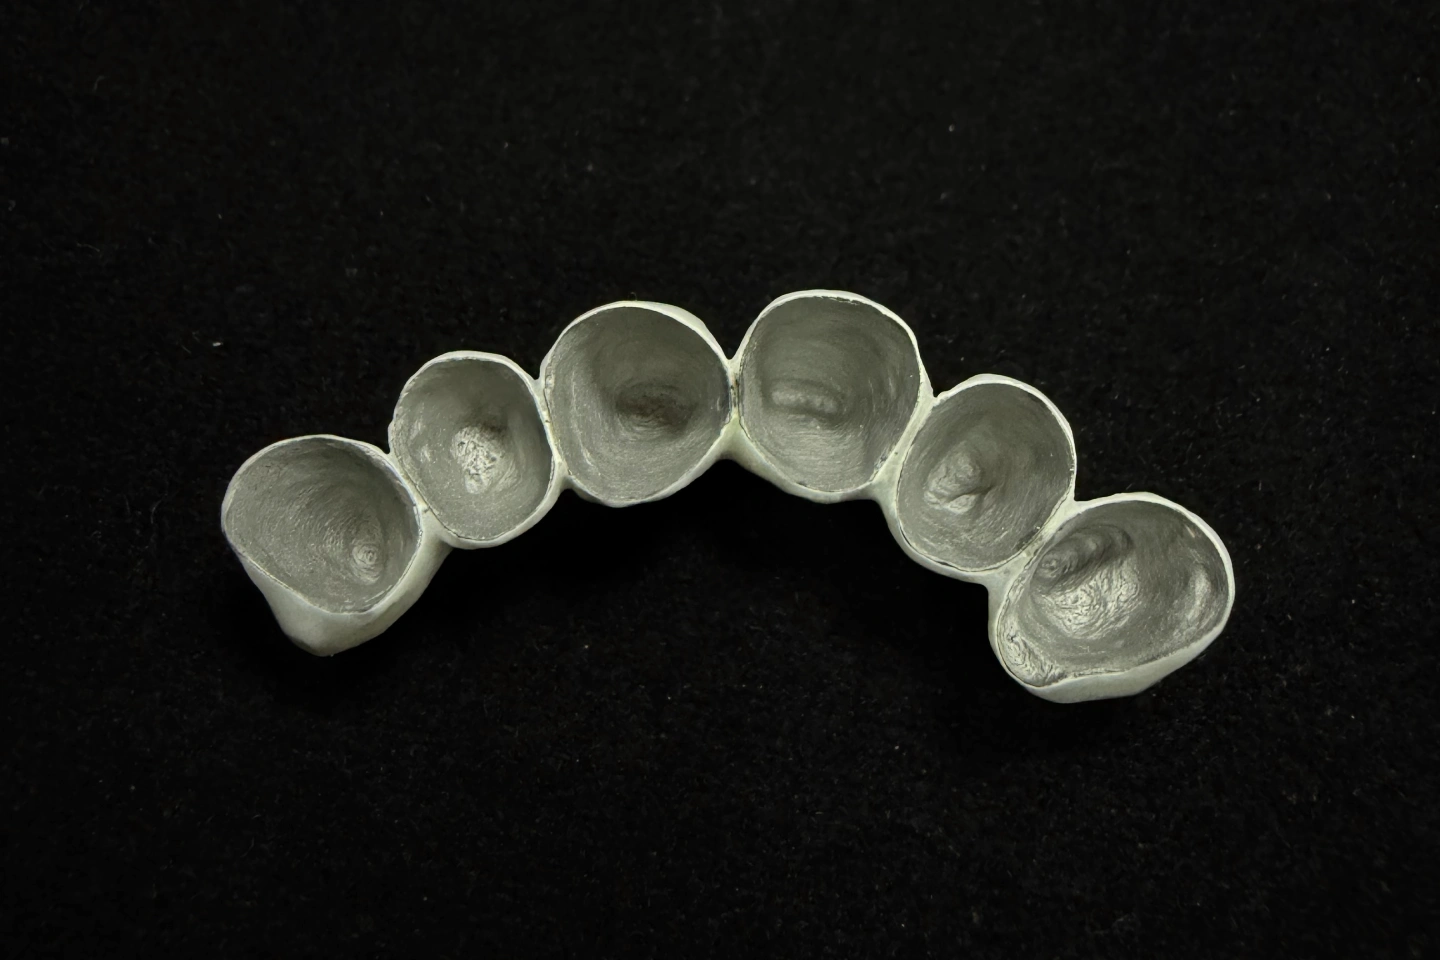
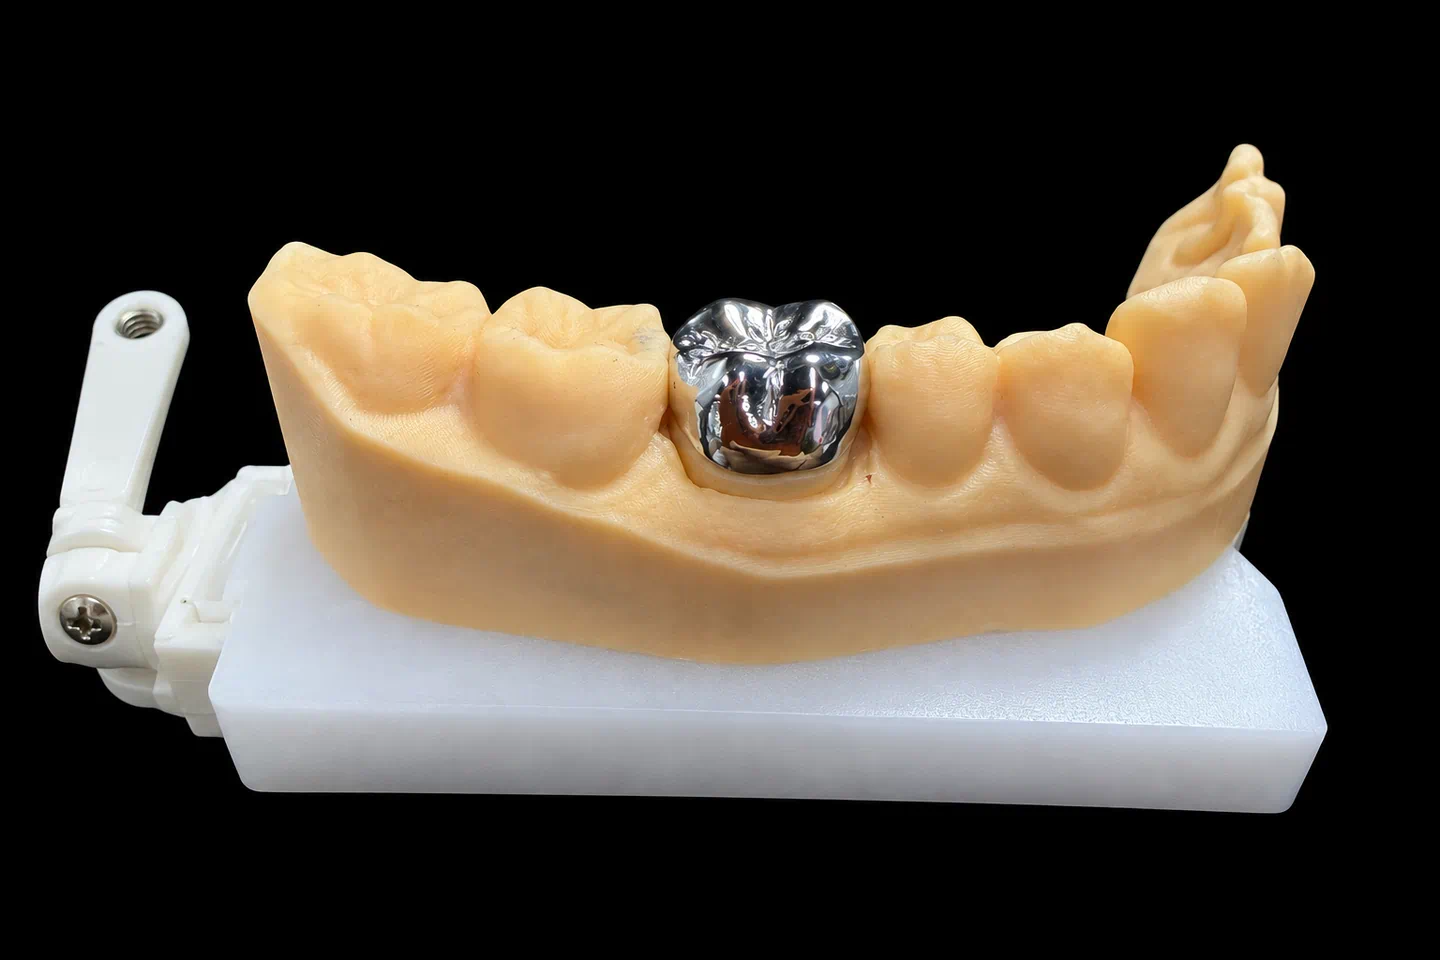
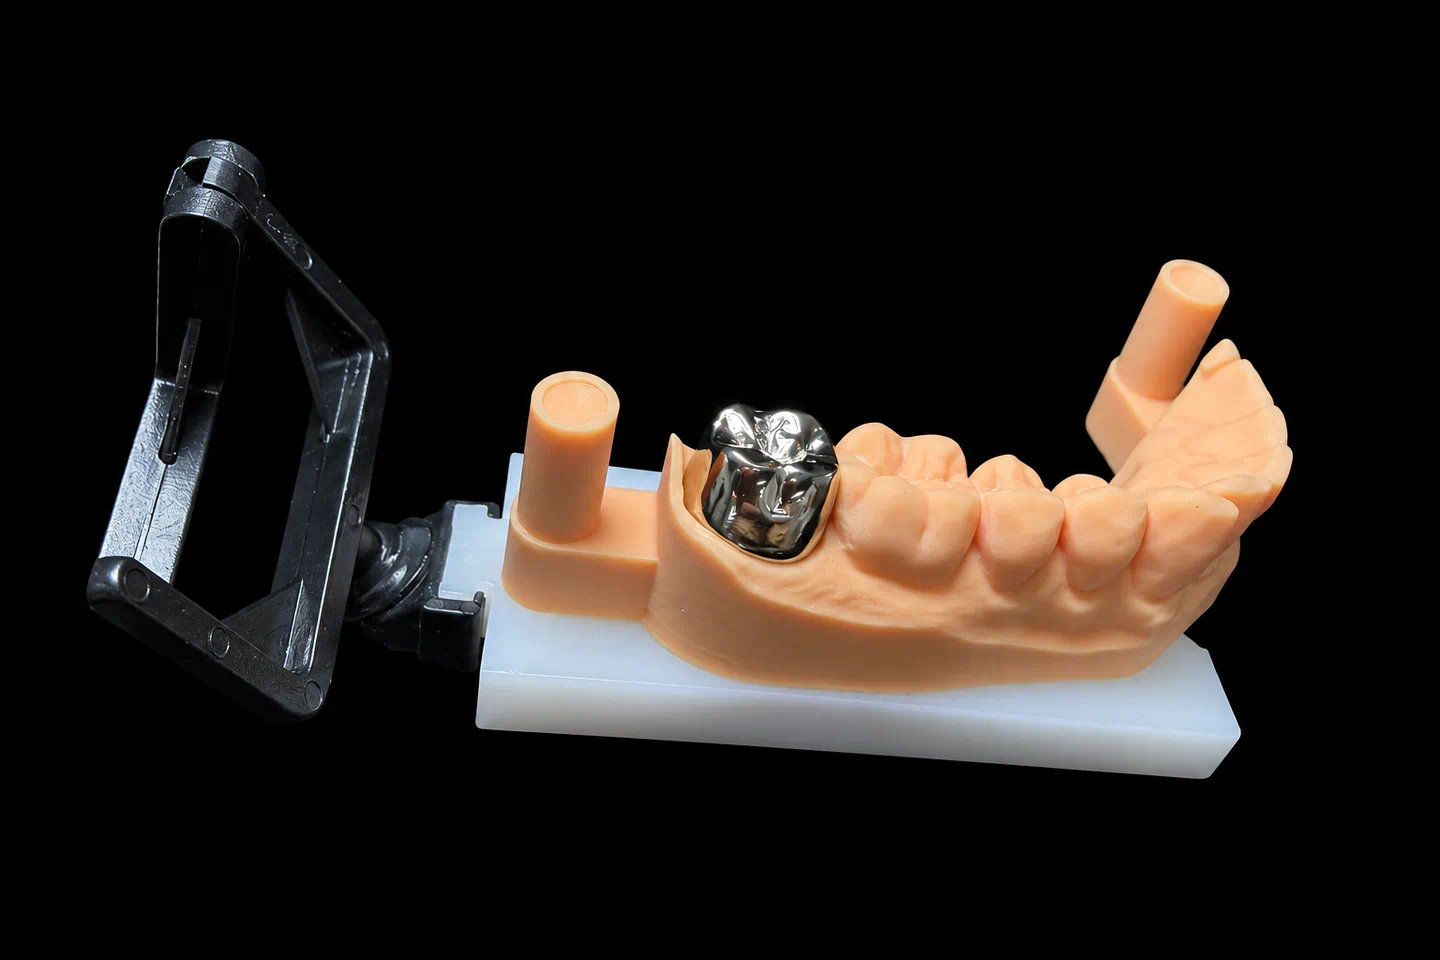
Best for: second molars and other teeth that don’t show, very short clearance and cracked teeth. It needs the least reduction and has the highest toughness of any option here. Nickel-free and beryllium-free alloys are available.
Think twice: anywhere the metal color would be visible.
If we think the material on your prescription won’t hold up in the space or span you have, we’ll say so and suggest an alternative. We only change it with your consent.
Planning a Bridge: Span, Connectors and Pontics
Most bridge failures start at the connector or at the abutments, not with the material on the label. That is where our design work starts too.
Span and Abutments
Five units is where we treat a bridge as a long span. As a working rule, each abutment carries no more than one pontic. Beyond that, we look at the bone support around each abutment, at clenching or bruxism and at the opposing dentition. A longer span puts more leverage on the connectors, and off-axis loads in lateral excursions are a common reason long bridges fail.
Every bridge of four or more units comes to you as a design preview before production, and you have the final say. Approval adds 1–2 working days to the case.
Connectors and Material Thickness
Our design ranges are 6–12 mm² for anterior connectors and 9–16 mm² for posterior ones, with minimum material thickness of 0.5–1.5 mm on anterior teeth and 0.8–2.0 mm on posterior teeth. Where a design lands within those ranges depends on the material, the span and the space you’ve left. Posterior and longer spans need the upper end.
Embrasure shape matters as much as area. In a study of three-unit monolithic zirconia bridges, moving from a 9 mm² connector with a sharp embrasure to a 12 mm² connector with a rounded one raised the mean fracture load by about half. The authors advise caution when a manufacturer’s 9 mm² minimum is used. If the occlusogingival height can’t fit the connector your material needs, the design preview shows it, along with our suggested fix.
Path of Insertion
The retainers of a bridge have to seat along one shared path. We check the path of insertion in the design software. When the abutments of a long span aren’t parallel, we’ll show you where the conflict is and suggest either refining the preparation or splitting the bridge into segments.
Pontic Form
Cleansability comes first. Where the pontic shows, a modified ridge-lap gives a natural facial profile with a flossable underside; where it doesn’t, a hygienic pontic stays clear of the tissue. An ovate pontic needs a ridge site prepared to receive it. A full saddle is hard to clean, so we suggest a modified ridge-lap instead unless you specify otherwise.
Cantilever and Maryland Designs
A cantilever puts all the leverage on one abutment, so it suits short spans with a healthy abutment and controlled occlusion. We keep the pontic out of heavy excursive contact and give the connector and retainer extra bulk.
A Maryland bridge depends on its bond. The wings sit on enamel, clear of the occlusion, and single-wing designs are now widely preferred for anterior teeth because two abutments that move independently can stress one bond against the other. Both designs are less predictable on posterior teeth, with bruxism or with thin enamel.
What Our Crown Dental Lab Needs for a Single Crown
Most single posterior crowns need only a clean scan, a clear margin and a good bite. A single anterior crown that has to match its neighbor needs more, and it usually goes to a technician with more than ten years at the bench.
Photos That Show the Stump
Send one photo of the natural tooth next to the shade tab and one of the prepared tooth next to the tab. The stump shade tells us whether the crown has to mask. A dark stump, or a metal post without an opaque layer, can show through a zirconia crown; under PFM, it doesn’t matter. Scans in color PLY help with gingival and surface detail.
Characterization From Your Reference
Custom staining, incisal translucency, halo, white spots, craze lines and surface texture can be copied from your photos. Shade is checked under standardized light before and after firing.
Margins We Can Read
Zirconia and gold tolerate a chamfer or feather-edge margin; pressed ceramics and PFM need a shoulder or chamfer. On a scan, trace the finish line yourself rather than relying on automatic detection, and note on the prescription whether it’s supragingival or how far subgingival it sits.
What to Send With a Crown or Bridge Case
The Prescription
Beyond tooth numbers, material and shade, tell us the margin design and depth, the pontic positions and type, any connector requirements and how tight the contacts should be. Your preferences are saved to your account and applied to every case that follows.
Scans and Rescans
Any scanner that exports an open file format works. Within one working day, we confirm the scan is usable or tell you exactly what’s missing. For crowns and bridges, the usual reason for a rescan is a margin that’s blurred or hidden by tissue. On long bridges, stitching errors build up across the span, so scan in one continuous direction, add sectional bite scans and check for stitching steps before the patient leaves.
→ File formats and step-by-step scanning tips are in our Send a Case guide.
When Clearance Is Short
Our technicians measure occlusal clearance on the model. If it’s short, we contact you with the options: a material that works in less thickness, further reduction of the abutment, adjustment of the opposing tooth, or a metal occlusal surface on a PFM. If you’d like, we’ll put a note in the box showing which tooth to reduce and by how much.
How Each Crown and Bridge Is Made and Checked
As a full-service crown and bridge dental lab, we keep every step from scan to packing in our own labs: data check, CAD design, model printing, CAM milling, sintering, porcelain layering and glazing, polishing, inspection and packing. E.max is pressed; PFM frameworks are cast or milled. Nothing is sent out to another lab.
Three Checks, One Independent Sign-Off
Data, materials and the prescription are checked on arrival, work is spot-checked between stages, and final release is made by QC staff who don’t make restorations. They check fit, seating, contacts, occlusion, form and surface against your prescription and approved design, and check contacts, occlusion and margins again after glaze firing, because firing can move them.
Measured, Not Eyeballed
We inspect under the microscope, compare scans and take digital measurements. For digital cases, the finished restoration is compared with the approved CAD design by overlay. Every case number links to the technicians, equipment, material batches and inspection results behind it.
Two Numbers, Defined
95% of cases pass final inspection the first time. The rest are remade before they ship, and that remade work doesn’t count toward the 95%. Our remake rate, the share of cases clients send back to us, runs at 2–3% across all restorations. One measures our own inspection; the other measures what reaches your chair.
Crowns and bridges ship in foam-filled boxes so they can’t knock against each other in transit.
Turnaround, Rush and Remakes
How the Days Are Counted
In-lab time is counted in working days from the day a complete case reaches us. Time spent waiting for missing information or a design approval doesn’t count, and neither do Chinese weekends and public holidays. International shipping comes on top.
Free Rush for Regular Clients
If you send 10 or more cases a month, rush service is free for every material and case type, and you can ask for it before or after the case arrives. We guarantee the ship date of a rush case; the arrival date depends on transit and customs.
When Something Isn't Right
If fit, contacts, occlusion, shade or form is off on our side, we adjust or remake the case free and move it to the front of the production queue. Just report it within 24 hours with photos.
→ See exactly what’s covered and how returns work in our Remake and Warranty Policy page.
Working With Our Crown and Bridge Dental Lab
Start With One Case
The fastest way to judge a crown and bridge dental lab is with its work in your hands. Pick the case that tells you the most, such as a posterior three-unit bridge or a single central incisor that has to match its neighbor. Ask for QC photos before it ships and for the brand, batch number and certificate of the materials used. Single trial cases are welcome; an ongoing partnership works best with a regular flow of cases.
Quotes Built From Your Case
The number of units sets the base, the material sets the unit price, and design complexity adds to it. Quotes are itemized to your requirements, not bundled, and you can confirm the full cost before production starts. Your sales manager sends the current price list on request.
For Dental Labs
Send us a whole case or part of one: CAD design only, milling and sintering only, porcelain layering, or finishing on your frameworks. We accept editable exocad and 3Shape files, work white-label and never contact your dentists. More on our Dental Lab Outsourcing page.
Check Us First
Istar Digital is an FDA-registered establishment, Registration Number 3039441248, and our device listing covers custom crowns and fixed bridges. You can look it up in the FDA establishment registration and device listing database. Our labs run an ISO 13485 quality management system, and restorations for the EU follow the MDR custom-made device procedure. You’re welcome to tour our labs in Shenzhen and Huizhou in person or by live video.
Frequently Asked Questions
Do you accept physical impressions for crown and bridge cases?
Yes. Addition silicone (VPS) works best, and condensation silicone and polyether are also fine. Alginate doesn’t survive international shipping: it dehydrates and distorts and can be held at customs. We also accept stone models, sectioned die models and 3D-printed models.
Which cement should we use?
For zirconia, a resin cement containing MDP is our first choice. For pressed e.max, use a resin cement such as Variolink or RelyX Ultimate. Metal and PFM restorations can go in with a conventional cement, such as glass ionomer or zinc polycarboxylate, or with a resin cement.
Can a later crown match work we placed for the same patient earlier?
Yes. Give us the earlier case number, and we’ll work from the same confirmed shade references and design records. If you already know more units will follow, tell us so we keep those records on file for you.
What usually causes a tight contact, a high bite or an open margin at try-in?
A tight contact usually comes from an over-contoured contact point or an undercut on the adjacent tooth. A high bite usually comes from an extruded opposing tooth or an inaccurate bite record. An open margin usually traces back to an unclear margin in the impression, die trimming or material shrinkage. Send us photos, and we’ll work out which one it was before we remake anything.
Send Your First Crown or Bridge Case
Tell us your scanner, the materials you prescribe most, your approximate monthly case volume and the crown and bridge cases you send most often. Your sales manager will reply with the price list and set up your account, so your first case has everything it needs when it arrives.
Crown and bridge case studies