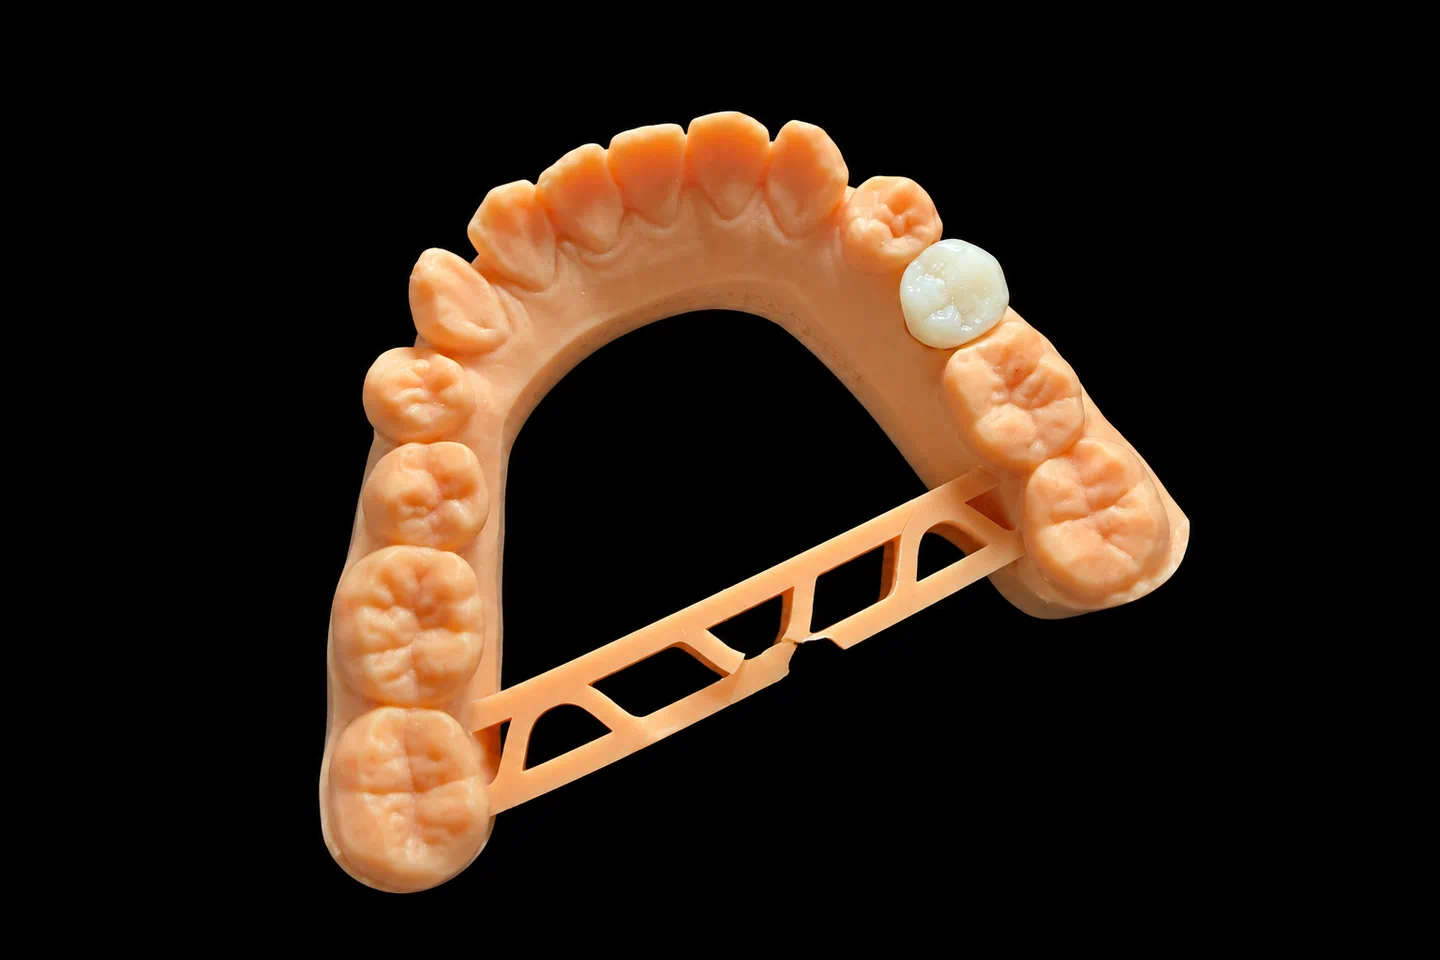
Patient Situation
The patient already had an old PFM bridge, #6 to #8, replacing a lateral incisor (#7) lost years ago . Then #8, one of its abutments, turned up with a root fracture. The dentist decided it had to come out .
Here’s what the dentist’s notes and the scans showed :
So the patient needed a long-term temporary bridge, fixed in place on the day of the extraction, that would last until the ridge settled.
What the Dentist Asked For
The Rx, condensed :
The extraction visit was booked 3 weeks after the scan . Everything had to work backward from that date.
The Technical Problems in This Provisional Dental Bridge
Two pontics in a row, across the front
Two pontics side by side put a lot of load on the connectors, and the #7–#8 connector takes the worst of it. A connector wants height, but on front teeth height eats into the embrasures, and with a high smile line that shows.
The worry is fair. In one retrospective study of 71 milled long-term temporaries, 14.1% failed by fracture and 18.1% came loose over a median of about a year. Those were a low-filler composite, not PMMA, and they included crowns. But it’s a good reminder that a temporary worn for months needs real design work.
A shell for preps that didn't exist yet
We’d be fitting a bridge to teeth nobody had cut. If the dentist’s prep ended up a little different from our virtual one, a tight shell wouldn’t seat at all.
A pontic for a socket that wasn't there yet
The scan showed gum around a root that was still in place. We could guess the socket, but we couldn’t see it. And the tissue would keep changing afterward.
Reinforcement Options for This Long-Term Temporary Bridge
We sent a design preview in the case’s WhatsApp group, with three ways to make the bridge stronger :
| Option | What it means | The trade-off |
|---|---|---|
| A. No reinforcement, bigger connectors | Taller connectors, top of our range | Deeper into the embrasures, visible in this smile |
| B. Metal mesh | Mesh inside the palatal side | Strong, but thin PMMA over it can look gray, and trimming gets harder |
| C. Glass fiber | Tooth-colored fiber along the palatal side | No gray, but if the dentist trims down into the fiber, that spot needs a repair |
Both work on the bench. One in vitro study of PMMA interim bridges found that fibers and stainless steel both raised fracture resistance, and the occlusal third of the pontic was the best place to put them.
We recommended C because of the “no metal showing” line on the Rx. The call was the dentist’s, and they approved C the next day .
How We Met the Rx: Version 1, the Prefabricated Shell
Virtual prep and design
Our designer worked from the pre-op scan, using the old bridge as the starting point for form. In the software, we took #8 out, prepped #6 and #9 to the finish lines on the Rx, and set the path of insertion so all the abutments shared one. All of that is a plan, not a prep decision. What actually gets cut stays with the dentist.
Milling and fiber
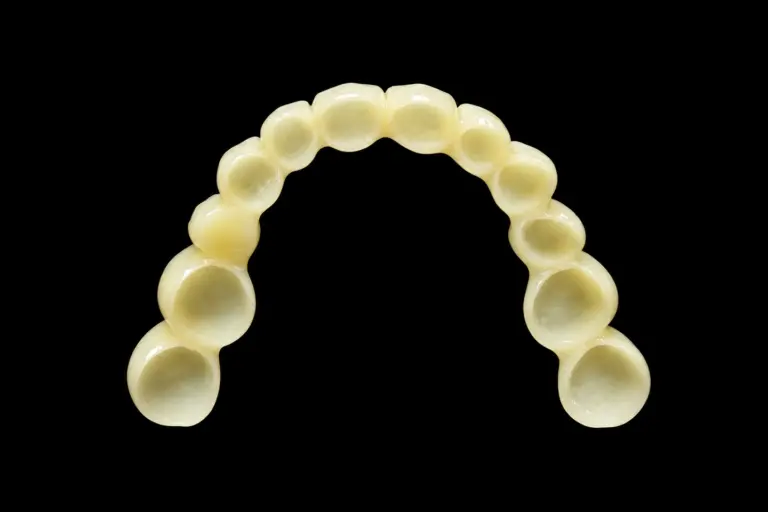
We milled it from a PMMA disc . We stock PMMA from Ivoclar and Aidite, and milled material is a sensible pick for a long wear time. A review of 19 studies on CAD/CAM interim bridges came out in favor of milled for fit, strength and color stability. 18 of those 19 were lab studies though, so it’s a reason to choose it, not a promise for every mouth.
PMMA is also a preferred material for long-span and long-term provisionals, and it works well as a shell relined in the mouth. That’s what this long-term temporary bridge needed.
Then the technician cut a shallow channel on the palatal side, through both pontics and connectors, staying in the incisal half. The fiber went in, set in tooth-colored resin . In front teeth, that’s the closest match to the occlusal third placement.
Finish and checks
The cervical areas were stained for the high smile line and the facial was polished to a high shine, because rough resin holds plaque. Then QC checked it against the Rx and the approved design: the seat on a printed model of the virtual prep, contacts, the bite in centric, protrusion and lateral moves, form, polish, and no cracks or voids.
We shipped the printed model with it, so the dentist could compare the preps on the day and make a backup matrix. It went out in a foam-filled box, with the tracking number sent that day.
It left on working day 6 after approval and took 4 working days to arrive, 3 working days ahead of the visit .
Extraction day (the dentist's report)
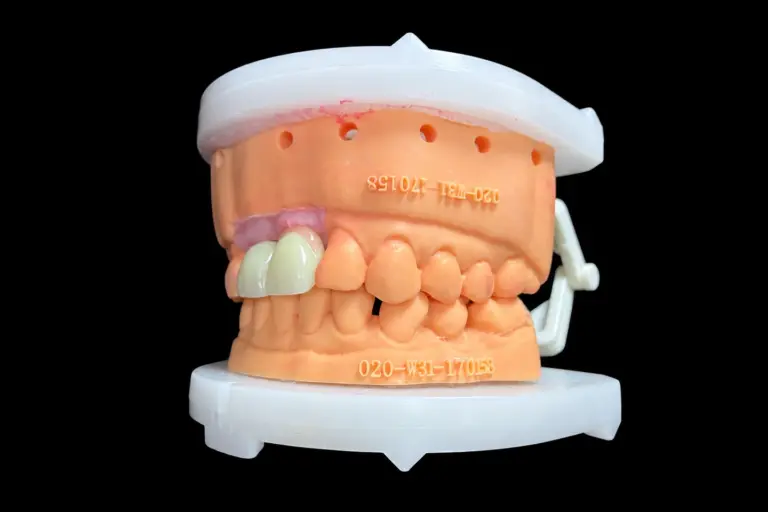
The dentist took off the old bridge, removed #8, placed a graft and prepped #6 and #9 . The shell seated on the tabs and was relined with a PEM resin. They trimmed the #8 pontic to depth, cut off the tabs, adjusted one protrusive contact on #7 and cemented it with a eugenol-free temp cement .
Version 2 of the PMMA Temporary Bridge: Same Teeth, New Ridge
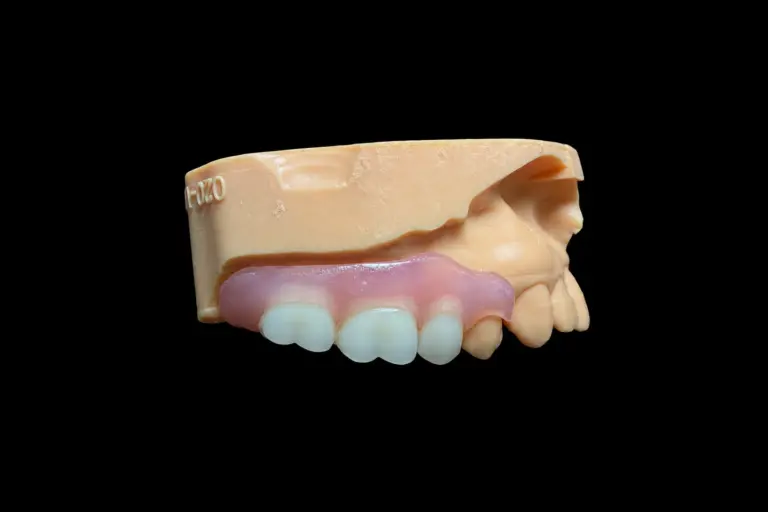
The dentist checked the tissue at week 8 . The ridge under #8 had dropped, which left a gap of about 1 mm at the base of the pontic, right in the smile. #7 also looked about 0.5 mm long to the dentist .
That’s no surprise. A small case series on ovate pontics after extraction still saw the ridge contour shrink, and suggested the provisional may mainly help by supporting the papilla. The dentist wanted that gap closed, and the shape locked in, before the final .
The dentist sent us three things :
Here’s what changed between the two versions:
| Version 1 | Version 2 | |
|---|---|---|
| Fits on | Virtual prep, relined at the chair | Real preps, from the new scan |
| Inside | About 1 mm relief | Normal cement space, margins to the finish line |
| #8 pontic base | Long, trimmed at the chair | Designed to the new ridge with light contact |
| #7 length | From the first design | 0.5 mm shorter |
| Outer form | From the old bridge | Copied from the scan of version 1 |
| Connectors and fiber | 10 / 11 / 10 mm², palatal fiber | Same |
The dentist approved the preview the same day . We shipped on working day 5, and it was seated at week 10 with no reline .
Finished Result of the Plastic Temporary Dental Bridge
Here’s how the bridge measured up against the design targets :
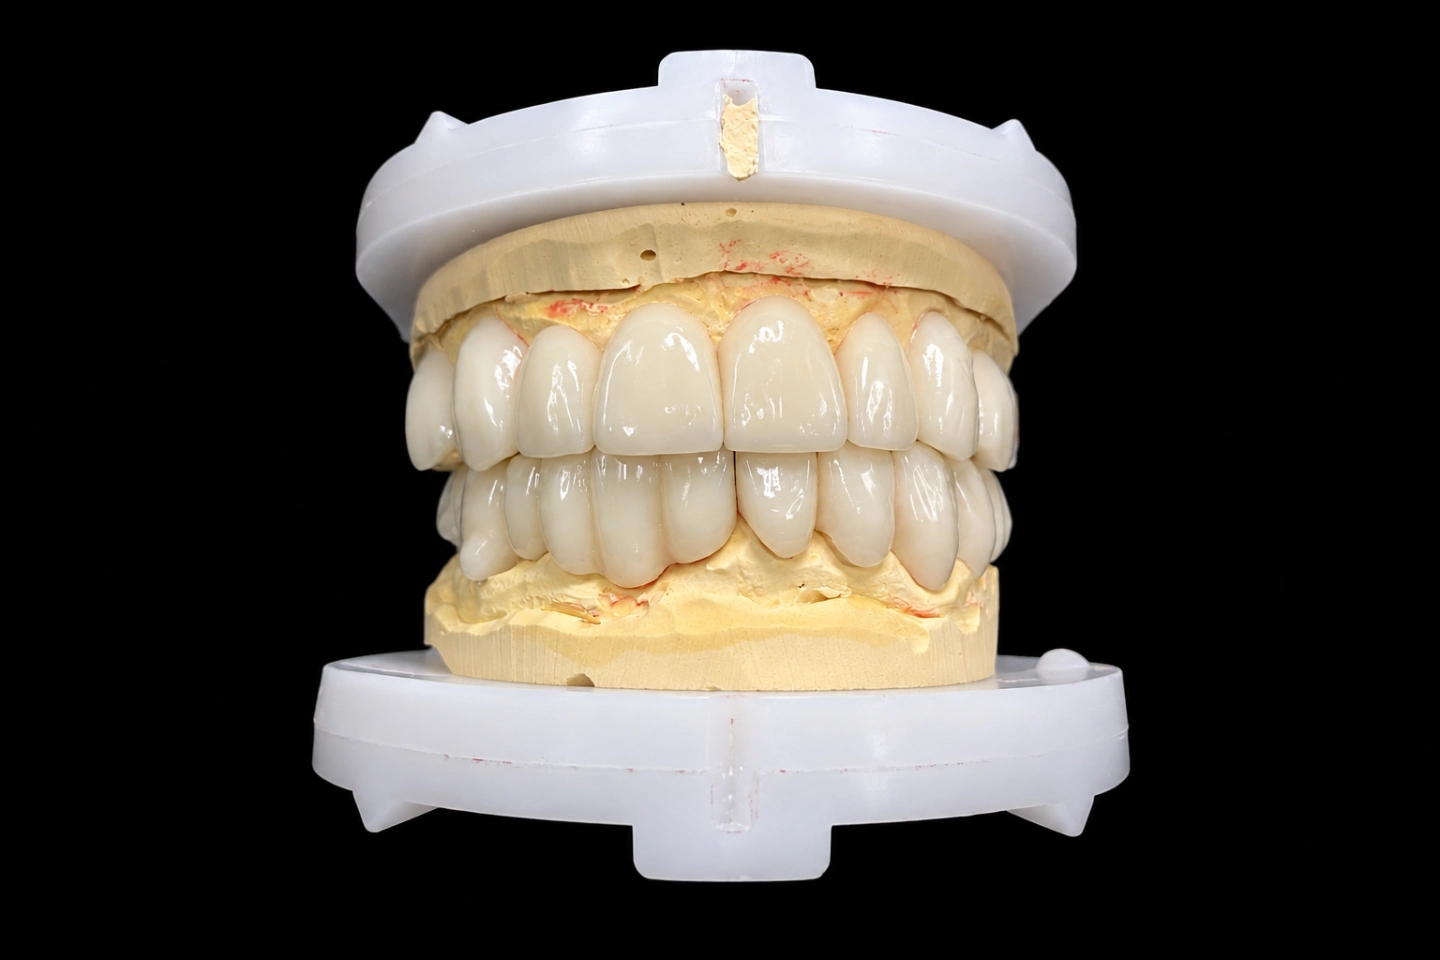
At week 16 the dentist scanned the preps, and scanned version 2 in place . We used the scan of version 2 as the template for the final layered zirconia bridge , copying the form, the #7 length and the anterior guidance the patient had already been wearing.
So this provisional dental bridge did more than hold a space. It gave the dentist and the patient 16 weeks to try the shape, and it left us with a tested design to work from.
Sending a Similar PMMA Temporary Bridge
Got a provisional dental bridge with an extraction coming up? Here’s how it works with us:
Every step happens in our own labs, with no outsourcing: four of them in Shenzhen and Huizhou, China, running since 2012, with about 460 people, including 100 in design, 70 in milling and 25 in QC. Milling, 3D printing and resin work each have their own area. You can book a factory visit or a video visit with sales.
Istar is an FDA-registered establishment, Registration Number 3039441248, which you can check in FDA’s establishment database. The lab runs under ISO 13485, and everything is made to the dentist’s Rx. For EU clients, custom-made devices follow the MDR custom-made device procedure.
Have an extraction or a long temporary phase coming up? Send us your pre-op scan and the appointment date. We’ll tell you what we can make and when you’d need to order. Single trial cases are welcome. Send your first case or talk to us.
FAQ
What's the warranty on a plastic temporary dental bridge?
1 year. A temporary is made for short-term wear, so it doesn’t get the 3 years we give final bridges. Lab-side problems like open margins, open contacts, a high bite, a bridge that won’t seat or the wrong shade get remade free. Changing the shade or material later isn’t free, and neither is a remake after you asked us to go ahead on an unclear impression.
Is every plastic temporary dental bridge made in PMMA?
No. We make them in composite resin or PMMA, and we can 3D print them too. We won’t swap a material without your OK.
Do you make a provisional dental bridge on implants?
Yes, including immediate-load cases. We can also supply temporary cylinders, multi-unit abutments, screws and tools, at extra cost.
Can I use a wax bite with physical impressions?
Please don’t. Wax softens and distorts in transit. Use a VPS bite registration, and VPS is our first choice for the impression too.
Do you take rush cases?
Yes, at no extra charge, for clients who send 10 or more cases a month. We guarantee the ship date. The arrival date depends on customs, so we can’t promise that.
How do you price a PMMA temporary bridge?
Quotes are itemized to your Rx, not one bundled price. Ask us for the price list.