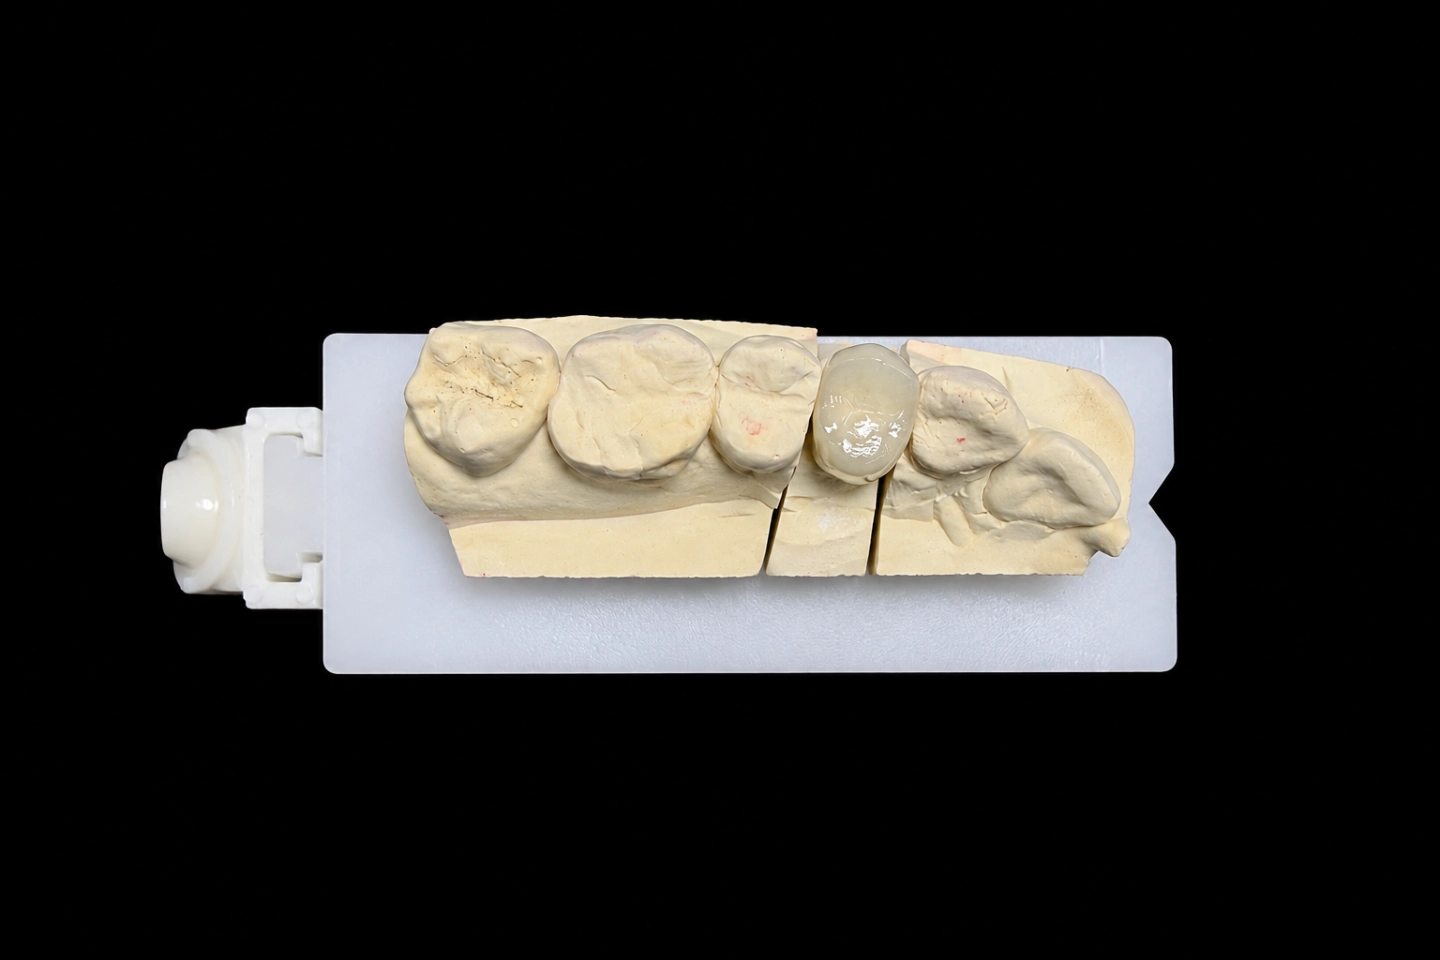
Patient Situation
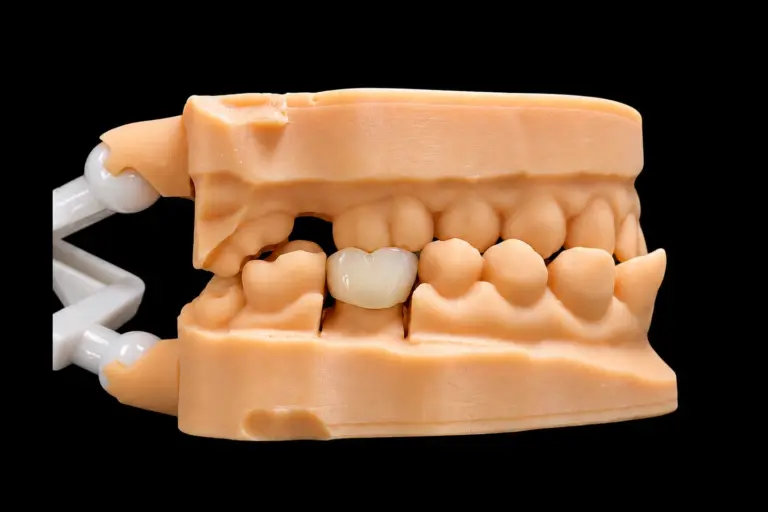
The patient lost #29 and #30 about eight years ago and never replaced them . They didn’t want implant surgery, so the dentist planned a fixed bridge .
The scan and the dentist’s notes showed what those years had done:
Five units is where we start calling a PFM bridge long span. The longer the bridge, the more force goes through the connectors, and the less forgiving it gets when one abutment is out of line.
What the Dentist Asked For
The Rx, condensed :
There was also a note at the bottom: “#31 is tipped. Check the path first.” That note saved everybody some time.
Why the Dentist Chose a PFM Fixed Bridge Here
The dentist wanted a dental bridge PFM design, with a metal framework carrying this span, and had years of good results with it . There’s published support for that choice.
A 2007 systematic review put five-year survival of metal-ceramic multi-unit bridges at 94.4%. A 2024 systematic review and meta-analysis found fewer failures and less ceramic chipping with metal-ceramic than with zirconia bridges, and noted there’s little evidence past 10 years. Those numbers describe groups of bridges. They aren’t a promise for any single patient.
A PFM fixed bridge has limits too. Opaque hides the metal, but it also blocks light, so it won’t copy the translucency of a young natural tooth. The dentist talked this through with the patient up front, and the patient’s older, fairly opaque neighboring teeth made it an easy match to aim for .
The Technical Problem: Three Abutments, No Shared Path
Our designer loaded the scans and checked the path in the design software before drawing a single unit. We started from the long axis of #27 and #28, the obvious choice, because those are the teeth that show.
| Path tried | #27 and #28 | #31 mesial wall (about 5 mm tall) | Would it seat? |
|---|---|---|---|
| Along #27 and #28 | No undercut | 0.6 mm undercut | No |
| Tilted about 5° toward #31 | No undercut, taper used up on the distal walls | 0.2 mm undercut | Not yet |
So tilting the path solved most of it, not all of it. What’s left is small, but on a one-piece PFM bridge it’s enough to stop the whole thing from going down.
The tilt also means the bridge comes in from slightly in front, so #27 passes close to #26 on the way down.
Three Ways to Fix the Path, and the Dentist's Call
We don’t guess on a problem like this, and we don’t quietly work around it. We sent the dentist the undercut maps and three options :
| Option | What changes | The trade-off |
|---|---|---|
| A. Tilted path plus a small trim | The dentist trims the leftover undercut at one spot we mark on a reduction map, then sends a new scan. | One short chair visit |
| B. Straight path, bigger trim | The dentist takes off the full undercut. | More reduction on a vital molar, and no gain over A |
| C. No trim, block out what’s left | We relieve the inside of the #31 crown over that spot. No extra visit. | A thicker cement gap on that wall, and less retention on the abutment that needs it most |
We recommended A and said why. The call was the dentist’s, like it is on every case. They picked A, sent a new scan of #31 a few days later, and approved the updated design by email .
Dental Bridge PFM Design and Production: How We Met the Rx
The design preview
The dentist saw occlusal, buccal and lingual views, contact points and the connector cross-sections, so nothing about this design came as a surprise later.
A few choices came straight from the case:
The metal framework
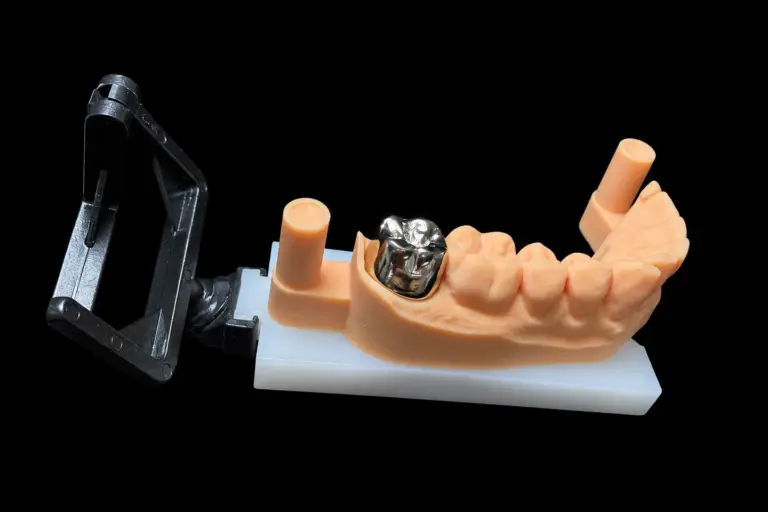
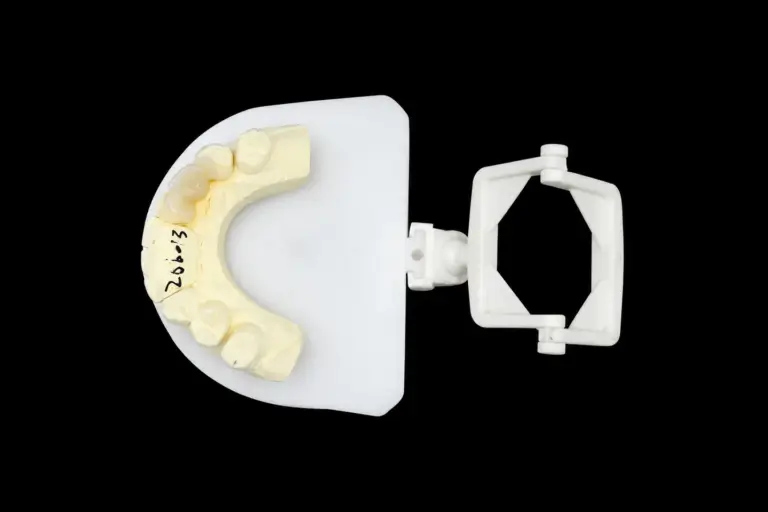
Our metal department cast the framework from the approved design . Then, before anyone touched porcelain, a technician checked it:
The metal try-in
A printed model can’t tell you everything about five units in a real mouth, which is why the same chapter has the framework tried in before porcelain goes on.
The dentist spotted one problem: the tissue under the #30 pontic blanched . There was too little room left for porcelain under there, and that’s a lot easier to fix now than after glazing.
We relieved the underside of that pontic by about 0.5 mm . That gave us room to finish the tissue contact in glazed porcelain, light and with no pressure.
Porcelain
The framework was blasted with aluminum oxide, cleaned ultrasonically and pre-oxidized, so the porcelain would bond properly. The porcelain’s thermal expansion sits a little under the alloy’s, which keeps it out of tension as it cools.
Then came the opaque. An in-vitro study on opaque thickness and alloy color found both of them change the final shade, and the thickest layer gave the worst match. So we put on just enough to hide the metal.
Too many firings can start to cost a long PFM bridge its shape and color. We cap a PFM at three or four firings, with stepped heating and slow cooling each time. This one took three . Shade got checked against the tab under standardized light before and after firing.
Final checks
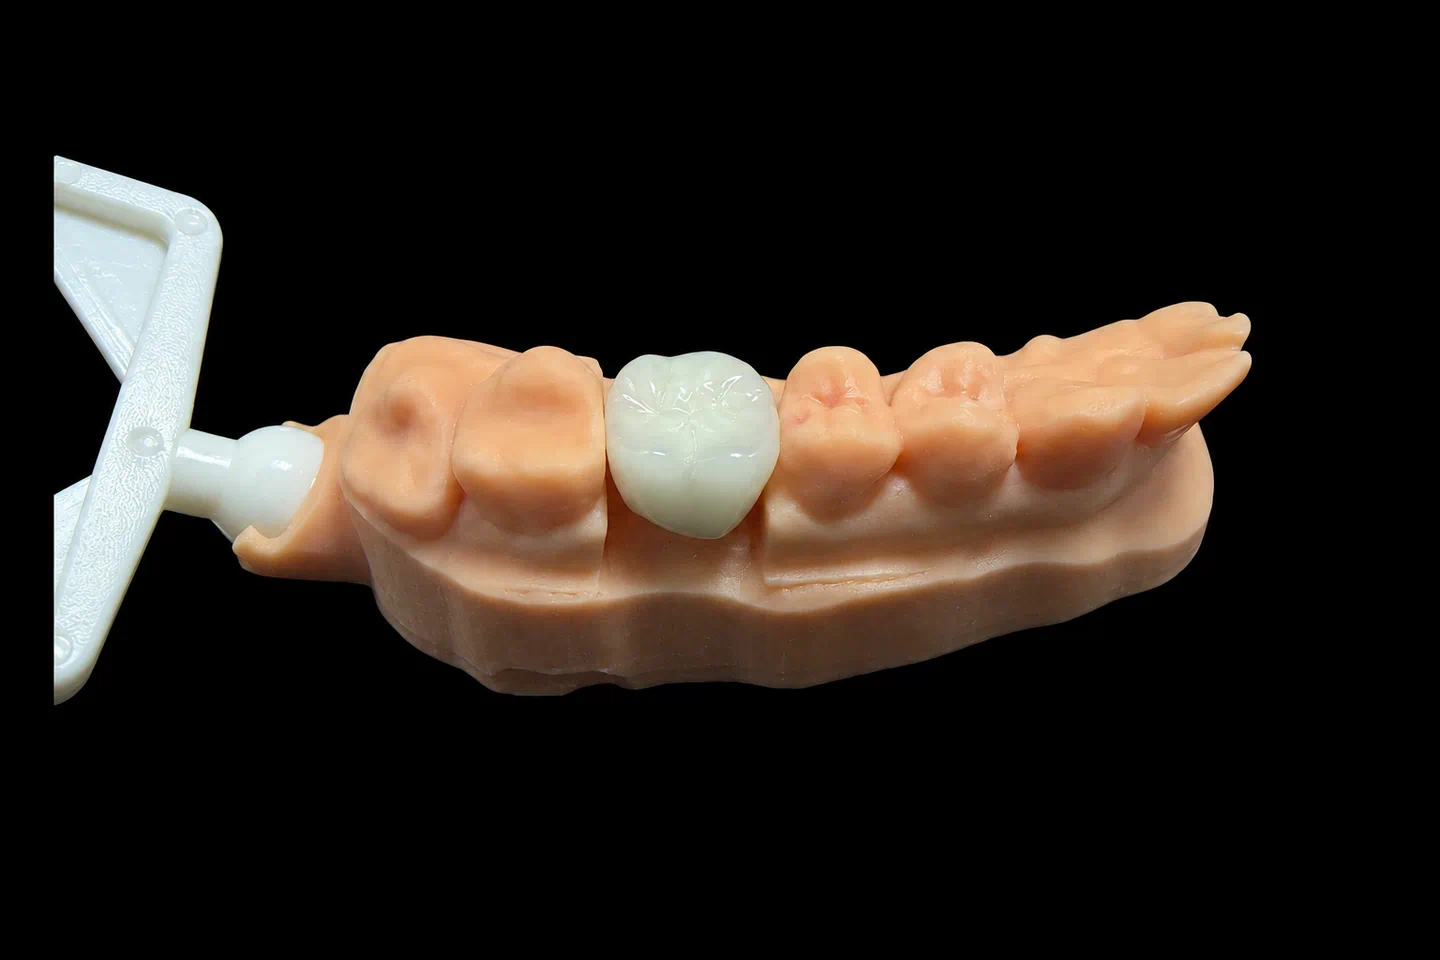
Glazing can move things a little, so contacts, margins and the bite in centric, protrusive and lateral moves all get a last look after it. Then we compared the finished PFM bridge with the approved design, and our QC technician signed it off against the Rx. Those fit, margin and occlusion checks run on every case, not on a sample. It shipped in a foam-filled box.
Five Seat Checks on One PFM Bridge
The seat record, in order :
| Stage | Checked on | Result |
|---|---|---|
| 1. Design, new scan | Design software | No undercut on any abutment |
| 2. Metal framework | Printed model | No rocking, margins closed |
| 3. Metal try-in | Patient’s mouth, by the dentist | No rocking, margins closed |
| 4. After porcelain firing | Printed model | No rocking, margins closed |
| 5. After glaze | Printed model | No rocking, margins closed |
Finished PFM Fixed Bridge vs the Design Targets
At final inspection :
Dentist and Patient Feedback on the PFM Bridge
The dentist: the bridge went down at the first attempt, with no margin changes and no bite adjustment. A light polish on the contact between #27 and #26 was all it took. They told us the appointment ran short because the path and the metal had already been settled .
The patient, as passed on by the dentist: the bridge felt snug and put no pressure on the gums. They liked how the visible teeth blended in. Getting the floss threader under the pontics took some practice at first, so the dentist walked them through it .
Both came on the try-in day. There’s no long-term follow-up yet .
Sending a Long PFM Bridge to Us
What to expect with a long PFM bridge:
We also make posterior PFM bridges and PFM crowns in the same departments.
All of this happens in our own four labs in Shenzhen and Huizhou, China, with about 460 people. CAD design, the metal department, porcelain and QC are all in-house, and nothing gets outsourced. Istar Digital is an FDA-registered establishment, Registration Number 3039441248, which you can check in FDA’s establishment database. The lab runs under ISO 13485.
Have a long bridge where the abutments don’t line up? Send us the scan and Rx for a path check. Send your first case or talk to us.
FAQ
What if you flag a design and I still want it?
Then we make it to your Rx. You don’t need to sign a risk form, but problems caused by that design, remakes included, aren’t covered by us.
Can you copy the shape of an old bridge or a provisional?
Yes. Send a scan of it and we’ll carry its form over to the new one. We can also copy the function and guidance from a provisional the patient has been wearing.
If porcelain chips on a PFM bridge later, do you need a new scan?
Not if the bridge still seats well. We can usually remake it from the original data, though we’ll need the physical bridge back. For fit, margin or bite problems, we’ll ask for a new scan or impression. Either way, send the patient name, order number and photos first, so we can work out the cause with you.
Do you take rush cases?
Yes, for free, if you send us 10 or more cases a month. We guarantee the ship date. Customs decides the arrival date, so we can’t guarantee that one.