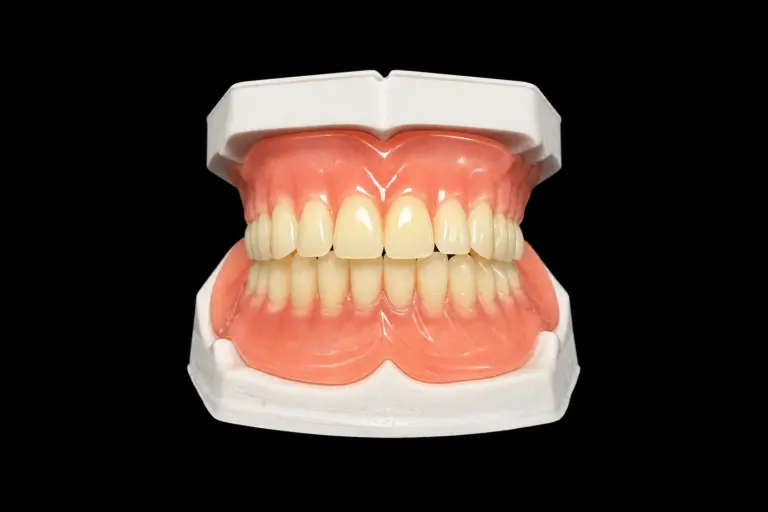
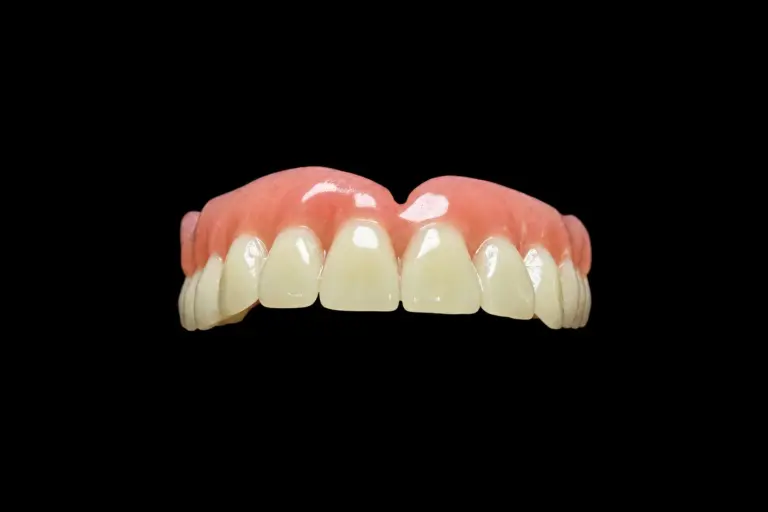
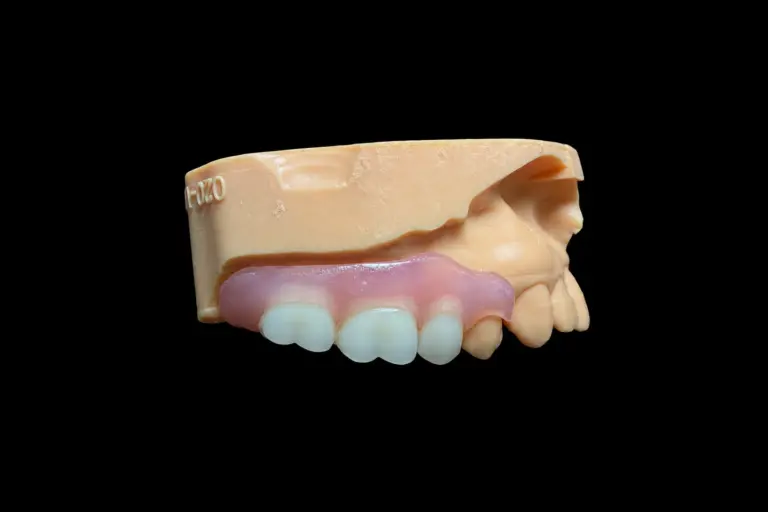
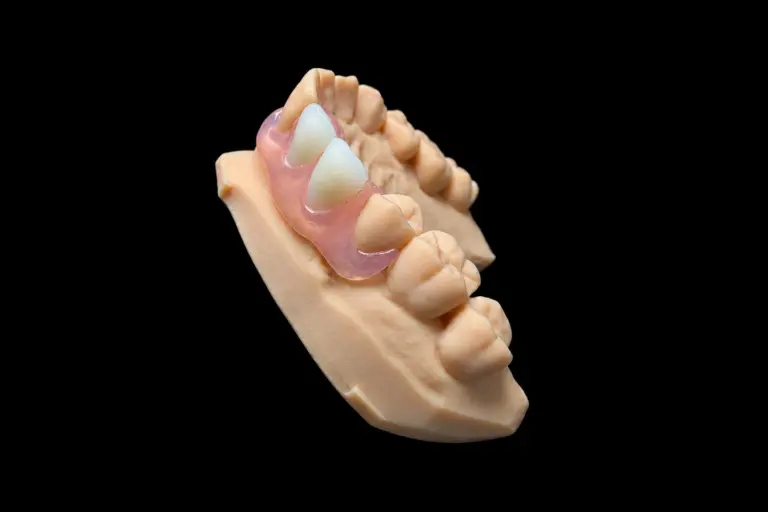
Patient Situation: Why the Upper Denture Kept Dropping
The patient had lost the last upper and lower teeth in their late forties . The upper and lower dentures they wore when they came in were nine years old, their third set, made by another lab .
Here’s what the dentist found:
With upper and lower dentures, the lower is usually the one people fight with. In a service evaluation of 147 complete denture patients at a dental teaching hospital, 82% were satisfied with the fit of the upper, and only 39% with the fit of the lower and with chewing. An upper that needs adhesive every day is the less common problem.
What the Dentist Asked For
The Rx for the new complete upper and lower dentures had five points :
The dentist kept every clinical call. That meant the impressions, the bite height, the jaw relation, the try-in sign-off, and the delivery. Our job was to build what the Rx asked for and to speak up if the casts didn’t support it.
The Records Behind This Set of Full Upper and Lower Dentures
These full upper and lower dentures ran on the conventional route, because the dentist wanted border-molded impressions on both arches .
The Technical Problem: Two Ridges That Don't Line Up
What we measured on the casts
After mounting, we marked the crest of each ridge on both casts. Then, at each tooth position, we measured how far the lower crest sat outside the upper crest, side to side .
| Tooth position | Right side (lower crest outside upper) | Left side (lower crest outside upper) |
|---|---|---|
| First premolars | 0.5 mm | 0.5 mm |
| Second premolars | 2.0 mm | 1.5 mm |
| First molars | 3.5 mm | 3.0 mm |
| Second molars | 4.5 mm | 4.0 mm |
That pattern isn’t a surprise in someone who’s worn upper and lower dentures for a long time. The Foundation for Oral Rehabilitation’s treatment guidelines describe the upper ridge crest resorbing upward and inward, and the lower crest moving down and outward. Over time, the two arches can end up in a skeletal Class III relationship. The same guidelines note that the back teeth may then need to be set in reverse occlusion, or crossbite.
The options we sent
With a normal setup on upper and lower dentures, the lower back teeth go over the lower ridge, and the upper back teeth sit outside them. Chewing force on upper teeth that sit well outside their ridge acts like a lever. It pushes down on one side of the upper and lifts the other side away.
We sent the dentist the marked casts, the measurements, and three options for the complete upper and lower dentures before setting any teeth :
| Option | What changes | What it costs |
|---|---|---|
| A. Normal setup, as the Rx says | Back teeth meet the usual way | Upper molars about 3–4.5 mm outside the upper ridge, so the lever stays |
| B. Crossbite from the second premolars back | Upper and lower back teeth each sit over their own ridge | The bite on those teeth is reversed; the transition at the second premolars can catch the cheek; slightly more dark space at the corners of the smile |
| C. Normal setup, lower teeth moved in | Upper molars come in about halfway; normal bite kept | Lower teeth end up about 2 mm inside the lower ridge; less room for the tongue, which can lift a lower denture |
Had the dentist kept A, we’d have built it to the Rx. The dentist picked B, starting at the second premolars on both sides .
There’s support for this kind of setup in print, though it’s thin. A 2023 case report in Clinical Case Reports describes a patient with a Class III ridge relationship whose complete dentures were made with a cross-arch tooth arrangement. It’s one case, not a trial.
How We Made These Upper and Lower Dentures
Step 1: Wax setup to the chosen plan
The setup followed the choice, tooth by tooth :
We sent photos of the wax setup with the crest lines still visible on the casts, so the dentist could check every back tooth against its ridge before the try-in .
Step 2: One wax try-in, one change
At the try-in of the full upper and lower dentures, the dentist checked the things that matter most for this setup :
We rotated the upper right second premolar, brought its cheek-side surface into line with the first premolar, and rounded the step . The left side didn’t need it. We sent new photos, and the dentist approved them in writing without another visit .
Step 3: Processing and remounting
After approval, the job is to keep what the try-in signed off.
Complete upper and lower dentures go through a dedicated team for full-arch work. Our QC staff checked this case at the model, wax, setup, and final stages, and an independent inspector signed off the final release.
Finished Complete Upper and Lower Dentures: Design Goals and Results
| Design goal | How it was checked | Result |
|---|---|---|
| Upper stays put while chewing | Dentist’s chewing test on each side at delivery | No lift on the other side |
| Less adhesive | Patient report at two weeks | Stopped using adhesive on the upper |
| No cheek biting at the transition | Patient report at two weeks | None reported |
| Bite matches the approved try-in | Contact check at delivery | Matched; minor chairside polish only |
At the five-day check there was one sore spot under the lower right lingual flange. A small relief took care of it .
Dentist and patient feedback
The marked casts made it easy to show the patient why the new back teeth sit where they do .
The new back teeth felt narrower on the tongue side for the first couple of days .
What this set doesn't change
The ridges will keep changing, so the fit will too. These results are from the first two weeks with the new upper and lower dentures. The dentist booked the usual recall and reline checks .
What to Send Us for Upper and Lower Dentures
Our Rx form covers the basics for upper and lower dentures. If you already know you want a crossbite or a certain occlusal scheme, say so in the notes.
Prefer scans to impressions? Our digital workflow takes scanned complete denture cases, and our how-to-send guide covers packing physical ones. Complete dentures generally take 5–7 working days in our lab. Clinic visits and shipping between stages come on top of that.
Who Made It
This case ran through our removable denture department of about 55 people, with support from a CAD design team of about 100 and a separate QC team of about 25. Those teams work inside Istar Dental Lab’s four labs in Shenzhen and Huizhou, China. We started in 2012, we’ve got about 460 staff, and we don’t outsource.
We’re an FDA-registered establishment (Registration Number 3039441248), which you can check in the FDA establishment registration database. Our labs run an ISO 13485 quality management system, and custom-made dentures for EU clinics follow the MDR custom-made device procedure.
Upper and Lower Dentures FAQ
Can I change the occlusal scheme after the try-in?
On upper and lower dentures, shade, surface finish, slight shape changes, and contacts can still be adjusted after approval. Moving teeth or switching the scheme means a new setup, and that isn’t a free remake.
What's free to redo?
A denture that won’t seat, a lifting edge, an inaccurate bite, a poor look in the mouth, or a base color you’re unhappy with. Changing the tooth shade or material afterward isn’t free, and neither is a case you asked us to make on an impression we’d flagged as poor.
What about the warranty and shipping?
Acrylic denture work carries a 1-year warranty. You pay to send a case in, and we pay to ship finished work back, remakes included.
Can you use other bases and teeth?
Yes. Bases can also be self-cure acrylic, injection-molded acrylic, or 3D printed resin, and teeth can be acrylic or porcelain. We also make complete dentures with metal bases, in cobalt-chromium or with titanium palatal plates.
Can you rush a case?
Rush service is free for clients sending 10 or more cases a month. We guarantee the ship date, but not the arrival date, because customs times vary.
How's pricing handled?
We don’t publish prices on the website. Quotes are itemized to what you ask for, not one bundled number.
Send Us Your Next Upper and Lower Dentures Case
Single trial cases are welcome, and regular case flow suits an ongoing partnership. You can also browse our complete dentures, or book a factory visit or video tour.