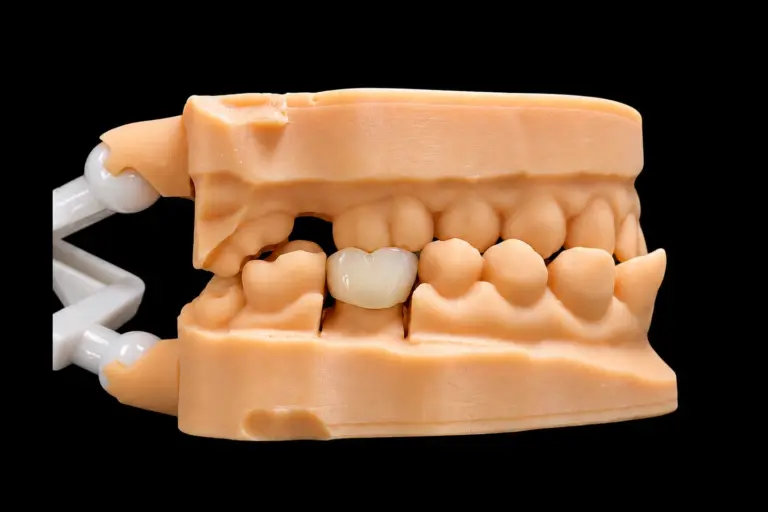
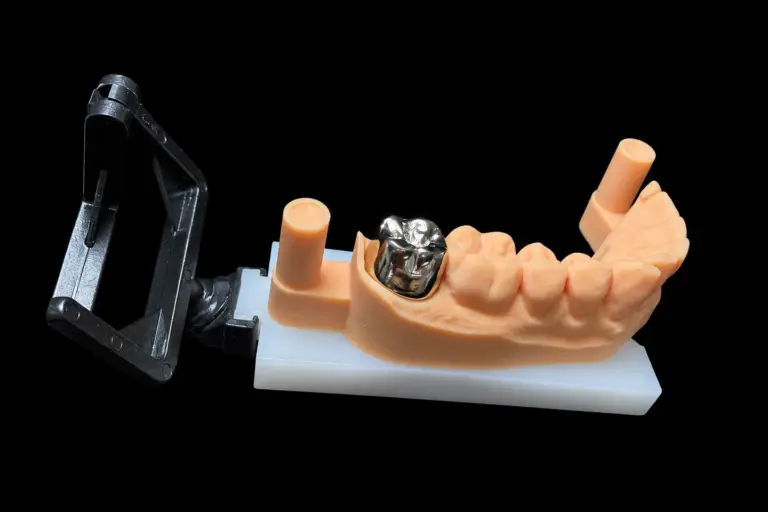
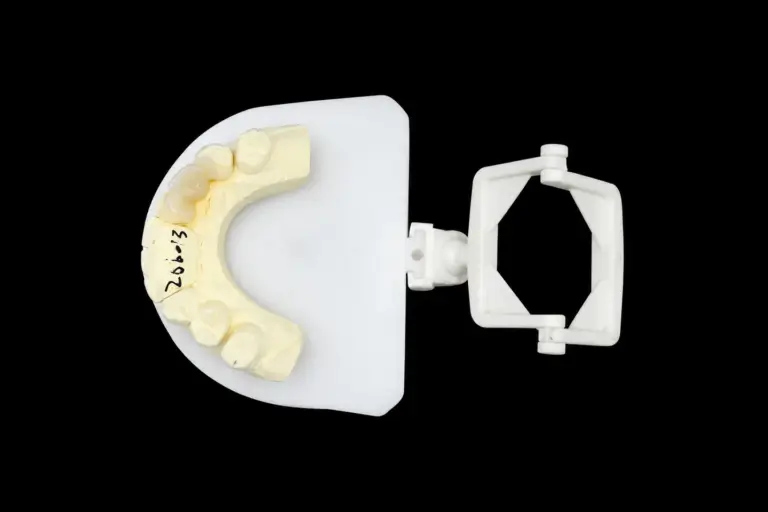
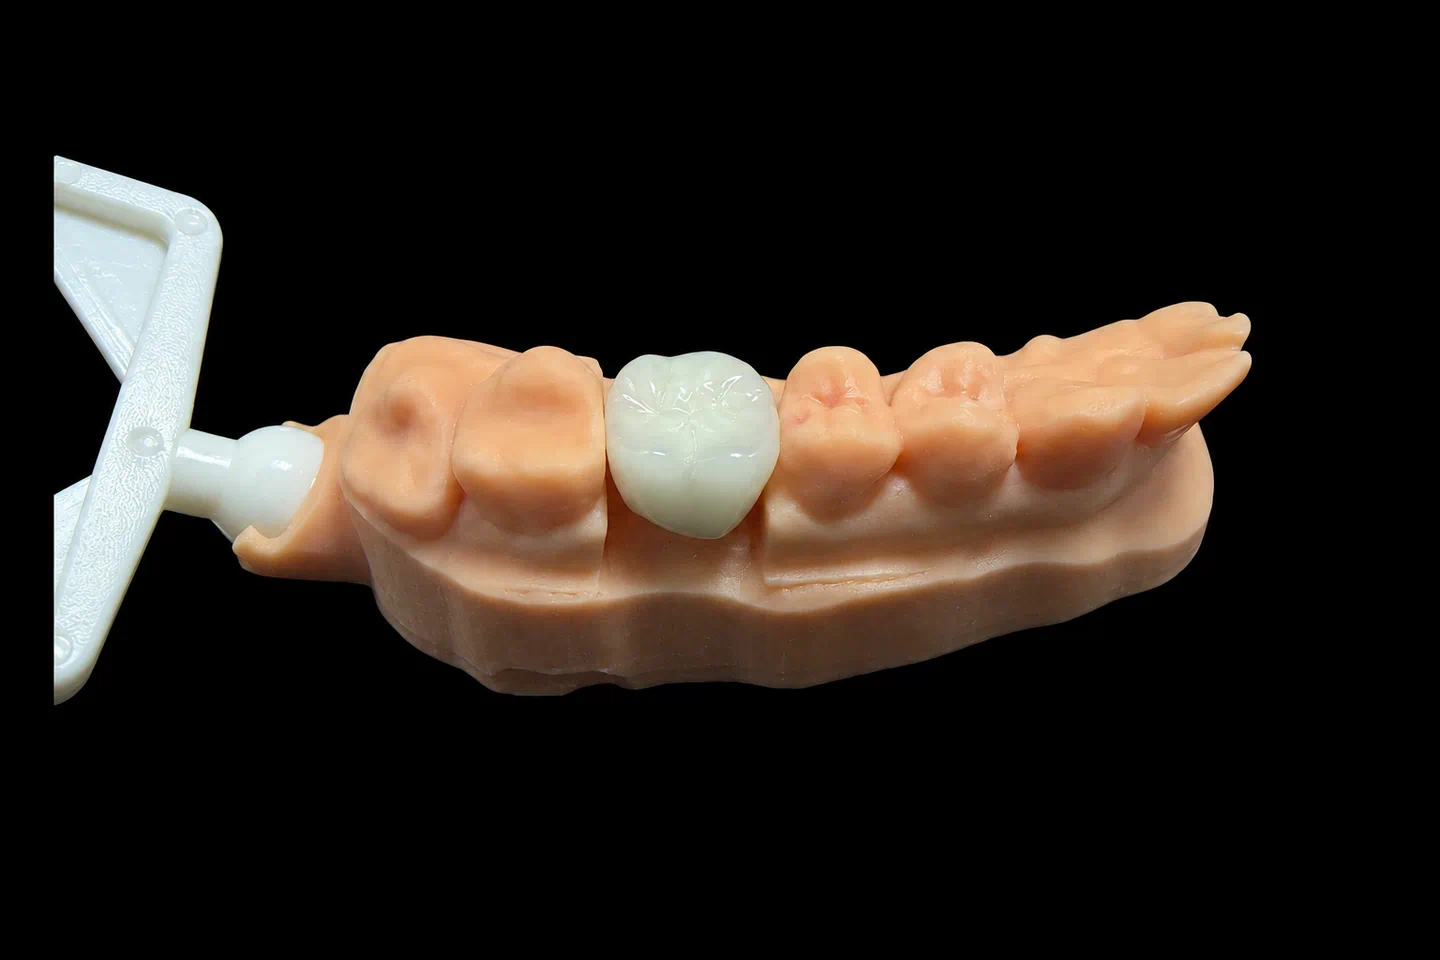
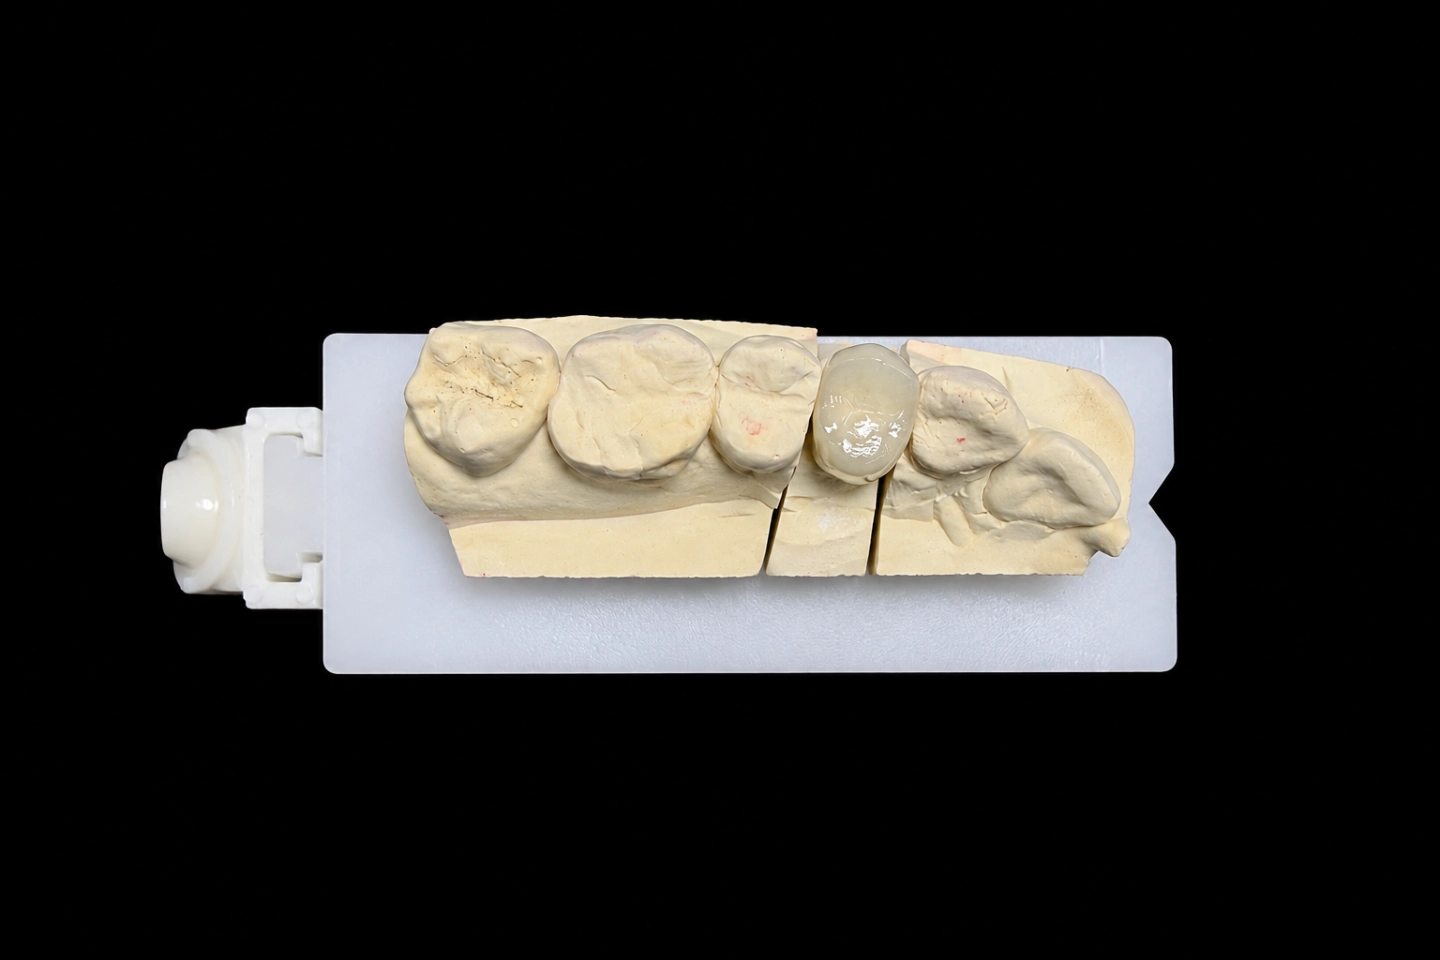
Patient Situation
Everything we needed to know for this premolar PFM crown came from the scan, the photos and the dentist’s notes:
The patient had one clear request: no gray line at the gum .
What the Dentist Asked For
The Rx for this PFM crown premolar case, condensed :
The dentist took the shade at the start of the visit, before prep, because a drying tooth looks whiter. They sent a photo with the tab in frame.
Why this premolar PFM crown wasn't zirconia
The material was the dentist’s call, and it came down to color. With zirconia, a dark stump or an uncoated metal post can show through. With a PFM, the metal coping blocks both, so neither one changes the final shade.
Survival data didn’t settle it. In a review of 4,663 metal-ceramic single crowns, five-year survival was 94.7%, similar to most of the all-ceramic types it looked at.
The Technical Problem in This PFM Crown Premolar Case
Metal at the margin
The coping does a great job on the stump, but a regular metal collar would sit right at the thin buccal gum. Metal collars can make the gum and root surface look darker because less light gets through. That’s the gray line the patient didn’t want.
Less metal means less support
Cutting the coping back solves the color at the margin, but the porcelain there loses its metal backing. In a lab study of collarless crowns, fracture strength dropped as more facial metal came off, and shoulder margins beat shoulder-bevel margins at every cutback.
Even the weakest group stayed above normal biting force. Still, that was a single-load test on a canine shape, with no fatigue testing. So we wanted the shortest cutback that would do the job, on a true shoulder.
What we measured on the scan
Under porcelain, the coping runs 0.3–0.5 mm and a back tooth needs 1.5–2.0 mm of porcelain on top. So we looked for about 2 mm on the cusps . Our technicians read the rest off the scan :
| Area | Reading | Enough? |
|---|---|---|
| Buccal cusp, occlusal clearance | 2.2 mm | Yes |
| Palatal cusp, occlusal clearance | 2.0 mm | Yes |
| Buccal wall reduction | 1.4 mm | Yes |
| Buccal shoulder width, center | 1.1 mm | Yes |
| Buccal shoulder, 2 mm from the mesial contact | 0.7 mm | No, too narrow for porcelain alone |
| Palatal chamfer | 0.5 mm | Yes, for a thin metal collar |
So space wasn’t the issue. The issue was one small stretch of shoulder next to #6.
The Options We Sent Before Making Anything
We sent the dentist a design screenshot with those readings and three ways to build the margin :
| Option | What it means | The trade-off |
|---|---|---|
| A. Porcelain margin on the buccal only | Porcelain between the contacts, thin metal collar on the palatal | Metal stays on the palatal side, where it doesn’t show in a smile |
| B. Porcelain margin all the way around | No metal edge anywhere | The palatal chamfer has to become a shoulder, so the dentist removes more from a root canal tooth and rescans |
| C. Thin metal edge on the buccal | Metal runs to the margin but tapers down | Simplest build and no prep change, but the edge can show if the gum moves |
We can build A or B. We recommended A here, because B takes more tooth for a side nobody sees.
That left the narrow spot by #6. The dentist could widen it and rescan, or we could keep a thin metal edge for that last 2 mm, tucked behind the contact and out of sight from the front. They didn’t want another appointment, so they picked the metal edge and approved the design in our WhatsApp group the same day .
The PFM crown premolar layout we chose has some lab data behind it, too. On 32 extracted premolars, a buccal porcelain-butt margin had a mean gap of 27.93 μm, against 42.43 μm for a lingual feather-edge metal margin on the same crowns. Our palatal side was a chamfer, not a feather edge, so we read that as reassurance, not a prediction.
How We Met the Rx: Making This PFM Crown on a Premolar
Coping design
Metal coping
Our metal department cast the coping from the approved design . Before any porcelain went on, we checked thickness with a caliper, looked at the edges under magnification for flash, and made sure it seated on the printed model without pressing on the gums.
Then it was blasted with aluminum oxide, cleaned ultrasonically and pre-oxidized so the porcelain bonds properly.
Porcelain margin and layering
The porcelain is matched to the alloy’s thermal expansion, a little lower than the metal’s, so it doesn’t end up in tension as it cools.
The technician stopped the opaque short of the margin, so no chalky line shows at the neck. Next came the shoulder porcelain, then the dentin and enamel layers, with extra warmth at the neck to match #4 and #6.
We cap a PFM at three or four firings to keep the shape and color stable, and this one took four, including a margin correction . The shade was checked against an A2 tab under standardized light before and after firing, and the layer recipe went into the case record.
Final checks
Glazing and firing can move things a little, so we rechecked the contacts, bite and margins after the glaze. Then we compared the crown with the approved design, and our QC technician signed it off against the Rx. It shipped in a foam-filled box.
Finished Result of the Premolar PFM Crown
Here’s how this PFM crown premolar case measured up at final inspection:
Try-in feedback
The dentist: the crown seated with no margin or contact changes and needed one light adjustment on the palatal cusp. No metal showed from the buccal side, and the shade sat comfortably between #4 and #6 .
The patient: happy with how the crown blends in a full smile, with no gray line at the gum, and the bite felt normal after the adjustment .
Sending a Similar PFM Crown Premolar Case
Planning a PFM crown on a premolar with a dark stump in the smile? This is how it works with us. For the full range, see our PFM crowns. If the bite is short, we also make a PFM crown with metal occlusal.
Every step happens in our own labs: four of them in Shenzhen and Huizhou, China, with about 460 people. CAD design, metal and porcelain work and QC all run in-house, and metal and porcelain work are kept apart in production. Istar is an FDA-registered establishment, Registration Number 3039441248, which you can check in FDA’s establishment database. The lab runs under ISO 13485.
Got a premolar that needs metal behind the porcelain but can’t show it at the gum? Send us the scan and Rx. We’ll measure the shoulder and send you margin options before we make anything. Send your first case or talk to us.
FAQ
Can I send just one test case?
Yes, single trial cases are welcome. Ongoing partnerships suit a regular case flow best, since international shipping is the big cost on one-off cases.
What can I adjust chairside, and when should I call you?
A slightly high bite is fine to adjust chairside. Polish the spot afterward so the surface stays smooth. If you see cracked porcelain, a crown that won’t seat or an open margin, stop and contact us.
If I've adjusted a crown and it still needs a remake, who covers it?
Usually we do. Send photos and tell us what you adjusted, and we’ll work out the cause with you.
What if the porcelain chips later?
Send photos to your case group. If the crown seated well and only the porcelain chipped, we can often remake it from the original data. For a fit, margin or bite problem, we’ll want a new scan, model or impression.
Do you take rush cases?
Yes, at no extra charge, for clients who send 10 or more cases a month. We guarantee the ship date. The arrival date depends on customs, so we can’t guarantee that.