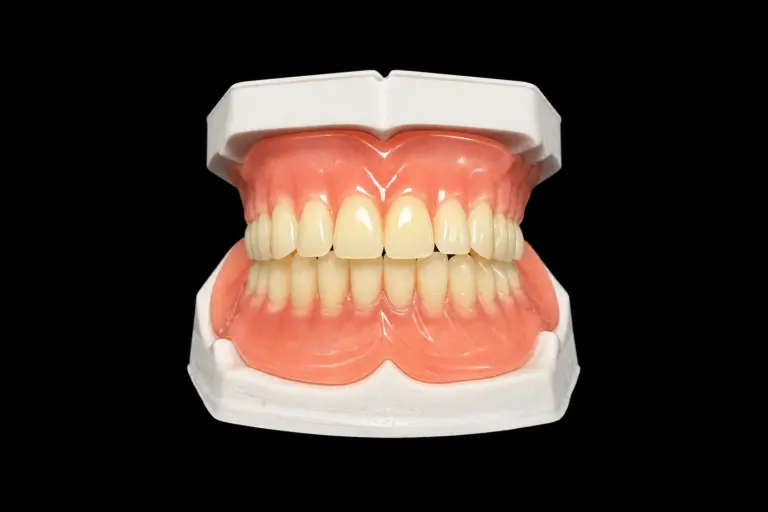
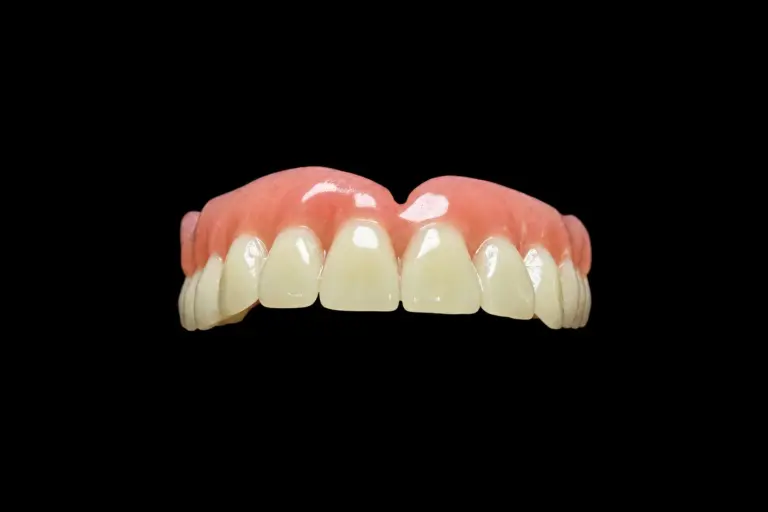
The patient
A 38-year-old man, fell during a game, split the upper right central incisor (#8) vertically through the root. The crown couldn’t be saved.
The plan ran in three steps:
That’s five to six months between the extraction and the crown. He works with clients. An empty anterior space for half a year wasn’t on the table.
What the dentist asked for
A temporary tooth after extraction is usually a flipper or an Essix-type shell, and it gets its support from the neighbouring teeth and the mucosa over the ridge. This ridge had graft under it and couldn’t take load. The instruction came as one sentence with three parts:
Three requirements, one consequence: this isn’t one prosthesis for one case. It’s two, sequenced.
How we built it
Stage one: the relief is the job
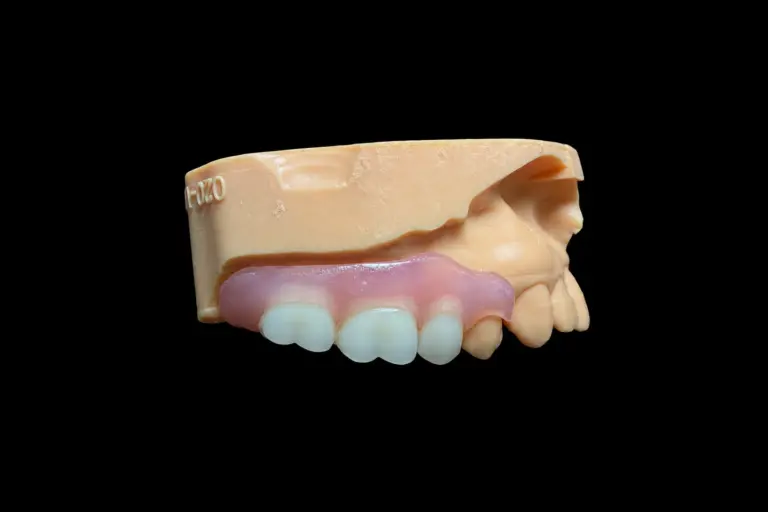
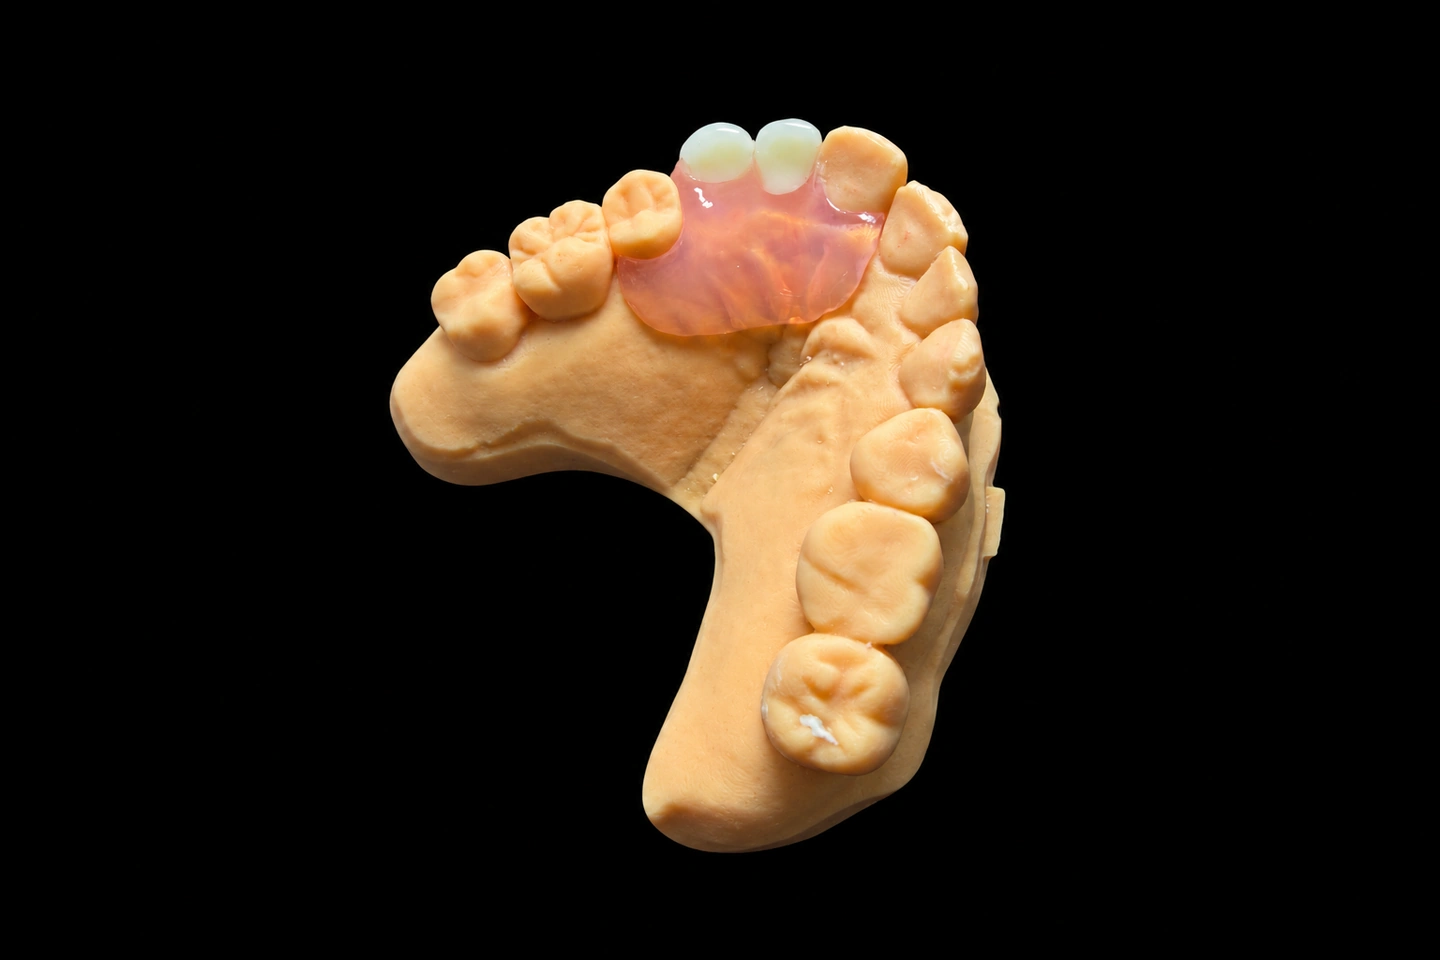
Removable Essix-style shell, acrylic pontic in the edentulous space.
The graft footprint gets marked on the model first. Then the intaglio surface over it is hollowed out, so the part bridges the site instead of sitting on it.
The cut isn’t difficult. The border is. If the graft outline sits two millimetres off on the model, the relief lands beside the site it was cut for and the part does nothing.
Turnaround, stage one
| Step | Time |
|---|---|
| Impression received and checked | same day |
| Model poured, graft relief area marked | same day |
| Tooth set-up, design | 1 day |
| Resin processed (heat or light cure) | 1 day |
| Trim, polish, fit check | 1 day |
| Total | 3–4 days |
Three to four days from inbox to outbox, so he wears it inside a week of the extraction.
Stage two: why it gets remade
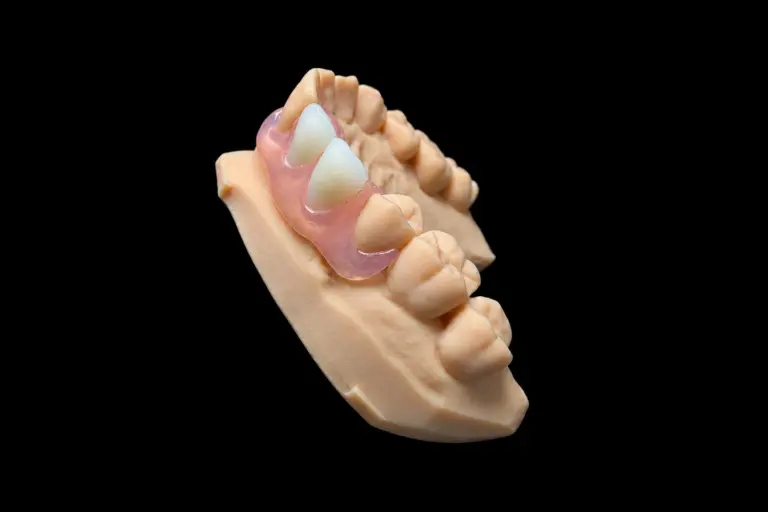
Once the implant is in and the healing abutment is fitted, the space is different. The first part was built to a socket. The abutment occupies volume the socket didn’t have, and trimming doesn’t recover it — the interference sits in the base of the prosthesis, not at the contact surface. The literature treats this phase as its own prosthesis problem, separate from the one at extraction (Temporary prostheses following implant surgery).
So the case goes back for a new impression with the abutment in place, and a new part is built to it.
| Step | Time |
|---|---|
| New impression, abutment captured | at the chair |
| Model poured, abutment clearance designed | same day |
| Tooth set-up, design | 1 day |
| Resin processed | 1 day |
| Trim, polish, fit check | 1 day |
| Total | 2–3 days |
Two to three days the second time. Same workflow, different priority: on this one, clearance around the abutment decides whether the part is usable at all.
Why the design holds
1. The socket doesn't rebuild at one rate
Weeks 0–8 produce woven bone — low strength, sensitive to mechanical load. Remodelling into mature bone runs from about week 8 to week 12 (Current Knowledge on the Healing of the Extraction Socket). A part that presses through the relief isn’t just uncomfortable; it loads a site that is still building, and the bill arrives later as implant stability.
2. Abutment clearance is a number, not a feel
Healing abutments commonly come at 3.5 mm or 4.5 mm diameter and stand proud of the gingival margin. The new part needs 0.5–1 mm around that.
Below it, the base bottoms out on the abutment and the part lifts at the margin. Above it, the margin stops sealing and the gap collects debris, which irritates the mucosa. Both failures are sub-millimetre, and neither shows up by eye on the bench — they come out of model accuracy and hand finishing.
3. Material
Thermoplastic shell, acrylic pontic. Three properties had to be true at once:
A bonded provisional looks better, but this case needed a part change at the midpoint, and repeated bonding and removal takes enamel off the neighbours. Immediate resin provisionals after extraction belong to the same family, with the same short fabrication window (Acrylic tooth splint — an immediate provisionalisation following tooth extraction).
Design targets, and what actually happened
A week after delivery he said he forgot it was there.
At week six the abutment went on, the first part came out and the second went in. He stopped thinking about that tooth.
The final crown closes the sequence. Until then, those two provisionals were doing the job a tooth does.
What this case actually asked of the lab
Two parts, three decisions.
Send the impression with those three and we’ll sequence the case the same way.