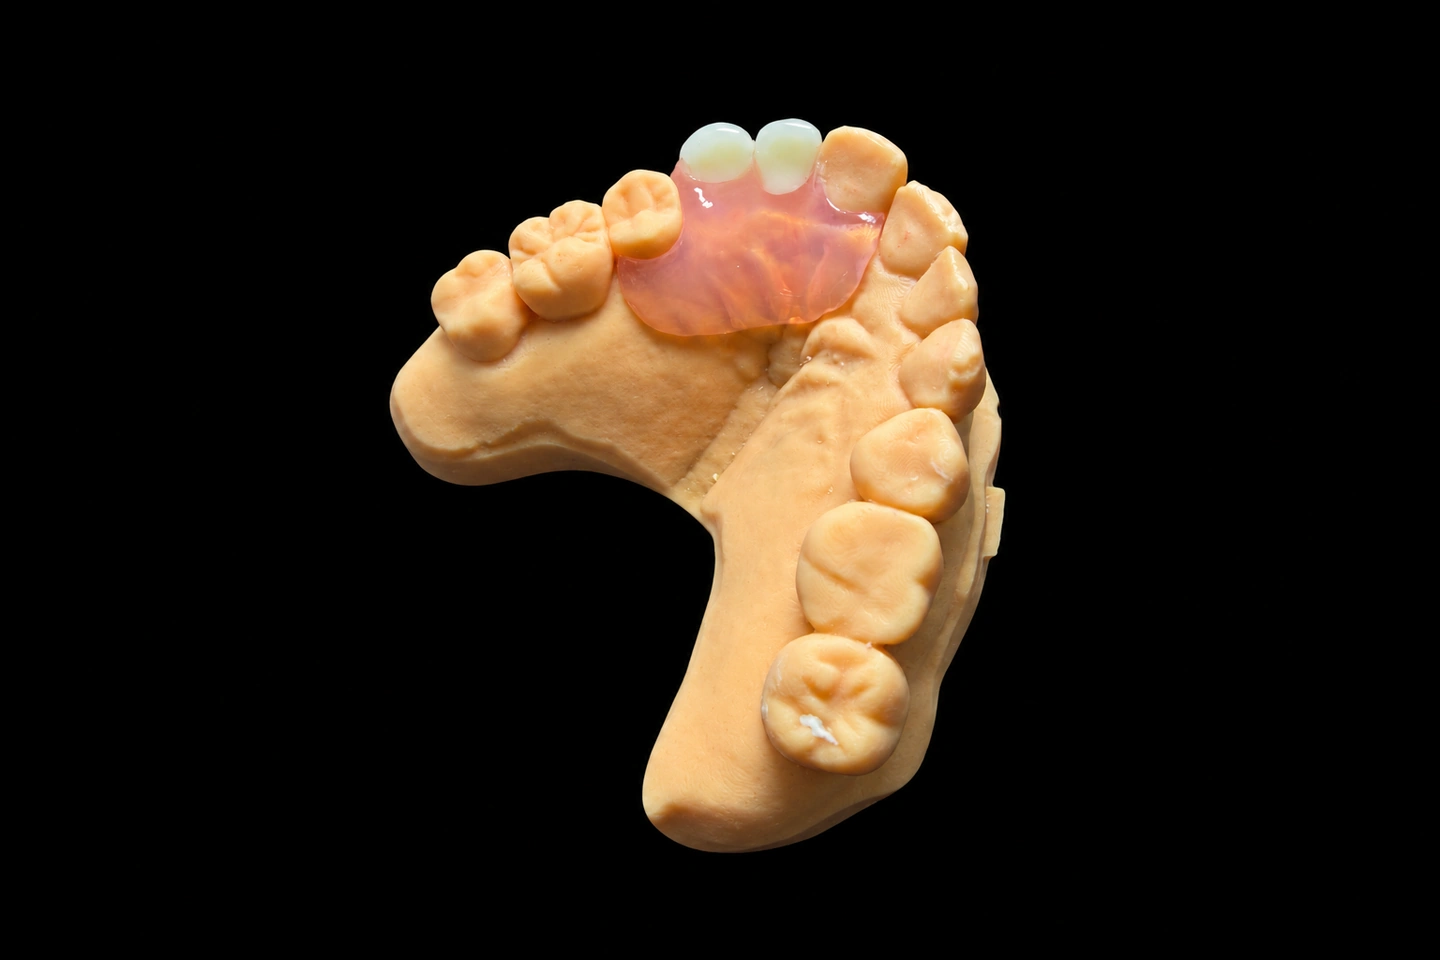
Patient Situation
The patient lost #15 about five years ago and #14 about 18 months ago . Chewing had moved to the right side. The dentist went over implants, which would’ve needed a sinus graft, and leaving the gap alone, since no treatment is one of the options the American College of Prosthodontists (ACP) lists. The patient wanted the chewing side back and said no to surgery .
Here’s what mattered once the records for these partial dentures for back molars reached us:
The Rx for This Partial Denture for 2 Back Molars
The Rx listed six points :
Why We Stopped Before Designing These Partial Dentures for Back Molars
The survey left little to hold on with
Points 2 and 4 pull against each other. Take away the other side of the arch and the buccal arm on #13, and retention has to come from whatever undercut is left:
| Tooth | Usable undercut | Where | What it meant |
|---|---|---|---|
| #13 | 0.25 mm | Mesiobuccal | Works for a bar clasp from the gum side |
| #12 | 0.10 mm | Distobuccal | Not much of a clasp, and it’s in the smile too |
| #3 | 0.25 mm | Distobuccal | Works, but only if the framework crosses over |
| #2 | 0.25 mm | Mesiobuccal | Same |
Nothing behind the gap
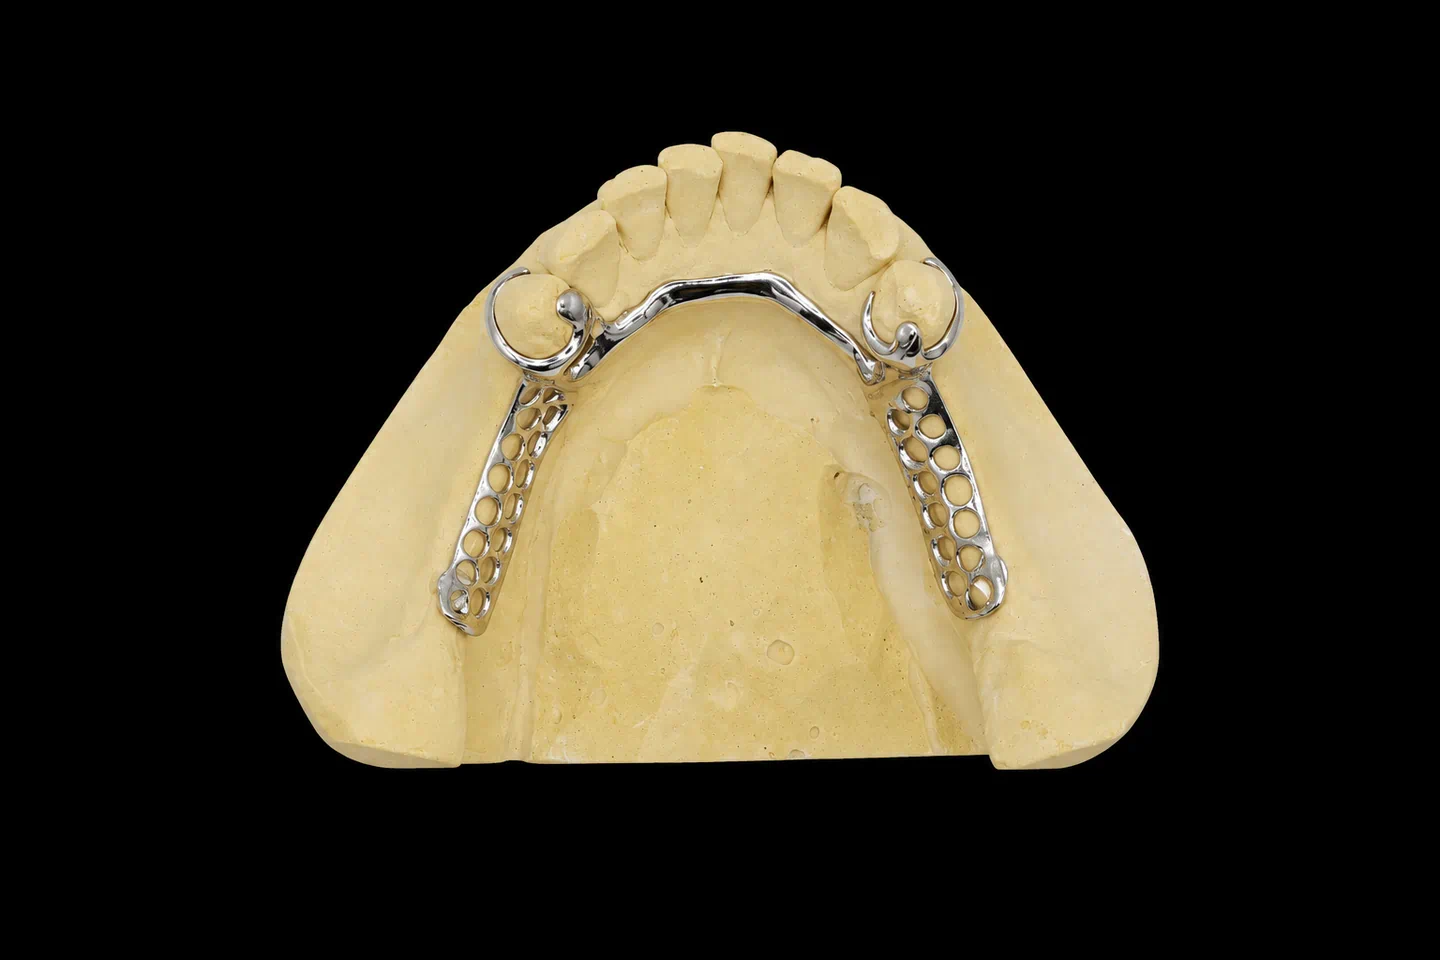
With no tooth past #14, the base rests on the ridge. Under load it sinks into the tissue while #13 stays put, so the partial wants to turn around that tooth. A Class II design calls for a rigid major connector and a base carried as far as it can go. A one-sided piece doesn’t have a major connector to speak of.
A small partial that comes loose
Our one-sided layout came out about 32 mm long . That size is what makes small partial dentures for back molars appealing, and what worries people. The ACP calls Nesbit-type single-tooth partials generally contraindicated because of aspiration risk. This case replaces two teeth, so that line isn’t a direct match, but the concern carries over. Swallowing is on record with one-sided partials too.
It isn’t all one way, though. In a 34-patient study, one-sided wearers rated their partials higher than two-sided wearers, and five-year survival was about the same. It’s a small study, the groups weren’t evenly matched, and most cases were lower arch. Still, the patient’s preference was a real one, and we weren’t going to wave it off.
The Call With the Dentist
Choosing the design of partial dentures for back molars isn’t our job. Laying out what each option costs is. We emailed both layouts with the survey readings and then talked it through :
| One-sided, as written | Narrow strap across the palate | |
|---|---|---|
| Palate coverage | None | One strap, about 10 mm wide |
| Retention | #12 and #13 only | #13 on the left, #2 and #3 on the right |
| Resisting rotation | Almost nothing on the far side | Rests on the far side, plus indirect retainers |
| Load on #13 | Carries most of it | Shared across the arch |
| New rest seats | None | #2, #3, and #5 |
| Gag risk | Lowest | Unknown until try-in |
The dentist talked to the patient, and they agreed on the strap, on one condition: if the patient couldn’t tolerate it at framework try-in, they’d stop and rethink before any teeth went on . So Rx point 2 changed, and the try-in became the real test.
That’s how we handle any design we think is risky. We tell you why and ask what you’d like to do. Want to change it? We change it. Still want it as written? We’ll make it to your Rx, but problems that come from that design, remakes included, are on the prescriber’s side and not covered by us.
How We Met Each Requirement
Holding it still with less metal (points 1 and 4)
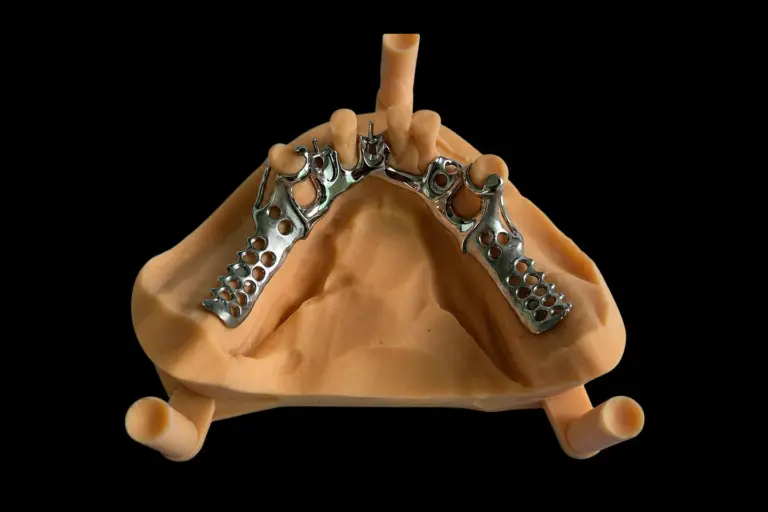
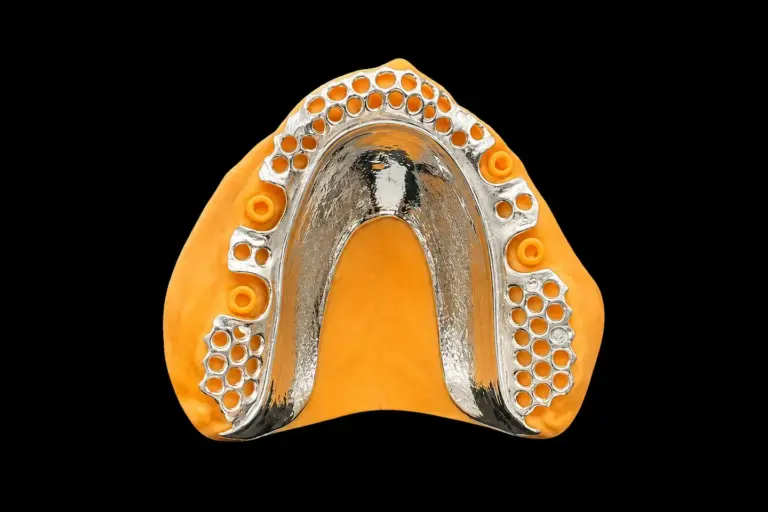
The layout for this partial denture for 2 back molars follows a standard maxillary Class II design, fitted to this mouth:
The dentist cut the new seats on #2, #3, and #5 from our marked screenshot and sent a new VPS upper impression and bite .
Keeping the strap out of the way (point 2, as revised)
The strap crosses straight over at the second premolar to first molar level, stays at least 6 mm off the palatal gum margins, and has thin, tapered borders . We kept it as far forward as the #2–#3 connection allowed, since the back of the palate was the worry . Partial dentures for back molars sit under a lot of chewing load, so thinning the middle wasn’t an option.
Teeth and bite (points 3 and 5)
Mesh runs over the ridge from behind #13 back through #15, and the base carries on over the tuberosity with a short buccal flange . We set both teeth to #18 and #19 on an articulator mounted from the new bite, and left the height alone .
How We Made This Partial Denture for 2 Back Molars
Stage 1: Design approval and framework
The framework try-in
The whole plan for this partial denture for 2 back molars hung on this visit. The framework seated without force. The dentist pressed down over the mesh and nothing lifted at #5 or #12 .
Then the patient wore it in the chair for about 20 minutes . No gag. One comment: the back edge of the strap could be felt on swallowing . The dentist marked it and took a VPS bite on the framework .
Stage 2: Wax try-in
We thinned and rounded that edge by about 0.2 mm and checked it against the connector section we’d approved. Both teeth went on in wax, and it shipped on working day 3 .
The dentist checked tooth position, speech, and stability. One note came back: the #15 tooth touched first when the patient moved to the left . We took that contact down on the articulator.
Stage 3: Processing and final inspection
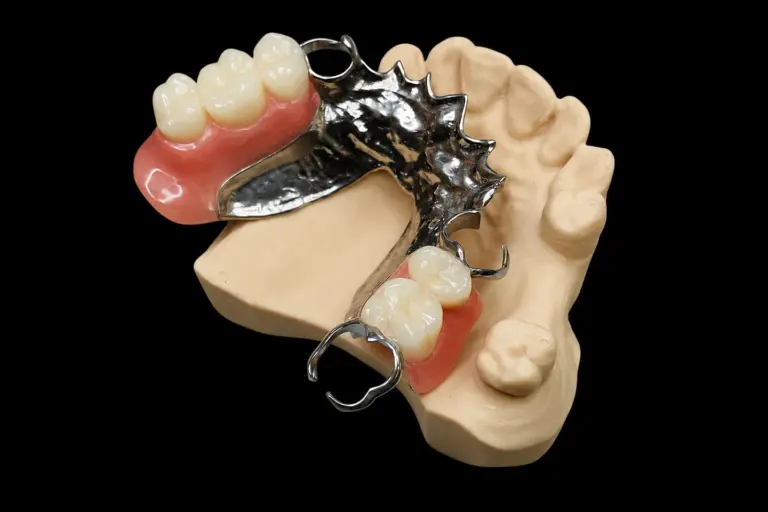
The Finished Partial Dentures for Back Molars
Dentist and patient feedback after delivery
The dentist
This partial denture for 2 back molars seated at the first appointment, and the clasps and rests needed no chairside changes . The only follow-up was easing one pressure spot on the buccal flange at the one-week check . The dentist’s main takeaway was that sorting out the palate question before design meant no surprises later .
The patient
At two weeks, the patient was wearing it through the day and chewing on both sides again, with no gag trouble . Some words felt a little odd for the first few days, and that eased off . The strap’s back edge no longer stood out on swallowing .
What the dentist explained
The dentist went over what partial dentures for back molars won’t do :
It’s narrow, not invisible to the tongue, and the patient will know it’s in.
In a very wide smile, the tip on #13 may catch the light.
There’s no evidence for a fixed reline schedule, so the dentist checks retention, fit, and bite at recall and decides then.
The ADA says never to bite a partial into place, since that can bend or break the clasps.
Sending Us Partial Dentures for Back Molars
Most metal-framework partial dentures for back molars take 5–7 working days in the lab, and simple ones 2–3. Design approval on a complex framework adds 1–2 days.
Who Made It
Istar Digital Dental Lab has been making dental restorations since 2012, with about 460 staff across four labs in Shenzhen and Huizhou, China. About 55 of them work in the removable department and about 25 in QC. Nothing is outsourced. The removable line handles about 4,000 cases a month in a normal season and about 6,500 at peak.
Istar Digital Dental Lab is an FDA-registered establishment (Registration Number 3039441248), which you can look up in the FDA establishment registration database. Our labs run an ISO 13485 quality management system, and custom-made dentures for EU clinics follow the MDR custom-made device procedure. You’re welcome to visit the factory or book a video tour.
Partial Dentures for Back Molars FAQ
What other framework materials can we pick?
Vitallium alloy and pure titanium, alongside our standard cobalt-chromium. For a patient with a cobalt or chromium sensitivity, ask about titanium dentures. We don’t swap materials without your okay, and proof of composition and batch is available on request. The full range is on our metal dentures page, and upper designs are on upper metal dentures.
Would flexible or acrylic partial dentures for back molars work instead?
Sometimes. We make flexible partials too, but they’re a poor match for heavy chewing load or large coverage. In one cross-sectional study of 240 older patients, cobalt-chromium users bit harder than PMMA or Valplast users, though patients weren’t randomized and all had back teeth missing on both sides. Send us the case and we’ll talk it through.
Can we order just the framework for a partial denture for 2 back molars?
Yes. We ship the finished framework, and your team sets and processes the teeth. Clinics with an in-house lab and labs outsourcing the metal stage both do this. Other designs are on our partial dentures page.
Can you use attachments instead of clasps?
Yes, we accept partials with precision attachments. Whether the abutments get crowns is your call. Write the system, type, and size on the Rx, and we’ll order parts to that spec.
Can you add a tooth later?
Usually, yes. We add denture teeth using resin of the same type and strength-test each repair before it ships. If the framework’s involved, send photos first and we’ll tell you whether a repair or a new framework makes more sense.
What does the warranty cover?
One year on the whole partial, framework included. Lab-caused problems, like a partial that won’t seat, lifted borders, an off bite, or a poorly placed clasp, get adjusted or remade free. If you change the basic requirements, or ask us to go ahead on an impression we’ve flagged as unclear, the remake is charged. You pay to send the case in, and we pay to ship finished work back, remakes included.
Can you rush partial dentures for back molars?
Rush is free for clients who send us 10 or more cases a month, for any material or case type. We guarantee the ship date. We can’t guarantee arrival, because customs times vary.
How does pricing work?
We don’t publish prices on the website. Ask for our price list, and we’ll quote each case item by item. Single trial cases are welcome, and ongoing partnerships suit clinics with a regular case flow.
Got a Partial Denture for 2 Back Molars Coming Up?
Send the Rx and both arches, even if you already know the design you want. We’ll survey it, send you the layout before we make anything, and tell you straight if something in it worries us.