The Patient Situation
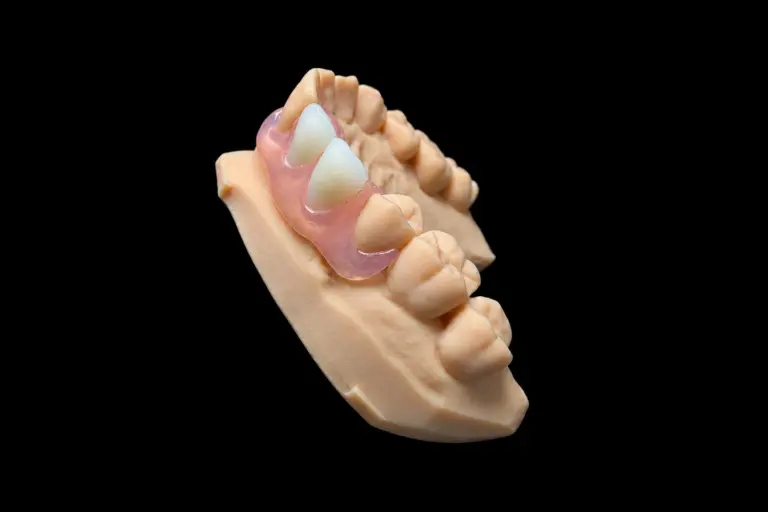
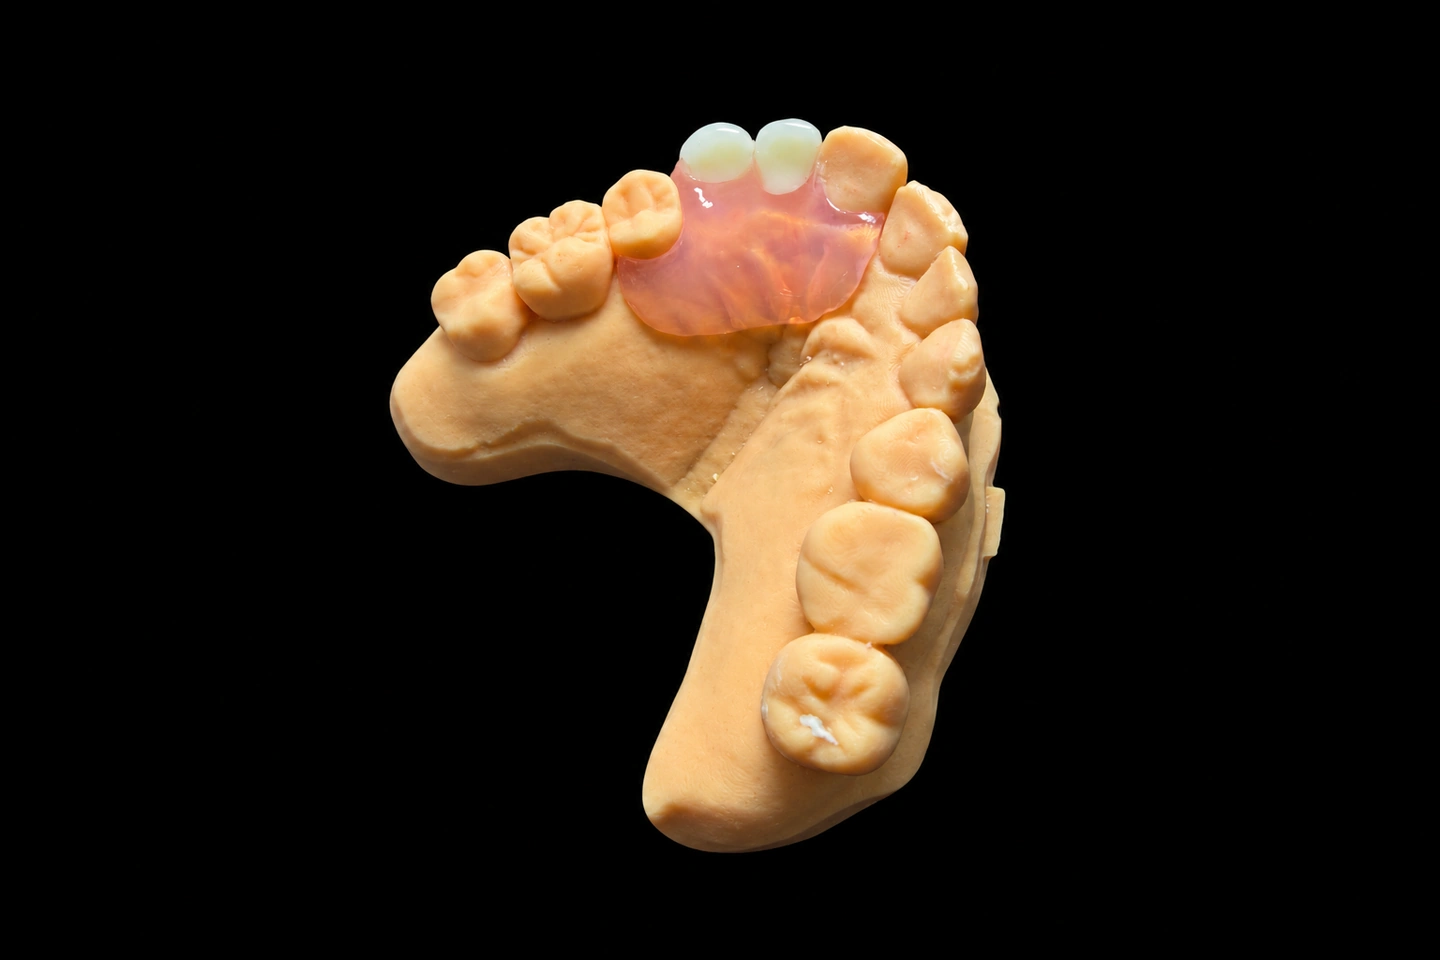
A 34-year-old patient had tooth #9 (upper right central incisor) extracted two weeks prior. The extraction site was still healing. The dentist prescribed a single-tooth interim removable partial denture—commonly called a dental flipper—to address the anterior esthetic gap while the patient waited for implant placement in 4–6 months.
The clinical variable that mattered most: the extraction socket wasn’t ready for direct pressure. Teaching material on the interim RPD is blunt about the failure mode — a poorly designed or over-worn appliance traumatises the soft tissue underneath it [1]. When that tissue is a healing graft or an implant site, the pressure itself can damage it [2].
This wasn’t a “make it pretty” request. It was: keep the patient from looking like they’re missing a front tooth, but don’t touch the socket.
What the Dentist Asked For
The Rx came through our digital case portal with:
That last line is the one we read twice. “May wear” doesn’t mean “should wear all day.” It means the treating clinician will decide when and how long based on how the tissue responds. Our job was to make sure the appliance physically could be worn without pressing on the socket when the doctor said it was okay.
What the Rx didn’t spell out—but we needed to figure out anyway:
The Design Decision We Had to Make
We loaded the scan into our CAD software and immediately saw the issue: the edentulous ridge at #9 still had the socket contour visible. If we simply designed an acrylic base to follow the tissue, the appliance would sit directly on a healing wound.
Here’s the call we made:
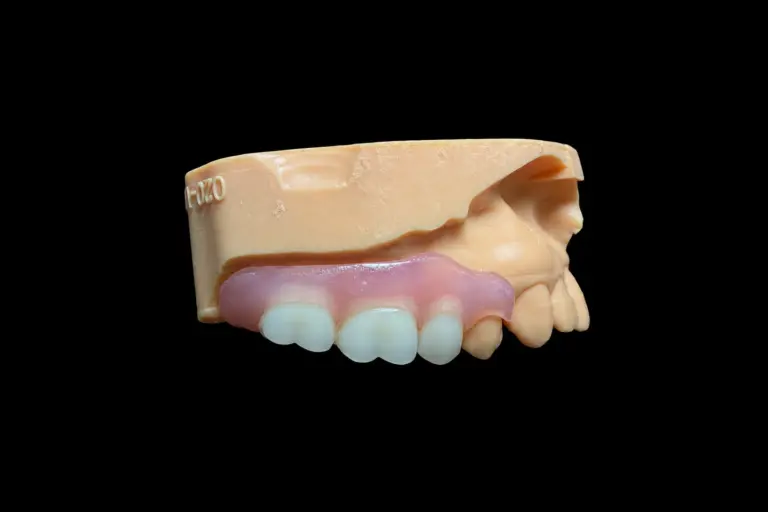
We created a 2.0 mm tissue-side relief over the entire #9 socket area, extending 3 mm mesial and distal to cover the adjacent interdental papilla zones. The relief depth was measured perpendicular to the ridge surface—not a guess, but a dimension we could write into the digital file and verify on the printed model.
Why 2.0 mm? No published figure tells you how deep relief should be over a healing socket — it’s a case-level decision, and any lab quoting you a standard number is quoting a habit. What constrains it is geometry and material. Acrylic RPDs have to be bulky enough to be strong; the material is inherently thicker and more tissue-covering than a cast framework just to reach comparable rigidity [3]. So you cannot simply thin a narrow anterior span to buy clearance. And the base should stop clear of the gingival margins rather than creep onto them [3].
Below about 2 mm, we’d be taking out more resin than we’re willing to from a span this narrow. We set 2.0 mm, wrote it into the digital file, and told the dentist it was a proposal with a number attached — not a standard.The tradeoff: reducing tissue contact in the anterior region means the appliance relies more on palatal coverage and the ball clasps at #7 and #10 for retention. We extended the palatal connector slightly and added a light ball clasp at each abutment tooth. The patient would need to understand that this isn’t suction retention — it’s a mechanical path of insertion that depends on undercut engagement, with the clasps doing the work and saliva cohesion only helping [3].
How We Built It
Materials
- Base: Heat-cured PMMA acrylic resin (Ivoclar IvoBase)
- Prosthetic tooth: Prefabricated acrylic central incisor (VITA Physiodens, shade A2)
- Gingival shade: Standard light pink base resin
Workflow
- Digital design (Day 1):
- Designed the base outline, connector width, and clasp positions in CAD
- Applied the 2.0 mm relief zone at #9 socket
- Positioned the replacement tooth to match the contralateral #8 in width, length, and incisal edge
- Sent the design rendering back to the dentist via WhatsApp group for confirmation before fabrication
- Approval & adjustment (Day 1, 4 hours later):
- Dentist confirmed design but requested we extend relief 1 mm further distally to ensure no contact with #10 papilla during initial wear
- We revised the file and printed the working model
- Fabrication (Day 2–3):
- 3D-printed the working model with the relief built in
- Set up the prosthetic tooth in wax, flasked, packed PMMA, cured per manufacturer protocol
- Deflasked, finished borders, polished
- Key step: We intentionally left the tissue surface in the relief zone unpolished so the dentist could verify the clearance visually and feel that no contact was made
- Quality check (Day 3):
- Verified the replacement tooth’s shade match under natural light
- Confirmed occlusion: light contact in maximum intercuspation, no interference in protrusive or lateral excursions
- Checked clasp engagement—passive insertion with tactile retention
- Measured relief depth with a digital caliper at three points (all within 1.95–2.05 mm)
Lab time: 3 working days from scan receipt to shipping. What we shipped: the finished appliance, the printed model (so the dentist could see the relief on a stable reference), and a one-page spec sheet listing the relief dimensions and clasp positions.
What We Delivered
The appliance did:
What Happened After Delivery
The dentist reported back 10 days later (this is not standard—most cases we never hear about unless there’s a problem):
That last point is worth noting. Even when the base sits inside a thickness we’d normally call acceptable, individual tolerance varies. The dentist made a quick adjustment with a bur, and the patient adapted. That’s not a defect in the appliance — it’s what removable prosthetics cost in chair time.
The Lesson for Other Labs—and for Dentists Ordering from Labs
If we had made this appliance without the relief, the patient would have experienced soreness or the dentist would have had to relieve it chairside. Relieving acrylic by hand is imprecise, and it’s easy to thin the base too much or create an uneven surface that traps debris.
What made this case work
- The dentist told us the socket was healing and specified relief. We didn’t have to guess.
- We asked for approval on the digital design before fabrication. That 4-hour delay on Day 1 saved a remake.
- We measured and documented the relief. When the dentist asked “how much clearance did you leave?”, we could answer with a number, not “we gave it some space.”
If you’re a dentist ordering an interim partial for a post-extraction case, here’s what helps us deliver what you need:
About Interim Partial Dentures
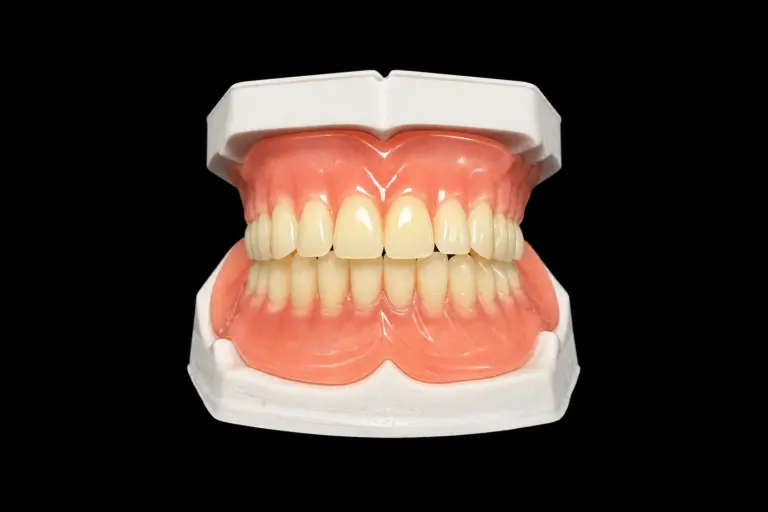
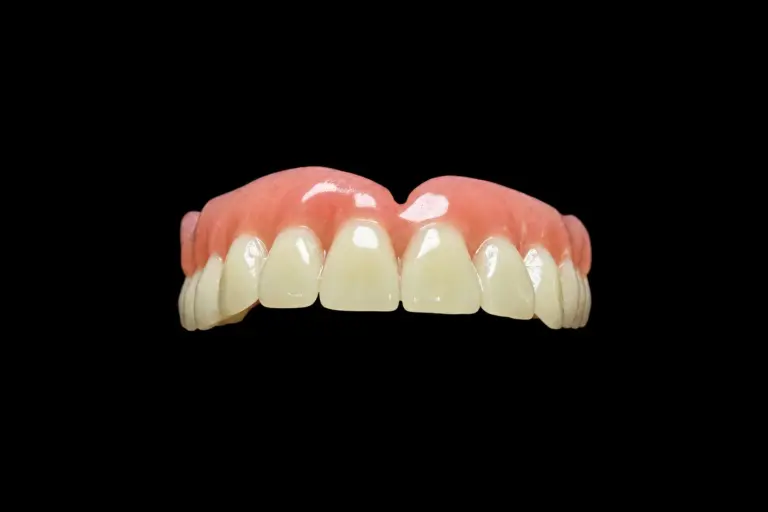
A dental flipper is an informal term for a removable partial denture, typically with an acrylic base and one or more prosthetic teeth. The nickname is usually traced to the way a small appliance can be flipped in and out with the tongue [1]. It’s commonly used as an interim appliance while a patient waits for implant placement, bridge preparation, or other definitive treatment. Clinical teaching sources distinguish “interim,” “transitional,” and “treatment” RPDs based on intended use and duration [1], but in practice, many dentists and patients simply call it a flipper when it’s a small, temporary acrylic partial.
Common uses
- Anterior esthetic replacement after extraction or trauma
- Space maintenance during orthodontic treatment or growth in adolescents
- Short-term prosthesis during implant healing
When healing tissue is involved
A flipper can be worn during healing, but it should not press on the extraction socket, graft, or implant site. Pressure can damage a healing graft or implant [2]. The treating clinician assesses when and how long the patient may wear it. Relief design is not optional in these cases—it’s a clinical requirement.
Materials
Most dental flippers use heat-cured, auto-cured, or milled PMMA (polymethyl methacrylate) for the base. Flexible thermoplastic bases (polyamide/nylon) are also available, but they behave differently: a 2024 literature review found retention was better with PMMA, and that flexible bases scored lower on surface roughness, hardness and impact strength [5]. In our own work they also deform more easily and are harder to reline or repair, which is why we don’t offer them as a default for anterior interim cases [6]. At Istar Digital we use heat-cured PMMA as standard and can supply flexible options when the case calls for one.
Why This Case Matters to Us
We make thousands of crowns, bridges, and dentures every month. Most of them follow standard protocols. This case required a decision: how much clearance, and where does it stop?
We made that call, documented it, got it approved, and verified it before shipping. The patient could wear the appliance during healing without pain, and the dentist didn’t have to spend chair time grinding out relief by hand.
That’s what “translating clinical intent into fabrication parameters” actually means. It’s not about making the appliance look good in a photo. It’s about making sure the thing we ship can actually be used the way the dentist prescribed it.
If you’re a dentist or lab looking at this case and thinking “I need to know how they decided 2.0 mm”—the honest answer is: we referenced the typical thickness range from teaching literature, chose the conservative end, built it into the digital file where it could be measured, sent the design for approval, and documented the final dimension. That process is replicable. The specific number might be 1.5 mm or 2.5 mm in another case, but the workflow stays the same.
How to Order a Case Like This from Istar Digital
If you’re a dentist or lab and you need a dental flipper with healing-site relief:
We’ll design it digitally, send you a rendering for approval, and fabricate after you confirm. If the case is urgent, we can prioritize it in our removable denture production line (normal capacity is roughly 4,000 cases a month, rising to about 6,500 in peak season) [6].
Turnaround: 3–5 lab days for standard interim partials. Rush cases can be accommodated—contact your account manager.
Materials available
- Heat-cured PMMA (standard)
- Auto-cured PMMA
- Flexible thermoplastic (Valplast-type; limited adjustability)
- 3D-printed denture base resin (if you provide validated workflow)