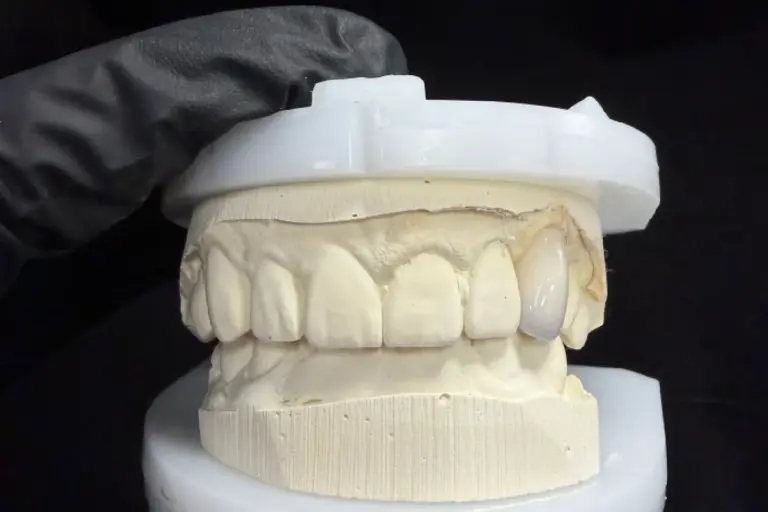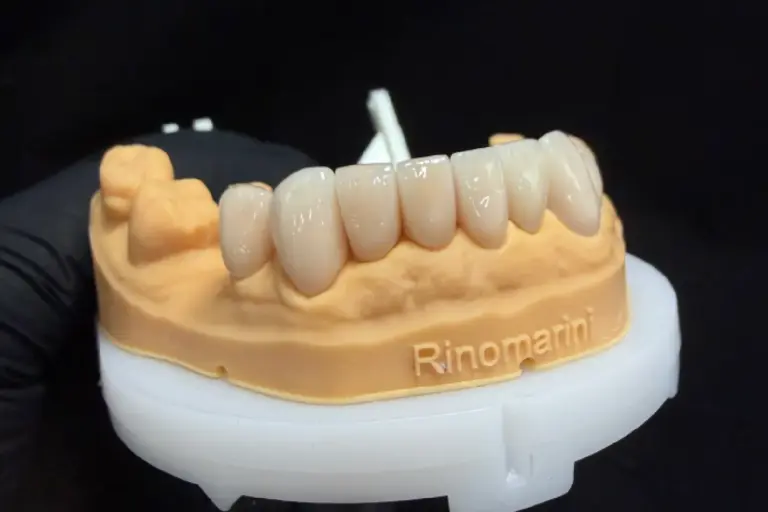
Cementing veneers is really adhesive bonding. A thin ceramic shell on a prep with almost no retention form stays put only because resin cement locks onto both the tooth and the ceramic. Most of the decisions in that chain depend on the veneer itself: which ceramic it is, how thick and translucent it is, and what stump it has to cover.
Here’s how to work through those decisions when cementing veneers, from try-in to final polish. The product times quoted come from manufacturers’ instructions for use (IFUs), and they differ from system to system. When they disagree with anything here, the IFU for the exact products on your tray wins.
Cementing Veneers Means Bonding Them
Conventional cements hold a crown mainly through the prep’s retention form. A veneer prep has very little, so retention has to come from adhesion: etched enamel on one side, a treated and primed ceramic surface on the other, and an adhesive resin cement in between. That’s why glass-ceramic and zirconia veneers alike go in with adhesive resin cement.
Glass ionomer and resin-modified glass ionomer are not a shortcut here. As Dr. Gordon Christensen points out, RMGI cements are relatively opaque, bond poorly to enamel and can expand enough on setting to crack weaker ceramic.
The tooth side matters as much as the cement. In a 2024 systematic review of ceramic veneers on different substrates, veneers bonded to enamel showed about 99% survival and success, against 91% survival and 74% success where dentin exposure was severe. Good veneer cementation can’t fully make up for a prep that left little enamel.
Know the Veneer Before You Open the Cement
Four facts about the veneer set the rest of your veneer cementation protocol. Check them before anything is etched.
The Ceramic
Glass ceramics, such as pressed e.max and feldspathic porcelain, are etched with hydrofluoric acid (HF) and then silanated. Zirconia has no glass phase to etch, so it’s air-abraded and primed with MDP instead. Composite veneers follow their own maker’s protocol.
Thickness and Translucency
These decide how much curing light reaches the cement, and that drives the choice between light-cure and dual-cure cement and how long you cure. If you’re unsure how thick a veneer is, measure it with a caliper before you choose.
The Stump Shade
A thin veneer can’t hide much on its own. On a dark or discolored stump, the masking has to be built into the ceramic, and the cement shade only fine-tunes the result. So the lab needs the stump shade before the veneer is made, not after.
What the Lab Already Did
If the intaglio was HF-etched at the lab, don’t etch it again chairside; clean and prime it instead. If you don’t know, ask before you reach for the HF.
Try-In: Check Fit and Shade Before Any Etching
Remove the provisional and clean the prep with pumice and water. Take off every trace of temporary cement, because eugenol-containing materials can inhibit resin polymerization.
Try each veneer in dry first and check seating, margins and contacts. Then seat the whole set together at least once: contacts that feel right one veneer at a time can bind when the neighbors are in place. Look at each veneer under magnification for cracks, which thin glass ceramic can pick up during try-in.
For shade, use the water-soluble try-in paste from the same system as your cement and rinse it off completely afterward. Turn the operatory light away when you judge the shade, since its glare washes out translucency.
Leave occlusal adjustment until after bonding. An unbonded veneer is thin and fragile, and it only gains its full strength once it’s bonded to the tooth.
When to Stop and Call Us
Some problems can’t be fixed with cement. If a veneer won’t seat fully, shows an open margin or has a crack, don’t bond it. A thicker cement layer won’t close a gap, and pooled resin can stop a veneer from seating any further.
Send photos to your case’s WhatsApp group. If the problem is fit or margins, we’ll usually need a new scan or impression. A veneer that fits but has cracked can often be remade from the original data.
Treat the Intaglio for the Ceramic You Have
Cementing e.max Veneers: 20 Seconds of HF, Then Silane
Lithium disilicate is stronger than feldspathic porcelain and contains less glass, so it needs a shorter etch. For IPS e.max Press and CAD, Ivoclar’s Variolink Esthetic LC instructions call for 5% HF for 20 seconds. A study of HF concentration and etching time on e.max Press found 5% for 20 seconds to be the minimum for proper bonding, with no gain in bond strength from stronger acid or longer etching.
When cementing e.max veneers, the etch time is the number most worth double-checking, because over-etching costs strength. In a lithium disilicate study, flexural strength fell steadily as HF exposure rose from 20 to 180 seconds. Some systems use a stronger acid for an even shorter time. BISCO’s Choice 2 guide, for example, uses 9.5% HF for 15 seconds on lithium disilicate. Follow one system’s instructions from start to finish, and never pair one brand’s acid with another’s timing.
After etching, rinse thoroughly, dry with oil-free air and apply a silane or a universal ceramic primer such as Monobond Plus, which Ivoclar has you leave for 60 seconds before air-dispersing. Monobond Etch & Prime is an alternative that etches and silanates in one step. Use it instead of HF plus silane, not on top of them.
Don’t sandblast e.max to clean or roughen it. In one flexural strength study, alumina abrasion at 100 kPa and above significantly weakened e.max CAD.
Feldspathic Porcelain: Longer Etch, Same Logic
Feldspathic and leucite-reinforced glass ceramics contain more glass and take a longer etch. Ivoclar’s protocol uses 5% HF for 60 seconds for IPS Empress, and the BISCO guide uses 9.5% for 90 seconds for feldspathic porcelain. An e.max time will under-etch feldspathic porcelain, and a feldspathic time will over-etch e.max. Silane follows, as with e.max.
Zirconia Veneers: Abrade and Prime With MDP, Never HF
HF does nothing useful on zirconia , because there’s no glass phase to dissolve. Pretreat with gentle alumina air abrasion at the grit and pressure the zirconia manufacturer specifies, then bond with an MDP-containing primer and resin cement.
If saliva contaminates zirconia during try-in, use a cleaning paste made for zirconia or re-abrade it. Phosphoric acid is the wrong cleaner here: it leaves phosphate on the surface, which competes with the MDP you’re relying on.
Composite Veneers
Lab-made composite veneers are usually air-abraded and then primed or coated with bonding resin, following the composite manufacturer’s IFU. Don’t assume HF applies.
If We Etch the Veneers for You
Ask on the Rx and we’ll HF-etch the glass-ceramic intaglio before the case ships. Try-in still contaminates that surface, so clean it rather than re-etch it. Ivoclar advises gentle cleaning of pretreated restorations after try-in and warns that renewed etching or sandblasting isn’t necessary and could damage the restoration. Prime the surface after cleaning, just as you would chairside.
The cleaning method matters. In an in vitro study on lithium disilicate, 37% phosphoric acid, an ultrasonic bath or HF removed try-in paste best. A later study found phosphoric acid didn’t fully clean every paste tested. Use the cleaning step your cement system validates for its own try-in paste.
Prepare the Tooth
Isolate
Saliva, blood and sulcular fluid all weaken the bond, so when cementing veneers, rubber dam isolation is the most predictable choice wherever clamps can be placed. Protect the adjacent teeth with PTFE tape or matrix strips. Be careful with retraction cord: fibers caught under a thin veneer margin are hard to retrieve, which is why many clinicians rely on the dam, clamps and PTFE tape instead.
Etch the Enamel and Place the Adhesive
Etch enamel with phosphoric acid for the time your adhesive’s IFU gives. Ivoclar’s protocol allows 15 to 30 seconds, and the Choice 2 guide uses 32% acid for 15 seconds. Rinse well and dry until the etched enamel looks frosty.
Scrub the adhesive in and air-thin it to an even film with no pooling. Pooled adhesive is a common reason a veneer stops a fraction short of full seating. Whether you cure the adhesive before seating depends on the system: some cure it separately, others cure it together with the cement.
Seal Exposed Dentin at the Prep Appointment
Where the prep exposes dentin, immediate dentin sealing (IDS) belongs at the prep appointment, not at cementation. In an 11-year prospective trial of ceramic laminate veneers, teeth with more than 50% dentin exposure showed 96.4% survival with IDS, compared with 81.8% without it. At the bonding visit, clean the sealed surface gently and reactivate it as your adhesive’s IFU describes. Remove provisional veneers without scoring the sealed layer.
Choose the Cement by Thickness, Translucency and Color
Light-Cure Adhesive Resin Cement
This is the usual choice for thin, translucent glass-ceramic veneers. It sets only when you cure it, so you have time to seat and clean. Light-cure veneer cements such as Variolink Esthetic LC, G-CEM Veneer and PANAVIA Veneer LC are indicated for translucent restorations under 2 mm thick. In a study of pressed e.max veneers, a light-cure cement polymerized adequately through 1.2 mm of ceramic, while its dual-cure counterpart needed more light at that thickness.
Dual-Cure Adhesive Resin Cement
Reach for dual-cure cement when a veneer is thick or opaque, or when light can’t reliably reach the cement. The trade-off is color. A systematic review of in vitro studies found that dual-cure cements changed color more than light-cure ones, and recommended light-cure cement for thin ceramic restorations. Conventional dual-cure cements use aromatic amines that tend to darken with age, so if you need dual-cure under an esthetic veneer, look for an amine-free formula.
Self-adhesive resin cements skip the separate etch-and-bond steps. Use one on veneers only if its IFU specifically lists veneers.
Choose the cement shade with the matching try-in paste. Opaque and white shades can cover mild discoloration, but Ivoclar cautions that some opaque shades can make the margins visible. Stronger masking is better built into the ceramic.
Veneer Cementation: Seat, Clean, Then Cure
One at a Time or the Whole Set?
Both approaches have their advocates. Seating two or so at a time leaves you time to clean every margin properly. Seating the whole set at once keeps each veneer on the same path of insertion, so a freshly cemented neighbor can’t block the next one. Either way, the set should already have been tried in together, and your cement’s working time sets the limit on how many you can handle at once.
Remove Excess at the Gel Stage
Seat each veneer with gentle, steady pressure and confirm the margins before anything sets. Tack-cure the cement briefly for the time your system gives (2 seconds in Variolink’s circular technique, 3 to 5 in the Choice 2 guide), then lift the gelled excess off with a scaler or brush.
Hold the veneer while you floss the contacts, and pull the floss out to the facial rather than back up through the contact. Excess cement left to cure fully interproximally or under the gingiva has to be cut away later, at the risk of scarring the margin.
Glycerin Gel, Then the Full Cure
Resin cement in contact with air leaves an uncured surface layer, about 50 µm thick according to Ivoclar. Cover the margins with glycerin gel before the final cure, then rinse it away.
Cure every segment from the facial and the lingual for the time the IFU specifies. Some manufacturers scale the cure time to each millimeter of ceramic, so a thick veneer needs more. Check your curing light’s output regularly. As the ADA explains, the energy delivered depends on both irradiance and time, and a weak light quietly undercures the cement.
Finish, Then Adjust the Bite
Remove any remaining cement, finish the margins and floss every contact. Then check occlusion in centric and in all excursions. Polish any adjusted glass ceramic back to a smooth surface with fine polishing discs or ceramic polishers. Zirconia needs a dedicated zirconia polishing kit. For patients who clench or grind, a night guard protects the new veneers.
When a Veneer Fails, Trace It Back
It Debonded
Look at where the cement stayed. A clean intaglio with cement left on the tooth points to the ceramic side: the etch, the silane or contamination after try-in. Cement on the veneer and a bare tooth point to the tooth side: isolation, adhesive technique or a dentin-heavy prep.
The Shade Changed
If the shade was off right after bonding, compare the cement to the try-in paste and check whether the stump is showing through thin ceramic. A shift months later points to an amine-containing cement darkening or to staining at the margins.
A Stain Line Appeared at the Margin
Common causes are residual cement, an uncured surface layer left without glycerin gel, an undercured margin, or a gap from incomplete seating.
The Tooth Is Sensitive
Look at exposed dentin that wasn’t sealed, over-dried dentin, a marginal gap or a high contact. Decisions in Dentistry’s review of postoperative sensitivity traces it to dentinal fluid movement, which is why sealing and adhesive technique matter most.
The Veneer Fractured
Fracture is a leading veneer complication. Check excursive contacts, parafunction, ceramic thickness, and any adjusted area that wasn’t polished.
Working With Istar Digital on Veneers
Much of what makes bonding day go smoothly at Istar Digital Dental Lab is settled before the case reaches your chair.
The Material You Prescribed
We make pressed e.max, zirconia and composite veneers for clinics and labs. Our e.max veneers are pressed in IPS e.max Press. Your Rx names the material, and we never substitute one without your OK.
Design Approved Before Pressing
We send anterior esthetic veneer designs for your approval before production. Approval adds 1 to 2 days, and you can request changes through your case manager.
Shade Planned From the Stump
Send a photo of the stump with a shade tab and one of the adjacent teeth with the tab. Our technicians use the stump shade to decide how much masking each veneer needs.
Covered After Delivery
Veneers carry a 3-year warranty, and we pay to ship finished work back to you, remakes included. Details are in our remake and warranty policy . Istar Digital is an FDA-registered establishment, Registration Number 3039441248, which you can verify in the FDA database.
Single trial cases are welcome, and an ongoing partnership suits a regular flow of cases. For the price list, contact our sales manager.
Frequently Asked Questions
Can a debonded veneer be rebonded?
Sometimes. The veneer has to be intact, still fit and come off a sound tooth, and all old resin must be removed from the intaglio before it’s treated again. One published retreatment protocol burned off old cement in a furnace at 650 °C before re-etching, which is a lab procedure, not a chairside one. If a veneer has cracked or no longer seats, replacing it is the safer choice. If it’s one of ours, send photos to your case group and we’ll help you decide.
Should bonding agent go on the veneer intaglio?
Only if your cement system says so. Variolink Esthetic LC goes straight onto the primed ceramic, while Choice 2 calls for a thin layer of uncured porcelain bonding resin. Don’t light-cure a separate resin layer on the intaglio unless the IFU tells you to. Cured resin there adds thickness and can keep the veneer from seating fully.
Can a universal adhesive that contains silane replace a separate silane step?
The lab evidence points to no. In a study on lithium disilicate, HF plus a separate silane kept far more of its bond strength after thermocycling than HF plus a silane-containing universal adhesive, which lost most of its bond. A dedicated silane or ceramic primer is the safer step.
Can light-cure cement be used under zirconia veneers?
Only if the cement’s IFU names the zirconia type and thickness. Zirconia blocks more light as it gets thicker, and the PANAVIA Veneer LC FAQ limits light-cure use to specific high-translucency KATANA zirconia under 1.2 mm. For other zirconia, use an indicated dual-cure MDP cement.
Can flowable or preheated composite be used as veneer cement?
Some clinicians use them, but the evidence is limited. In a 2024 laboratory study, preheated composites formed thicker films than a resin cement or flowable resin, which could keep a veneer from seating fully. A dedicated veneer cement remains the more predictable option.