The Situation
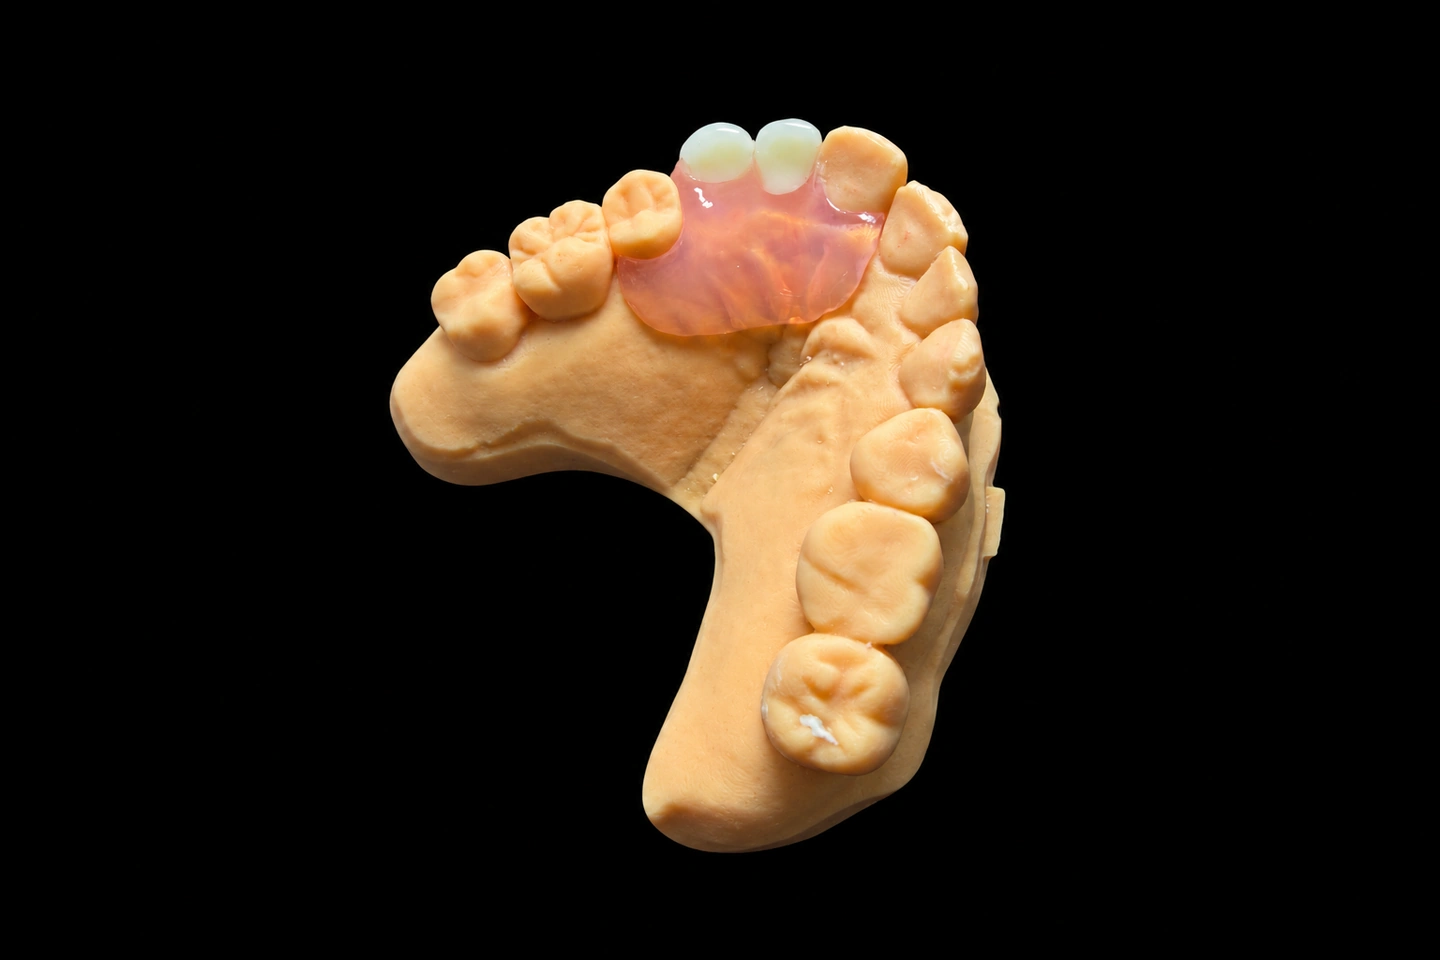
A patient presented to their dentist with a concern familiar to many who wear upper dentures: the broad palatal surface of an acrylic denture was causing discomfort and affecting taste sensation during eating. The patient still had several natural teeth on both sides of the upper arch—a situation that made them a good candidate for a removable partial prosthesis rather than a complete denture.
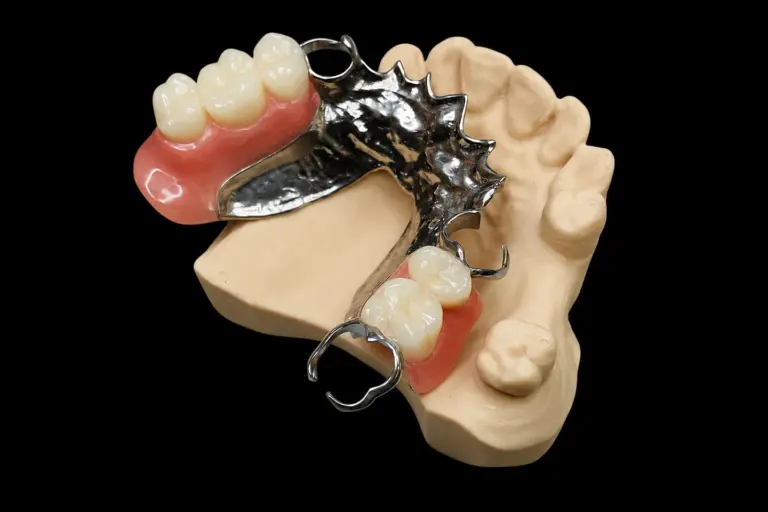
The dentist considered two primary options: continue with a conventional acrylic partial denture (which would require similar palatal coverage), or explore a chrome upper denture with a cast cobalt-chromium framework. The metal framework approach offered a significant advantage: the rigid metal structure could handle the same functional load with a much thinner, more refined palatal design.
This is where the real technical challenge emerged for the chrome upper partial denture. The patient’s residual ridge anatomy and remaining tooth positions created what’s sometimes called a “convergent abutment situation”—the natural teeth weren’t perfectly aligned for a simple, single just-insertion path. The dentist needed a framework that could:
Medical Directive & Design Requirements
The dentist’s prescription was clear on several fronts:
How We Approached It
Phase 1: Model Analysis & Observation
We received the impressions and bite registration and began the critical step of model observation (surveying the cast). This isn’t just a formality—it’s where the design actually gets determined.
Using the surveyor, we marked:
What we discovered: the ridge slopes and tooth positions didn’t give us a true single path of insertion. There was about a 1-2mm variance in how the remaining teeth and ridge aligned. This is actually quite common, and it’s the reason why “generic” designs don’t always work.
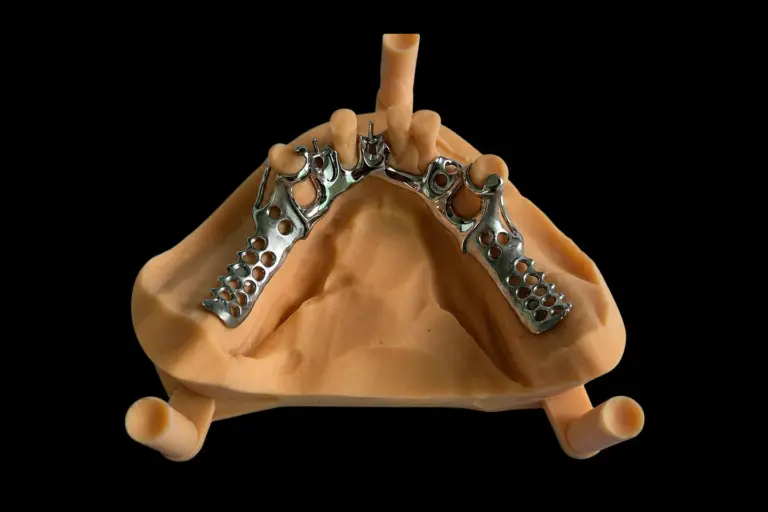
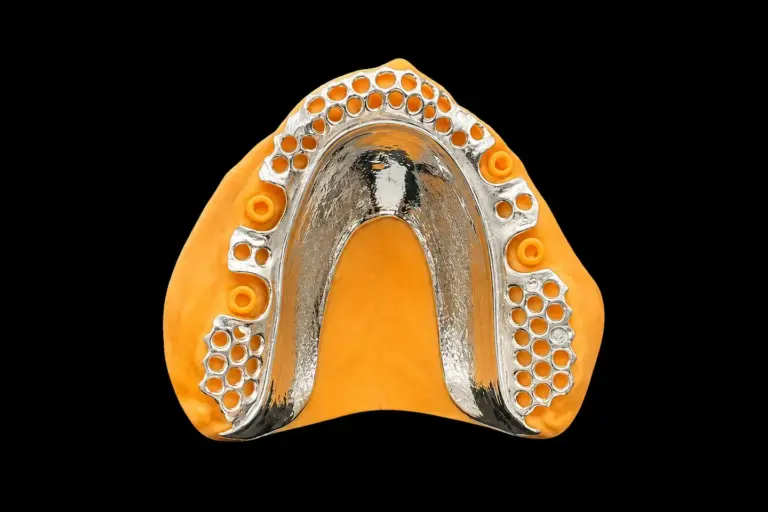
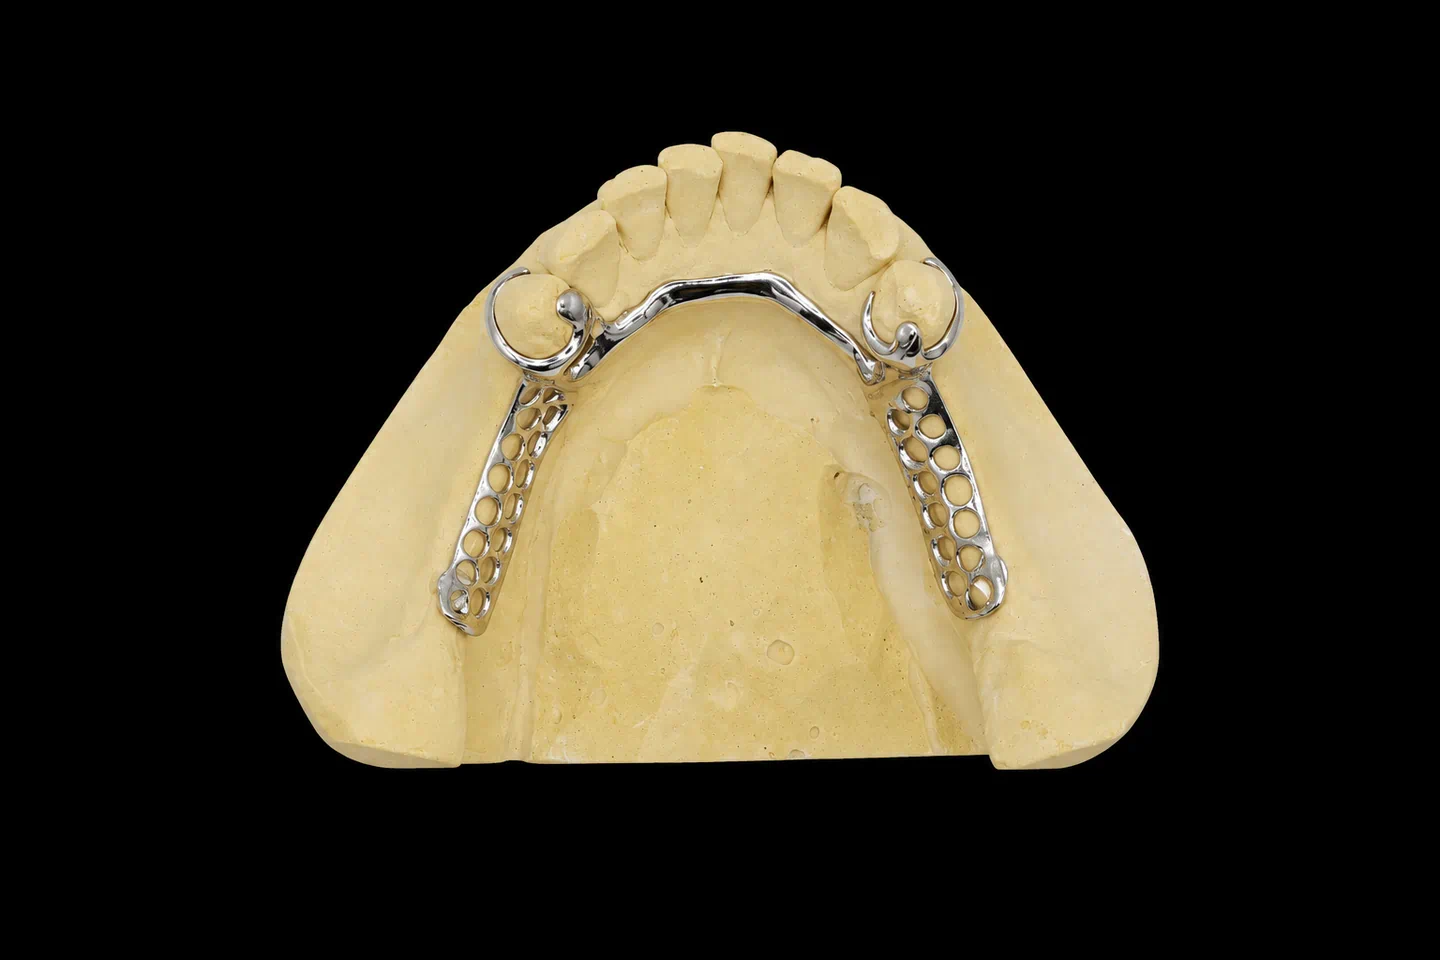
Our decision: We designed a palatal split design—not a full horseshoe (which would be less rigid and require more thickness), but a strategic reduction where we could maintain a thin metal connection across just the anterior-medial palate, leaving the posterior sides and lateral aspects open. This required using slightly different clasp strategies on each side to accommodate the geometry.
Phase 2: Framework Design & CAD
Once the observation was documented, we moved into the design phase. Rather than the traditional wax pattern approach, we used a digital design workflow:
The digital design also let us calculate thickness: the palatal bar would be approximately 1.5mm in the thinnest section (compared to typical acrylic coverage around 2-3mm in that region, plus the bulk from polymethyl methacrylate base and setup). This was a meaningful reduction in the volume the patient would feel.
Phase 3: Fabrication & Try-In Cycles
Try-in 1: Metal Framework Verification
We cast the framework in cobalt-chromium alloy and prepared the metal try-in. At this stage, we checked:
The framework came back slightly tight on one posterior clasp. We adjusted the cast and re-tried—a normal part of the process. Once verified, the framework was ready for the next phase.
Try-in 2: Wax Try-In with Tooth Setup
The dentist applied acrylic denture base material (heat-cured PMMA) to the framework, set up artificial teeth in the correct position, and created a wax try-in for the patient.
At this appointment, the dentist checked:
The patient noted that the reduced palatal coverage was a significant improvement compared to their previous acrylic denture—they could taste food much better, and the gagging sensation was minimal.
The dentist made minor adjustments to the bite and requested a small refinement to the tooth position on the left side.
Try-in 3 & 4: Denture Insertion & Adjustments
After the acrylic was processed to its final form, the denture came back for insertion. We delivered it, and the dentist performed the first clinical adjustment:
The Chrome Upper Denture Framework Design in Detail
Why This Design Works for the Chrome Upper Denture
The thin palatal bar approach in this chrome upper denture accomplishes three things:
Material Advantage
The cobalt-chromium framework has a higher modulus of elasticity than acrylic—meaning it’s stiffer. This is why we could use 1.5mm thickness in the palatal bar and achieve better rigidity than a 2.5-3mm acrylic structure would provide. It’s not about being “lighter” in total weight (cobalt-chromium actually has higher density than acrylic), but about being able to do more with less volume.
Patient Outcome & Functional Targets
What the denture delivers
- ✓ Stable retention across natural tooth clasps; the patient reports no movement during eating or speaking
- ✓ Minimal palatal sensation: The thin metal bar is barely perceptible, and the patient can taste food normally
- ✓ Natural appearance: The clasps are positioned out of the direct smile line
- ✓ Easier adaptation: The patient adapted within 2–3 weeks to normal eating and speech patterns
- What requires ongoing care:
- Nightly removal and storage in water or denture cleaner
- Gentle brushing with a soft denture brush—no harsh scouring
- Regular dental visits to monitor the health of the natural abutment teeth (the presence of these teeth means cavity and periodontal disease risk remains, and early intervention is crucial)
- Annual or semi-annual check-ups with the lab to ensure the framework hasn’t shifted and to reline the acrylic base as the ridge resorbs
Questions About Chrome Upper Partial Dentures
How long will it last?
The framework itself, with proper care, can function well for many years. The limiting factor is typically the natural abutment teeth—if they remain healthy, the denture remains functional. The acrylic base may need relining as the ridge contour changes over time, but the metal framework usually doesn’t require replacement unless there’s significant trauma.
Can it be adjusted if my teeth move?
Yes, but with limits. If you lose an abutment tooth, the framework typically cannot be salvaged and needs replacement. If your ridge resorbs (which happens over time), the denture base can be relined. Small changes to tooth position or bite can often be accommodated through denture adjustments.
Does the metal show?
Proper placement of clasps and minor connectors keeps metal out of the direct smile line. From the front, you see artificial teeth and gum; the framework is behind. In some cases (depending on mouth opening and tooth position), a careful observer might notice metal on the inside of the mouth, but this is normal and expected.
Is it hard to get used to?
Most patients adapt within 2–3 weeks. The sensation of reduced palatal coverage is usually experienced as an improvement, not an adjustment burden. Speech may feel slightly different for the first week or two, but this normalizes quickly.
How do I clean it?
Remove nightly and rinse under running water. Gently brush with a soft-bristled denture brush using a non-abrasive denture cleaner. Do not use harsh toothpaste, bleach-based soaks without checking the laboratory’s recommendations, or boiling water. Store in water or cleaner overnight.
Next Steps
If you’re working with a patient in a similar situation—upper denture bulk causing discomfort, remaining natural teeth suitable for retention, or a desire for improved function—a chrome upper partial denture or chrome upper denture custom design is worth considering.
The investment is higher than a conventional acrylic partial, but the functional improvements, reduced bulk, and better long-term outcomes often justify it. The key is having a lab partner and dentist who understand the precision required in a chrome upper denture and communicate clearly on design goals before fabrication starts.
Ready to explore a custom solution for your patient? Reach out with impressions, bite registration, and your design goals. We’ll provide a design consultation before you commit to fabrication.