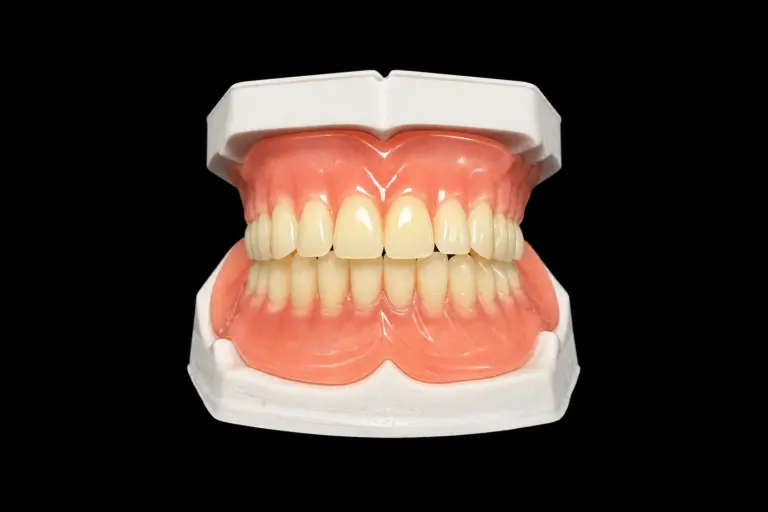
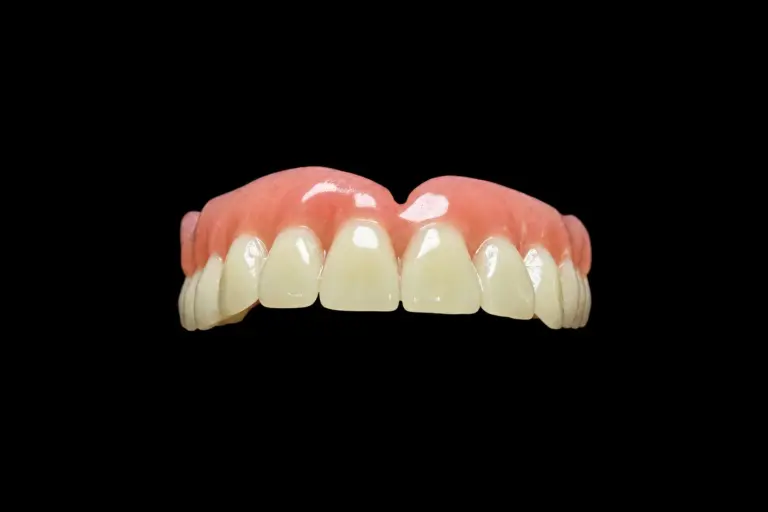
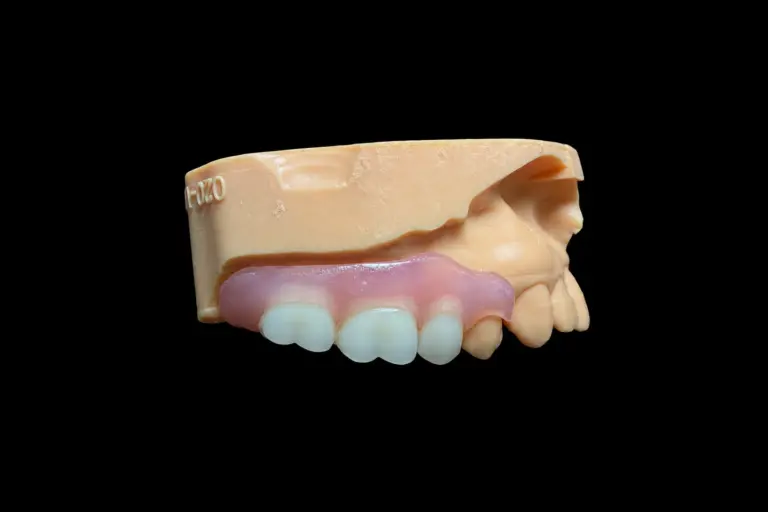
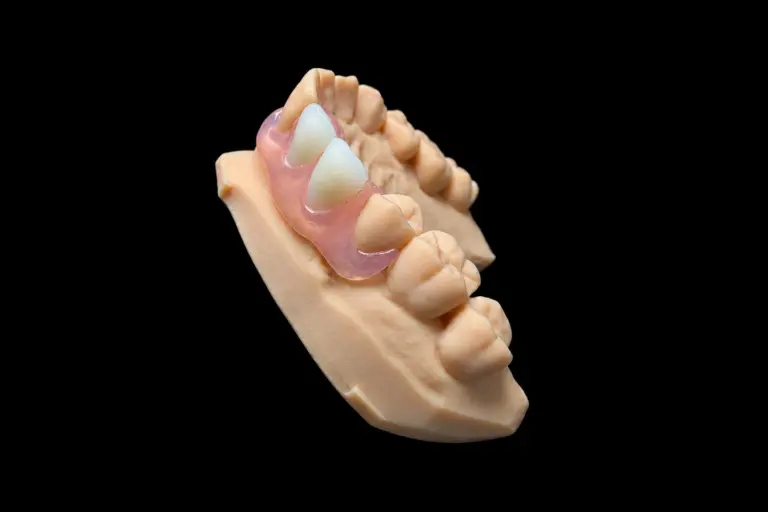
What the Dentist Sent Back
The package arrived with two things in it: a broken maxillary single complete denture and a short note. The denture had fractured along the midline — again. This was the second time in roughly eighteen months. The first fracture had been repaired. Now the same line had opened up in almost exactly the same place.
The dentist’s question was straightforward: “Is this a material problem, or is there something else going on?”
That question is the right one to ask. It’s also the one most labs never get asked, because most of the time a broken single complete denture goes back for repair without any investigation into the fracture cause. The crack gets filled, the denture goes back, and the same fracture opens up six months later.
We asked the dentist to hold off on sending a new impression. We wanted to look at the fracture pattern first.
What the Broken Pieces Showed About a Maxillary Complete Denture
The midline fracture in a maxillary single complete denture is the most common failure point in this type of restoration. Research on maxillary single complete dentures has documented case series where patients experienced repeated midline fractures even after the denture base was reinforced with metal. The fractures kept recurring — not because the material wasn’t strong enough, but because the force that was breaking the denture hadn’t been addressed.
When we examined the two pieces, here’s what the fracture pattern told us:
The break was clean and ran straight along the midline. That pattern is consistent with a bending force, not a drop or an impact. Something was pushing up on the anterior ridge on one side and pulling the posterior sections apart. The fracture surface had no signs of prior repair — the first repair had held briefly but the new crack had run just beside it.
This is the part that turns a denture midline fracture from a repair job into a diagnosis. A drop tells you one thing about a denture. A clean midline split in a maxillary single complete denture tells you the denture was being bent across its weakest axis, repeatedly, for months.
We also looked at the occlusal surface of the artificial teeth. The wear pattern was uneven. The left posterior teeth showed significantly more wear than the right. That meant the patient had been loading the denture asymmetrically for a long time — likely because the opposing mandibular dentition had shifted, leaving an uneven occlusal plane for the maxillary denture to function against.
The base itself showed another detail: the tissue-fitting surface at the anterior maxilla was visibly relieved in a way that suggested significant anterior ridge resorption. The denture had been adapted at some point to fit a ridge that was no longer there.
Why the Midline Fracture Kept Happening
This is the part most case reports skip. They describe the repair and move on. We’re going to describe the mechanism, because understanding it is the only way to prevent the next fracture.
A maxillary single complete denture functions against natural or restored mandibular teeth. The force a natural posterior tooth can generate is in a completely different range from what a mucosal-borne denture can safely absorb. When the opposing plane is uneven — tilted, collapsed, or with posterior teeth missing or extruded — the maxillary denture doesn’t receive force evenly across the arch. Instead, it receives concentrated force in specific zones.
In this case, the anterior residual ridge had resorbed to the point where the denture had little tissue support under the midline. The force from the left-side posterior teeth was essentially rocking the anterior section of the denture. Each chewing cycle flexed the acrylic base across the midline. Over months, that flexural fatigue produced a crack.
The first repair filled the crack but didn’t remove the flex. So the material in the repaired zone was actually weaker than the original, and the same loading pattern opened a new line beside it.
Adding a metal reinforcement to this denture without fixing the opposing arch would have done the same thing. A stronger denture would have transmitted more force to the anterior ridge, accelerating bone resorption, and eventually the base would have fractured along a different line or the anterior tissue would have been damaged instead.
The source of the problem was the lower arch’s occlusal plane — not the maxillary denture. That distinction is the whole lesson, and it applies to every single complete denture that comes back fractured across the midline.
Fixing the Occlusal Plane Before Making a New Denture
We contacted the dentist with a written summary of our findings and proposed a two-step approach before making a new denture.
Step one: Establish a reliable mandibular reference.
The mandibular dentition needed its plane assessed against a usable reference. Some of the posterior teeth had over-erupted and needed either selective reduction or restoration before we could record a usable occlusal relationship. We prepared an occlusal plane template (OPT) — a vacuum-formed guide calibrated to a modified Monson curve — that the dentist could use at chairside to identify which teeth were outside the plane and by how much.
This step belongs to the dentist. We can prepare the template and document the problem. We can’t do the reduction or the restoration. But we can make sure the dentist has a physical reference in hand, not just a verbal description.
Step two: Make a new maxillary single complete denture with the correct material specification.
Once the mandibular plane was corrected and a reliable occlusal record existed, we could make the replacement denture. The material specification would be different from the original: Co-Cr mesh reinforcement in the base, and metal occlusal stops on the posterior artificial teeth where they contacted the mandibular restorations.
Making a new single complete denture before the opposing arch was corrected would have produced a second denture that failed the same way. The sequence was not a formality — it was the treatment.
We asked the dentist to confirm the opposing arch materials before we started. If the mandibular restorations were metal or metal-ceramic, we needed metal contacts on the maxillary side. Acrylic resin teeth against a metal or ceramic opposing surface wear down significantly faster than expected, and the resulting loss of vertical dimension recreates the same loading problem we were trying to solve.
The dentist agreed to both steps.
How We Made the Replacement Denture
Models and records. The dentist sent final impressions of both arches, the corrected occlusal record (bite taken against the maxillary occlusal rim, not the mandibular — this is the correct approach when the mandible has natural teeth, because the plane is dictated by the existing dentition), midline reference, and photographs of the smile line and face.
We noted that the midline of the maxillary arch and the facial midline did not coincide — this happens quite often in patients who have been edentulous in the maxilla for some time. We set the artificial teeth to the facial midline, not the arch midline. The dentist confirmed this at the wax try-in.
Base fabrication. The base was processed in Lucitone 199 — an injection-molded, dense crosslinked acrylic with lower porosity and tighter dimensional accuracy than conventional heat-cure material. We used injection molding rather than conventional packing to minimize polymerization shrinkage and base distortion. For a single complete denture expected to oppose natural teeth, the base material is doing more structural work than it would in a conventional two-arch case, so we specified it as such.
A Co-Cr mesh framework was incorporated into the base before processing. The mesh was positioned to run through the high-stress zone across the anterior palate, with extensions toward both tuberosity areas. The mesh was kept at least 1.5 mm below the tissue surface to avoid any exposure risk and to maintain acrylic coverage over the metal. This is not purely a strength measure — the mesh reduces the amount the base flexes during function, which is what actually prevents denture midline fracture.
Tooth selection and arrangement. The mandibular dentition included several metal-ceramic restorations on the first molars. For those contacts, we placed a small cast metal occlusal stop on the corresponding maxillary posterior teeth — an approach documented in clinical literature for cases where the opposing arch includes hard restorations. The posterior artificial teeth were arranged to work with the corrected mandibular plane, not against it.
For the anterior teeth, we referenced the patient’s photographs and matched the incisal edge position to the corrected vertical dimension. We did not arbitrarily change the tooth form or size — we kept the shape close to the previous denture to minimize the adaptation burden on the patient. A patient replacing an existing single complete denture has already adapted to a specific tooth position; moving it without reason creates a new adjustment period on top of a new denture.
Occlusal refinement
Before the denture left the lab, it was remounted on the articulator using a new index taken from the processed base. This catches any changes in occlusion introduced by processing. We adjusted to bilateral even contact in centric, and checked lateral and protrusive paths. The final occlusal scheme was balanced occlusion — necessary for a single complete denture opposing natural or restored teeth, because there’s no opposing denture to share the guidance load.
Quality control
The base was checked under magnification for internal porosity, the mesh position was verified against the design plan, the tissue surface was left untouched after processing, and the edge extensions were checked against the impression record.
What We Sent Back, and Why It's Different
The replacement maxillary single complete denture was returned with a written summary of the case history, the fracture analysis, the material choices, and a note to the dentist explaining what to watch for at insertion.
A few things are worth stating plainly:
The mesh reinforcement is not what makes this case different. Metal reinforcement is a relatively common modification. What makes it different is that we confirmed the reinforcement was applied to a denture that was going into a corrected biomechanical environment. Without the correction, the same failure mode would have recurred.
The injection-molded base is not a guarantee against fracture. It reduces porosity and processing distortion compared to conventional methods, but it doesn’t change the physics of mucosal support. The patient still has a residual ridge that is narrower and more resorbed than a full arch of natural teeth — and that is a permanent condition that affects long-term prognosis regardless of base material.
We noted in the documentation that this patient would benefit from reassessment at twelve months, with particular attention to any changes in the anterior maxillary tissue. If anterior ridge resorption continues, the denture will eventually need a reline before it needs a replacement. A single complete denture that fits poorly loads the tissue unevenly and accelerates exactly the kind of bone loss that caused this problem in the first place.
What We Need From You Before We Start
For any single complete denture case, these are the records we work with:
| What we need | Why it matters |
|---|---|
| Final impression of the edentulous arch | Tissue surface accuracy determines base fit |
| Full-arch record of the opposing dentition | We need to see what we’re working against |
| Occlusal record taken against the opposing arch | The plane is dictated by existing teeth, not by us |
| Photographs: smile, rest, 3/4 face | Midline, lip line, tooth position reference |
| Existing denture or broken pieces (for remakes) | Fracture pattern and existing tooth positions |
| Materials information for opposing restorations | Determines whether we need metal contacts |
| Any previous reline or repair history | Tells us whether the base has been altered |
| Vertical dimension record or reference | Prevents us from inadvertently changing it |
If you’re working on a case where the opposing arch has extruded, worn, or missing posterior teeth — or where a previous single complete denture has fractured — contact us before you take final impressions. The clinical sequence matters more than the materials in those cases, and we can help you plan what records to take and in what order.
We work with dentists and labs across the US and Europe. Cases ship from our facility in Shenzhen and Huizhou. Standard production time for a complete denture case is 7–10 business days from receipt of records.