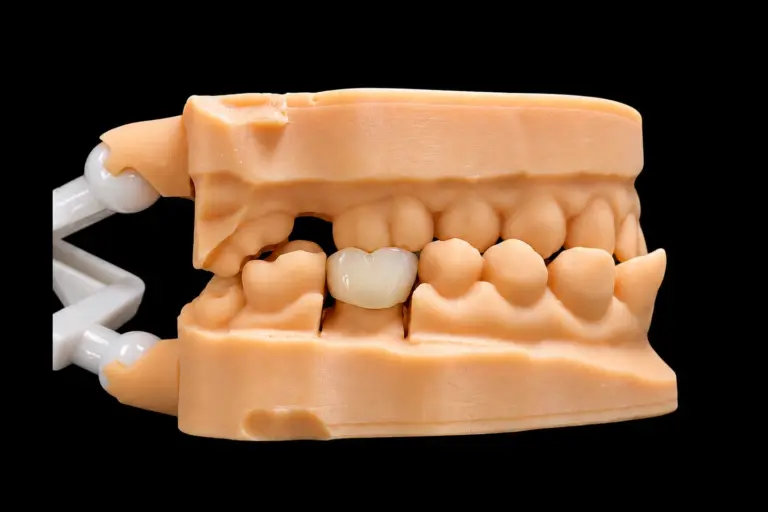
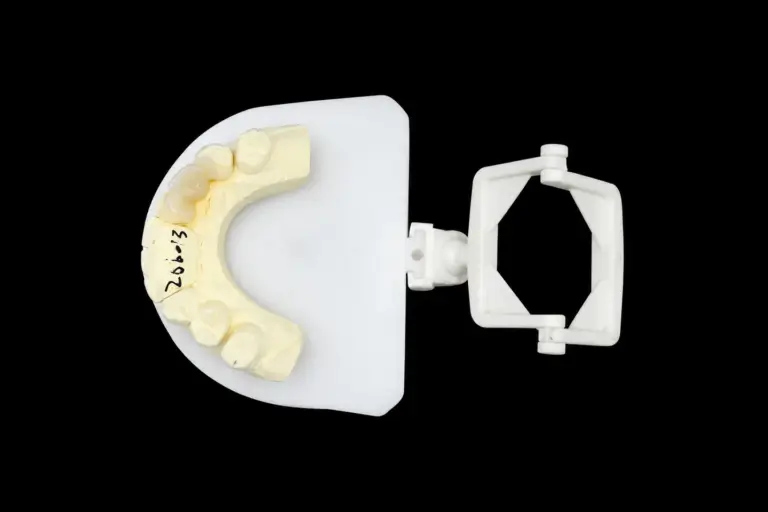
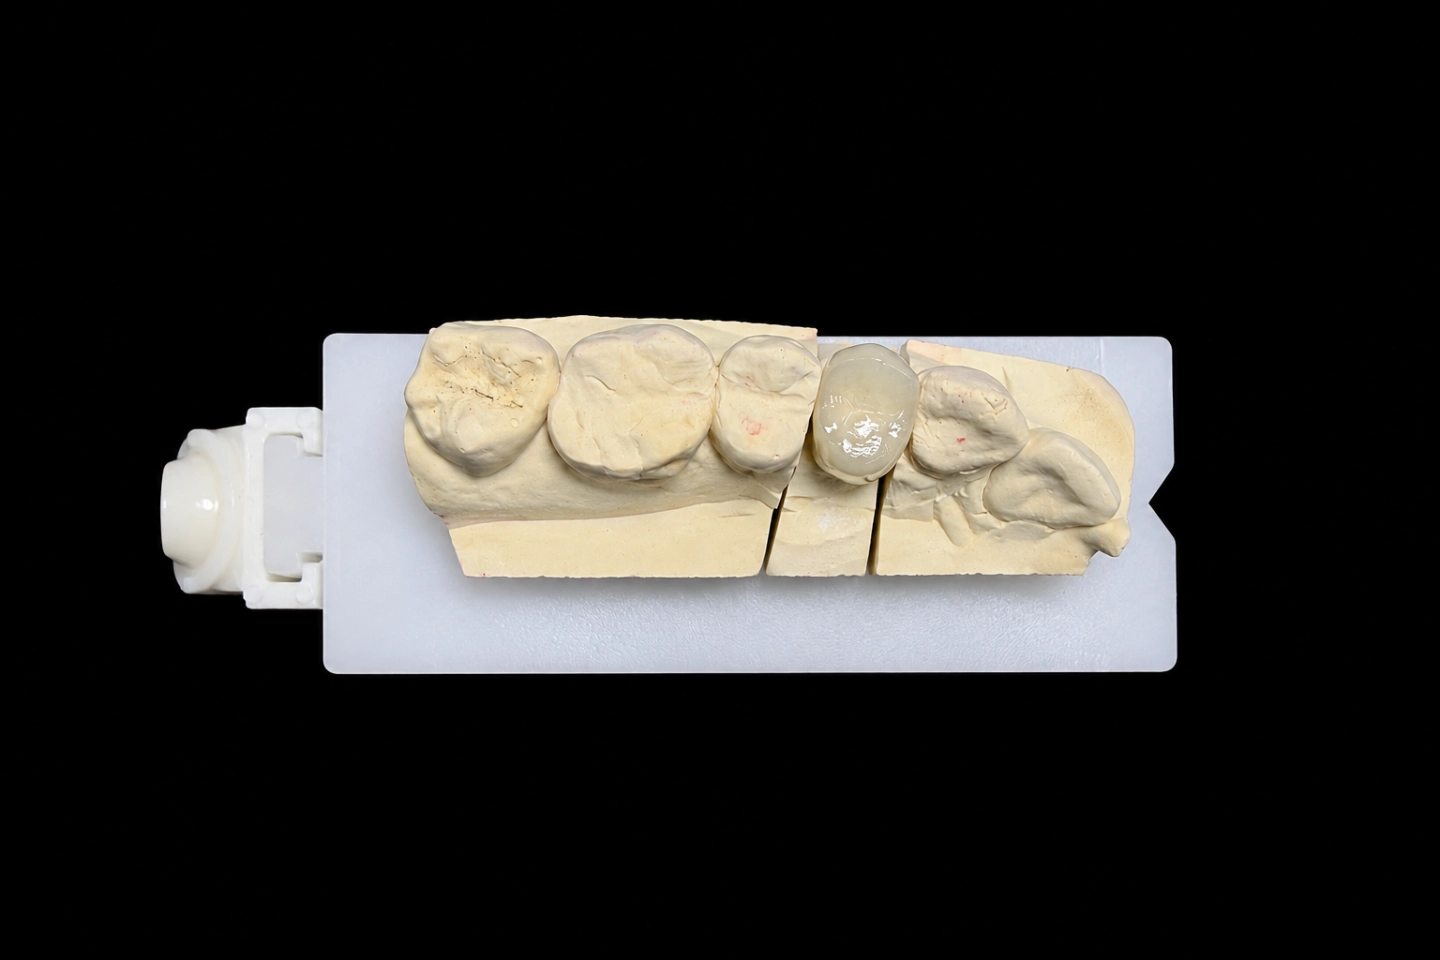
Patient Situation
From the dentist’s notes, the records and the photos :
The patient’s request was simple: a front tooth that looks like the one next to it.
What the Dentist Asked For
The Rx, condensed :
Why an anterior PFM crown fit this tooth
Material was the dentist’s call. With zirconia or glass ceramic, a dark stump and a metal core can show through and change the shade. Under a PFM, the metal coping blocks both. A PFM crown is also usually cemented conventionally, which keeps things simpler on a root-filled tooth with a cast core.
Survival on front teeth has been good. In a cohort of 997 precious-alloy PFM crowns, anterior crowns had 96.4% survival at 5 years and 92.3% at 10 years. That cohort used precious alloy and this crown is cobalt-chromium, so we read it as context, not a forecast.
The Technical Problem: The Root Points One Way, the Crown Another
This is a common snag in PFM crown front teeth work. On upper centrals, the root often leans at an angle to where the crown needs to be. On #8, the canal tilted about 9° toward the lip compared with the crown axis we planned from #9 .
A post has to follow the canal. If the core just carries on in a straight line from the post, it ends up too far toward the lip.
What a straight core would have left
A PFM needs room for two layers on the labial: a coping of 0.3–0.5 mm and front-tooth porcelain of 1.0–1.5 mm. So we aimed for about 1.5 mm in total .
We mirrored #9 to make a digital wax-up of the final crown for #8, then placed a straight core inside it. Here’s what that left on the labial side :
| Labial area | Room with a straight core | Target |
|---|---|---|
| Incisal third | 0.9 mm | 1.5 mm |
| Middle third | 1.2 mm | 1.5 mm |
| Cervical third | 1.5 mm | 1.5 mm |
With only 0.9 mm at the incisal third, the crown would have had to come out toward the lip, or the porcelain would have been too thin. Thin porcelain over metal looks flat and white, which is the last thing you want next to a clear natural edge.
The Options We Sent Before Casting the Core
We sent the dentist the cross-sections and three ways to build this anterior PFM crown :
| Option | What it means | The trade-off |
|---|---|---|
| A. Straight core, as is | Core follows the post | Simplest build, but the 0.6 mm shortfall at the incisal third stays |
| B. Core angled toward the palate and slimmed on the labial | Same post, but the core is turned and shaped to sit inside the planned crown | Full labial room, but the core leans on the post, so the dentist has to be happy with that on this root |
| C. Zirconia post and core with an all-ceramic crown | Tooth-colored core, an e.max crown or zirconia on top | More light through the edge, but it brings back the masking problem that made the dentist pick PFM |
We make all three.
The dentist picked B, but capped the angle at 7° rather than the full 9° . To make up the rest, we slimmed the labial face of the core a little more, keeping it at least 2.8 mm thick from labial to palatal at the incisal third . The dentist approved the design in our WhatsApp case group the next day .
How We Met the Rx
Step 1: Crown first, core second
The crown shape came first: mirrored from #9, then adjusted to #8’s gum line and contacts. The core went inside it, and these are the rooms it left :
| Area | Planned room |
|---|---|
| Labial, incisal third | 1.5 mm |
| Labial, middle third | 1.6 mm |
| Labial, cervical third | 1.5 mm |
| Incisal, core top to planned edge | 2.0 mm |
| Palatal at the #25/#26 contact | 1.6 mm |
That gave the edge space for clear porcelain and kept porcelain on the palatal where the lower teeth touch.
Step 2: Casting and checking the post and core
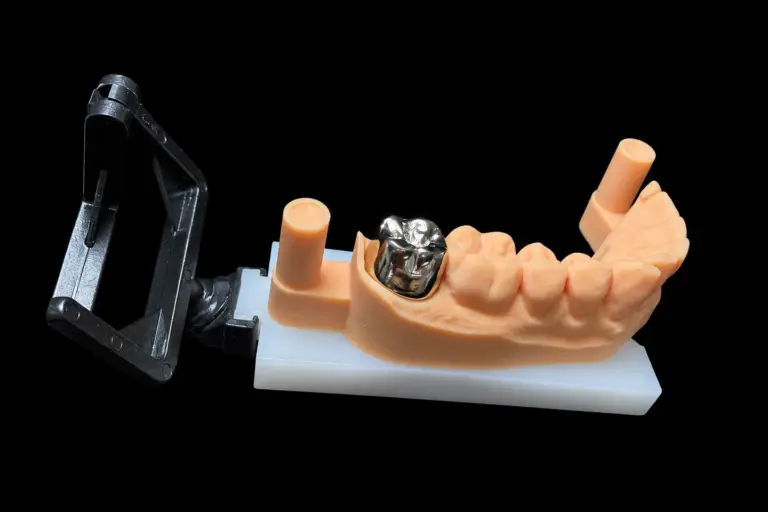
We poured the canal impression, made the pattern to the approved design and cast it in cobalt-chromium .
Before it shipped, we seated it on the working model and checked that it went to full depth without rocking and that the core matched the design. It shipped 6 working days after approval .
Step 3: Checking the scan of the cemented core
The dentist cemented the post and core, refined the margins and sent a new scan. Before we designed anything else, we measured it against the plan :
| Area | Reading | OK? |
|---|---|---|
| Labial, incisal third | 1.4 mm | Yes |
| Labial, middle third | 1.6 mm | Yes |
| Labial shoulder width | 1.2 mm | Yes, for a porcelain margin |
| Incisal | 2.0 mm | Yes |
| Palatal at the #25/#26 contact | 1.5 mm | Yes |
The incisal third came out 0.1 mm short of plan. A coping and porcelain at their minimum thicknesses still fit, so we didn’t ask for another adjustment.
Step 4: The coping and the incisal cutback
This is where most PFM crown front teeth cases win or lose the incisal edge. Our coping design for #8 :
We cast the coping, checked its thickness with a caliper, looked at the edges under magnification for flash, and seated it on the model to make sure it didn’t press on the gum. Then it was blasted with aluminum oxide, cleaned in an ultrasonic bath and pre-oxidized so the porcelain bonds well. The porcelain’s thermal expansion is matched a little below the alloy’s, so it isn’t pulled into tension as it cools.
Step 5: PFM Crown Front Teeth Layering, Matched to #9
A technician with more than 10 years of anterior work built the porcelain. The order came from #9, not from the shade tab alone:
We checked the shade against #9’s photos and the tabs under standardized light before and after each firing. We keep a PFM to three or four firings so the shape and color stay stable. This one took three, including the glaze . The layer recipe went into the case record.
Final checks
Glazing can move things a little, so we rechecked the contacts, the bite on #25 and #26, and the margins after the glaze. Then we compared the crown with the approved design and signed it off against the Rx. It shipped 5 working days after we received the core scan .
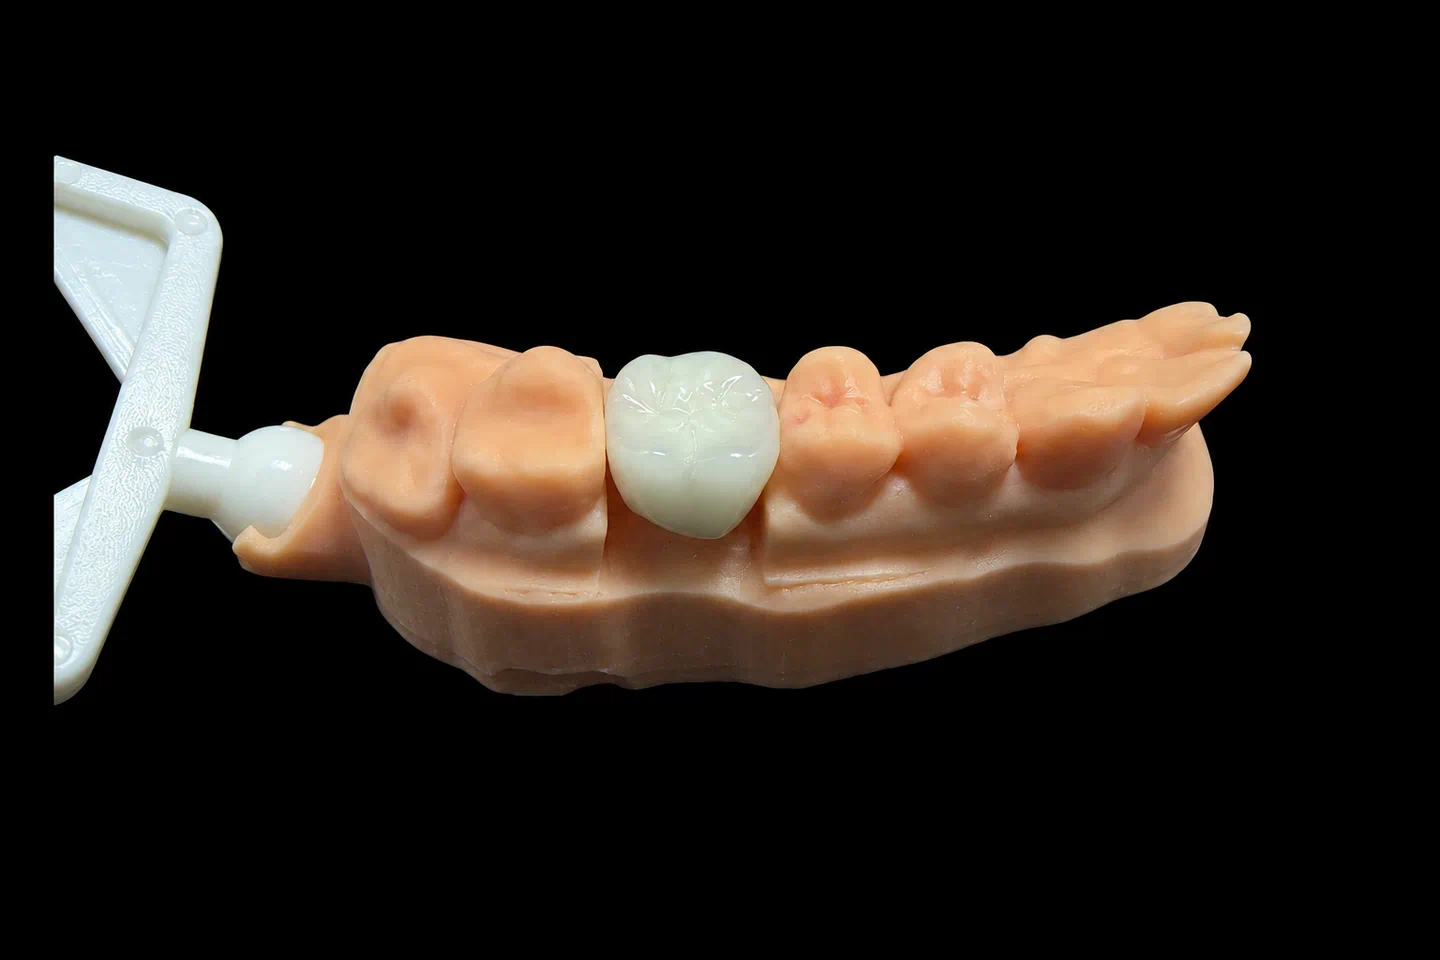
Finished Front Tooth Porcelain Fused to Metal Crown
Measured at final inspection :
| Item | Result |
|---|---|
| Coping thickness | 0.4 mm |
| Labial porcelain | 1.0–1.2 mm |
| Clear incisal porcelain | About 1.5 mm deep, the same as #9 |
| Labial margin | Porcelain only, no metal showing |
Try-in feedback
The dentist: the crown seated without margin or contact changes. They took a light touch off the palatal where #26 hit first, then cemented it . In flash photos, the neck of #8 read a touch brighter than #9, but at talking distance the dentist couldn’t pick which tooth was the crown .
The patient: happy to smile with their teeth again, and said the edge looked like the one next to it .
What this crown can't promise
A front tooth porcelain fused to metal crown still has metal behind most of the porcelain, so up close it won’t let light through like #9 does. The clear edge helps, but it doesn’t change that.
The root of #8 is also still dark. If the gum moves back past the margin later, the dark root will show, whatever the crown is made of. And the crown depends on the ferrule the dentist kept. A 2026 review of ferrule studies linked 1.5–2.0 mm of ferrule height and about 1 mm of dentin thickness with better outcomes, and found no restorative strategy that matched a natural dentin ferrule. We don’t have long-term follow-up on this crown yet .
Sending a Similar Anterior PFM Crown Case
For the full range of PFM work, see our PFM crowns. For core options, see our post and core service.
Everything is made in our own four labs in Shenzhen and Huizhou, China, with about 460 people: CAD design, metal casting, porcelain and QC, with nothing sent out. Across the factory, 2–3% of cases come back for a remake. Istar Digital is an FDA-registered establishment, Registration Number 3039441248, which you can check in FDA’s establishment database. The lab runs under ISO 13485.
Have a dark, root-filled front tooth where the root and the crown don’t line up? Send us the records and the Rx. Send your first case or talk to us.
FAQ
Can I send just one test case?
Yes, single trial cases are welcome. Ongoing partnerships suit a regular case flow best, since international shipping is the big cost on one-off cases.
Do you take rush cases?
Yes, at no extra charge, for clients who send 10 or more cases a month. We guarantee the ship date. The arrival date depends on customs, so we can’t guarantee that.
Can you send proof of the alloy we used?
Yes. On request, we can send the brand, origin, batch number and certificate for the alloy used on your case.
What can I adjust chairside, and when should I call you?
A slightly high bite is fine to adjust chairside. Polish the spot afterward. If you see cracked porcelain, a crown that won’t seat or an open margin, stop and contact us.
What if the porcelain chips later?
Send photos to your case group. If the crown seated well and only the porcelain chipped, we can often remake it from the original data. For a fit, margin or bite problem, we’ll want a new scan, model or impression.