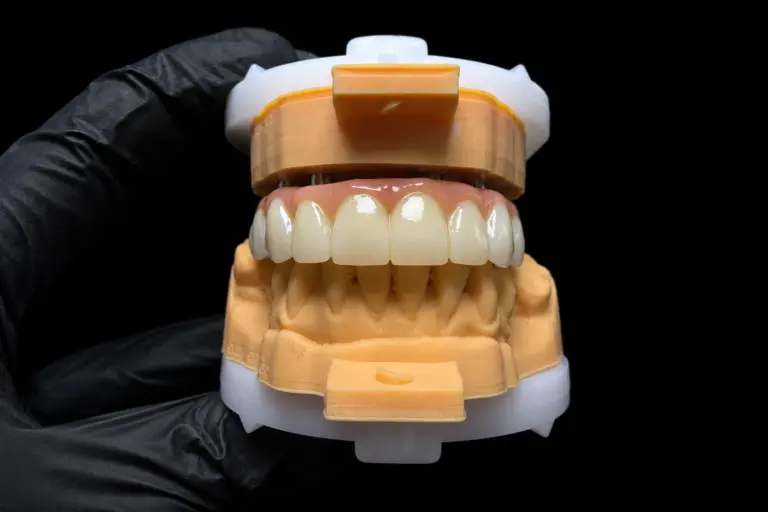
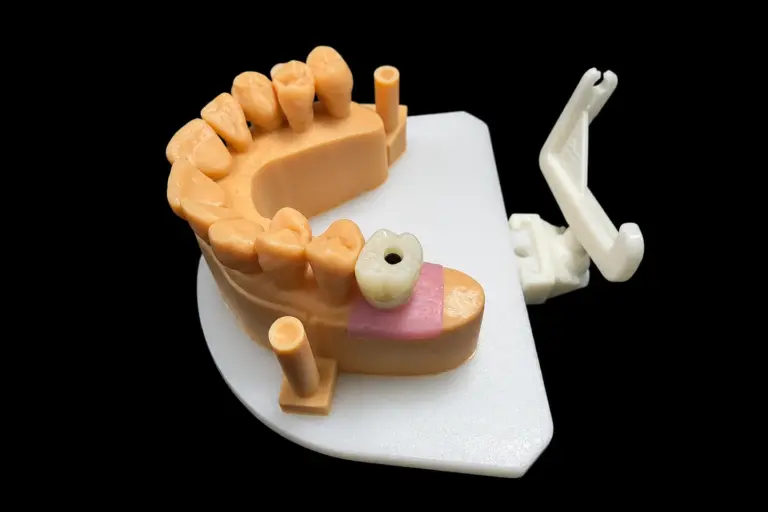
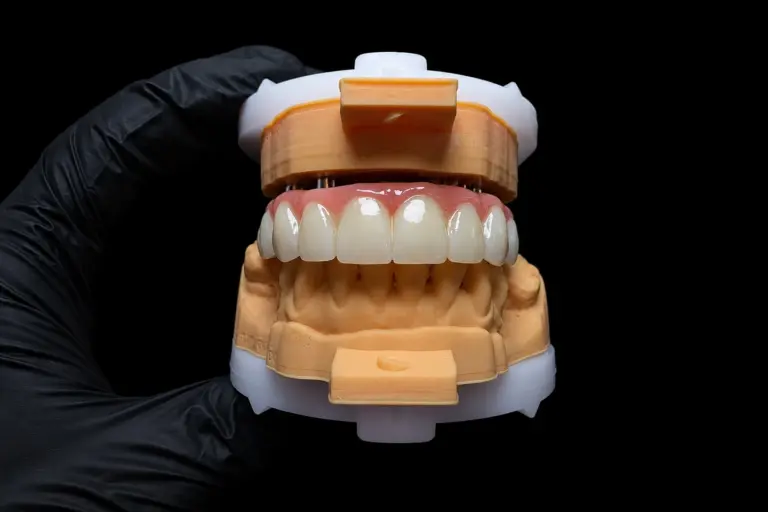
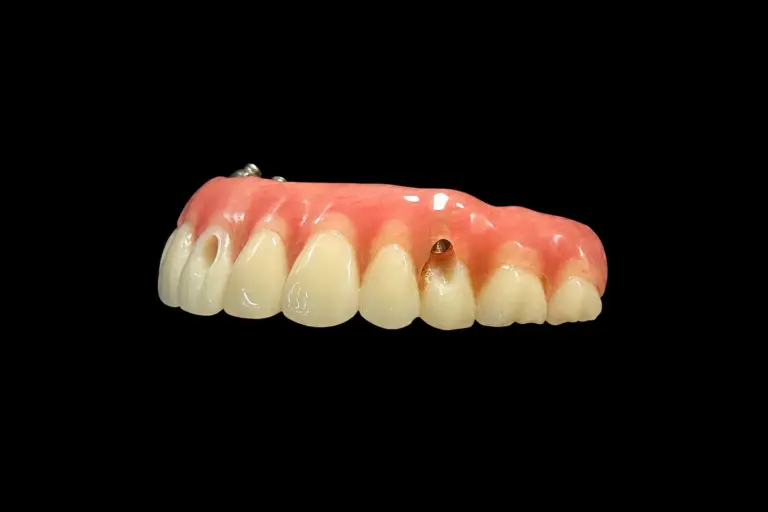
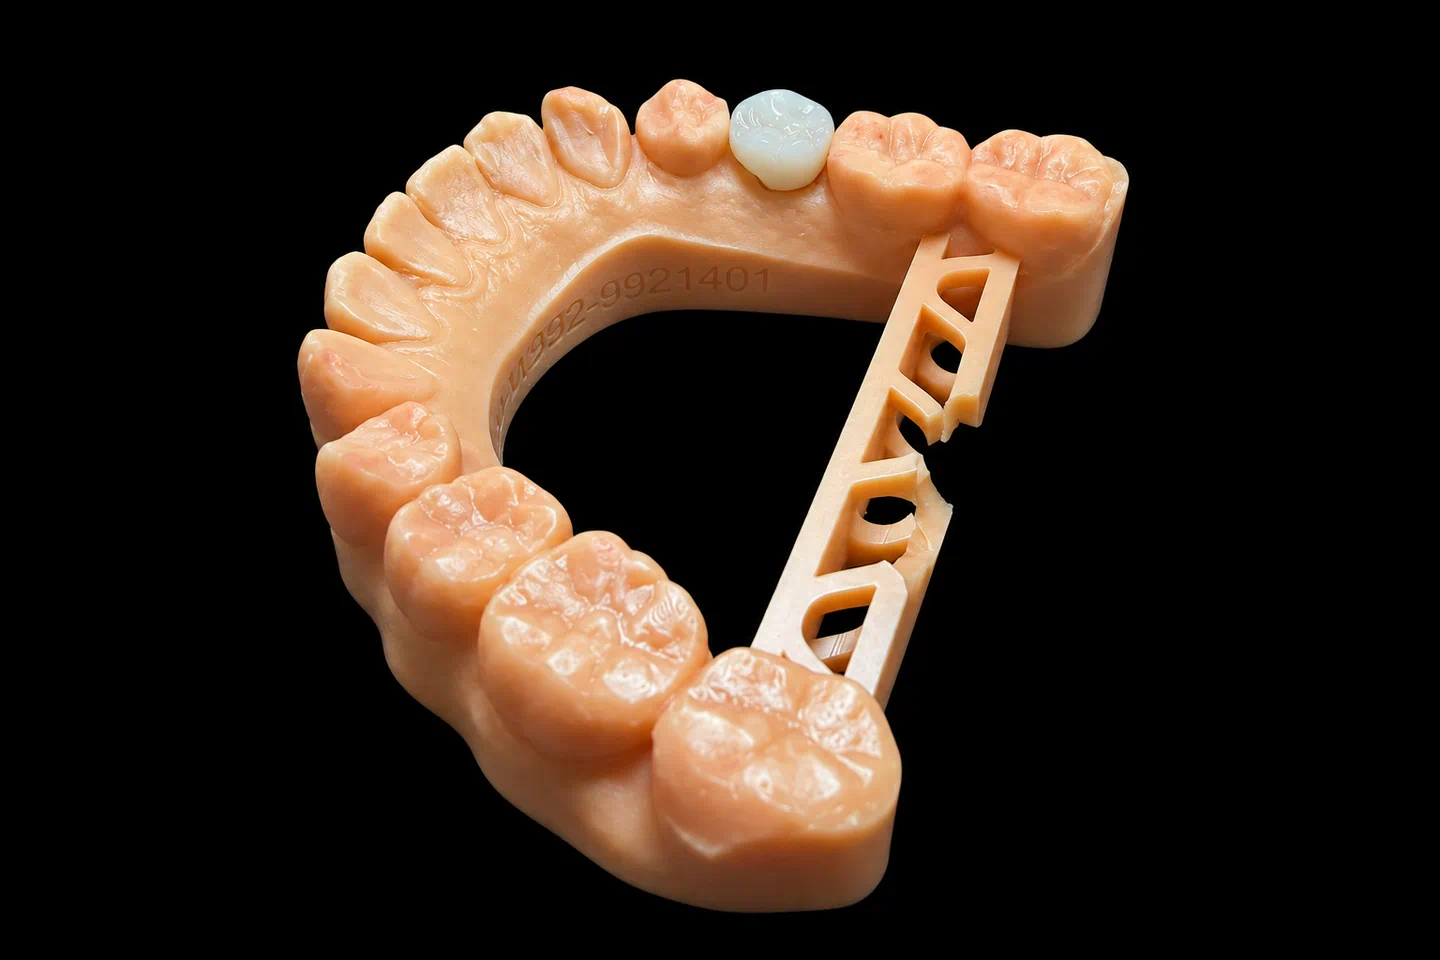
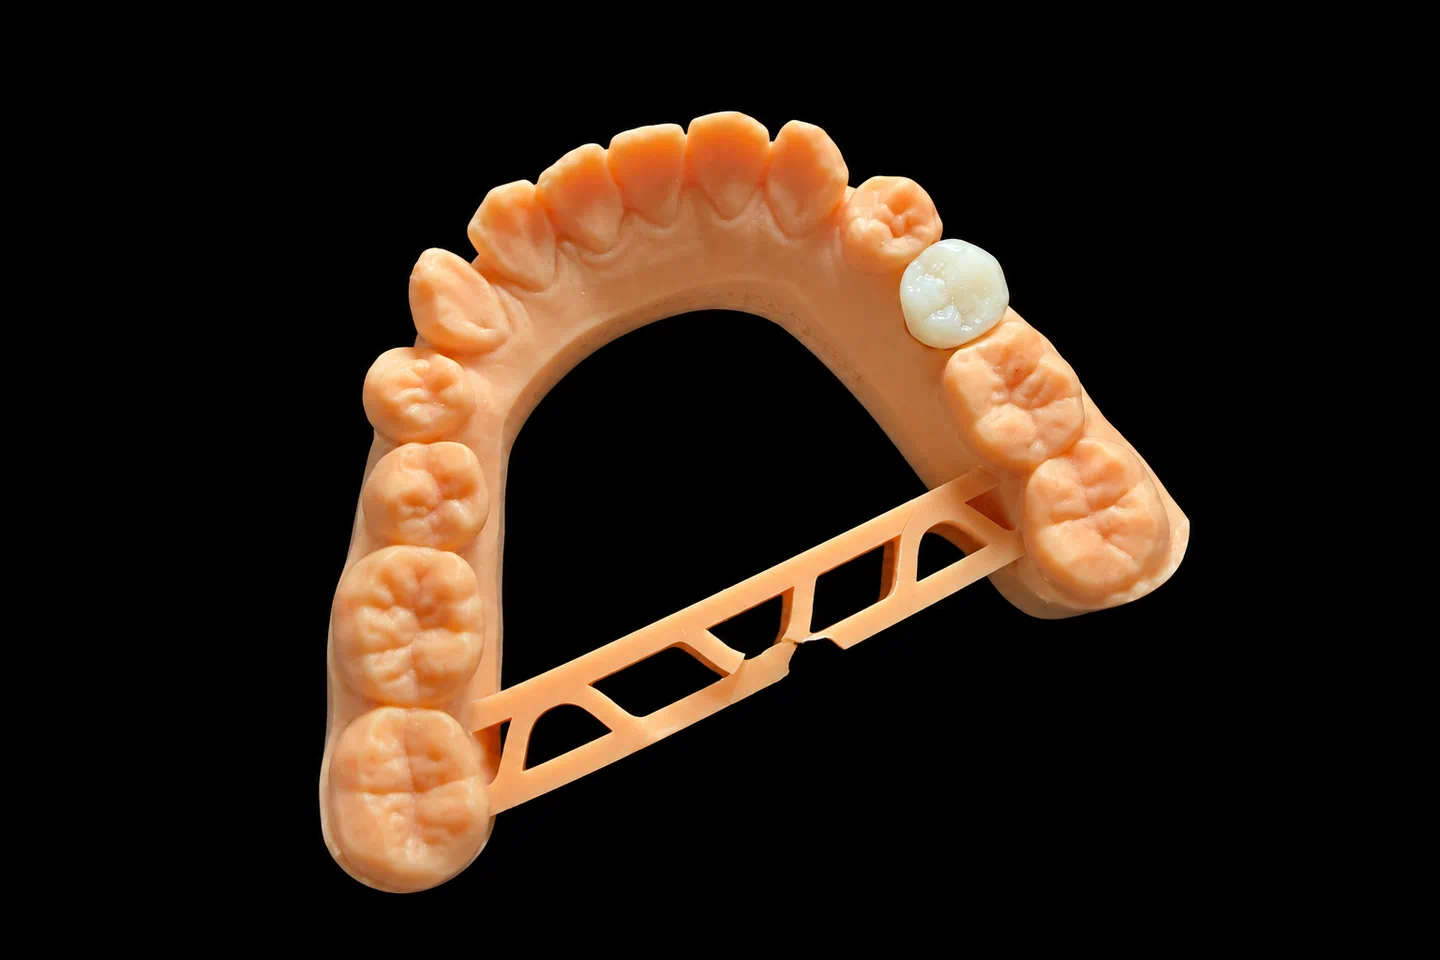
Patient Situation
The patient , in their late 50s , had worn a lower complete denture for about 15 years . It kept lifting when they chewed, and they’d given up on anything harder than pasta . Up top, they still had natural teeth and crowns from #3 to #14, with no gum disease and no history of clenching or grinding . So the upper first molars were ready to bite on something.
Those years without lower teeth had taken a lot of bone . The dentist’s CBCT showed :
Bone loss next to an existing implant and a ridge that’s too thin before any implant goes in are two separate problems. The AAP’s page on peri-implant diseases covers the first kind. This patient had the second.
The surgeon and the dentist weighed grafting the back of the jaw against working with the bone that was there . They placed four implants: straight at #23 and #26, and tilted back at #21 and #28 so the heads came out near the second premolars . Those were clinical calls, made before the case got to us. We make the restoration, not the implant.
What the Dentist Asked For
The Rx came down to six points :
What the Bone Loss Changed for Us
On dental implants with bone loss, the restoration has to make up for what the bone can’t do.
| What the bone did | What it meant for the bridge |
|---|---|
| Implants tilted back to miss the nerve | 30° multi-unit abutments on #21 and #28 and straight ones up front, so all four screw holes share one path |
| A low, flat ridge: about 18 mm from ridge to upper teeth in front and about 15 mm at the second premolars, by the dentist’s reading | Teeth alone would look far too long, so pink gum takes up the height |
| A ridge sitting well below where the old denture teeth were | Lip and cheek support has to come from the bridge’s shape |
Before any design work, we matched the implant system, platform, and scan library to the labels, and kept one library version for the whole case . Then we checked the scanned implant positions against the dentist’s verification jig on the model, since small scan errors add up across a full arch .
The Problem: Molars on a Long Cantilever
Measuring the implant bridge cantilever
With the teeth set up to the Rx, we measured the implant bridge cantilever on both sides :
That’s a long lever on two tilted implants.
Why we didn't just build it
There isn’t one agreed limit for cantilever length. A 4–10 year retrospective study found no link between cantilever length and bone loss or technical problems, but its cantilevers ran only about 5 to 7.5 mm. A matched case-control study found the opposite: longer cantilevers, and a higher cantilever-to-spread ratio, went with more prosthetic failures. Ours sat well past the range the first study looked at .
So we don’t work to one magic number. We measure, and we put the numbers in front of the dentist.
The Options We Sent
We flagged the risk in the design preview and sent three options through the case’s WhatsApp group :
| Option | Teeth | Cantilever | The catch |
|---|---|---|---|
| A. As the Rx | #19 to #30, full-size molars in full contact | About 15 mm | The longest lever, with chewing load right on the end |
| B. Shorter arch | #20 to #29, no molars | About 4 mm | The upper first molars have nothing to bite on |
| C. Reduced molars | #19 to #30, molars cut down | About 13 mm | Still a lever, just a shorter one with less load on it |
Option C, in detail :
We said plainly that C cuts the lever but doesn’t get rid of it. The dentist picked C, and asked us to test it in PMMA first .
How We Met Each Requirement
| Dentist’s requirement | What we did | How we checked it |
|---|---|---|
| Screw-retained bridge on four multi-unit abutments | One shared path across all four | Sits on the model with no force, no rocking, and no pulling down with screws |
| Titanium bar with zirconia | Bar section and bonding area set in the design | Dentist signed off on the bar section in the design preview |
| Teeth from #19 to #30 | Option C molars | Cantilever measured in the design |
| Pink gum and lip support | Pink and tooth position sized against a scan of the old denture | Side-by-side photos with the old denture at the try-in |
| Cleanable tissue side | Convex surface with at least 2 mm of cleaning space, reshaped under #29 and #30 after the try-in | Checked in design, then on the model under magnification |
| PMMA try-in first | Prototype shipped on working day 3 | Dentist’s try-in notes and photos |
The PMMA Try-In
In the mouth, the prototype seated without rocking on all four abutments, and bite height and midline checked out . The patient wore it for two weeks , and two things came back:
That first finding is exactly why we test a cantilever on dental implants with bone loss in plastic before it goes in zirconia. The dentist scanned the adjusted PMMA in the mouth and sent the notes through the group .
From PMMA to the Final Bridge
What we copied and what we rebuilt
| Copied from the approved PMMA | Built new |
|---|---|
| Bite and bite height | All implant interfaces, from the implant library |
| Tooth position and outer shape, including the option C molars and the dentist’s adjustment at #30 | The tissue side, instead of copying the adjusted prototype |
| Pink height and fullness | |
| Screw hole positions |
Then we compared the final design against the PMMA scan to make sure the outer shape carried over.
Making it
The Finished Lower Full Arch Implant Bridge
The bridge shipped on working day 6 of the final stage .
What this design still can't do
The molars still sit off the end of the bridge, so the dentist checks the contacts and screws at each visit . The EFP guideline calls for a baseline exam within three months of delivery, and the dentist booked hygiene visits with the bridge off .
The shape under the bridge counts too. A study of prosthetic features linked over-contoured restorations with more peri-implant disease, and an AO/AAP review points to implant position as a factor as well. Three months is a start, not a verdict.
Sending Us Dental Implants With Bone Loss
For a preview like this on your next case of dental implants with bone loss, send:
The final stage of a full arch case takes 5–7 working days. Try-in rounds, clinic visits, and shipping come on top of that.
Who Made It
This lower full arch implant bridge went through our implant dental laboratory team of about 80 technicians, and a separate QC team of about 25 checked it before it shipped.
Istar Digital Dental Lab runs four labs in Shenzhen and Huizhou, China. We’ve been at it since 2012, we have about 460 people, and nothing gets outsourced. We’re an FDA-registered establishment (Registration Number 3039441248), and you can look us up in the FDA establishment registration database. Our labs run an ISO 13485 quality management system, and custom-made work for EU clinics follows the MDR custom-made device procedure. Want to see it? Visit the factory or book a video tour.
Dental Implants With Bone Loss FAQ
Do you work with my implant system?
Most likely. We restore implants from most systems on the market.
Can you supply the parts?
Yes: titanium bars, multi-unit abutments, temporary cylinders, screws, and tools. Parts are charged separately, and their batch and supplier records are traceable.
Does it have to be a bar with zirconia?
No. We also make one-piece zirconia, titanium bar with resin teeth, titanium bar with PMMA, and PFM. Space and strength usually decide it. See our All-on-X page for more.
Do you make immediate load temporary bridges?
Yes, along with the final bridge. Tell us your timing early. We’re in China, so shipping has to be part of the plan.
What if a fixed bridge isn't the right fit for the patient?
Then a removable design may suit better. Here’s a lower implant overdenture case on two implants.
What if I want a design you think is risky?
We’ll tell you why it worries us. Want it changed? We change it. Prefer your design? We’ll build it to your Rx, with no sign-off form. Remakes caused by that design aren’t on us, though.
What does the warranty cover?
Implant restorations like this one carry a 3-year warranty. Problems on our side, like a bridge that won’t seat, a high bite, or a color that’s off, get adjusted or remade free. If you change the basic requirements or the material, or ask us to go ahead on records we’ve flagged as unclear, the remake is charged. Implant parts aren’t included in free remakes. You pay to send records in, and we pay to ship finished work back, remakes included.
Can you rush a full arch case?
Yes, if you send us 10 or more cases a month. Rush is free then, for any material. We guarantee the ship date, not the arrival date, because customs can hold things up.
How does pricing work?
We don’t publish prices on the website. We quote each case item by item, so you can see what the bar, parts, and try-ins add. Single trial cases are welcome, and ongoing partnerships suit clinics with a regular case flow.
Send Us Your Next Full Arch Case
Got a lower arch where the bone stops short of where the teeth need to go?