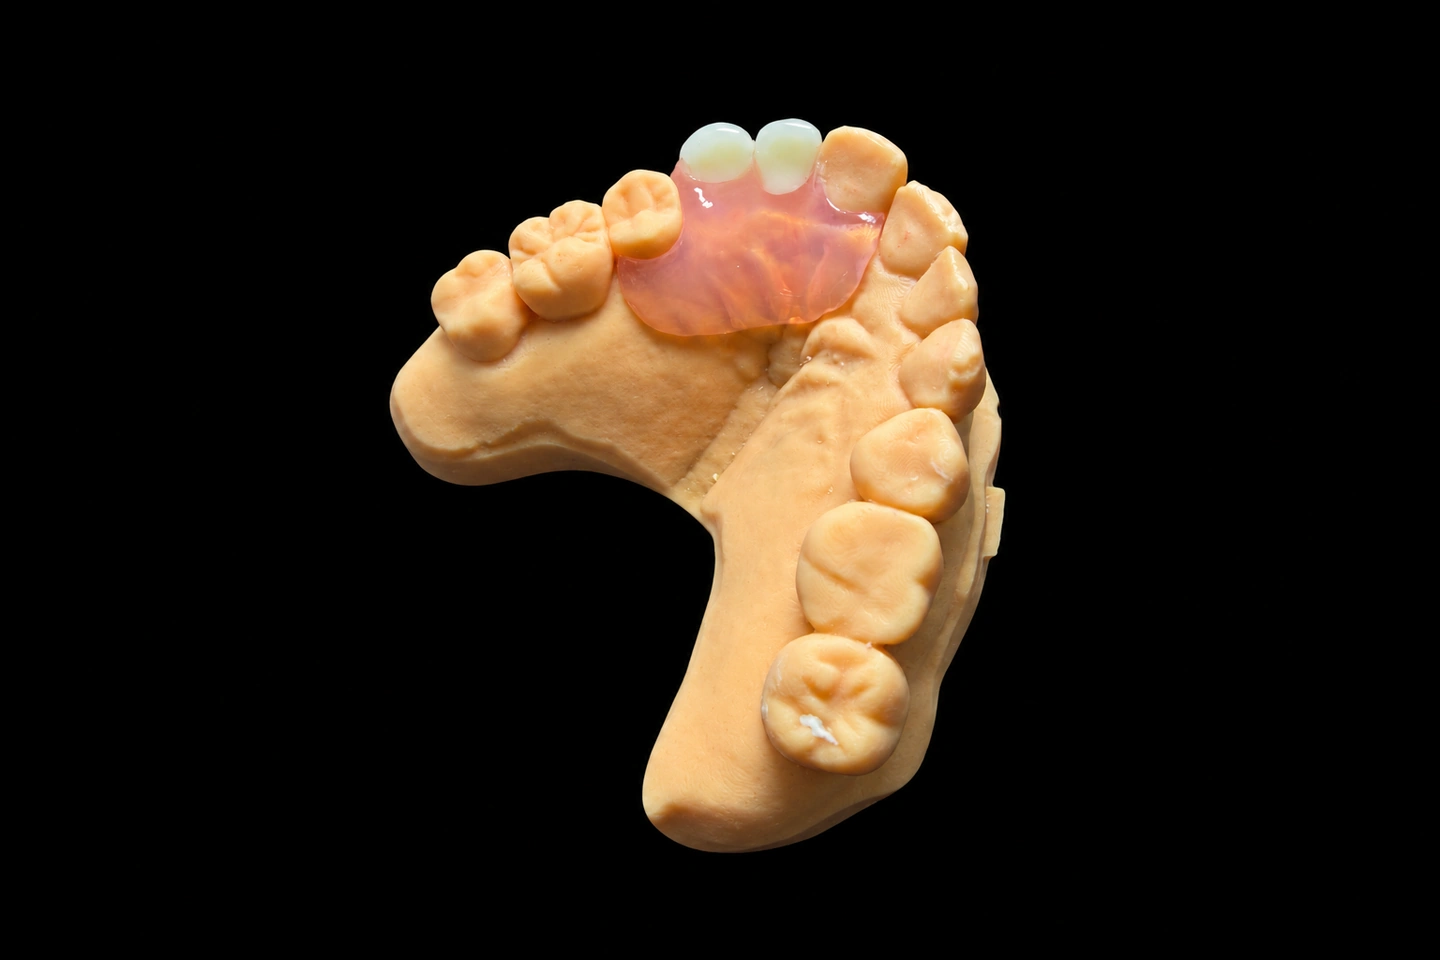
Patient Situation
The patient lost #30 about six years ago and #31 about four years ago , and neither was replaced. Chewing had moved to the left side. An implant option would have needed a bone graft, and the patient said no . So the dentist chose a removable partial on a metal framework, and the records for these partial dentures for back teeth came to us.
The records showed:
Upper molars don’t always end up like this. In a study of 155 unopposed sites, 83% showed some over-eruption, up to 5.4 mm. But a reply in the same journal pointed out that most sites moved less than 2 mm. So nobody can assume it either way, and it has to be measured.
What the Dentist Asked For
The Rx for these dentures for back teeth listed :
Point 5 came with a note: “Send me the numbers before you change anything” . When a case is short on space, a technician shouldn’t quietly solve it by shrinking something.
The Technical Problems Behind These Dentures for Back Teeth
There wasn't room for the whole stack
Over the ridge, metal partial dentures for back teeth are a stack: mesh, resin that wraps the mesh, then a denture tooth ground down to fit. For this design, we figured on about 5.5 mm to keep the tooth thick enough to stay in the resin. That’s a working number for this case, not a universal rule.
We mounted the models and measured from the ridge crest to the opposing cusp at four points:
| Position | Opposing tooth | Clearance as received | Short by |
|---|---|---|---|
| #30 mesial | #3 | 6.5 mm | – |
| #30 distal | #3 | 5.2 mm | 0.3 mm |
| #31 mesial | #2 | 4.4 mm | 1.1 mm |
| #31 distal | #2 | 3.6 mm | 1.9 mm |
The tightest spot was also the free end
If #32 were still there, we could have shortened the base and moved on. A free-end base needs as much support as the ridge can give, though. The part of the partial that needed the most coverage sat under the part of the mouth with the least room.
A one-sided partial wants to turn
Under load, the base sinks into the tissue while #29 stays put. With nothing connecting across the arch, the whole partial can rotate around that tooth. A small right-side-only design would have been easy to wear, and it wouldn’t have stood up to this.
Thin metal and heavy load don't mix
Dentures for back teeth sit under the heaviest load in the mouth, and a framework can’t flex under it. Thinning the connectors and mesh looked like an easy way to gain space, and it was the wrong one. The room had to come from somewhere else.
What We Sent the Dentist
We held the case before design and emailed a short space report: the readings, photos of the mounted models with the tightest spots marked, and what each route would mean for the partial. Anything that touches the patient’s teeth is the dentist’s call, so we didn’t recommend one.
| Option | What it means for the partial | Outcome |
|---|---|---|
| Open the bite | Gains room everywhere | Ruled out by point 4 |
| Grind the denture teeth thin and change nothing else | No chair time, but almost nothing left of the #31 tooth to hold in the resin | Passed |
| Leave out #31 | Simple, but #2 stays unopposed | Passed by the dentist |
| Crown #2 and #3 on a new occlusal plane | The most room | Passed by the dentist and patient: sound teeth, more cost |
| Limited enamel reduction, plus a narrower tooth at #31 | Room for the stack, except at the very back | Chosen |
The dentist reduced #3 by about 0.8 mm and #2 by about 1.2 mm, staying in enamel . A new upper impression and VPS bite came back , and we remounted and measured again:
| Position | After the reduction | Short by |
|---|---|---|
| #30 mesial | 7.3 mm | – |
| #30 distal | 6.0 mm | – |
| #31 mesial | 5.6 mm | – |
| #31 distal | 4.8 mm | 0.7 mm |
How We Met Each Requirement
Support, retention, and the bar (points 1, 2, and 3)
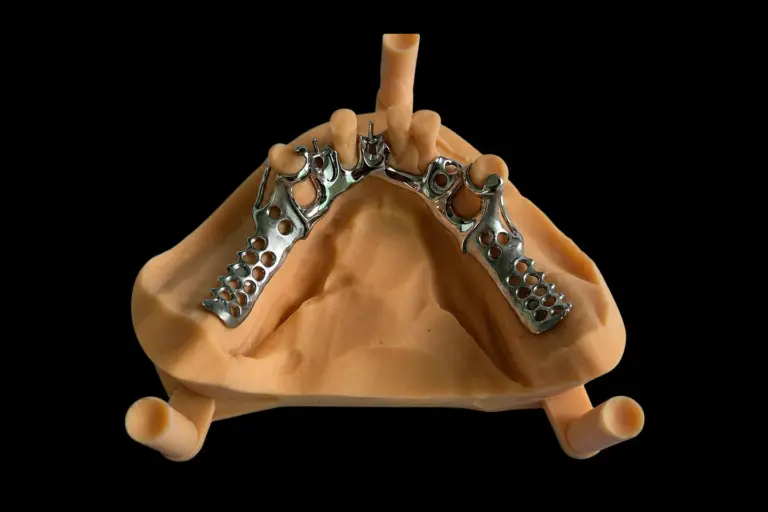
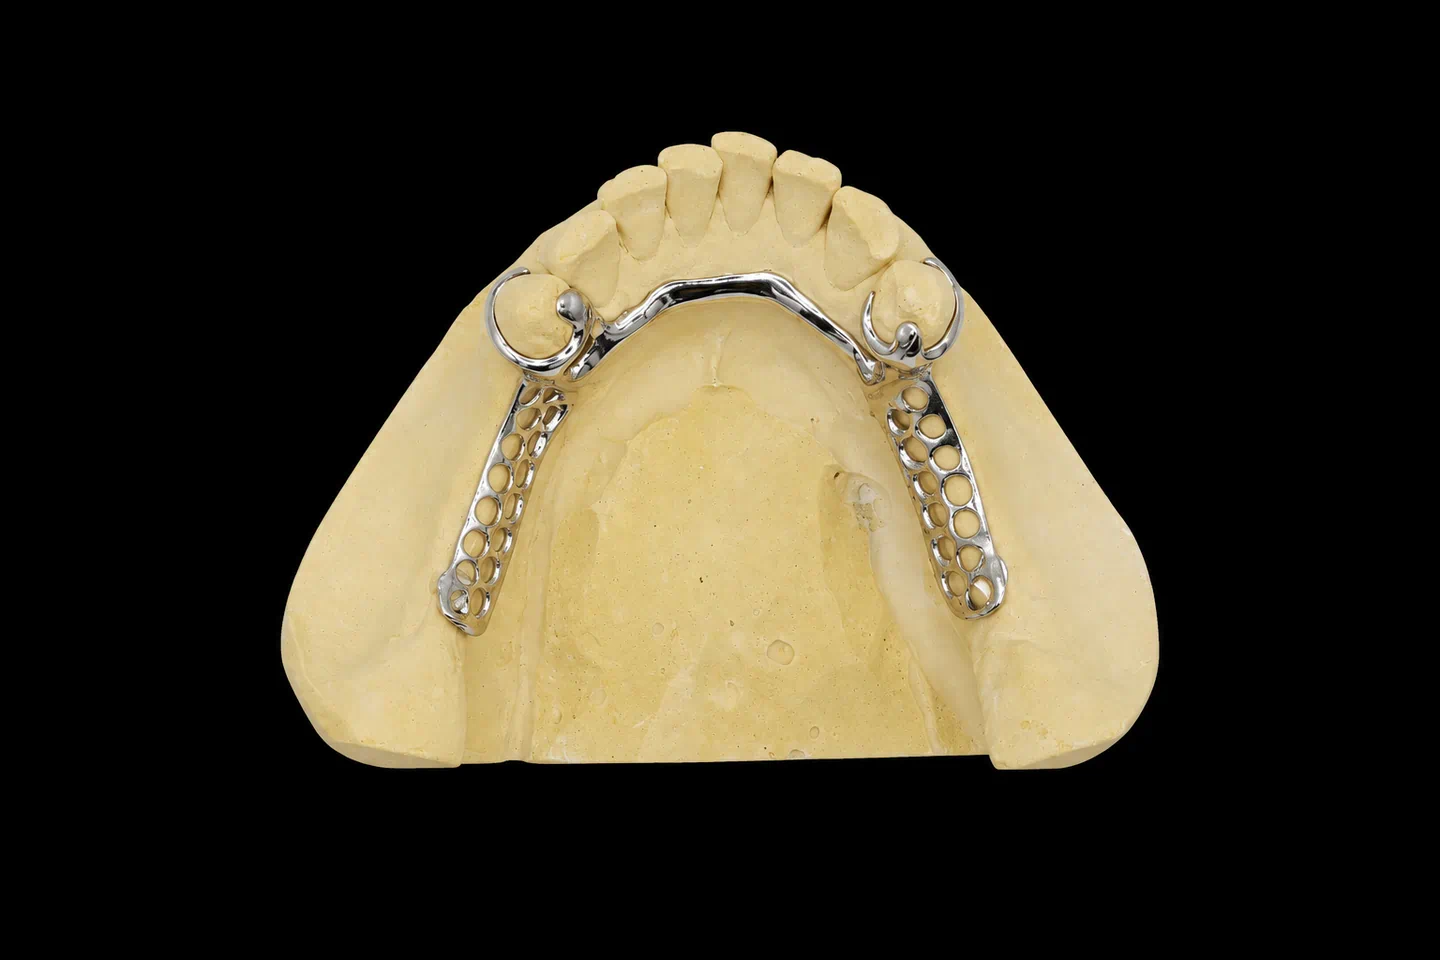
The layout for these partial dentures for back teeth follows a standard Class II design, adapted to a lower arch:
The I-bar came with a trade-off we flagged. In one study pulled into a 2023 systematic review, most clasp fractures were in short clasps, RPI among them, and 22 of 27 fractures were in free-end cases. That’s one study, not a forecast. The dentist weighed it against point 3 and kept the I-bar .
Fitting the stack (point 5)
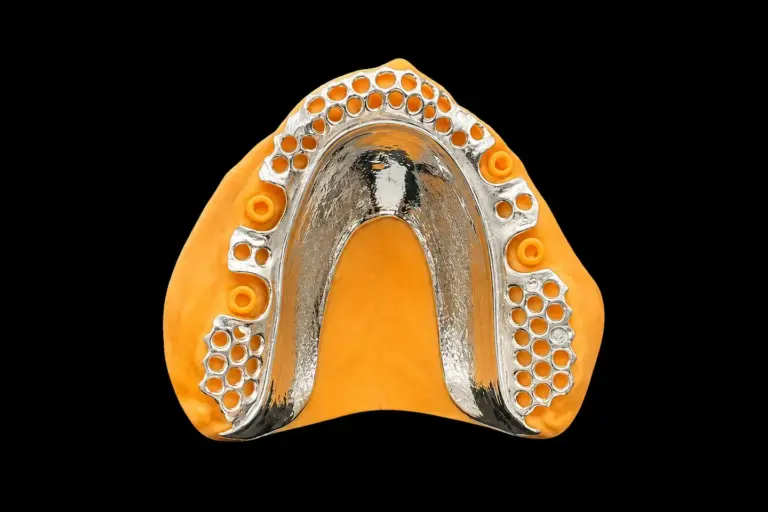
The mesh runs from behind #29 to the middle of the #31 position, then stops . Past that, only resin continues over the ridge and onto the retromolar pad .
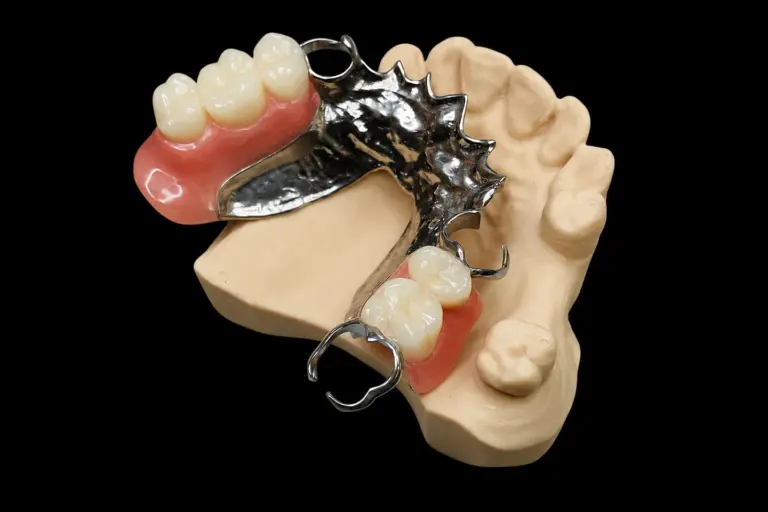
We ground a molar from the ridge side for #30. For #31, we used a premolar-width tooth that ends before the tightest point . Both got retention slots on the underside , since a heavily ground tooth has less surface to hold on to. The acrylic holds to the framework mechanically, through the mesh, on a sandblasted and degreased surface.
Setting the bite (points 4 and 5)
The upper molars still sit a little low, so a standard curve wouldn’t have worked. We set the teeth to #2 and #3 as they are now and kept the articulator at the height of the new VPS bite . A textbook plane was never on the table here. The aim was stable contact.
How We Made These Dentures for Back Teeth
Stage 1: Survey, approval, and framework
The framework try-in
The dentist seated the framework and pressed down over the mesh, and nothing lifted at #21 or #28 . It came back with a VPS bite taken on the framework , so the setup could be checked against the mouth and not only the models.
Stage 2: Wax try-in
We set both teeth in wax and shipped on working day 3 . The dentist checked tooth position, speech, and stability. One thing came back: the #31 tooth touched first against the palatal cusp of #2 when the patient moved to the right . We reduced that contact on the articulator.
Stage 3: Processing and final inspection
The Finished Partial Dentures for Back Teeth
These partial dentures for back teeth seated at the first appointment . At the one-week check, the dentist eased one pressure spot on the lingual flange . At two weeks, the patient said they were using both sides to chew again .
The dentist went over the limits with the patient and set the recall schedule :
Sending Dentures for Back Teeth With Limited Space
Most metal partials take 5–7 working days in the lab, and simple ones 2–3. Design approval on a complex framework adds 1–2 working days.
Who Made It
Istar Digital Dental Lab has been making dental restorations since 2012, with about 460 staff across four labs in Shenzhen and Huizhou, China. About 55 of them work in the removable department and about 25 in QC. Nothing is outsourced. The removable line handles about 4,000 cases a month in a normal season and about 6,500 at peak.
Istar Digital Dental Lab is an FDA-registered establishment (Registration Number 3039441248), which you can look up in the FDA establishment registration database. Our labs run an ISO 13485 quality management system, and custom-made dentures for EU clinics follow the MDR custom-made device procedure. You’re welcome to visit the factory or book a video tour.
Partial Dentures for Back Teeth FAQ
What other framework materials can we choose?
Vitallium alloy and pure titanium, alongside our standard cobalt-chromium. For a patient with a cobalt or chromium sensitivity, ask about titanium dentures. We never swap materials without your consent, and proof of the alloy’s composition and batch is available on request. Our metal dentures range has the full list.
Would a flexible partial work for missing molars?
It’s not our first suggestion. Flexible bases are a poor match for large coverage and heavy occlusal force. If hiding clasps is the priority, we also make flexible partials and can talk through the case with you.
Can we order the framework only?
Yes. We ship the finished framework, and your team sets and processes the teeth. It’s a good fit for clinics with an in-house lab and for labs outsourcing the metal stage.
Can you use attachments instead of clasps?
Yes, we accept partials with precision attachments. Whether the abutments get crowns is your call. Write the attachment system, type, and size on the Rx, and we’ll order parts to that specification.
Can you add a tooth later if an abutment is lost?
Usually, yes. We add denture teeth using resin of the same type and strength-test each repair before it ships. If the framework itself is involved, send photos first and we’ll tell you whether a repair or a new framework makes more sense. Other designs are on our partial dentures page.
What does the warranty cover?
One year on the whole partial, framework included. Lab-caused problems, like a partial that won’t seat, lifted borders, an off bite, or a poorly placed clasp, are adjusted or remade free. If you change the basic requirements, or ask us to go ahead on an impression we’ve flagged as unclear, the remake is charged. You pay to send the case in, and we pay to ship finished work back, remakes included.
Can you rush a case like this?
Rush service is free for clients who send us 10 or more cases a month, for any material or case type. We guarantee the ship date. We can’t guarantee the arrival date, because customs times vary.
How is pricing handled?
We don’t publish prices on the website. Ask for our price list, and we’ll quote each case item by item. Single trial cases are welcome, and ongoing partnerships suit clinics with a regular case flow.
Send Us Your Next Back-Tooth Case
Got upper molars starting to drop over a lower free end? Send the case with both arches. We’ll survey it, measure the space, and send you the design before we make anything.