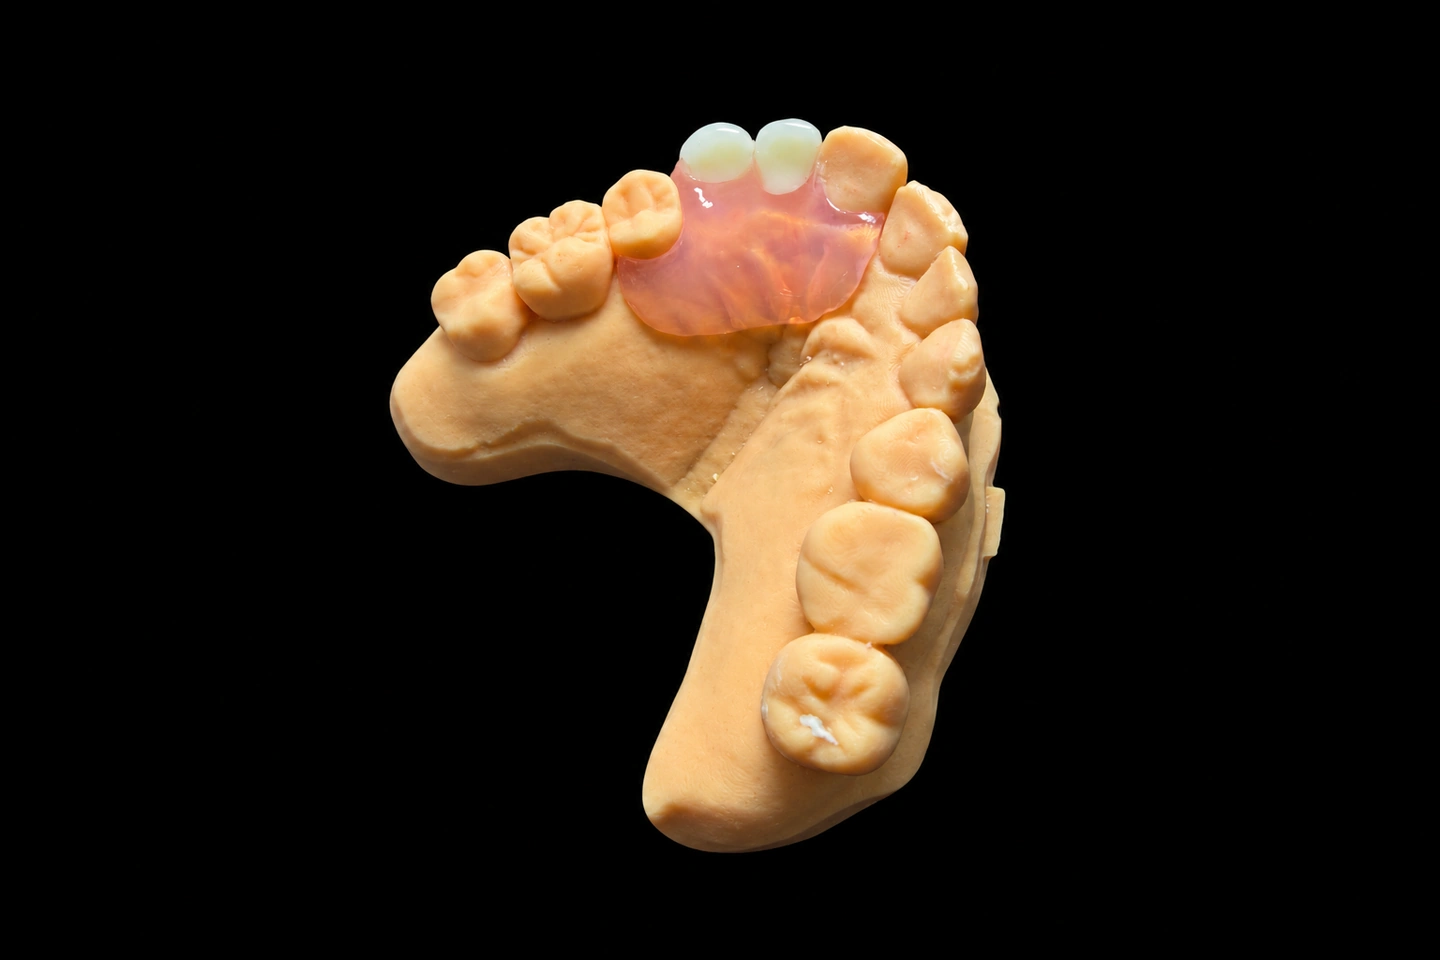
Patient Situation
The patient lost the four upper incisors after a fall and had worn an acrylic interim partial ever since. It did its job, but the wire clasps on the canines showed every time the patient smiled, and the acrylic base had cracked twice . The patient also felt it changed their speech, since it covered most of the palate .
The dentist decided on a long-term removable partial on a metal framework. That choice, and the reasons for it, were the dentist’s. Our part in these partial dentures for front teeth started when the records arrived. Here’s what they showed:
What the Dentist Asked For
The Rx for these front teeth dentures was short and clear. In the dentist’s words, condensed :
Requirements 2 and 3 pull against each other. Hiding metal pushes retention away from the front. Lip support adds bulk at the front, and bulk at the front makes the partial want to tip.
The Technical Problems in These Front Teeth Dentures
Most partial dentures for front teeth come down to esthetics, retention, and the bite. In this case, all three were tight at once.
The canines are in the smile, and so are their undercuts
On a tooth-supported anterior partial, the canines are the natural abutments. They’re long-rooted, they sit right next to the gap, and their facial undercuts are where a clasp tip usually goes. In this smile, anything on the facial side of a canine would show, and so would the gum above it.
The ridge had moved back
When the incisors were lost, the ridge resorbed toward the palate. That happens a lot after trauma, and it’s what makes front teeth dentures hard to set. Set the denture teeth on the ridge crest and they’d sit too far back, the lips would fall in, and the necks of the teeth would look long. Set them where the lips need them and you have to fill the space under them with acrylic, which brings back the thick pink band the dentist didn’t want.
Retention at the back, load at the front
Move the clasps to the back teeth and the retention ends up far from the denture teeth. Biting into food pushes the front of the partial up into the ridge. Sticky food pulls it down and away. With retention only at the back, the front segment has room to rotate in both directions.
Palate coverage and speech
The patient’s old interim covered most of the palate. A cobalt-chromium framework can be much thinner, but on front partial dentures the front palate is where the tongue works for “s” and “t” sounds. Every millimeter of metal or acrylic behind the incisors had to earn its place.
Retention Options We Weighed
We surveyed the master model before deciding anything. With partial dentures for front teeth, the survey tells you which designs are even possible. Here’s how each option held up against this smile and these teeth:
| Option | What it offers | Why we passed on it, or chose it |
|---|---|---|
| Circumferential clasps on the canines | Strong, simple retention right next to the gap | Facial arm in full view. Passed. |
| I-bars on the canines | Approaches from the gum side and crosses less tooth | The approach arm runs over gum that shows at full smile. Passed. |
| Wire clasps on the canines | Flexible, easy to adjust | This is what the old interim used, and what the patient wanted gone. Passed. |
| Rotational path of insertion | Can leave the front with no clasp at all, as shown in this rotational path case report | Needs usable undercuts on the canines’ mesial surfaces. The survey showed them too shallow for the rigid connectors to engage . Passed. |
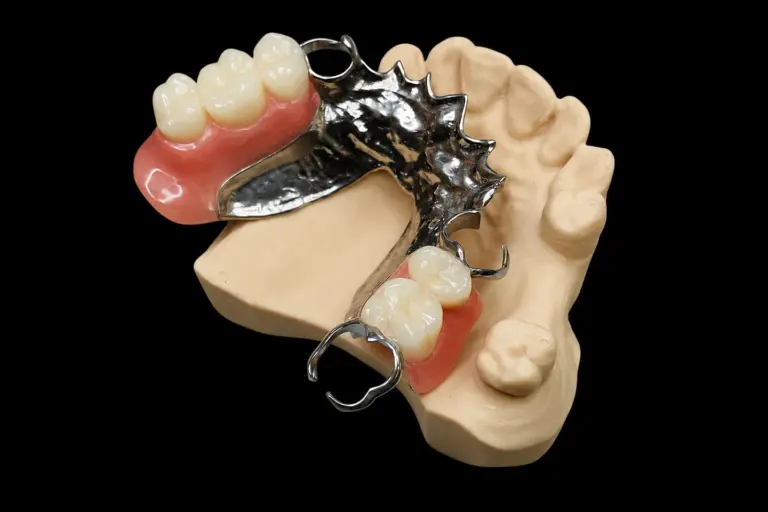
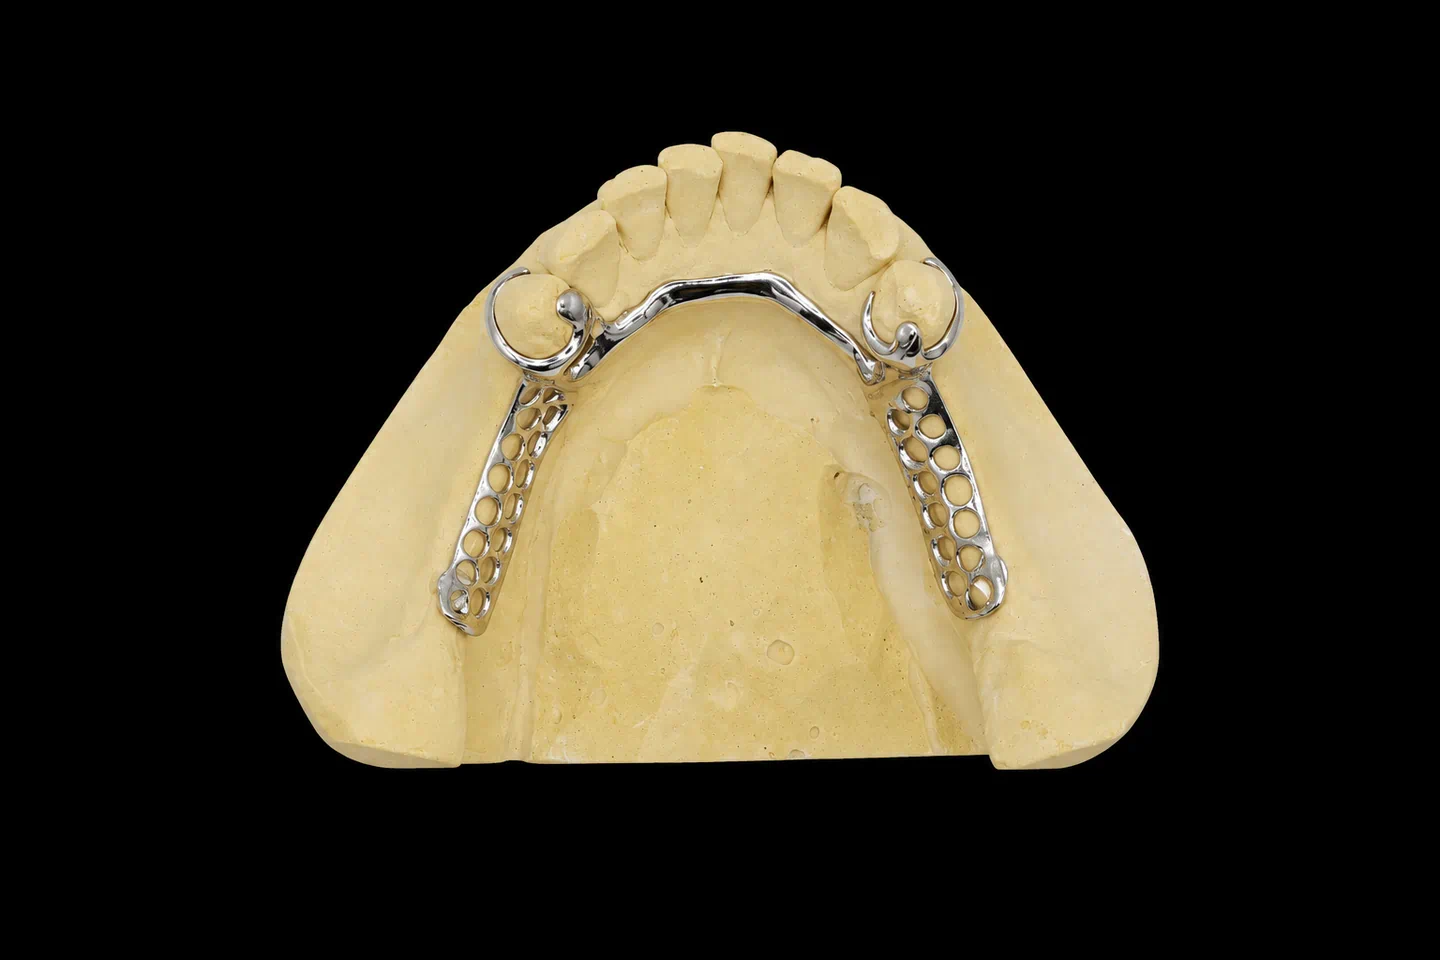
| Clasps on the first molars, rests and proximal plates on the canines | Retention outside the smile; canines still give support and guidance | Chosen, and sent to the dentist for approval. |
Esthetic clasp designs for canines, such as lingual retention or modified clasp forms, depend heavily on each tooth’s anatomy. That’s why the survey came first and the design came second.
We didn’t suggest a flexible base instead. The Rx called for a rest-supported metal framework, and we don’t switch materials without the dentist’s consent anyway.
How We Met Each Requirement
Each line of the Rx turned into a specific design decision on these partial dentures for front teeth:
| Dentist’s requirement | What we did | How we checked it |
|---|---|---|
| Co-Cr framework, tooth-supported | Cingulum rests on #6 and #11, occlusal rests on #3 and #14, in the prepared rest seats | Rests fully seated on the master model; confirmed again at framework try-in |
| No facial metal at full smile | Retentive clasp arms on #3 and #14 only. The canines carry rests and proximal plates, with no facial arm | Design screenshot checked against the full-smile photo |
| Lip support, natural gum line | Teeth set to the old interim’s facial position; thin, shaped facial flange | Wax try-in, photos with the setup in place |
| Shade and form | VITA A3 teeth, shaped to the canines and the photos | Shade photo and wax try-in |
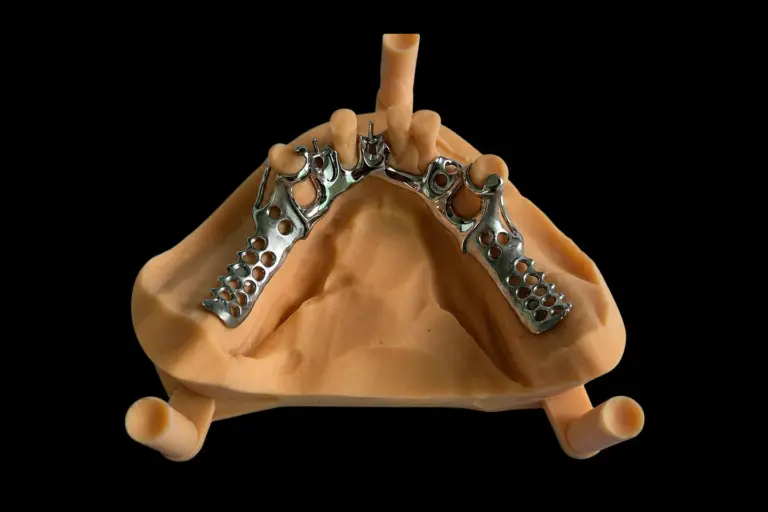
| Open front palate | Palatal strap across the premolar–molar area; front palate left clear except the mesh border and the canine connectors | Design approval |
| Framework and wax try-ins | Three stages, each shipped separately | Dentist sign-off at each stage |
| Each stage within 7 working days | Stage times tracked from receipt of each return | See the timeline below |
Hiding the canine plates
A proximal plate on a guide plane does two jobs. It steers the partial onto the same path every time, and the friction along the plate adds retention right next to the gap.
The catch with front partial dentures is that metal on a canine’s mesial surface can catch the light from an angle. We kept each plate short of the facial line angle, and shaped the neighboring denture tooth (#7 and #10) to overlap it slightly, so the metal sits behind acrylic when viewed from the front .
Building lip support without a thick flange
We took the facial position of the teeth from the old interim. The patient was used to that lip support, and the photos showed it worked.
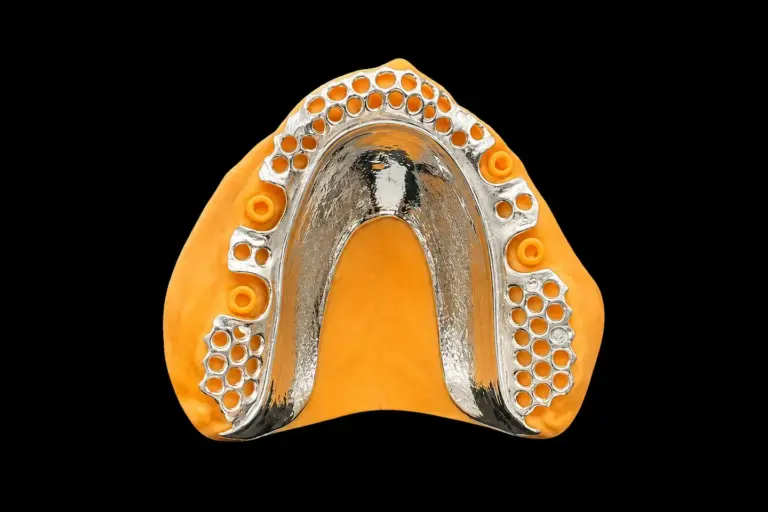
The flange under the teeth follows the ridge contour instead of filling it flat. We thinned it toward the vestibule and shaped root eminences into it, so it reads as gum rather than a block of acrylic . The retention mesh runs along the ridge crest, and the acrylic is held by mechanical retention on a sandblasted, degreased surface.
Keeping the bite off the front
This is how we dealt with the rotation problem. Front teeth dentures take more leverage than their size suggests, because the bite lands far from the clasps. The denture teeth touch lightly in the closed position. In forward movement, the natural canines share the guidance, so the lower incisors don’t drive into the denture teeth on their own . Less force on the front means less leverage on molar clasps that sit far back.
How We Made These Front Partial Dentures
Stage 1: Survey, design approval, and framework
The dentist tried the framework in, found it seated with no rocking, and sent it back with a VPS bite record taken with the framework in place .
Stage 2: Wax try-in
The wax try-in is where front teeth dentures get their final look. We set the four incisors in wax on the framework, matched to the shade photo and the old interim’s facial position. At try-in, the dentist checked looks, midline, tooth position, bite, speech, and stability.
One change came back: shorten the incisal edges of #8 and #9 by about 1 mm , because they pressed into the lower lip on “f” and “v” sounds. Lip support and the flange were approved as set . This stage shipped on working day 3 .
Stage 3: Processing and final inspection
The Finished Partial Dentures for Front Teeth
Every point on the Rx had a check behind it at final inspection:
At delivery, the dentist reported that these partial dentures for front teeth seated at the first appointment. One small pressure spot on the flange was eased at the one-week check .
Here’s what this partial won’t do. Like any removable partial, it’s a device with a limited service life, not a permanent replacement. The ridge will keep changing slowly, and the fit with it. The American College of Prosthodontists sets out when a partial should be evaluated for replacement, including the loss of a supporting tooth or more than five years of use. The dentist plans the recalls.
Sending Partial Dentures for Front Teeth Like This One
If your patient needs front teeth dentures and has a high smile line or a resorbed anterior ridge, these records let us run the same checks before anything is made:
Most metal partial cases spend 5–7 working days in the lab, and simple ones 2–3, counted from the day we receive complete records. Each stage of a staged case is scheduled separately, and time spent waiting for approval or try-in isn’t counted. For other materials and designs, see our full range of partial dentures and metal dentures.
Who Made It
These partial dentures for front teeth were made in our removable department, a team of about 55 technicians inside Istar Digital Dental Lab’s four labs in Shenzhen and Huizhou, China. Istar Digital has been making dental restorations since 2012 and has about 460 staff. Design, framework fabrication, setup, processing, and finishing all happen in our own labs. Nothing is outsourced. A separate QC team of about 25 inspects work before it ships.
The removable line handles about 4,000 cases a month in a normal season and about 6,500 at peak. Istar Digital Dental Lab is an FDA-registered establishment (Registration Number 3039441248), which you can verify in the FDA establishment registration database. Our labs run an ISO 13485 quality management system, and custom-made dentures for EU clinics follow the MDR custom-made device procedure. You’re welcome to visit the factory or book a video tour.
Front Partial Dentures FAQ
Can you make the same design in titanium?
Yes. For front partial dentures on a patient with a cobalt or chromium sensitivity, we make titanium dentures on pure titanium frameworks, with the same try-in options. Titanium is less stiff, so connectors need more bulk and clasps hold with less force. We’ll tell you how that changes the design before we start. For the standard alloy, see our cobalt-chromium partial dentures.
Can we order the framework only?
Yes. We ship the finished framework on the master model, and your team sets and processes the teeth. It works well for clinics with an in-house lab and for labs outsourcing the metal stage.
What if the patient would rather have attachments than clasps?
We accept partials with precision attachments. Whether the abutments get crowns is your call. Write the attachment system, type, and size on the Rx, and we’ll order parts to that specification.
Can a tooth be added later if an abutment is lost?
Usually, yes. We add denture teeth to the acrylic using resin of the same type and strength-test each repair before it ships. If the change involves the framework itself, send photos first and we’ll tell you whether a repair or a new framework makes more sense. If the patient prefers a metal-free option at that point, we also make flexible partials.
What does the warranty cover?
Metal partials carry a 1-year warranty covering the whole partial, framework included. Lab-caused problems, such as a partial that doesn’t seat, lifted borders, an off bite, the wrong gum color, or a clasp placed where it spoils the patient’s smile, are adjusted or remade free. You pay to send the case in, and we pay to ship finished work back, remakes included.
Can you rush a case like this?
Rush service is free for clients who send us 10 or more cases a month, for any material or case type. We guarantee the ship date. We can’t guarantee the arrival date, because customs times vary.
How is pricing handled?
We don’t publish prices on the website. Ask for our price list, and we’ll quote each case item by item, so a framework-only order and a fully staged case are priced for what they are. Single trial cases are welcome, and ongoing partnerships suit clinics with a regular case flow.
Send Us Your Next Front-Tooth Partial
Send your next case of partial dentures for front teeth as a test case, with impressions or scans, photos, and Rx. We’ll survey it and send you the design before we make anything. You can also request our price list or book a factory or video visit.