The situation
The central had come out cleanly, and the socket was healing on schedule. What made the case awkward was the tissue.
The patient had a thin biotype — roughly a millimetre of keratinised tissue over the facial aspect of the ridge, with the mucogingival junction sitting high. Thin tissue does not forgive pressure. Push an ovate pontic into it the way you would into a thick biotype and the margin migrates apically over the following weeks. By the time the implant is placed, the site has lost the contour the provisional was supposed to protect.
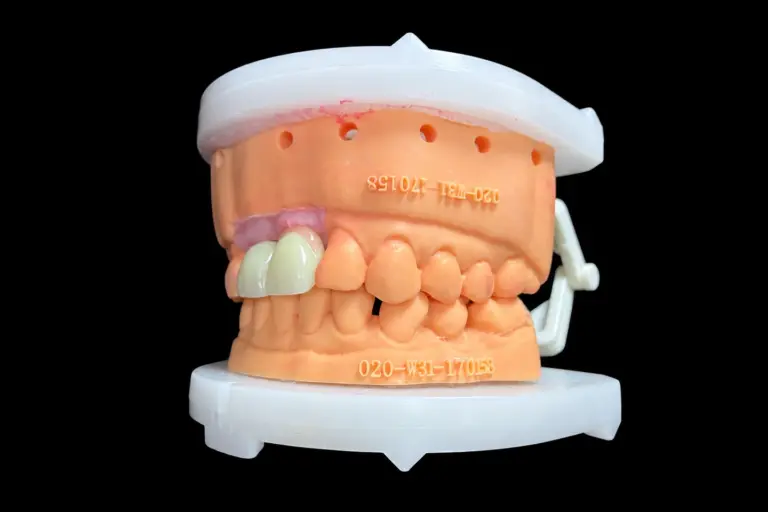
A second constraint sat on top of the first: both adjacent teeth were already crowned. That was good news for prep conservation — no further reduction was needed, and the provisional could be cemented directly onto the existing restorations. It also meant the emergence profiles were fixed by someone else’s work, and the pontic had to reconcile with them.
What the dentist sent
The case arrived as a physical package: a dual-arch PVS impression, a silicone bite registration, and a shade tab selected against the neighbouring crown rather than picked off a guide. That last detail matters more than it looks. When the adjacent teeth are already restored, those restorations are the shade reference the patient actually sees — a tab chosen in the hand is a starting guess at best.
The prescription ran to four lines:
Three-unit interim, #8 region. Adjacent crowns in place — do not prep. Ovate pontic, but the tissue is thin, so use your judgement on depth. Patient is in the aesthetic zone. Please maintain the site for the implant.
That phrase — use your judgement on depth — is the whole case. It is also the reason this page exists.
Also in the envelope: a note that the patient was due to present at a wedding six weeks out, which set the delivery date. Everything else about the case was flexible. That was not.
What did not arrive is worth listing, because those gaps shaped what could be decided at the bench and what had to be confirmed in the mouth:
One email went back before anything was cut, asking two questions.
The first: had the tissue blanched under finger pressure at the previous visit, and for how long. That answer narrowed the depth — a tissue that blanches and stays blanched has less reserve than one that blanches and rebounds, and it is the rebound case that can take a deeper pontic. The temporary bridge was set from that end of the range rather than the other.
The second: whether the surgeon planned a guided or freehand placement. That did not change the design of this bridge, but it told us the implant would be positioned conventionally rather than by template, which is part of why the pontic profile was left conservative instead of being shaped down to a narrow platform.
Nothing else needed chasing. No unusual materials requested, no special finishing, no rush beyond the date.
The decision
A textbook ovate pontic design presses into the soft tissue by two to three millimetres. The convex intaglio surface displaces the ridge and, in effect, moulds a socket where the implant will eventually emerge. Published case work on the technique describes exactly this: the pontic is shaped to sit in the tissue rather than on it, and the resulting contour is the one the implant restoration inherits four months later. That depth works when the temporary bridge is supporting healthy, thick tissue.
That technique assumes the tissue can take the load. Where the biotype is thin, the assumption breaks. Press two to three millimetres into a one-millimetre biotype and you are not moulding the site — you are compressing it past its blood supply and waiting for it to recede.
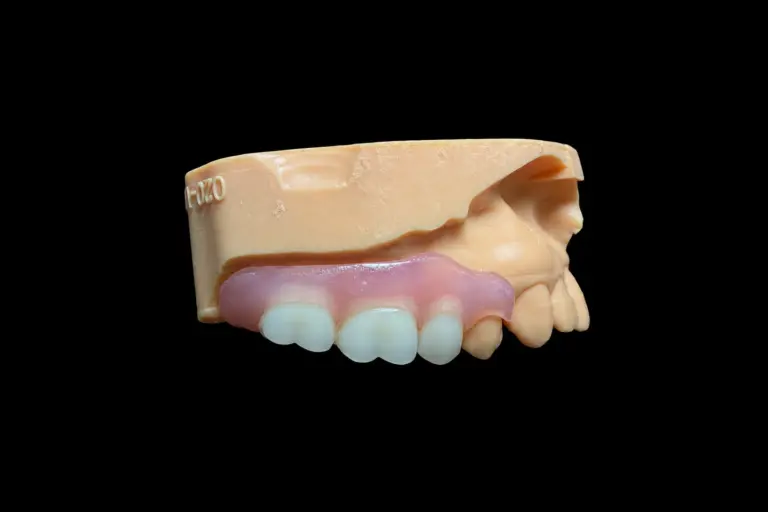
So the decision was to build a modified ovate: same convex tip, same intention, but shallower engagement. The tip was set to press in by roughly one millimetre at its deepest point, with the contact concentrated on the middle third of the ridge rather than spreading across the whole facial aspect. Enough to hold the contour open. Not enough to blanch the tissue.
Two things followed from that.
First, the pontic had to be wider buccolingually than a standard ovate, because shallower engagement means less mechanical grip on the ridge. The extra bulk came from the palatal side, not the facial — the facial contour stayed where the adjacent crowns said it should be.
Second, the tissue contact had to be verified against something other than the cast. A stone model cannot tell you whether a pontic blanches living tissue. The interim bridge was shipped with a note asking the dentist to check the site at seating and again at one week, and to report back if the margin had moved.
How it was made
Once the pontic depth was settled, the case moved through the standard production line with one technical deviation built in.
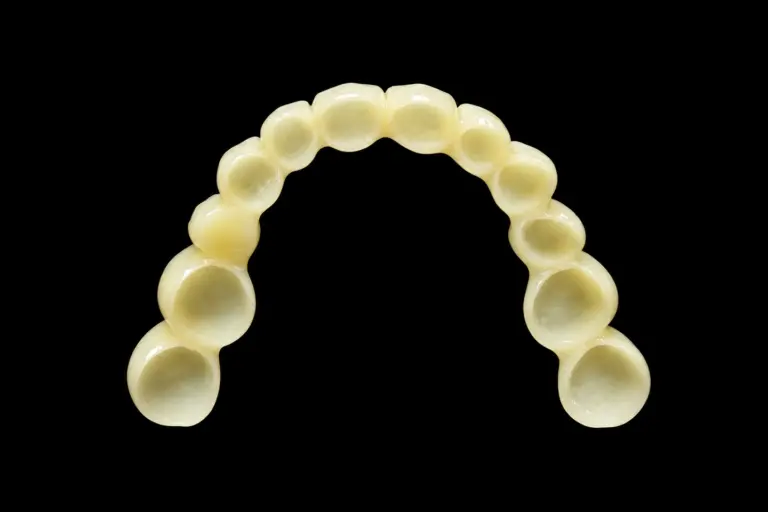
Digital design came first. The impression was scanned, and the design was built against the neighbouring crown margins as the reference plane. Because those restorations had already fixed the emergence profile, the pontic was drawn to meet them rather than to impose its own. The modified ovate contour was modelled digitally: convex tip, shallow engagement, contact concentrated on the middle third. A senior design technician reviewed the file before it was released to milling — that step is standard for anterior cases, but it matters more when the pontic design is outside the software’s built-in library.
Material was milled PMMA, specifically an Aidite blank, with Ivoclar Telio CAD held as the alternate if the first choice had been out of stock. Not hand-layered acrylic. Two reasons, both practical: milled PMMA holds its marginal fit through the four-month service period without creeping, and it resists staining better than a bis-acrylic build-up. A PMMA temporary bridge is also the material most dentists expect for a temporary bridge front teeth case that has to look right in the aesthetic zone for months.
Milling was done on a five-axis machine. The intaglio surface came off the mill convex but shallow — about a millimetre of intended engagement at the deepest point, concentrated on the middle third of the ridge. The connectors came out at 3.2 mm by 4.0 mm, above the minimum the material’s own instructions specify. That clearance matters for a temporary bridge front teeth case, because the provisional will be removed and reseated at least once before the implant goes in, and undersized connectors are where temporaries fracture under that repeated handling.
Finishing was conservative. The margins were polished but not over-polished — a slightly rougher emergence reduces the chance of the provisional locking onto the abutment crowns and pulling them loose at removal. The pontic tip was hand-finished with fine abrasive to smooth the contact surface without changing the shape. Occlusion was set to light contact in maximum intercuspation and cleared in excursions, with all guidance left on the canines. Shade was verified under consistent lighting against the tab that had come with the case.
Quality control ran three checkpoints. The first was at file release, when the design was checked against the prescription. The second was after milling, when the bridge was test-seated on the working cast to verify margin closure and pontic position. The third was at final inspection, when an independent quality-control technician — not the technician who had made it — checked the finished bridge against a written checklist: margins, connectors, occlusion, pontic contour, shade, polish, and no cracks or voids. That final check is done by a separate quality team, which is how the internal first-pass rate stays above ninety-five per cent.
Every case is assigned a unique order number at intake, and that number binds the case to the technician who designed it, the machine that cut it, the material batch, and each quality checkpoint. That traceability runs both ways: forward to the shipped case, and back to the raw material lot if something needs investigating later.
Total fabrication time was under three hours of machine and bench work. The three-day turnaround from impression arrival to shipment was calendar time, not labour time, and it included the email round-trip on pontic depth before the design was locked.
What was delivered
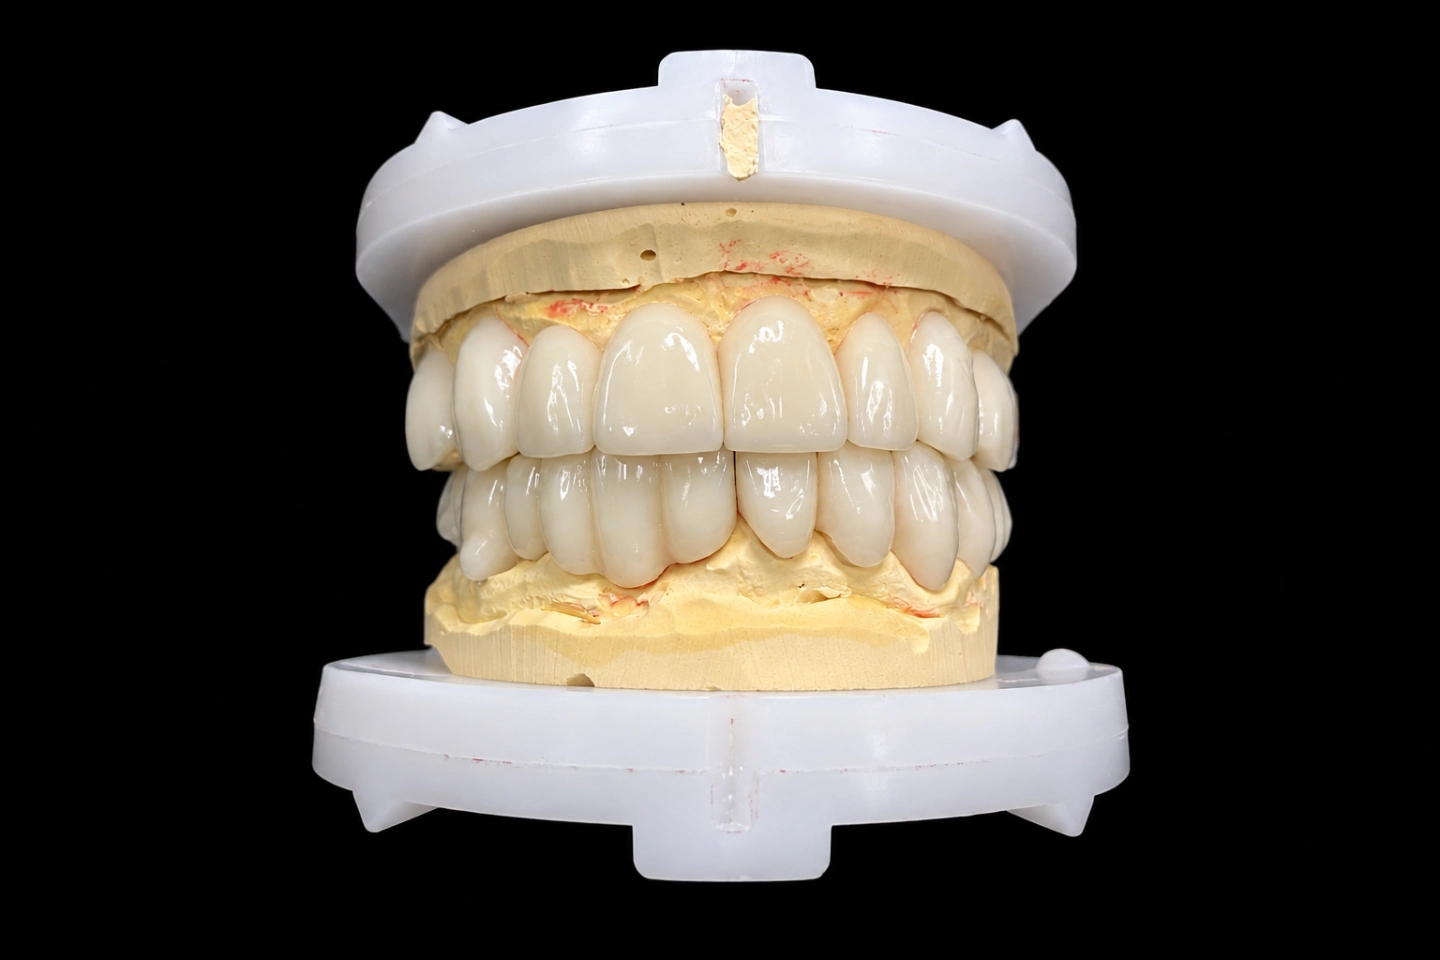
The bridge went out in a sealed, transparent cushioned pouch. Inside: the three-unit temporary bridge front teeth provisional seated on its working cast, the original impression returned, the bite registration, and a one-page instruction sheet printed on card stock.
Packaging was deliberate. The cast and bridge were wrapped together so the provisional could not shift in transit. A second layer of bubble cushioning went around the entire assembly to absorb shock. The outer package was a rigid cardboard box, because PMMA is not brittle at room temperature but it will fracture if the box is dropped on a corner. Shipment went by express carrier with tracking — not because the piece itself is expensive, but because the patient’s appointment date was fixed and there was no slack in the calendar.
The instruction sheet covered two things. First, cementation protocol: temporary cement only, and specifically not permanent cement, because permanent cement on an interim bridge is how abutment crowns get destroyed at removal. The sheet listed three temporary cement brands by name as examples — not a product endorsement, just a reference so that if a new associate in the practice opens the package, they know what “temporary” means in this context.
Second, the tissue-monitoring request. Because the pontic depth had been set conservatively and could not be verified on a stone model, the sheet asked the dentist to check the site at seating and again at one week, and to report back if the gingival margin had migrated apically. It also asked for the periodontal probing depth at the site if a reading was taken, since a clinical measurement at one week is worth more than anything that can be inferred from the cast. A temporary bridge front teeth case lives or dies on that one-week feedback.
Material documentation was included as a separate insert: the PMMA material brand (Aidite), batch number, country of origin, and a statement that material certificates are available on request. That is not required for every case, but it is required for any case that might cross a regulatory audit, and we do not know in advance which ones those will be.
Disinfection was completed before packaging. The finished bridge was cleaned and disinfected according to the material manufacturer’s protocol, then air-dried. The working cast was wiped down. That step is not optional — it is part of the standard operating procedure for every case that leaves the facility, and it has been since long before anyone asked for it in writing.
The order number was printed on the package label, on the instruction sheet, and on a small adhesive label fixed to the underside of the cast base. That number is the traceability key: it links back to the prescription, the design file, the technician who made it, the milling machine, the material lot, and the three quality checkpoints the case passed through. If something needs to be investigated six months later, that number is the starting point.
What we do not have — and will not claim — is a follow-up photograph at four months. That image belongs to the treating dentist’s records, and publishing it would require their consent and the patient’s. What this case demonstrates is the decision, the fabrication route, and the reasoning behind both. The clinical outcome is the dentist’s to document, not ours to assert.
What the patient reported
She had expected to be self-conscious about eating in front of people, and she said that expectation turned out to be wrong.
In the first hour, her attention went to two things. The first was her tongue. She kept running it over the palatal surface of the new tooth because it felt unfamiliar, and she described the contour as new rather than as too much. The second was the bite, which felt different on that side. After the adjustment, that difference disappeared, and her description afterwards was that it stopped feeling like she was biting on a separate object.
Eating was unrestricted. She cut normal food without catching on the bridge and needed no changes to how she chewed on that side. Nothing was tender, nothing loosened, and she did not use the temporary cement that people sometimes keep at home for exactly this situation.
The gum area produced the only complaint of the first day: a low-level sense of pressure where the pontic met the tissue, which faded within the first hour or two and did not return. There was no sore spot, no bleeding when she brushed across it, and nothing she described as sharp.
The appearance was, in her words, not a thing that came up. The point she made was not that it looked like a natural tooth, which she was not in a position to judge, but that it did not draw attention. Nobody at the wedding commented on it, and she found she was not checking it in mirrors the way she had expected to.
What changed was her sense of the tooth’s presence. By the second week she described it as part of the row rather than an addition to it — which is the ordinary, undramatic outcome that a well-behaved provisional is supposed to produce.
What this case means for your next one
If you are sending a temporary dental bridge front tooth case in the aesthetic zone, the depth question is worth settling before the impression ships. Whether you are working with an ovate pontic or a modified design, three things help:
The material choice rarely needs discussion. Milled PMMA covers most interim cases in the anterior, and the conversation is more useful spent on the pontic than on the blank. When this case eventually goes to its definitive stage, that is usually a zirconia crown on the implant, designed to sit in the contour this interim held open.
If you want the fabrication side of this in more detail — materials, connectors, turnaround, what we need to start — that sits on the dental lab services page rather than here. This page is about one case and one decision.
Send us the next one
If you have a temporary bridge front teeth case where the tissue is the difficult part, send it over with the prescription noted as above. We will come back with a pontic design proposal before cutting anything, so the depth question gets settled on paper rather than at seating.
We work with dental labs, clinics, and individual practitioners in the US and Europe. No minimum order and no contract — cases are fabricated one at a time, against your prescription.
FAQ
Can you decide the pontic depth without seeing the patient?
No, and we do not pretend to. We can propose a depth from the cast and the prescription, but the confirmation happens at seating. That is why the design proposal goes out before fabrication on temporary bridge front teeth cases like this one.
What if the tissue recedes anyway?
The provisional gets remade with less engagement, usually within the first two weeks. That is a remake we would cover, because the depth call was ours.
Does this apply to a bridge on natural tooth preparations rather than crowns?
Partly. The pontic logic is the same, but the emergence profile is yours to set rather than inherited, which gives more room to work with.
References
Regulatory note. An interim fixed bridge is a custom-made device fabricated to an individual dentist’s prescription. In the United States it falls under 21 CFR 872.3770 (Class II); in the EU, under MDR Annex XIII. Material certificates — brand, batch, country of origin — are supplied with each case on request.