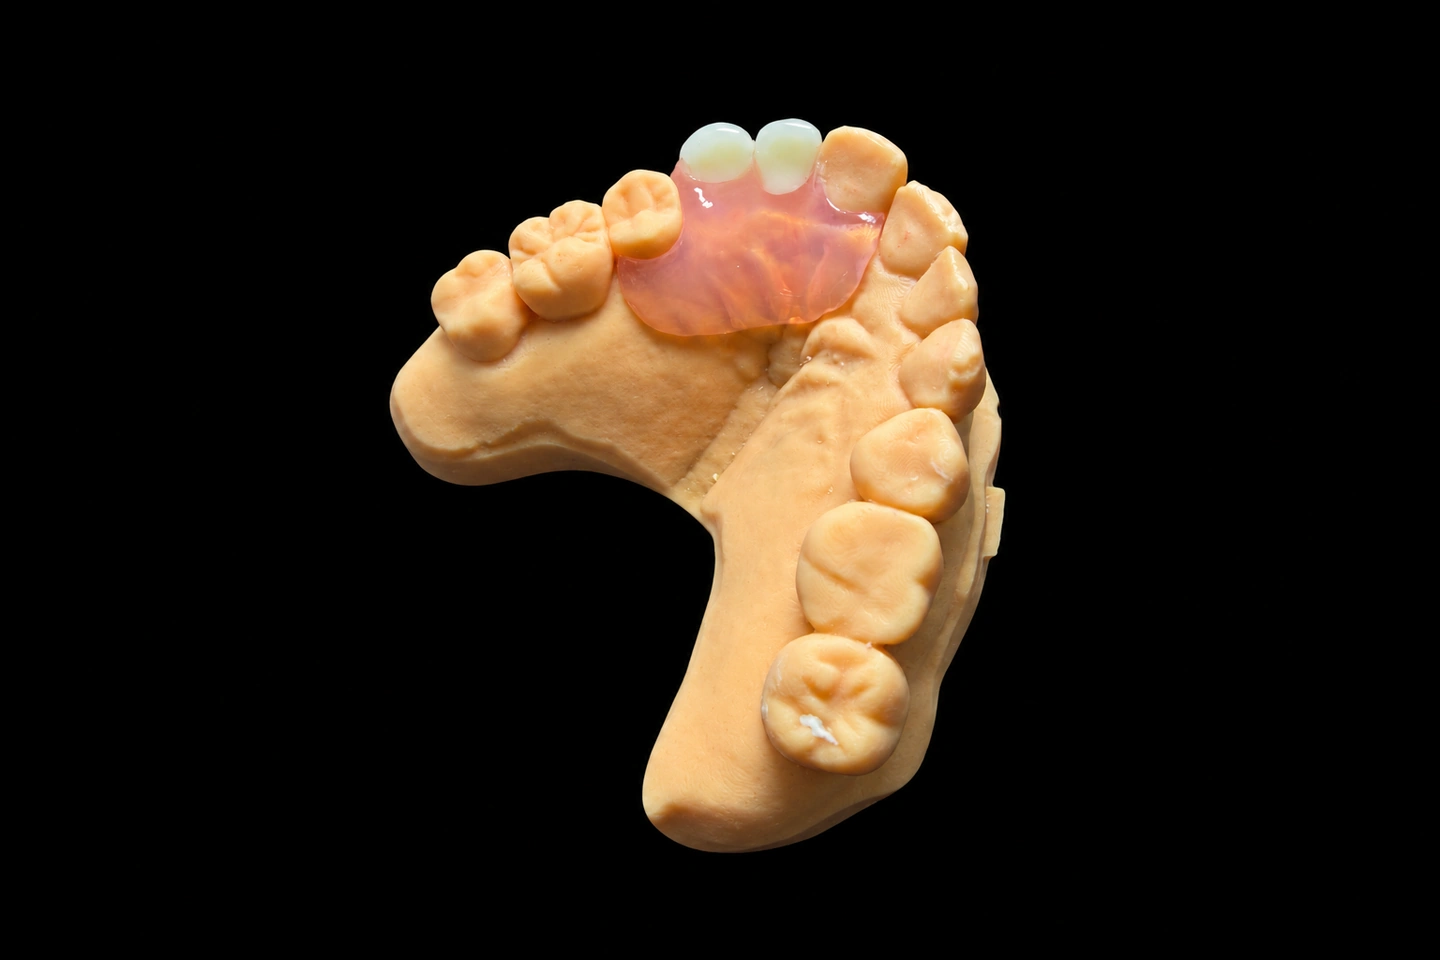
Patient Situation
The patient had worn an acrylic interim partial since the extractions. It cracked twice behind the front teeth, in the same spot where the lower teeth close . That told us where the trouble was before we even opened the box.
Here’s what the records showed for these metal dentures for front teeth:
The pre-extraction scan mattered a lot. It showed where #8 and #9 used to stand, and the dentist wanted that position back.
What the Dentist Asked For
The Rx for these metal partial dentures for front teeth, in short :
Requests 3 and 4 are where it got tight. Request 3 fixes where the front of each tooth goes. Request 4 fixes where the lower teeth land behind it. Whatever we build has to fit in the space between those two.
Why the Usual Build Didn't Fit in This Metal Front Partial Denture
How front teeth usually go on a metal partial
On most metal front partial dentures, an acrylic denture tooth sits on a metal mesh. Acrylic flows through the mesh and locks the tooth on. That needs room behind the tooth for three things: the mesh, the acrylic around it, and the tooth’s own palatal wall.
For this case we planned on about 2.0 mm behind each tooth for the mesh and acrylic, plus at least 1.0 mm for the tooth itself. That’s 3.0 mm in total, measured where the lower teeth touch.
What we measured
We mounted the models with the VPS bite and set #8 and #9 to the pre-extraction scan. Then we measured from the planned labial face of each tooth to the lower incisal edge, at the contact point :
| Tooth | Room at the lower contact | Needed for a tooth on mesh | Short by |
|---|---|---|---|
| #8 | 2.4 mm | 3.0 mm | 0.6 mm |
| #9 | 2.6 mm | 3.0 mm | 0.4 mm |
So both teeth came up short. Built the usual way, we’d have had to grind the denture teeth thin from behind, and the mesh would end up right under the surface where the lower teeth hit.
Why that matters
That’s the same spot where the interim cracked. Problems with denture teeth and acrylic show up among the most reported technical complications of partial dentures in a 2023 systematic review of technical complications. The review found the data too mixed to give a single rate. For us, the lesson was simpler: don’t put thin acrylic where a lower tooth hits it every time the patient closes.
The Options We Sent Before Making Anything
Before we made any part of these metal front partial dentures, we sent the dentist the measurements, the cross-sections, and four options :
| Option | What changes | Trade-off |
|---|---|---|
| A. Build to the Rx as is | Denture teeth ground thin behind, mesh close to the surface | Thin acrylic right where the lower teeth land. Same weak spot as the interim |
| B. Cast metal backings | Metal palatal surfaces on #8 and #9, cast as part of the framework. Acrylic facings in front | Polished metal behind the two teeth, seen in a mirror. Nothing changes from the front |
| C. Move #8 and #9 forward | Teeth set 0.6 mm (#8) and 0.4 mm (#9) more labial | More lip support than before, and the teeth look pushed out |
| D. Change the lower teeth or the bite | The dentist shortens #24 and #25, or opens the bite | Changes healthy teeth or the patient’s bite. Request 4 said no |
Option B keeps both requests. The front of the teeth stays where the scan put it, and the bite stays where it is. Only what’s behind the teeth changes. A cast backing does in 0.8 mm what mesh and acrylic can’t do in 2.0 mm.
We recommended B and said why. The call was the dentist’s, as it is on every case. They approved B in writing the same day . If they had wanted option A, we’d have built it to the Rx after flagging the risk.
How We Met Each Requirement
Each line of the Rx turned into a design choice on this metal front partial denture:
| Dentist’s request | What we did | How we checked it |
|---|---|---|
| Co-Cr, tooth-supported | Cingulum rests on #6 and #11, occlusal rests on #5 and #12 | Rests fully seated on the master model and at framework try-in |
| Clasps on #5 and #12 | Placed as drawn on the Rx | Design preview approved by the dentist |
| Teeth where they were | Facings set to the pre-extraction scan | Scan overlay at design and wax try-in |
| Keep the bite | Backings shaped to the lower contacts as mounted. No change to vertical | Articulating paper on the mounted models and in the mouth |
| Shade A2 | Facings in A2 , shaped to #7 and #10 | Shade photo and wax try-in |
| Won’t crack behind the teeth | Lower teeth close on metal, not acrylic | Contact marks checked at every stage |
| Two try-ins | Framework, then wax | Dentist sign-off at each stage |
The metal backings
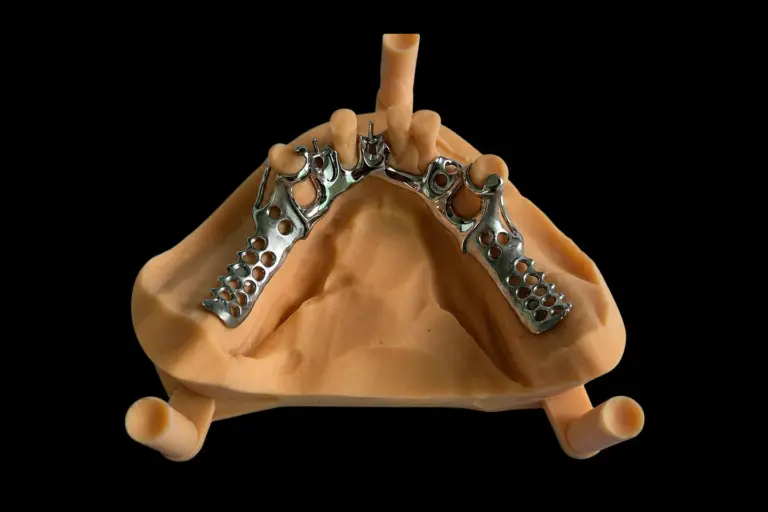
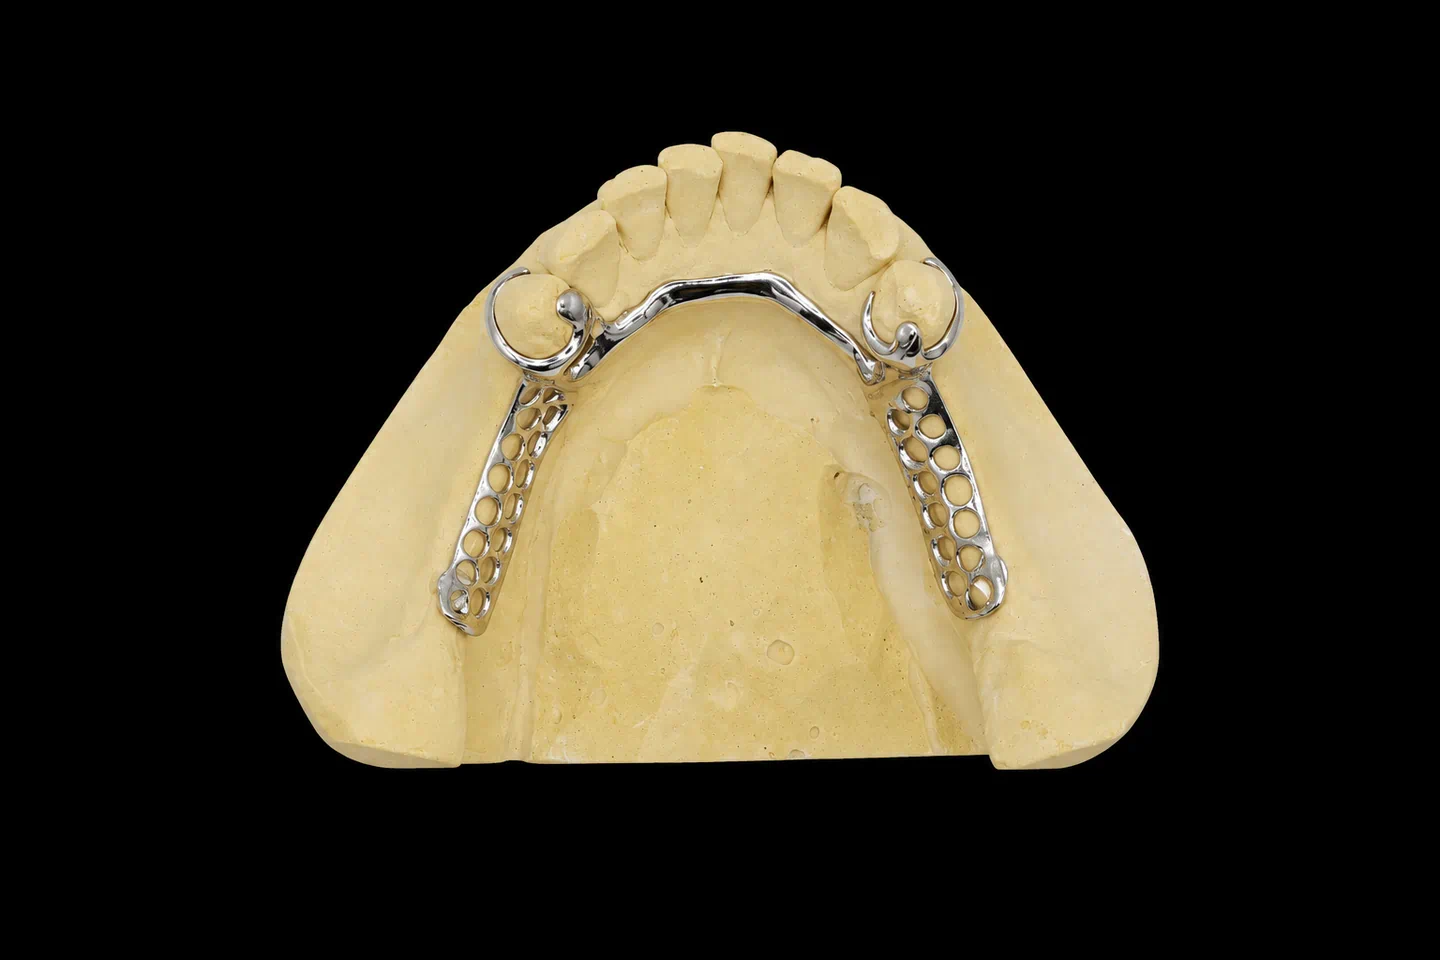
Each backing is a cast palatal surface for one tooth, joined to the framework . Here’s how we set them up:
Holding the bite, not changing it
The Rx said keep the bite. So the backings copy where the lower teeth already close on the mounted models. We didn’t add contacts or take any away. #24 and #25 now land on polished metal, at the same spots they touch on the mounted models.
How We Made These Metal Partial Dentures for Front Teeth
Stage 1: Design, approval, and framework
Stage 2: Framework try-in
The framework seated with no rocking . One thing came back. In a forward slide, #25 hit the #8 backing harder than #24 hit #9 . The dentist sent a VPS protrusive record .
We remounted with that record and smoothed the #8 backing along the slide path by 0.2 mm . It’s still 0.6 mm thick there . The contacts in the closed bite didn’t move.
Stage 3: Wax try-in
We set the two facings in wax on the backings, matched to the pre-extraction scan and the shade photo. The dentist checked the look, the midline, lip support, speech, the bite, and stability .
Lip support and tooth position were approved as set. One change came back: round the incisal corners of #8 and #9 a little to match #7 and #10 . This stage shipped on working day 2 .
Stage 4: Processing and final checks
The Finished Metal Dentures for Front Teeth
Design targets vs what we measured
What the dentist told us at delivery
In short :
Here’s what this partial won’t do. It’s still a removable partial. The ridge under it will keep changing, and the dentist plans the recalls. There’s no long-term follow-up on this case yet .
Sending Metal Front Partial Dentures to Us
If you’re planning metal dentures for front teeth in a deep bite, here’s what helps us measure the room before we design anything:
Most metal dentures spend 5–7 working days in the lab, and simple ones 2–3. Each stage of a staged case is scheduled on its own. Metal partials carry a 1-year warranty covering the whole partial, framework included. A partial that doesn’t seat, a lifted border, an off bite, or a clasp placed where it spoils the smile gets adjusted or remade free. You pay to ship the case to us, and we pay to ship finished work back, remakes included.
For the standard alloy, see our cobalt-chromium partial dentures. For other bases and designs, see our full range of partial dentures.
Who Made It
These metal partial dentures for front teeth were made in our removable department, about 55 technicians inside Istar Dental Lab’s four labs in Shenzhen and Huizhou, China. Istar has been making dental restorations since 2012 and has about 460 staff. Design, metal work, setup, processing and finishing all happen in our own labs. Nothing is outsourced. A separate QC team of about 25 does the final release.
Istar Dental Lab is an FDA-registered establishment, Registration Number 3039441248. You can check it in FDA’s establishment registration database. Our labs run an ISO 13485 quality management system, and custom-made dentures for EU clinics follow the MDR custom-made device procedure. You’re welcome to visit the factory or book a video tour.
Metal Partial Dentures for Front Teeth: FAQ
What if I'd rather keep acrylic behind the teeth, even with little room?
Then we make it to your Rx. We’ll flag the risk first, and you don’t need to sign anything. But problems that come from that design, remakes included, aren’t on us.
Can you make the framework in titanium?
Yes. We make titanium dentures on pure titanium frameworks, with the same try-in options. Titanium is less stiff than cobalt-chromium, so we’ll tell you how that changes the design before we start.
Can we order the framework only?
Yes. We ship the finished framework, backings included, on the master model, and your team sets and processes the teeth.
Do you take rush cases?
Yes, at no extra charge, for clients who send 10 or more cases a month. We guarantee the ship date. The arrival date depends on customs, so we can’t guarantee that.
How is pricing handled?
We don’t publish prices on the website. Ask for our price list, and we’ll quote each case item by item. Single trial cases are welcome, and ongoing partnerships suit clinics with a regular case flow.
Send Us Your Next Front Partial
Got a front case where the lower teeth close tight behind the gap? Send us the impressions or scans, a VPS bite and your Rx as a test case. We’ll mount it, measure the room and send you the design before we make anything. You can also request our price list or book a factory or video visit.