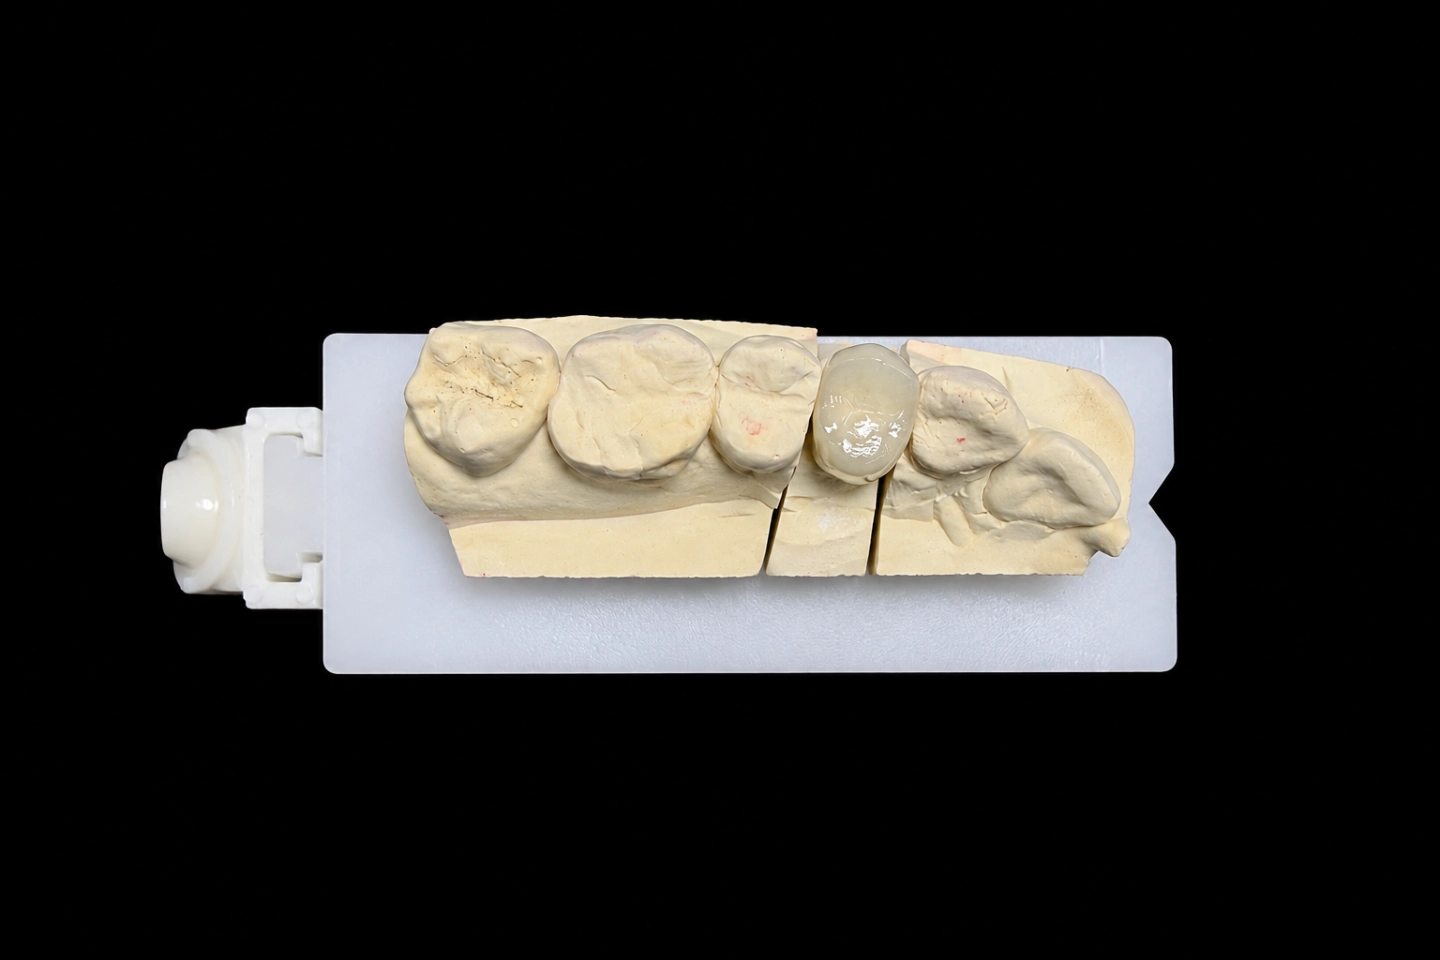
Patient Situation
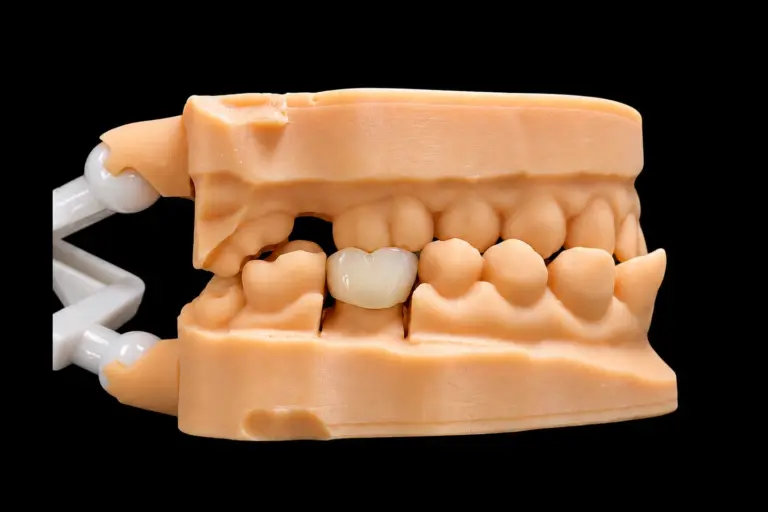
The patient lost #7 years ago and has worn a removable flipper since . They wanted something fixed, and the dentist and the patient settled on a bridge. Here’s what the scan and the dentist’s notes showed going into this PFM bridge anterior case:
That bite detail matters most. On an anterior PFM bridge, the joints take sideways load every time the patient bites into something. And here, the lower teeth sit right on top of the spot where one of those joints has to be thick.
What the Dentist Asked For
The Rx, in short :
In this PFM bridge anterior case, requests 4 and 6 pull against a strong joint at #7/#8. Request 4 fixes how tall the joint can be. Request 6 fixes how deep it can go toward the palate. That was the job.
Why this anterior PFM bridge is PFM
That was the dentist’s call, not ours. Their reasons, from the Rx notes: the deep bite puts real load on the joints, and they wanted metal in them . Our part was to make the metal in this anterior PFM bridge big enough where it counts.
The Technical Problem in This PFM Bridge Anterior Case
How thick a front connector needs to be
Depth is what holds an anterior joint together. A standard metal-ceramic bridgework chapter puts it plainly: double the depth of a connector and it gets about eight times stronger. It gives 2.5 mm by 2.5 mm as the minimum for an anterior connector, and it notes that not enough depth is a frequent reason front joints break.
For this bridge we set a target of at least 6 mm² of metal at each joint . We set it before measuring anything.
What we measured
With the embrasures mirrored from #9 and #10 and the bite as scanned, here’s what each joint had room for :
| Joint | Height (gum to incisal embrasure) | Metal depth (porcelain all around) | Metal cross-section | Meets 6 mm²? |
|---|---|---|---|---|
| #6/#7 | 2.9 mm | 2.7 mm | 6.4 mm² | Yes |
| #7/#8 | 2.5 mm | 2.2 mm | 4.5 mm² | No |
So the problem sat at one joint, #7/#8.
Why that joint came up short
Height was capped at both ends. The tall papilla took the bottom, and the open incisal embrasure the Rx asked for took the top.
Depth was capped by the bite. #26 closes right on the palatal side of that joint. The outer shape couldn’t get any thicker there without hitting it. And inside that shape, porcelain had to wrap the metal on the palatal side too. Our front porcelain runs 1.0–1.5 mm thick, and the coping under it 0.3–0.5 mm. That porcelain layer eats straight into the metal’s depth.
Thinning the porcelain to fit wasn’t an option. Thin porcelain over a joint is how you get a crack.
The Options We Sent Before Making Anything
For this anterior PFM bridge, we sent the dentist a design preview with the joint measurements, the contact marks from #25 and #26, and four options :
| Option | What changes | Metal at #7/#8 | The trade-off |
|---|---|---|---|
| A. Shallower incisal embrasure | The #7/#8 contact moves about 1 mm toward the edge | 6.3 mm² | That corner looks squarer than the #9/#10 side, and it shows when the patient smiles |
| B. Push the joint toward the gum | Joint grows about 0.6 mm into the papilla space | 5.6 mm² | Presses on the papilla, harder to floss. Still under target |
| C. Metal palatal at the joint | Metal comes to the palatal surface on the #7 pontic and the #7/#8 joint. Porcelain stays on every surface you see from the front | 6.5 mm² | Polished metal on part of the palatal side, visible in a mirror. The pontic’s edge is a touch less translucent |
| D. Reshape #26 | The dentist rounds the incisal edge of #26 a little | 5.1 mm² | Changes a healthy lower tooth and needs a new bite scan. Still under target on its own |
Option C keeps the outside of the bridge exactly where it was. Same embrasures, same contour against #26. It only changes what’s inside. With no palatal porcelain to wrap at the joint, metal can run right out to the surface. The same chapter allows for this: a connector can come out to the surface at the joint, as long as the metal there is thick enough.
We recommended C and said why. The call was the dentist’s, as it is on every case. They approved C by email the same day , and the design was locked before any metal was made.
How We Met the Rx: Anterior PFM Bridge Design and Production
The design
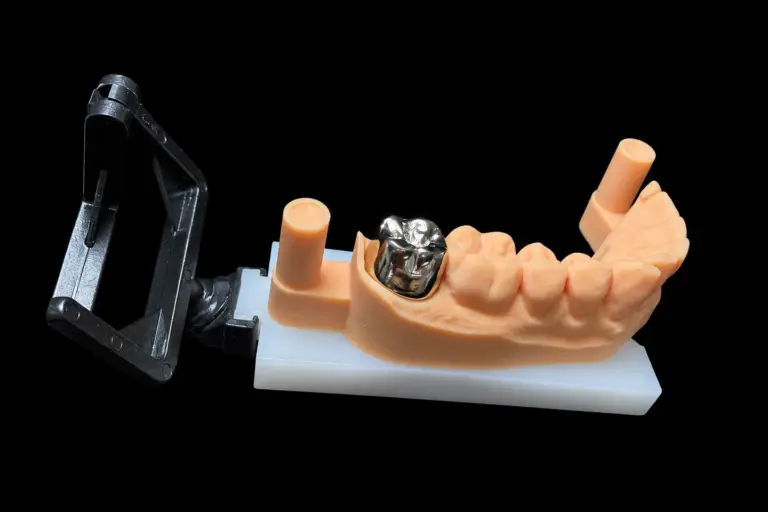
The metal framework
Our metal department made the cobalt-chromium framework from the approved design. Before any porcelain went on, a technician checked:
Then the framework was blasted with aluminum oxide, cleaned ultrasonically and pre-oxidized, so the porcelain bonds properly.
Porcelain
On front teeth, our layering is usually done by technicians with more than ten years at the bench. The porcelain is matched to the alloy’s thermal expansion, a little lower than the metal’s, so it doesn’t end up in tension as it cools.
Then came the opaque. An in-vitro study on opaque thickness and alloy color found both of them change the final shade, and the thickest opaque gave the worst match. So we put on just enough to hide the metal. That mattered most on the pontic, where metal now sits behind most of the palatal side.
The technician built dentin, enamel and translucent layers to match the photos of #9 and #10, and recorded every layer. The shade was checked against an A2 tab under standardized light before and after firing.
The bisque try-in
The bridge went to the clinic unglazed. That’s the cheapest moment to change shape or color.
The dentist checked the seat, the embrasures, the papillae, the bite and the shade . One change came back: the incisal third of #8 read a bit brighter than #9 . The technician added a little more translucency at the edge of #8 and toned down the brightness . Embrasures, papillae and the bite on #26 were left as they were.
The clock pauses while we wait on feedback like this, so the try-in round didn’t eat into the lead time.
Final checks
We cap a PFM at three or four firings, with stepped heating and slow cooling, to keep the shape and color stable. This one took four, counting the bisque correction .
After glazing, contacts, margins and the bite were checked again, in centric and when the patient slides forward. Glazing can move things a little, so that check comes last on purpose. The metal palatal area was polished, not glazed. Then we compared the finished bridge with the approved design, and our QC technician signed it off against the Rx. It shipped in a foam-filled box.
Finished Anterior PFM Bridge and Feedback
Finished bridge vs the design targets
At final inspection :
What the dentist told us after seating
In short :
No margin or contact changes, and no bite adjustment.
Articulating paper put #26 on the polished metal, clear of the junction.
Embrasures and papillae lined up with #9 and #10, and a floss threader passed under the pontic.
The color had already been settled at the bisque try-in, so the seating visit stayed short.
What the patient said, as passed on by the dentist
In short :
From the front, the right side looked like their own left side.
then stopped. Speech was fine from day one.
The dentist showed them how with a threader.
No more taking a tooth out at night.
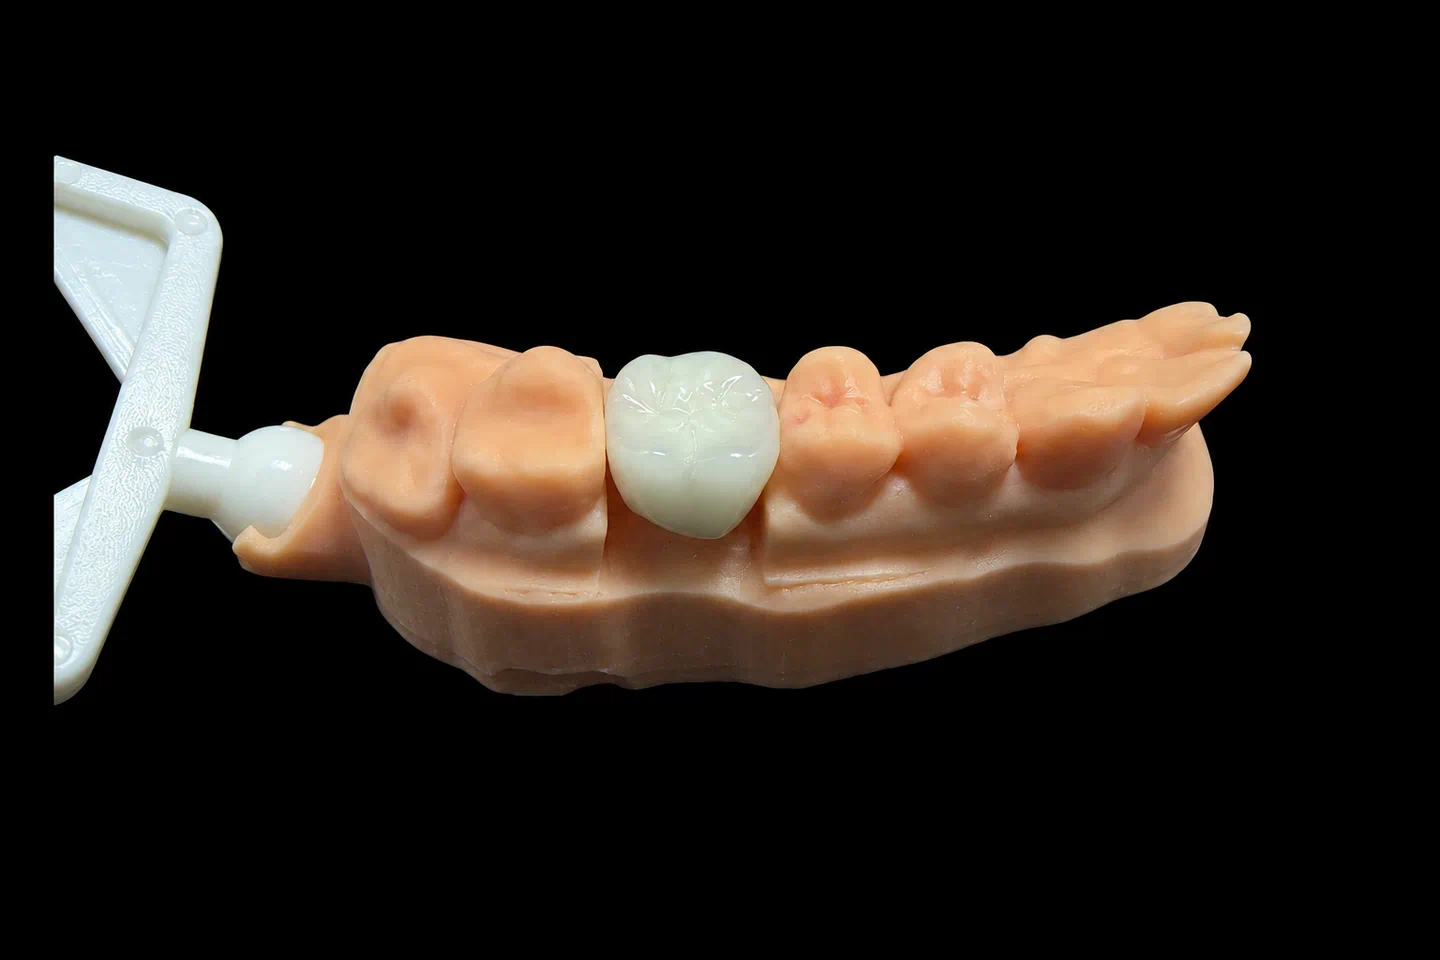
From the front, this bridge reads like the left side. Turn a mirror to the palate and you’ll see a strip of polished metal behind #7. That’s the trade the dentist chose, and it’s where the strength in this joint comes from. In the end, this PFM bridge anterior case kept the look the Rx asked for and put the extra metal where nobody sees it.
Sending an Anterior PFM Bridge to Us
What to expect when you send a PFM bridge anterior case like this one:
Every step happens in our own labs: four of them in Shenzhen and Huizhou, China, with about 460 people. CAD design, the metal department, porcelain and QC all run in-house, and nothing gets outsourced. Istar is an FDA-registered establishment, Registration Number 3039441248, which you can check in FDA’s establishment database. The lab runs under ISO 13485.
Got a front bridge with a deep bite or tight embrasures? Send us the scan and Rx. We’ll measure the joints and send you options before we make anything. Send your first case or talk to us.
FAQ
What if I'd rather keep porcelain all around, even at a thin joint?
Then we make it to your Rx. We’ll flag the risk first, and you don’t need to sign anything. But problems that come from that design, remakes included, aren’t covered by us.
Can you copy the shape of the patient's flipper or provisional?
Yes. Send a scan of it, and we carry its tooth shape and length over to the new bridge. We can also mirror the shape of the natural tooth on the other side.
What photos help most on a front tooth?
A shot with the shade tab held next to the tooth, plus close-ups of anything you want copied: white spots, cracks, a clear edge, surface texture. If you can’t describe an effect, a photo is enough. The technician works from it.
Do you take rush cases?
Yes, at no extra charge, for clients who send 10 or more cases a month. We guarantee the ship date. The arrival date depends on customs, so we can’t guarantee that.