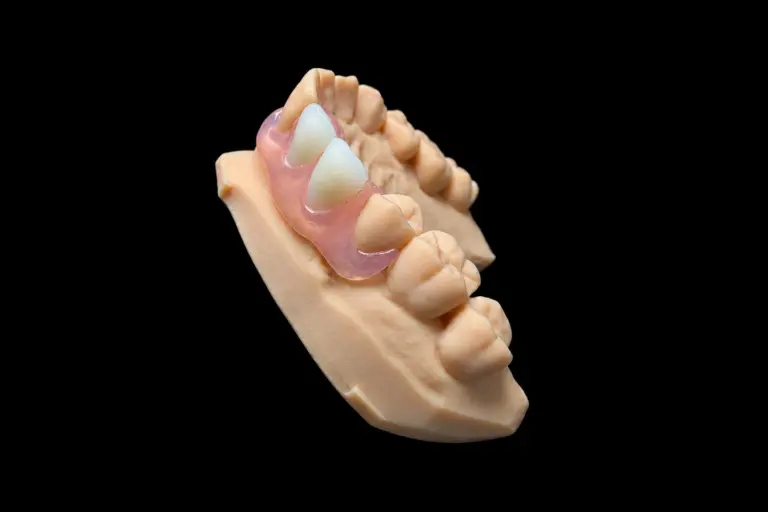
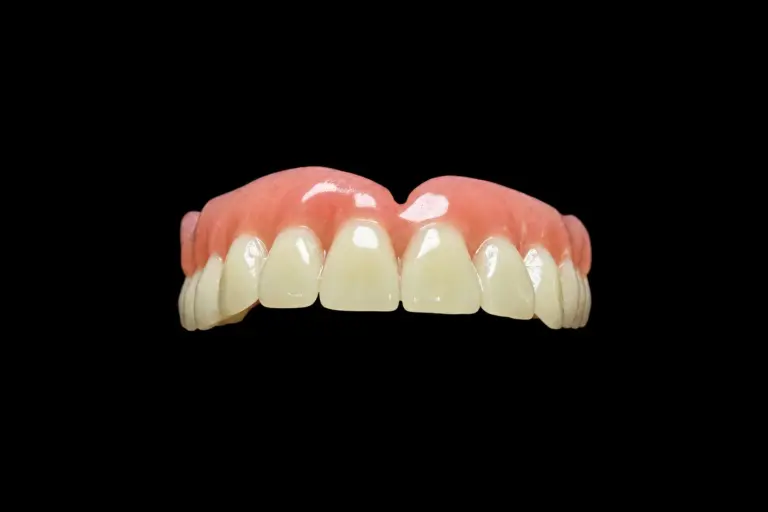
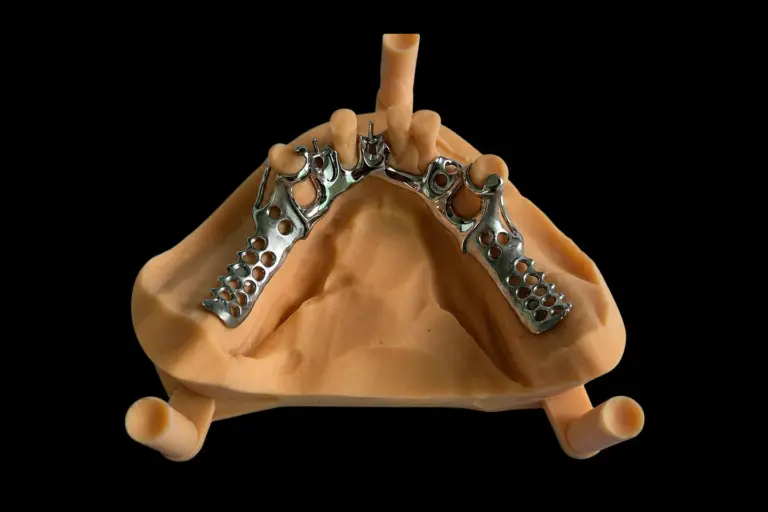
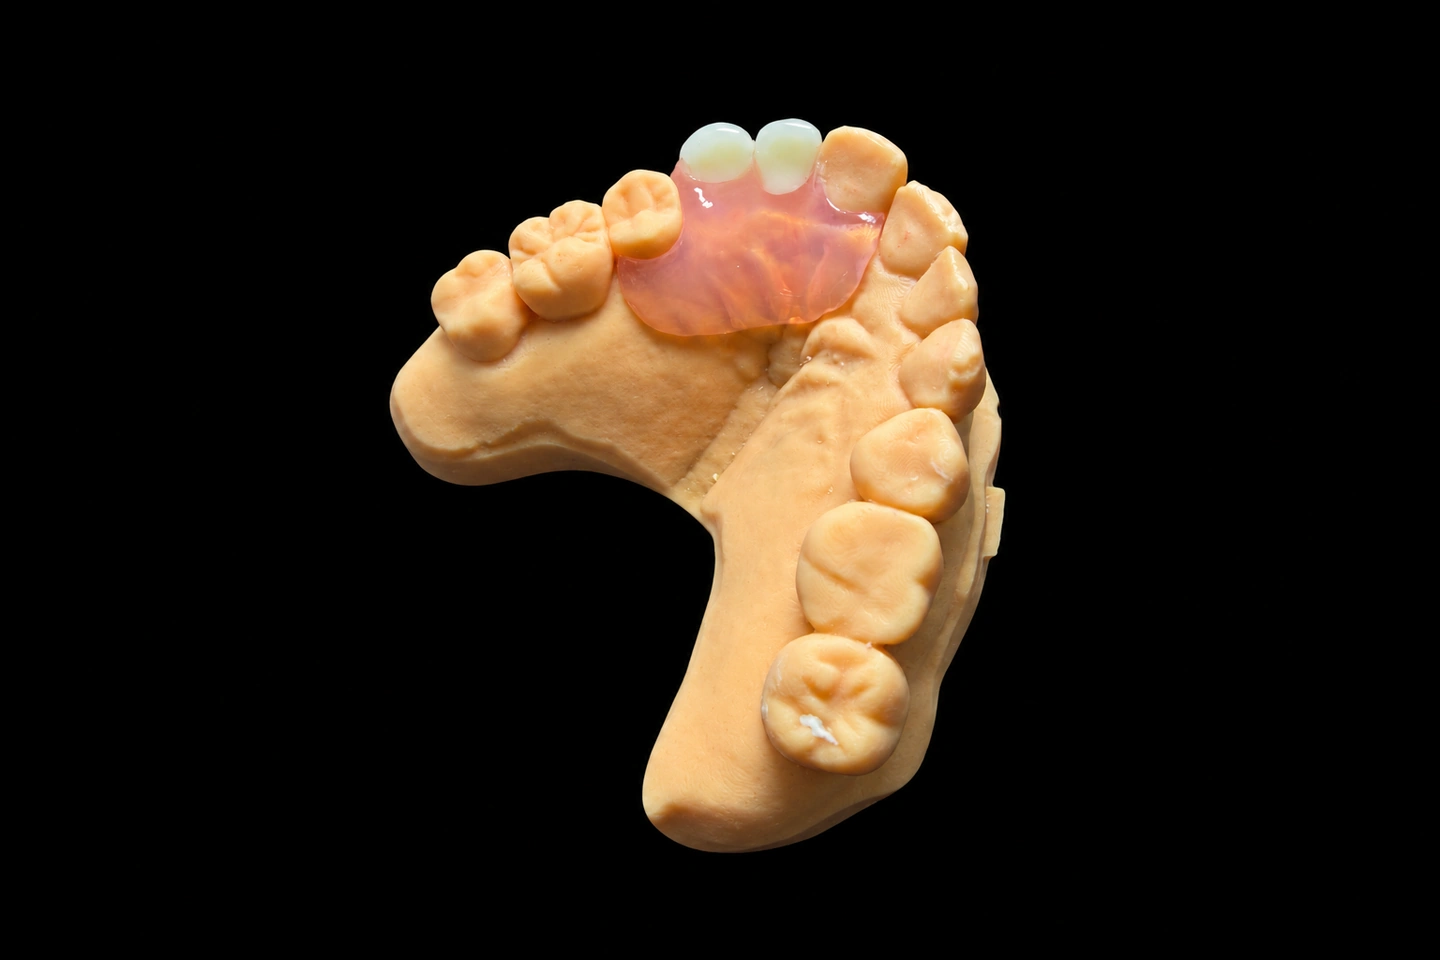
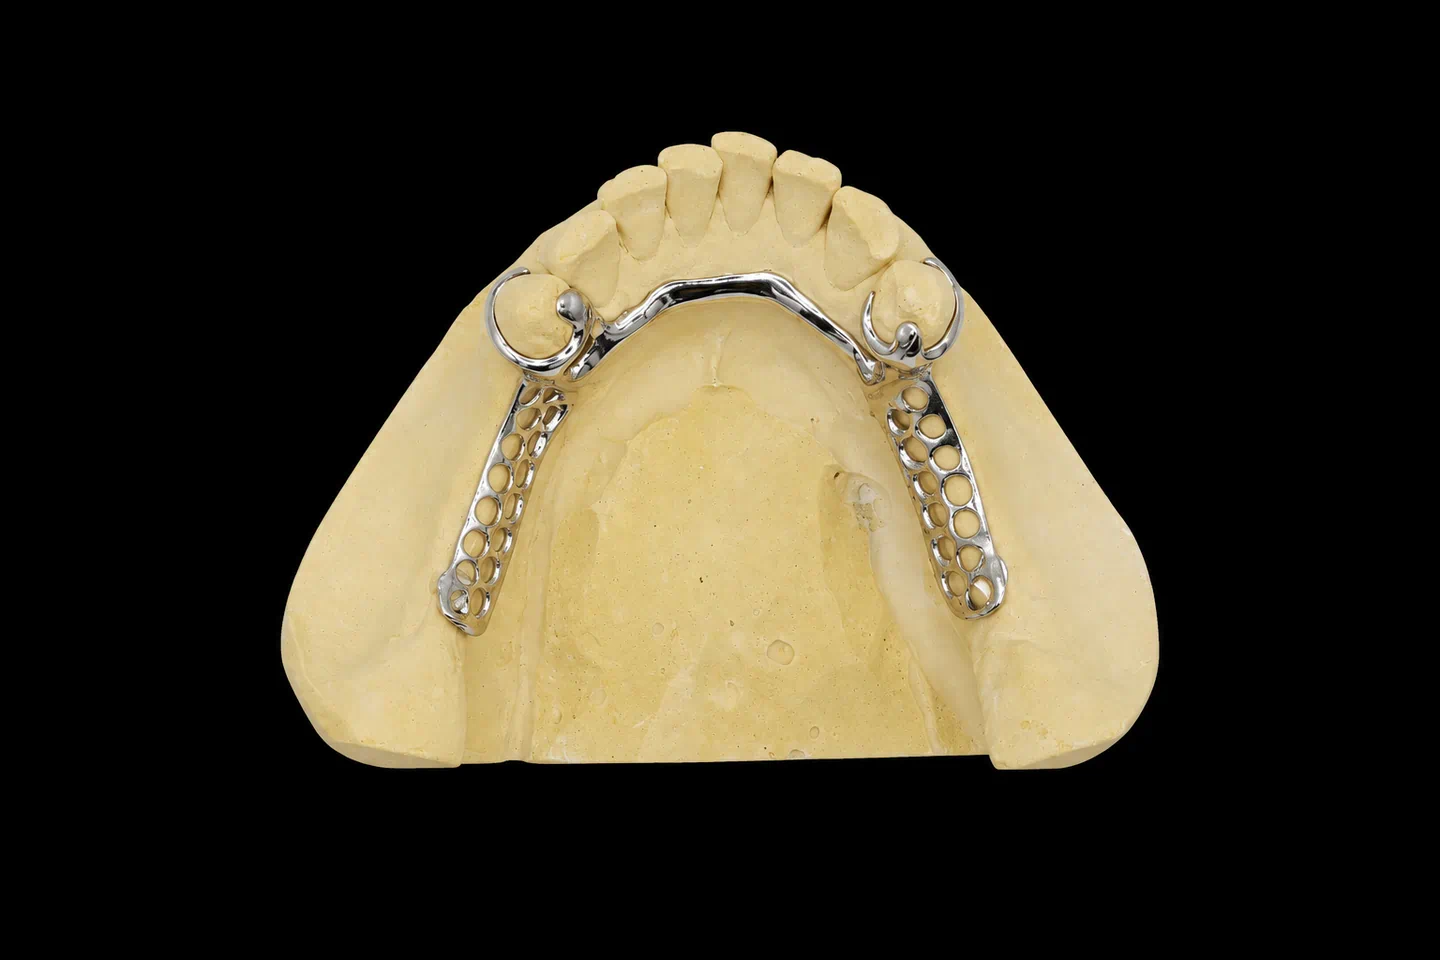
Patient Situation
The patient behind this Valplast lower partial denture lost #18 and #19 about a year before the case reached us, and #17 was already gone . The right side was intact back to #31 . The dentist’s notes and the records showed:
What the Dentist Asked For on This Valplast Lower Partial Denture
The Rx, condensed :
The Three Designs We Sent the Dentist
With nothing behind #19 and no rests, pressing on #18 can sink the base into the tissue and pivot it around #20. So we paused this Valplast lower partial denture on lab day 1 and emailed the survey readings, the clearance numbers, and this table. Any case with a question open gets a follow-up from us every other day until it’s settled. This one took a single reply .
| Option | Support comes from | What it needs | The catch |
|---|---|---|---|
| A. All Valplast, as prescribed, with try-in | Ridge and clasps | No prep, no visible metal | Base can move at the free end, and it’ll likely need lab relining down the road |
| B. Co-Cr framework partial | Teeth and ridge, through rests and a rigid connector | Rest seats on natural teeth, metal clasps | Conflicts with Rx items 1 and 2 |
| C. Co-Cr framework with Valplast clasps at #20 and #21 | Teeth and ridge | Rest seats, plus about 6 mm of clearance as a common rule of thumb | Conflicts with Rx item 2, and at the measured clearance #14 and #15 would need reshaping |
We told the dentist we’d lean toward a framework if the patient would accept it . A Japan Prosthodontic Society position paper points that way when a patient rejects metal clasps for looks, and a 2020 review doesn’t recommend flexible non-metal designs for Kennedy Class I and II. It’s the dentist’s call, though. Only the dentist has the patient in the chair and knows what they’ll accept.
The patient turned down prep and turned down metal, and the dentist stayed with Option A . Fine by us. We make what’s prescribed once the risk is out in the open. So the job became building this lower Valplast partial so it moved as little as the design allows.
How We Built the Lower Valplast Partial to the Rx
| Rx item | What we did |
|---|---|
| 1 | Valplast resin only, base and clasps as one piece |
| 2 | Left #20 and #21 as they were and took retention from existing undercuts |
| 3 | Kept clasp ends in the undercut below the lip line, checked against the smile photos |
| 4 | Ran a lingual connector behind the lower front teeth to a clasp on #30 |
| 5 | Built a try-in with teeth set in wax |
| 6 | Checked teeth and base against the shade photos before and after finishing |
| 7 | Recorded the resin details on the certificate |
Spreading the load
We carried the base of this flexible lower partial denture back over the retromolar pad and out as far as the records supported . More coverage, less pressure in any one spot. Then the opposite problem showed up: too much border on a lower arch and the tongue lifts it. So the lingual flange got held about 1 mm short of the working depth on the impression.
Sizing the clasps
Survey readings on this Valplast lower partial denture came out at 0.6 mm on #20, 0.7 mm on #21, and 0.9 mm on #30. All moderate, nothing deep. We set the #20 and #21 arms at 1.2 mm thick and the #30 arm at 1.4 mm , since that one stays out of sight and can carry more retention.
Keeping the teeth in
Valplast grips denture teeth mechanically, not chemically, so each tooth needs room for retention holes. At 5.2 mm , the #18 position had enough, about 1 mm of resin under the tooth included. No grinding down to a sliver. That matters on a flexible lower partial denture: a 2025 review from Canada’s Drug Agency reported significantly more denture tooth loss with flexible partials at one year.
Lab days, start to finish
Lab days only. Courier time for the try-in sits outside this count.
What Try-In Changed
A free-end Valplast lower partial denture is where a try-in earns its keep. A bite record shows where the teeth meet. It can’t show how the base behaves when someone presses on it, or where the tongue wants to go.
The dentist reported three things from the visit :
So we changed the setup before processing . #18 got narrower by about 1 mm cheek to tongue, which also cut the chewing surface at the far end of the lever. We dropped its contact to light on closing and took it out of side movements. And #19 kept the main contact, closer to the abutment.
The Finished Flexible Lower Partial Denture
The goal for this lower Valplast partial: as little movement as the design allows, with no metal on show. Final inspection:
| Check | Result |
|---|---|
| Seating on the model | Full seat, no rocking, no lifted edges |
| Base thickness, by caliper | 2.0–2.5 mm over the ridge, no sudden changes |
| Base under strong light | No bubbles (internal bubbles mean a remake) |
| Teeth, under finger pressure | No movement on #18 or #19 |
| Clasp arms, by caliper | Within 0.1 mm of design |
| Articulating film | Main marks on #19, light on #18, none in side movements |
| Smile photo | #20 and #21 clasp ends stay below the lip line |
Patient and dentist feedback
The dentist: warmed the appliance in hot water first, per Valplast’s clinical techniques, and it seated . One spot on the distal lingual flange needed easing, with no clasp changes . Overall, the dentist was happy with the seat and with how low the clasps sat .
The patient: pleased that no metal shows when talking or smiling, and the tongue side felt far less noticeable than it had at the wax try-in . The patient did feel some movement at the back on firmer foods, which the dentist had warned about .
This Valplast lower partial denture still has no rests. The dentist set recall visits to check the ridge, fit, and abutments, and we’d expect a lab reline conversation at some point . That feedback comes from delivery, not years of follow-up , so we won’t promise how long it’ll last.
Sending a Valplast Lower Partial Denture Case
Not sure a free-end flexible lower partial denture should be all Valplast? Send the records first. We offer a pre-shipment feasibility review, and we’d rather have that talk while it’s still a file.
For a lower Valplast partial, we need:
Valplast partials with a free end generally take 5–7 working days from the day we receive the case, and that includes the try-in stage. Courier and customs time are separate.
Who Made It
Our 55-person removable department made this one, inside Istar Dental Lab’s own labs. Istar has four labs in Shenzhen and Huizhou, China, about 460 people, and has been running since 2012. Nothing gets outsourced. A separate 25-person QC group checks work before it ships. The removable department handles about 4,000 cases a month in the slow season and about 6,500 at peak.
Istar is an FDA-registered establishment (Registration Number 3039441248), which you can look up in the FDA database, and our labs run an ISO 13485 quality management system. For EU clinics, custom-made partials follow the MDR custom-made device procedure.
Valplast Lower Partial Denture FAQ
Can you reline, repair, or add a tooth to a Valplast lower partial denture later?
Yes, all three, at the lab. It’s not a chairside job, because the material doesn’t bond well to reline resins. Send the appliance, upper and lower models, and a bite record. Valplast’s impression steps cover rebases and added teeth. The patient goes without the partial while it travels, so plan for that.
What if I keep a design you've flagged?
We make it to your Rx, and no signed risk form is needed. Problems caused by that design, remakes included, aren’t on us. Change your mind before production, and we change the design.
What's the warranty on a flexible lower partial denture?
Istar’s warranty on the base is 1 year. A base that won’t seat, lifted edges, badly placed clasps, an off bite, or wrong gum color get adjusted or remade free. Changing the shade or material later isn’t covered, and neither is proceeding on a poor impression after we’ve warned you. You pay to send a case in, and we pay to ship finished work back, remakes included.
Valplast’s own limited lifetime warranty is separate. It covers breakage of the resin base, not the teeth.
Is the resin genuine Valplast?
Yes. We can ship a Valplast Certificate of Authenticity with the case when you need one. Each certificate has a serial number that can be registered with Valplast.
Can I skip the try-in?
Your call. Write it on the Rx and we’ll go straight to final. On a free-end Valplast lower partial denture, we’ll probably ask you once if you’re sure.
What other partials do you make?
Cast frameworks, acrylic, and other flexible partials. Our partial dentures page has the full range.
Can you rush it?
Yes, free of charge, if you send us 10 or more cases a month. We guarantee the ship date, not the arrival date, because customs times vary.
How does pricing work?
Prices aren’t on the website. Quotes are itemized to your requirements, not one bundled price.
Send Us Your Next Valplast Lower Partial Denture
Single trial cases are welcome, and ongoing partnerships suit clinics with a regular case flow. Ship us a test case, request the price list, or book a factory or video visit.