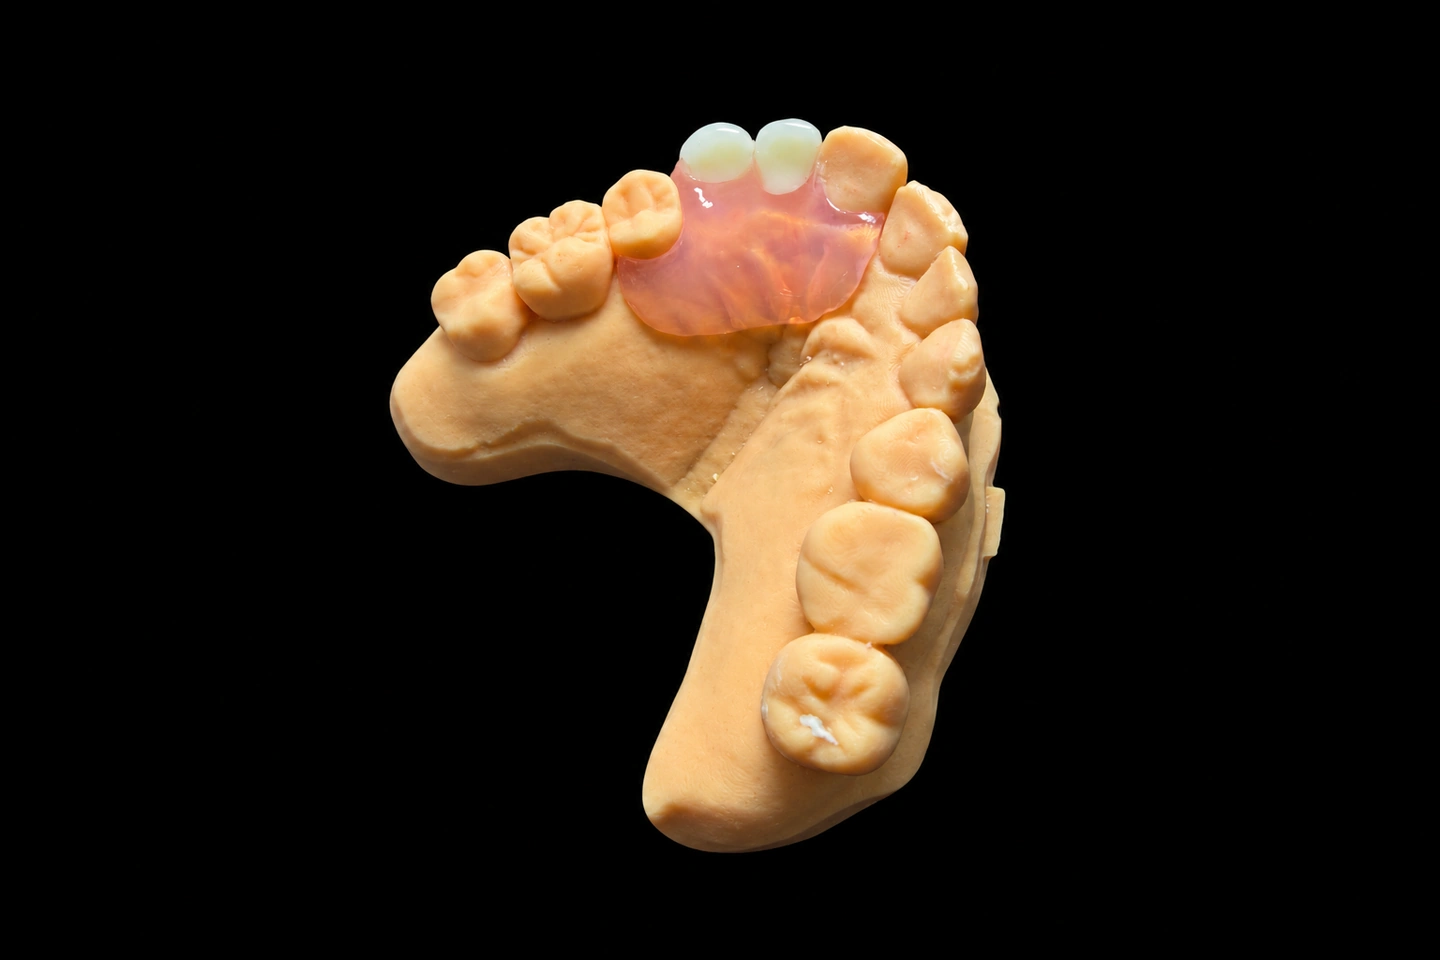
Patient Situation
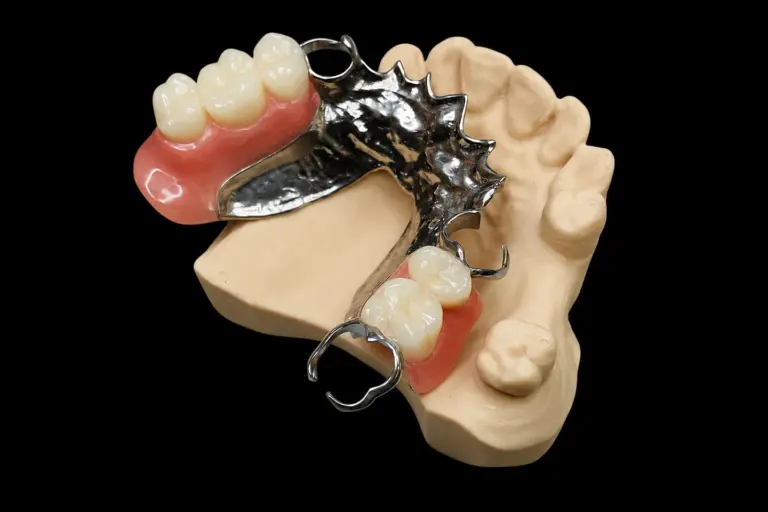
The patient had worn a lower acrylic partial with wire clasps for about three years . It came with three complaints: it rocked during chewing, food packed under the lingual flange, and the flange felt thick behind the front teeth. The patient kept taking it out to eat .
The dentist decided on lower metal dentures on a cobalt-chromium framework. That call was the dentist’s. Our part started when the records arrived, and these are the details that drove the design:
What the Dentist Asked For
The Rx for this lower metal partial denture came down to six points :
The dentist also wrote the floor-of-mouth readings on the Rx. Without them, we’d have been guessing. The floor of the mouth moves, and as this textbook chapter on major connectors points out, a stone model can’t show where the lower border belongs. Someone has to measure it in the mouth with the tongue raised.
The Technical Problems Behind These Lower Metal Dentures
The bar didn't fit
That chapter lists less than 8 mm from marginal gingiva to the raised frenum and floor as a reason not to use a lingual bar. A bar’s top edge should stay at least 3 mm below the gum margin, and the bar itself needs at least 4 mm of width. This patient had 5 mm .
Could we shrink the bar? Not really. A thinner bar gets flexible, and a major connector has to stay rigid. Run it lower and it gets into the moving tissue. Run it higher and it crowds the gum margins.
The base wants to rotate
Both bases sit on a ridge that gives under load, while the premolars don’t give at all. So every bite tries to pivot the partial around a line through the #21 and #28 rests. That’s a big part of why the old partial rocked.
A nearly parallel lingual ridge adds a second problem. When the base sinks, the part of the framework in front of that line swings too, and a bar could rotate into the tissue.
The fix for space could bring back the bulk
A lingual plate solves the space problem, but it covers more of the teeth and gums. It can feel more noticeable than a bar, and the patient’s main complaint was bulk. There’s a mechanical risk too: if a plate presses on the cingula while the base rotates, it can push the incisors forward.
Connector Options We Weighed for This Lower Metal Partial Denture
We surveyed the master model and ran each option against this mouth, using the indications and trade-offs in that same chapter.
| Option | What it offers | Why we passed on it, or chose it |
|---|---|---|
| Lingual bar | Smallest coverage, usually the patient’s preference | 5 mm against the 8 mm it needs. Passed. |
| Lingual bar plus continuous bar | Tooth contact with less coverage | Still needs room for the bar, and gives the tongue four edges to find. Passed. |
| Sublingual bar | Leaves the front teeth and lingual ridge clear | Needs a border-molded impression of the floor of the mouth, and teeth are hard to add later, which matters with #21 in doubt . A small clinical comparison also found 8 of 10 patients preferred a plate. Passed. |
| Labial bar | Stays out of the tongue space | Longer, so it needs more bulk, and it can show and change lip contour. Passed. |
| Cingulum bar | Avoids crossing the gum margin | Has to be bulky to stay rigid. Passed. |
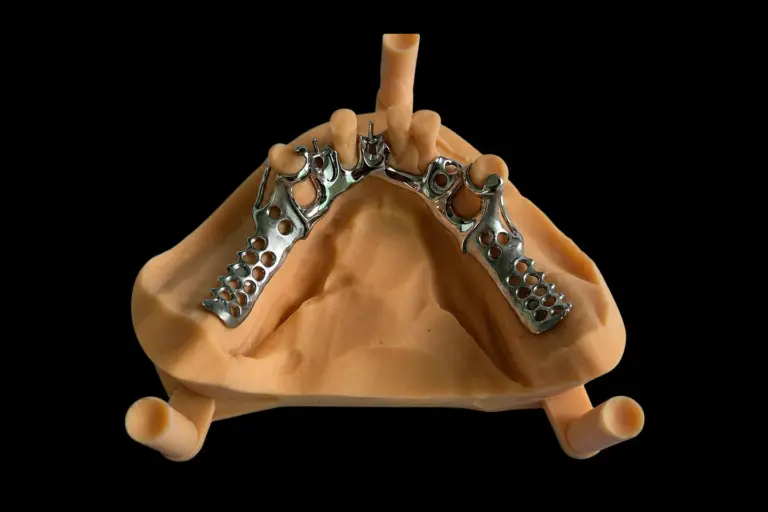
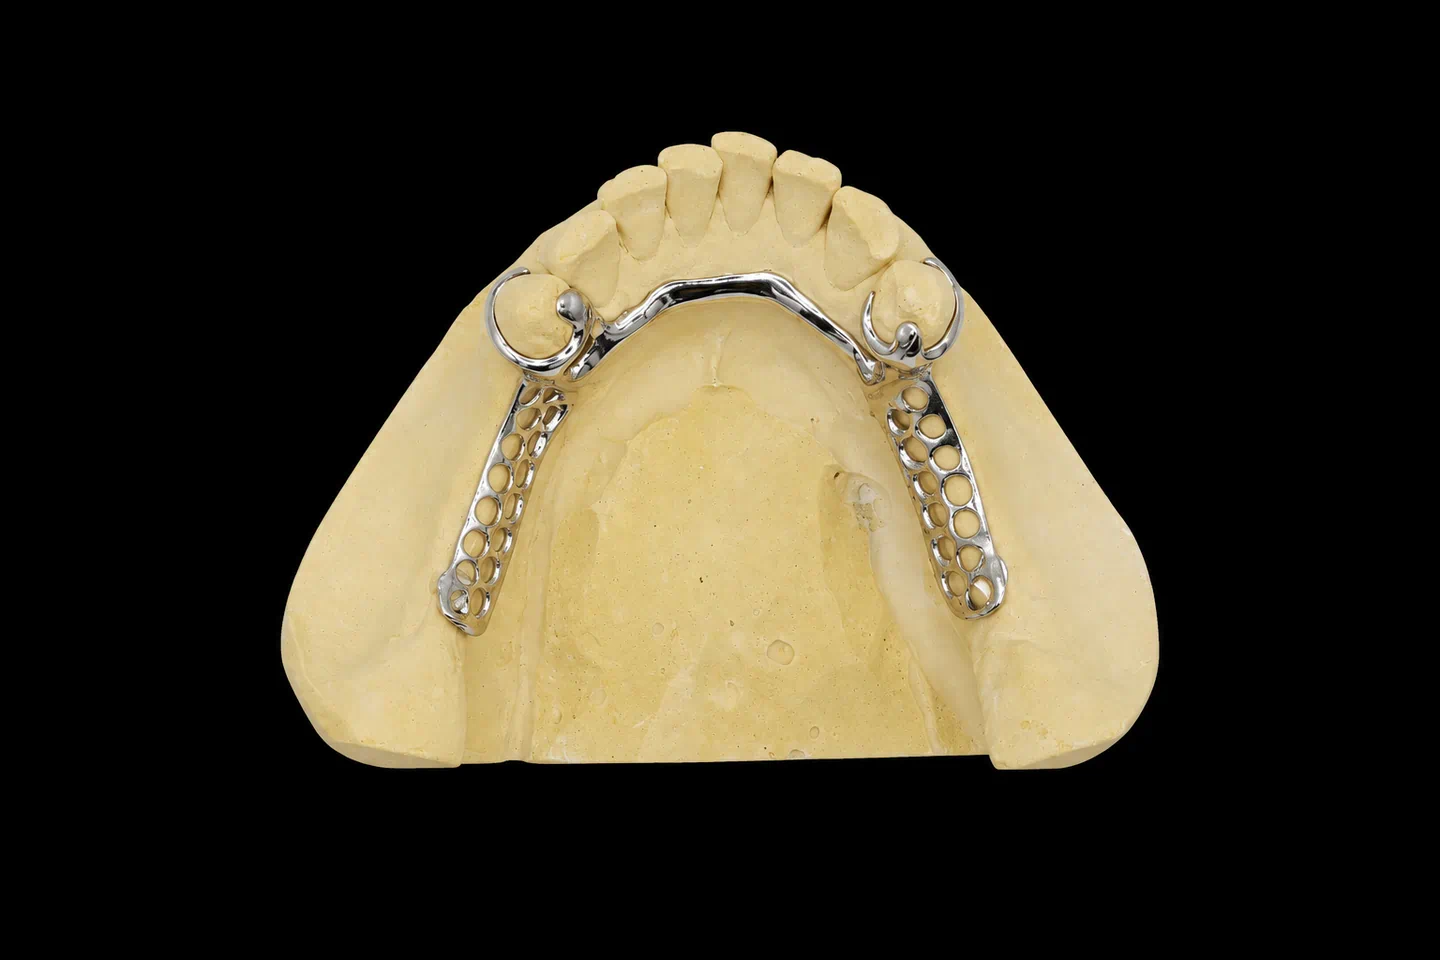
| Lingual plate | Fits the space, stays rigid, makes adding teeth easy | Upright teeth and closed embrasures make it workable. Chosen, then sent for approval. |
We didn’t change the connector on our own. The Rx said bar, so the plate went to the dentist as a proposal, with the measurement and this table in short form. The cost was clear from the start: more coverage, more to clean, and one extra working day for approval . The dentist agreed, and explained the change to the patient .
How We Met Each Requirement
| Dentist’s requirement | What we did | How we checked it |
|---|---|---|
| Co-Cr framework on the prepared seats | Rests on #21, #22, #27, #28 | Rests fully seated on the model and at try-in |
| Nothing thick behind the front teeth | Plate kept thin and smooth, blended into the teeth with no ledge at the upper edge | Design approval, then the dentist’s check at try-in |
| Less movement during chewing | Canine rests as indirect retention, long mesh coverage, I-bar retention on the end teeth | Framework pressed down at try-in, with no lifting at the rests |
| No clasp arms across the premolars | I-bars approaching from the gum side on #21 and #28 | Design screenshot against the speaking and smile photos |
| Two try-ins | Three stages, each shipped separately | Dentist sign-off at each stage |
| Each stage within 7 working days | Stage times tracked from each return | Ship dates logged per stage |
Making the plate feel smaller
On lower metal dentures, the tongue finds every edge. We couldn’t make this plate as small as a bar, so we went after the parts the tongue actually notices. The upper edge follows the teeth with no step. The lower border stays just above the raised floor of the mouth, and it’s rounded.
Food was the other target. The top 1–2 mm of a mandibular connector should touch the teeth or tissue, so there’s no gap to catch food. Below that contact, the metal gets relief. On this nearly parallel ridge, that meant minimum relief . Both sides of the framework were finished smooth.
Keeping the incisors out of the load path
A plate is only safe on lower metal dentures like these because of the rests at each end. Cingulum rests on #22 and #27 stop the plate from sliding down and wedging against the front teeth . They also sit ahead of the rotation line, so they resist the bases lifting away during sticky food. That’s indirect retention doing two jobs.
Letting the premolars off the hook
On #21 and #28, we used a mesial rest, a proximal plate, and an I-bar . When the base sinks, the framework pivots at the mesial rest and the I-bar and proximal plate ease off the tooth instead of levering it. With a questionable #21 , that mattered more than a tighter grip would have.
Where the altered cast fit in
The dentist asked whether this mandibular partial denture needed an altered cast, which comes up a lot on lower metal dentures with two free ends. In a randomized trial of 72 patients with bilateral distal extensions, an independent appraisal found the altered cast fit about 0.15 mm closer at placement. That’s statistically real but not clinically meaningful. The one-piece casts did have a catch, though: 22% were under-extended.
So the extension became our checkpoint. We looked over the border-molded custom tray impression before survey and found it covered both ridges fully . The dentist went ahead with the one-piece impression and planned to look again at try-in.
How We Made These Lower Metal Dentures
Stage 1: Survey, approval, and framework
The framework try-in
The dentist used a low-viscosity silicone check under the mesh to look at fit over the ridge. The film was even, with no gap at the back of either side , so there was no reason to take a corrected impression.
One thing did come back. With the tongue raised, the plate’s lower border pressed on the frenum at the midline . The dentist marked the spot and returned the framework with a VPS bite taken on it. We trimmed the border by about 1 mm at the frenum and rechecked it on the model.
Stage 2: Wax try-in
We set the teeth in wax on the framework. The dentist checked looks, tooth position, bite, speech, and stability. One change: the patient felt #19 and #30 crowded the tongue , so we narrowed both on the lingual side. This stage shipped on working day 3 .
Stage 3: Processing and final inspection
The Finished Lower Metal Dentures
At final inspection, these lower metal dentures matched the approved design. The lower border sat on the marked line, the plate’s upper edge lay flush against #22 to #27, all four rests seated fully, and the bases didn’t rock on the model . All three stages shipped within 7 working days .
Dentist and Patient Feedback After Fitting
Happy with the fit overall. The partial seated at the first appointment and stayed still under finger pressure. It needed just one small adjustment, a pressure spot near #30 at the one-week check .
Got used to it quickly and was eating with it in place by two weeks. The plate felt less bulky than the old acrylic flange, and less food was collecting .
This lower metal partial denture still covers more than a bar would, so home cleaning matters more. The ridge will keep changing too, so the dentist set a recall schedule and a reline may come up later .
Sending a Mandibular Partial Denture Like This One
Tight lingual space on a mandibular partial denture is easy to catch before anything gets made, if the records show it. Send us:
Most metal partials take 5–7 working days in the lab, and simple ones 2–3. Design approval on a complex framework adds 1–2 working days.
Who Made It
These lower metal dentures came through our removable department, about 55 technicians inside Istar Dental Lab’s four labs in Shenzhen and Huizhou, China. We’ve been making dental restorations since 2012 and have about 460 staff. Design, framework, setup, processing, and finishing all happen in our own labs, with nothing outsourced. A QC team of about 25 inspects work before it ships.
The removable line handles about 4,000 cases a month in a normal season and about 6,500 at peak. Istar Dental Lab is an FDA-registered establishment (Registration Number 3039441248), which you can look up in the FDA establishment registration database. Our labs run an ISO 13485 quality management system, and custom-made dentures for EU clinics follow the MDR custom-made device procedure. You’re welcome to visit the factory or book a video tour.
Lower Metal Dentures FAQ
Do you also make lower complete dentures with a metal base?
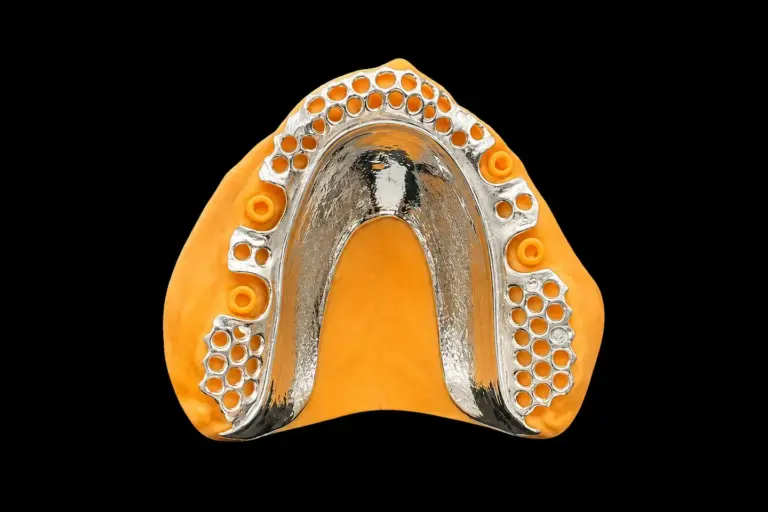
Yes. “Lower metal dentures” can mean that too, for an arch with no teeth left. We make complete dentures with cobalt-chromium metal bases. See our metal dentures range, or upper metal dentures for the opposing arch.
What other framework materials can you use?
Our cobalt-chromium partials are the standard. We also use Vitallium alloy and pure titanium. For a patient with a cobalt or chromium sensitivity, ask about titanium dentures. We don’t swap materials without your consent, and proof of the alloy’s composition and batch is available on request.
Can we order the framework only?
Yes. We ship the finished framework, and your team sets and processes the teeth. It works well for clinics with an in-house lab and for labs outsourcing the metal stage.
Can you add a tooth later if an abutment is lost?
Usually, yes. We add denture teeth to the acrylic using resin of the same type and strength-test each repair before it ships. If the framework itself is involved, send photos first and we’ll tell you whether a repair or a new framework makes more sense. For metal-free options, see our partial dentures.
What does the warranty cover?
Metal partials carry a 1-year warranty covering the whole partial, framework included. Lab-caused problems, like a partial that won’t seat, lifted borders, an off bite, or a poorly placed clasp, are adjusted or remade free. If you change the basic requirements, or ask us to go ahead on an impression we’ve flagged as unclear, the remake is charged. You pay to send the case in, and we pay to ship finished work back, remakes included.
Can you rush a case like this?
Rush service is free for clients who send us 10 or more cases a month, for any material or case type. We guarantee the ship date. We can’t guarantee the arrival date, because customs times vary.
How is pricing handled?
We don’t publish prices on the website. Ask for our price list, and we’ll quote each case item by item, so a framework-only order and a fully staged case are priced for what they are. Single trial cases are welcome, and ongoing partnerships suit clinics with a regular case flow.
Send Us Your Next Lower Case
Got lower metal dentures coming up with tight lingual space or a history of rocking? Send one as a test case with your floor-of-mouth readings. We’ll survey it and send you the design before we make anything. You can also request our price list or book a factory or video visit.