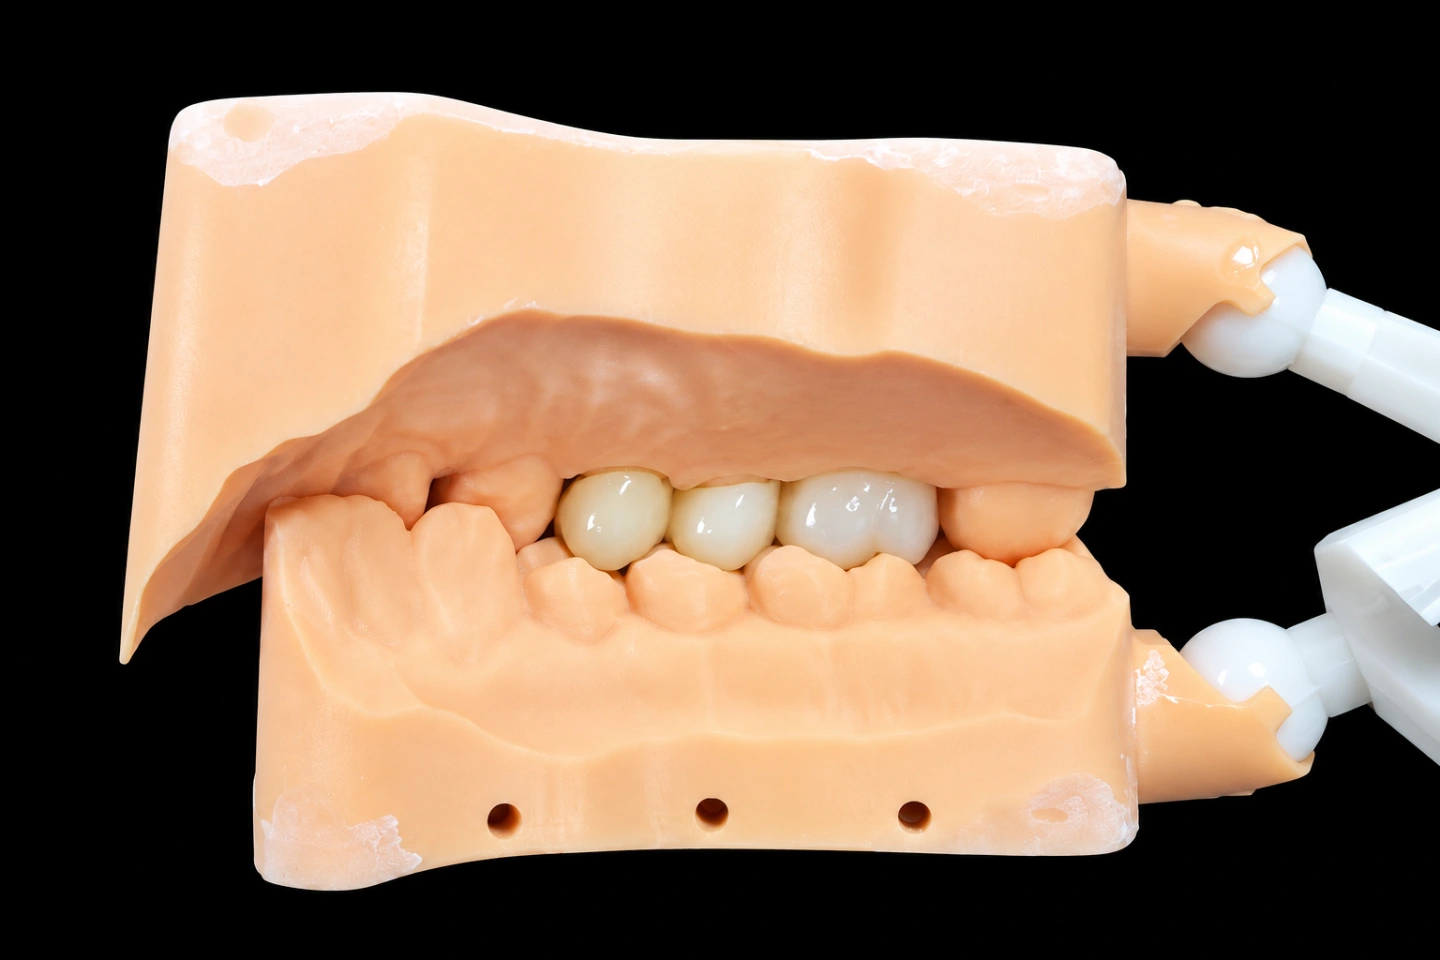
The patient's situation
A woman in her early forties, non-smoker, generally healthy, came back to her dentist unhappy with a single zirconia crown on tooth #12. The crown had been placed a few years earlier, after an earlier root canal procedure. Her complaint was simple — the crown looked grey, especially up near the gumline, and it stood out from the natural tooth next to it every time she smiled.
A couple of things mattered for the lab brief:
That last point matters. When patients ask about whitening zirconia crowns, half the time they really want the single crown brought in line with teeth they’re already happy with. The order of operations is different from a full whitening-then-crown case.
The dentist's fabrication requirements
The dentist sent a clear set of fabrication requirements, which we’d summarise like this:
He also asked a question we hear a lot on whitening zirconia crowns briefs: did he need to grind the tooth down further to get A1 to work. We asked him to send the stump photo first, before any more reduction, and to let us answer that with the CAD.
The zirconia crown shade problem under the number
Here’s the piece that trips most single-crown cases on dark preps, and it’s where every zirconia crown shade conversation starts. A1 is a description of the crown. It’s not a description of the tooth under it. A thin, translucent crown over a C4 stump transmits the stump — the number on the tab is right, the result in the mouth is grey.
On zirconia crown shade matching, the gingival third is where it hurts most. The crown is thinnest there, the stump is darkest there, and the gum frames it, so any value drop reads as a line of greyness right at the smile.
So the real question wasn’t “how do we make A1 whiter.” It was: how do we hold A1 at the surface while blocking out a C4 underneath, without grinding the tooth down to compensate.
Four variables we had to settle before the mill ran:
| Variable | Why it mattered here |
|---|---|
| Core material | Monolithic zirconia alone can’t drop a C4 reading to A1 at normal thickness for whitening zirconia crowns. We needed a core that masks, with a surface layer that still reads as a tooth. |
| Cervical translucency | High translucency at the gumline is what let the old crown read grey. We had to reduce it in the cervical third without flattening the whole crown. |
| Shade compensation | At the same tab zirconia crown shade, zirconia tends to read brighter than lithium disilicate on healthy dentine, and darker than it looks on the model when the stump is deep. Both effects pointed at a value-shaped correction, not a shade number change. |
| Cement plan | Even a well-designed crown can shift half a value under a translucent cement. The cement had to be part of the design, not an afterthought. |
The peer-reviewed layered zirconia case literature and the VITA classical system point the same way — on a dark stump, you buy value with opacity, and you buy depth back with layering, not with a different tab.
How we built the whitening zirconia crowns solution
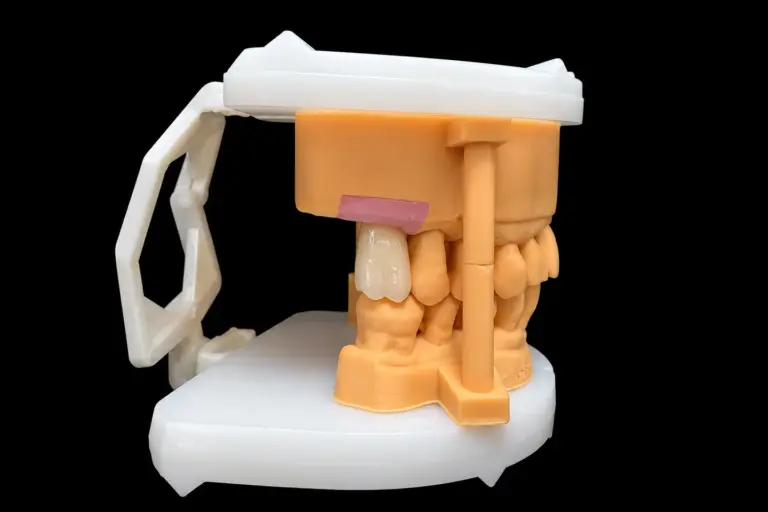
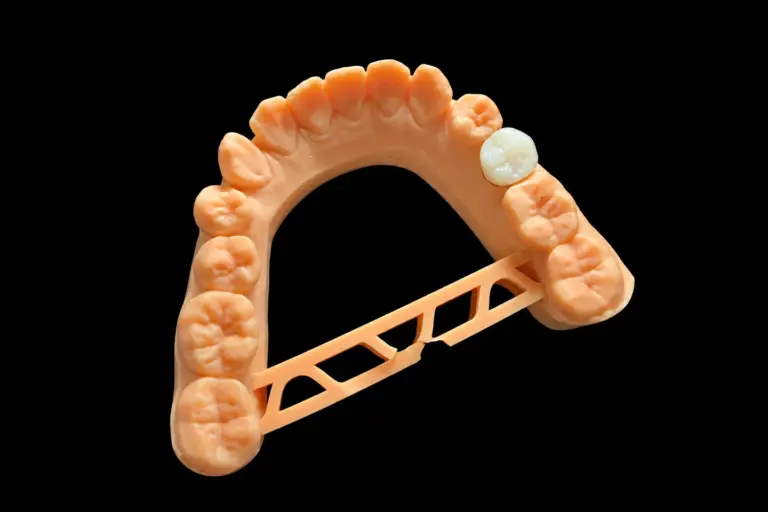
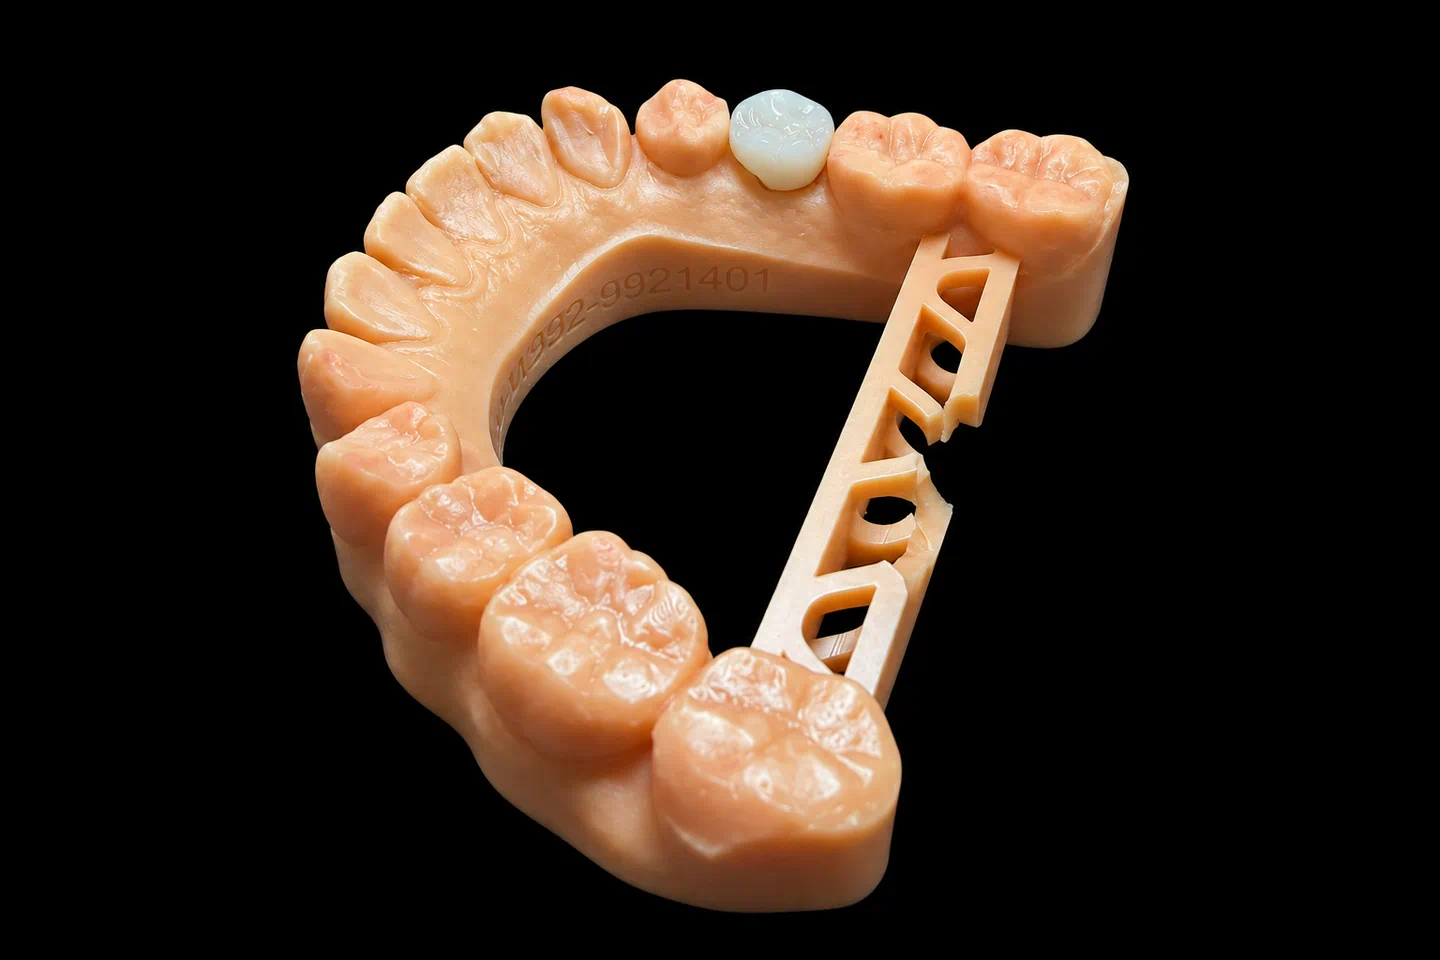
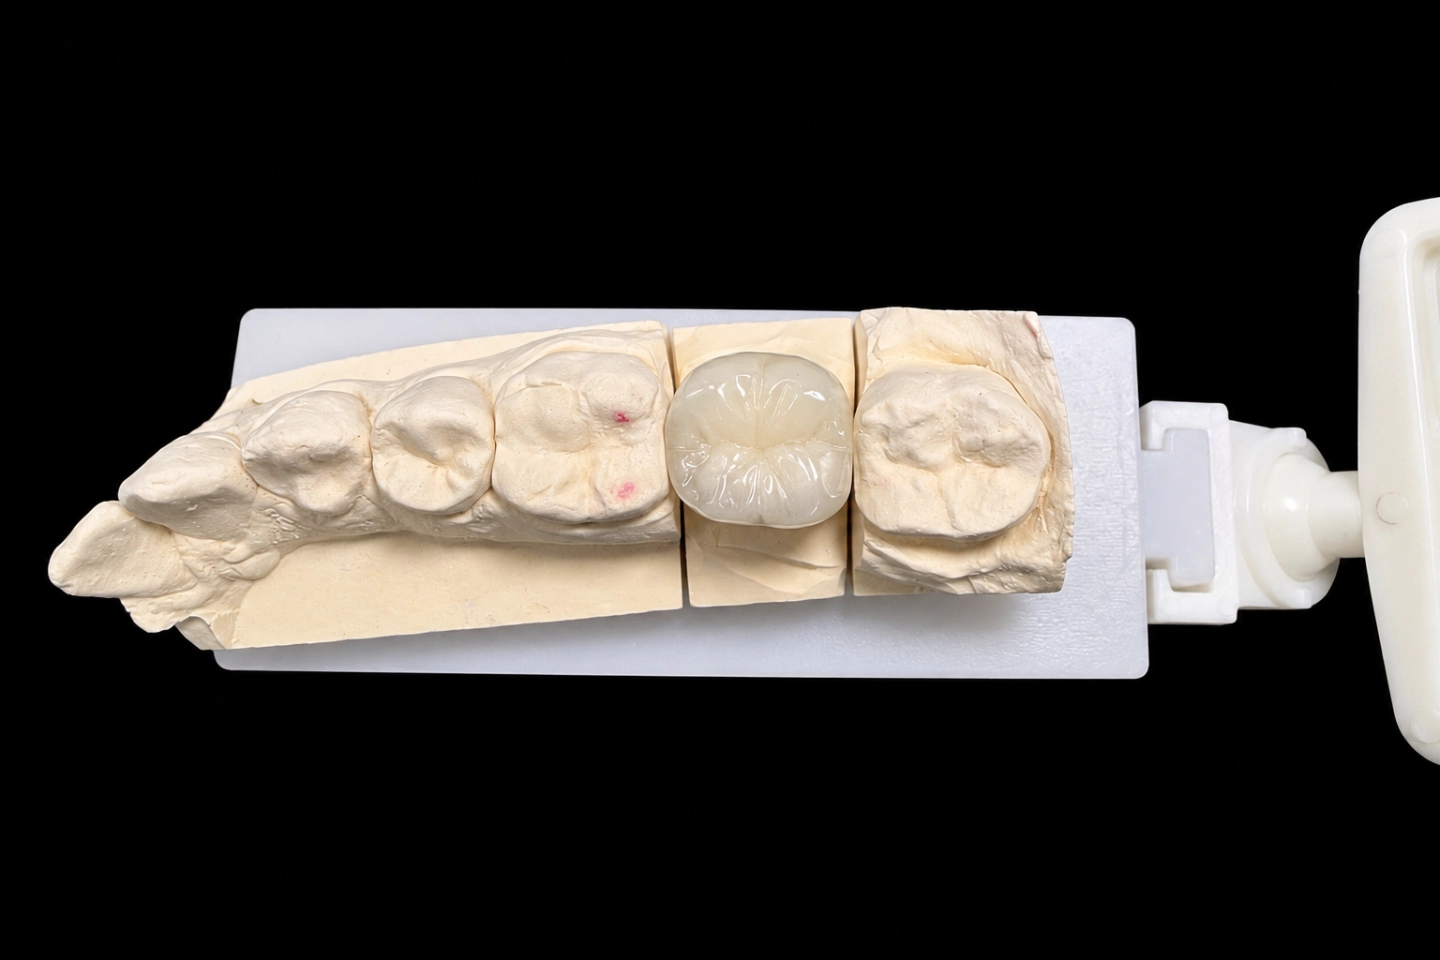
At Istar, every zirconia case runs through the same nine in-house steps: case data receiving and evaluation, CAD digital design, 3D model printing, CAM milling, zirconia processing, porcelain layering and glazing, polishing and finishing, quality inspection, and packaging and shipment. Nothing in that chain goes to a third-party lab. We’ll walk through the parts of that workflow that did the actual work on this case.
Step 1. Case review and stump shade confirmation
Our case coordination team pulled the file within the day. Three things got flagged before CAD opened the scan:
This is the step most remakes trace back to. If the brief is complete, the CAD designer isn’t guessing.
Step 2. CAD design — layered zirconia with opacity where it counts
The design decision we locked in: a layered zirconia crown, with a monolithic high-opacity core shaped to carry masking at the cervical third, and a veneering layer that gives the body and incisal their natural translucency.
Specifically:
Step 3. CAM milling and zirconia processing
Milled from a layered zirconia disc in the right lot for the shade target, with the gradient oriented so the more opaque base of the blank sits where the core is thickest. Blank orientation is one of those decisions that can’t be undone later — if the gradient runs the wrong way, no amount of glaze fixes it, so it’s checked twice at CAM nesting.
After milling: cleaning, sintering on the standard profile for this material, dimensional check against the design.
Step 4. Porcelain layering and glazing
This is where the shade actually gets built. The veneering porcelain is layered in three zones:
Before glaze, we send the restoration as a bisque try-in — matte, un-glazed, seated on the model and ready for the dentist to try in the mouth. Glaze goes on after we have confirmation.
Step 5. Bisque try-in and the one honest moment
Try-in is the only point where the crown, the stump and the natural teeth are all in the same mouth at the same time. It’s also the only point where we can still change value, cervical blend or surface character.
For a whitening zirconia crowns case like this, we ask the dentist to:
If the stump still shows through under the opaque paste, we add masking in the cervical porcelain and re-fire. If value is a touch low, we lighten body before glaze. If value is a touch high, we drop it. Nothing on this list is possible after cement sets, which is why bisque try-in sits where it does.
Step 6. Glaze, polish, QC and shipping
Once the dentist confirms, we glaze, polish, and run the case through quality inspection. QC checks for us include contact and occlusion against the opposing scan, surface finish, and a final shade check under a standardised D65-balanced source against the VITA classical tab the dentist specified. Our QC team cross-reads value, chroma, translucency and shape so the shade reading doesn’t come from a single pair of eyes.
The case ships with the lot information for the zirconia blank and the veneering ceramic, so the dentist can file them with the chart.
What the finished crown is designed to deliver
The design target — what we commit to in writing, not what we promise about the patient’s reaction — is set out in the brief and verified at QC. For this profile of case:
Note what’s not on that list. “The patient will be happy with it” isn’t a lab deliverable. We can design to the brief and verify it to the brief. The dentist and the patient agree on whether the brief itself was right at seating — which is exactly why we hold the try-in.
That’s as honest as we can be about what a crown can and can’t do. Zirconia doesn’t bleach after it’s cemented. On a dark stump, the cement does part of the colour work. The design decisions in this write-up are what let an A1 target survive a C4 reality.
Try-in feedback from the dentist and the patient
- Value sits where the brief asked for it, and the cervical third no longer transmits the C4 stump at normal viewing distance. The opaque try-in paste confirms what the layered zirconia core is doing.
- Minor adjustments usually fall into one or two of three buckets: a touch more chroma at the cervical blend, a slight lift of incisal translucency, or a small shape tweak at the mesial line angle. We re-fire against written notes, not verbal ones.
- The marginal fit and contacts read within the CAD tolerance range the lab commits to in the brief; any seat-pressure or contact adjustment is noted on the case file.
- The grey band at the gumline that drove the remake is no longer the thing she notices in the mirror. Her read of the crown is that it stops standing out next to the adjacent tooth, which was the goal she set at the first consultation.
- She asks the dentist whether the shade will drift. He explains that the crown itself won’t change colour, and that any shift she sees later will be on the natural teeth around it, not on the zirconia.
- No complaints about contour, gum response or bite feel at the follow-up visit the dentist schedules a few weeks after seating.
What this case means for your zirconia crown lab brief
Three things we’d like every dentist sending us a shade-sensitive case to know, pulled straight from how this case ran:
Everything else — material choice between monolithic and layered zirconia, cervical opacity strategy, cement opacity direction, try-in form — is a conversation we run with you at CAD review. That conversation is why we exist as a full-service zirconia crown lab zirconia crown lab rather than a mill service.
FAQ
Can zirconia crowns be whitened after they're cemented?
No. Zirconia is fully sintered and non-porous. Bleaching agents work on enamel and dentine, not on the ceramic surface. The only lightening options once a crown is in the mouth are surface polishing to remove film and extrinsic staining, surface characterisation, or replacement with a new crown designed to the lighter target.
Why did an A1 crown come out looking grey?
Because A1 describes the crown, not the stump underneath it. A thin crown over a dark preparation transmits the stump colour. The correction is in the design — core opacity, cervical layering, cement choice — not in asking the lab for a lighter number.
Does the patient need to whiten her natural teeth first?
Not for a single-crown replacement meant to match teeth she’s already happy with. For a case where the patient wants a lighter whole arch and new crowns, the whitening comes first, then two to three weeks of settling, then the impression — otherwise the crown will read too light once the natural shade relapses.
What's a stump shade and why do you keep asking for it?
It’s the colour of the prepared tooth, read against a dentine shade guide, with a note on where it’s darkest. For whitening zirconia crowns on a dark substrate, the stump shade sets the whole optical strategy. Without it we’re designing in the dark, and the first time we see the problem is at try-in.
Monolithic or layered zirconia for a C4 stump?
Layered, in almost every case where the aesthetic demand is anterior. Monolithic high-opacity grades can mask strongly, but they don’t give the body and incisal translucency a central incisor needs to read as a tooth. Layered zirconia lets us put opacity where the stump is darkest and keep depth where the eye looks for it.
Will an opaque cement really change the result?
Yes, and it should be planned for. On a dark stump a translucent cement can pull the final value down by half a step; a well-chosen opaque cement holds the design. We tell the dentist which direction to go and ask him to confirm with an opaque try-in paste at seating.
How long does a case like this take at Istar?
A single whitening zirconia crowns case runs through our normal in-house zirconia workflow — around nine production steps, all handled under one roof in Shenzhen and Huizhou. We don’t quote a universal delivery time on a public page because turnaround depends on brief complexity, shipping and try-in cycles; your account manager will give a schedule with the quote.
Ready to send us a shade-critical case?
If you have a case where the stump is doing more work than the shade number, send us the stump photo, the target reference and the full prescription. We’ll come back with a feasibility note and a material recommendation before you mill or re-prepare anything. That’s the conversation most of our shade-sensitive cases start with.