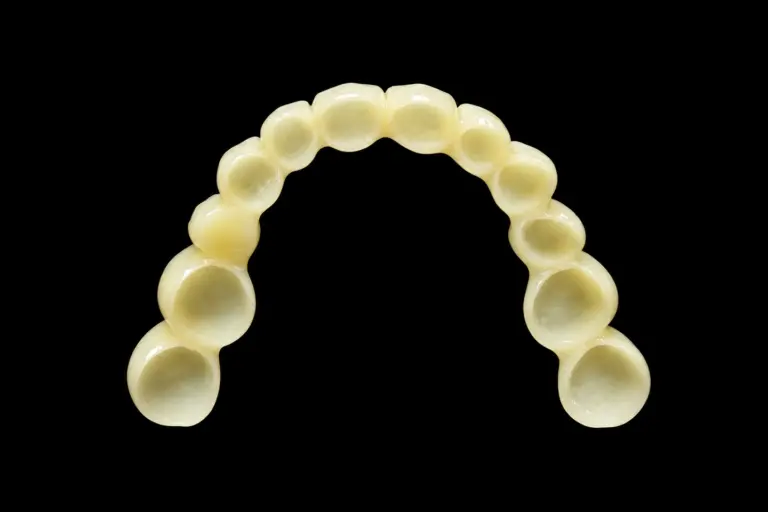
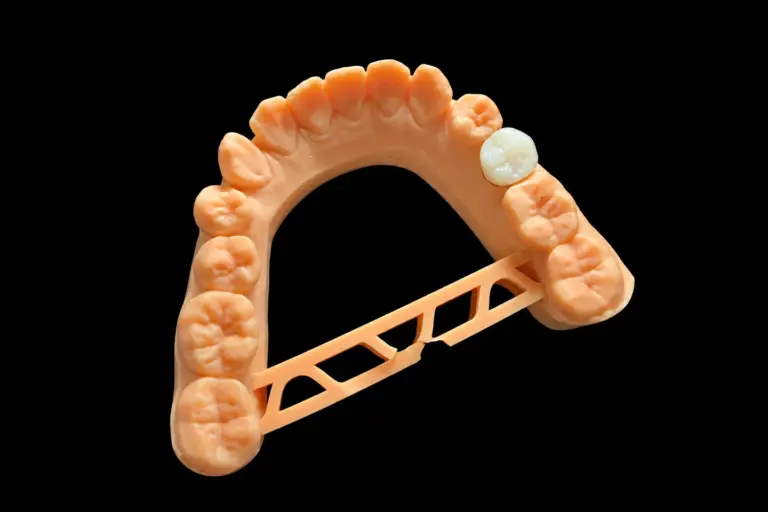
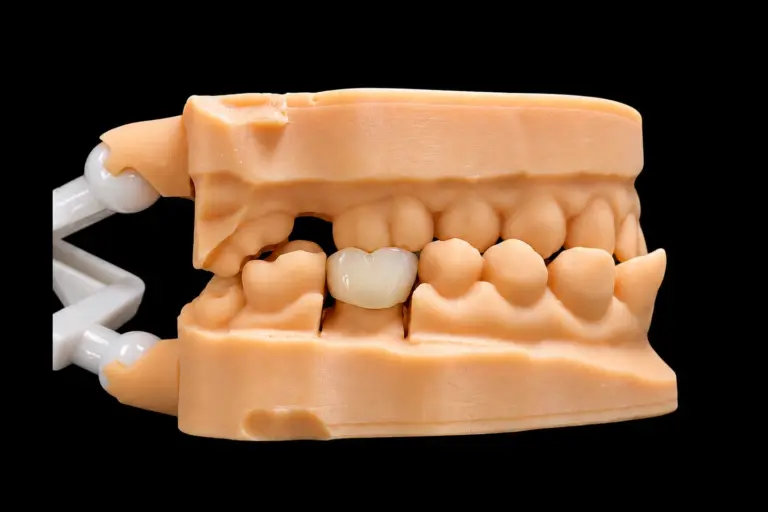
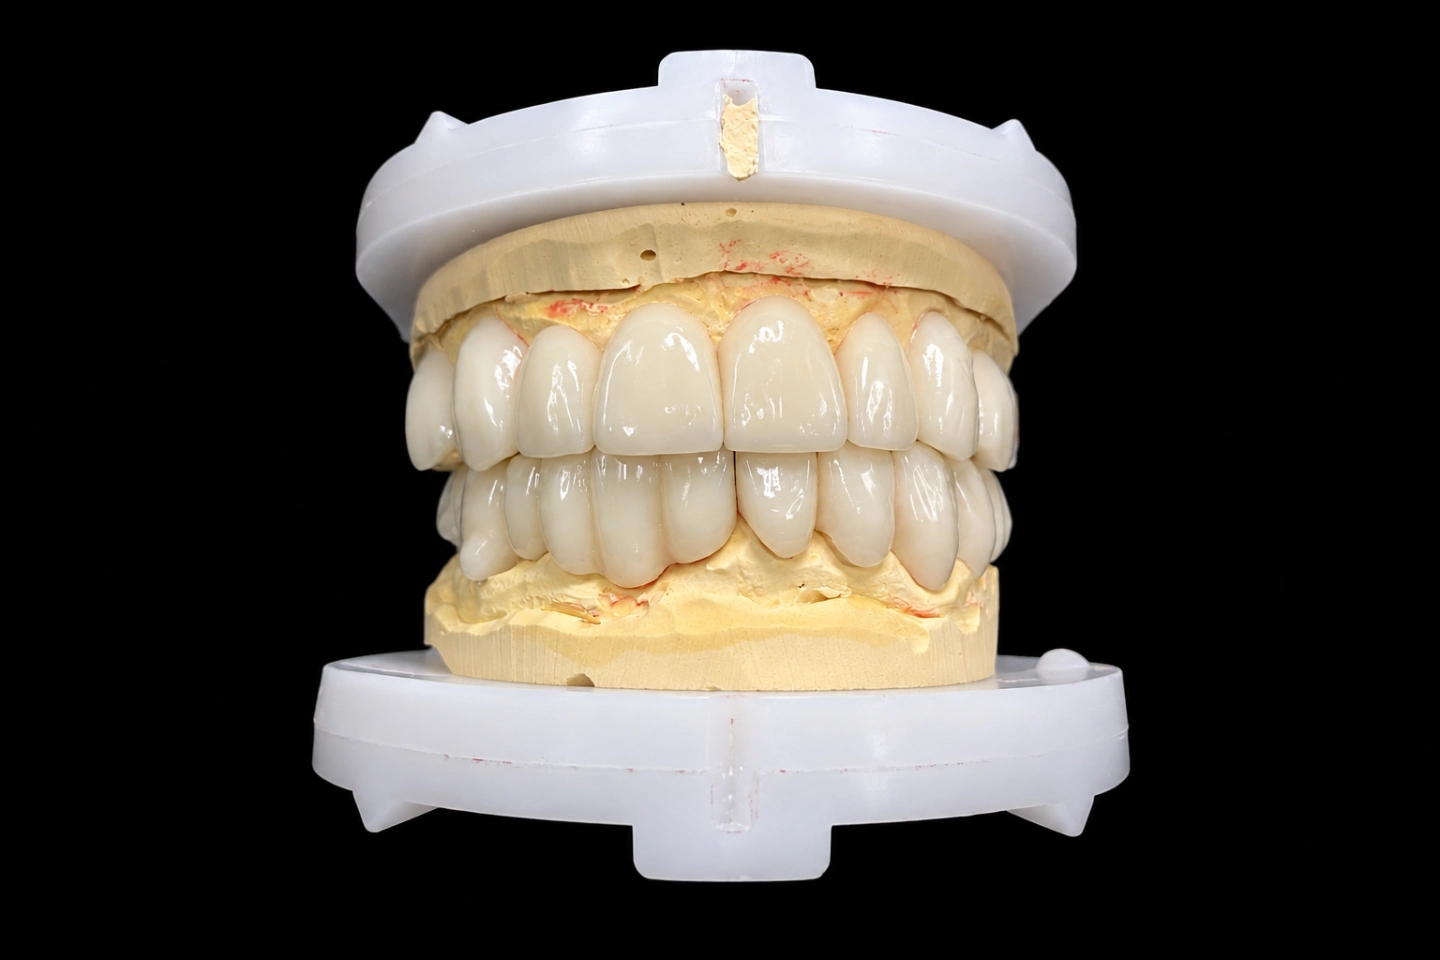
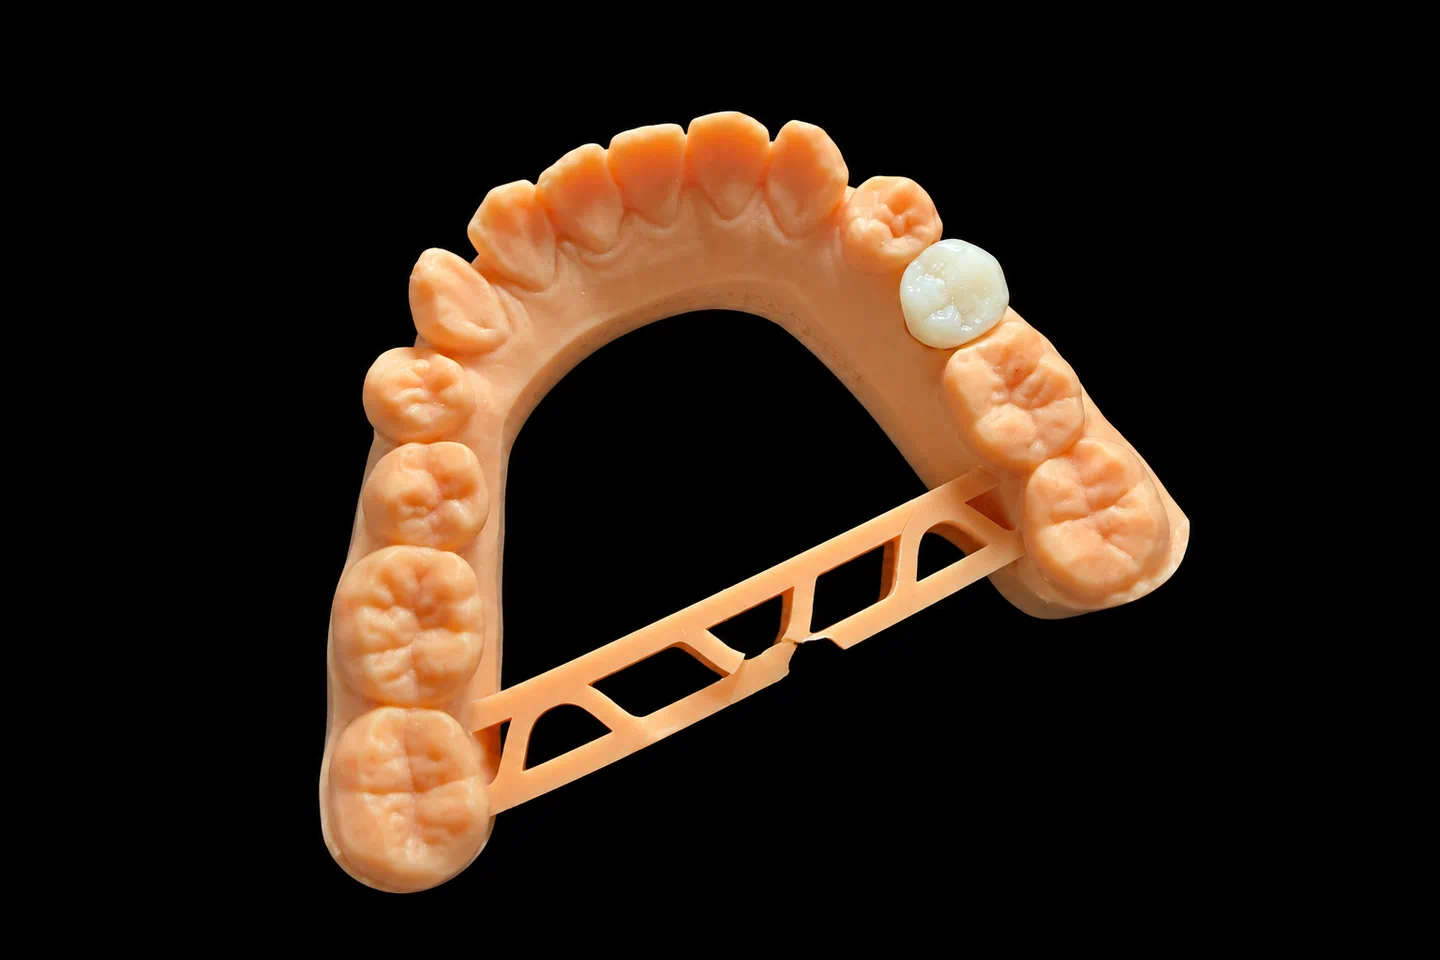
Patient Situation
The patient had lost #29 and #30 years ago . A final bridge was the plan, since they’d talked through implants and didn’t want them .
The dentist’s notes and the scans showed :
So this was never a two-week temporary tooth bridge. It had to carry two pontics on a weak back abutment.
What the Dentist Asked For
The Rx said :
The spare made sense. We ship from China, so we can’t be anyone’s same-day answer. A spare in the drawer can be.
What the Failed Temporary Tooth Bridge Showed Us
Our designer lined up the scan of the broken bridge with the prep scan and looked for three things.
A thin connector in the worst spot
The break ran through the #30–#31 connector. We measured about 7 mm² there on the scan of the old bridge . For posterior work we generally design in a 9–16 mm² range, depending on material.
That’s no knock on the chairside work. Short teeth don’t leave much room for connector height. And sideways forces are a common reason longer bridges fail, which a clencher will find fast.
A path of insertion that didn't suit both teeth
We ran the two preps through our design software to check for one shared path. #28 and #31 didn’t agree. Because #31 tips forward, its mesial wall showed an undercut along any path that suited #28 .
A chairside bridge is molded right on the teeth, so it can hide this. A bridge made on the scan can’t. An undercut like that means it jams, or it won’t seat.
A short back abutment
The mesial wall of #31 measured about 3.5 mm . One often-cited set of prep targets asks for at least 4 mm on molars, with 10–20° of total convergence. That’s a guide, not a verdict. It’s still a clue.
Months in the mouth raise the stakes too. In one retrospective study of 71 milled long-term temporaries, 14.1% broke and 18.1% came loose. Those were a low-filler composite, and the group included crowns, so it isn’t the same material or design. It does show these two problems are real.
Who Could Change What on This Temporary Bridge Dental Case
We sorted the findings before we talked about design :
| What we found | Who can change it | What we told the dentist |
|---|---|---|
| Thin connector | Us | We can nearly double it |
| Undercut on #31 | The dentist | We can see it. We can’t cut it. |
| Short #31 walls | The dentist | Added retention is a chairside call |
| Temp cement | The dentist | Not ours to pick |
| Final bite adjustment | The dentist | We design to the scan and bite you send |
The Undercut: Three Options, One Message
We don’t make a case with a big undercut and hope. We stop and ask, so a design preview went into the case’s WhatsApp group the next working day, with three ways forward :
Block it out in the design
No extra visit. We open up the inside of the bridge at #31.
More gap on a tooth that’s already short, so it leans harder on the cement
Dentist adjusts #31 and rescans
Dentist relieves the mesial wall, adds a groove if they want one
One extra visit and a little more tooth structure
Split the bridge into two sections
Each section gets its own path
A lot of extra work for an 8-week bridge
We said we’d lean toward B, and why. The call was the dentist’s. They had the patient back two days later, relieved the mesial wall of #31, cut a buccal groove and sent a new scan . This time the path came up clean.
Milled or 3D Printed for This Temporary Tooth Bridge
We make temporaries both ways, so this was a real choice:
| Milled PMMA | 3D printed | |
|---|---|---|
| What the bench studies say | Highest flexural strength and hardness after aging in one study of three-unit bridges | One of the printed resins in that same study came close on most measures. Another printed resin gained flexural strength after thermocycling. |
| What to watch | The bur can’t reach tight inner corners, so prep details matter | Build direction changed fracture load in one three-unit study, and it depends on the resin |
Those are lab numbers on three-unit bridges, and this one has four. So they helped us choose, but they don’t promise anything for one patient’s mouth.
The dentist approved milled for the wear bridge, and a printed copy from the same file as the spare .
Why not repair the old one? The dentist didn’t want to . Bis-acryl is hard to bond to itself, and a repair right through a thin connector didn’t look worth the risk.
How We Met the Rx on This Temporary Bridge Dental Case
The design
We looked at adding mesh too. Fibers and steel both raised fracture resistance in one in vitro study of PMMA bridges, and we take those requests. Here it would’ve eaten into the wall thickness we’d just fought for around #31, so we left it out, and the dentist agreed .
The dentist approved the second preview the same day .
Making it
We milled the temporary tooth bridge from a PMMA disc . We stock PMMA from Ivoclar and Aidite. The spare was printed at 0° , using the same file. Milling and printing run in separate areas, so nothing crosses over.
The technicians polished the tissue side of both pontics by hand, then the whole outer surface, because rough resin holds plaque .
Checking it
QC checked both bridges against the Rx and the approved design, on a printed model of the new scan :
Both went out together in a foam-filled box, with the tracking number sent that day, and took 4 working days to arrive .
Temporary Bridge Dental Result
The milled temporary tooth bridge went in at week 8, cemented with a eugenol-free temp cement .
Against the design targets :
The dentist was happy with #31 and scanned for the final bridge in zirconia .
We can’t tell you which change did the most, the connectors, the material or the dentist’s work on #31. There’s only one patient and no control.
Dentist and Patient Feedback on the Temporary Tooth Bridge
The dentist told us how it went after try-in and at the recheck .
Margins were easy to read and clean up. The bridge also came off in one piece when it was time for the recheck, which they’d been worried about on a tooth that had needed adjusting. They liked seeing the problem flagged before anything got made, and asked us to keep the same connector approach for their future bridges. We saved that as a preference on their account.
It felt a bit wide on the tongue side at first, and they got used to it within a few days. The floss threader took some practice. After that they stopped thinking about it, and they went back to chewing on that side.
Sending a Temporary Bridge Dental Case Like This One
To get a failed temporary tooth bridge moving quickly:
Everything happens in our own labs, with no outsourcing: four of them in Shenzhen and Huizhou, China, running since 2012, with about 460 people. That includes 100 in design, 70 in milling and 25 in QC. In a slow month we turn out around 2,000 bridge cases, so a one-off four-unit case doesn’t throw us. You can book a factory or video visit with sales.
Istar Digital is an FDA-registered establishment, Registration Number 3039441248. You can look it up in FDA’s establishment database. The lab runs under ISO 13485, and everything is made to the dentist’s Rx. EU clients get custom-made devices under the MDR custom-made device procedure.
Stuck with a temporary that won’t last? We’ll tell you what we can see, what we can change, and what’s up to you.
Single trial cases are welcome.
FAQ
What's the warranty on a temporary tooth bridge?
1 year, since it’s made for short-term wear. Final bridges get 3.
What if the bridge comes loose? Do I pay for the remake?
It depends on the cause. If it’s on our side, like an open margin, an open contact, a high bite or a bridge that won’t seat, the remake is free. If it’s on the clinic side, like a prep without enough retention, it isn’t. The same goes for changing the shade or material later, or asking us to go ahead on an unclear impression.
Can I get temporary bridge dental work before prep day?
Yes. We can make a prefabricated shell on a virtual prep, and you reline it at the chair.
Is a temporary tooth bridge always milled PMMA or printed?
We also make temporaries in composite resin. We won’t swap a material without your OK, written or verbal.
Do you make a temporary tooth bridge on implants?
Yes, including immediate-load cases. Temporary cylinders, multi-unit abutments, screws and tools are available at extra cost.
What bite record should I send with impressions?
VPS, not wax. Wax can soften and distort in transit, and a bite that’s off is the last thing a four-unit bridge needs.
Can you rush a temporary bridge dental case?
Yes, free, if you send us 10 or more cases a month. We guarantee the ship date, not the arrival date, because customs is out of our hands.
How do you price a temporary bridge dental case?
Quotes are itemized to your Rx, so a spare shows up as its own line. Ask us for the price list.