Patient Situation
The patient had worn a full-palate upper denture for about nine years . Three things kept coming up:
The lower arch still had all its natural teeth back to the second molars . That’s a lot of bite force against an upper denture.
The surgeon placed the four upper denture implants, and the restorative dentist sent the case once they were ready to load . There are no implants behind the second premolars, because the patient didn’t want a sinus graft . Those were clinical decisions, and they were made before we saw the case. They also set the limits for everything we did next.
What the Dentist Asked For
The Rx came down to six points :
Why removable? The patient needed the flange for lip support, and a fixed full-arch design can’t include a buccal flange. Why no bar? The dentist measured only about 11 mm from the ridge to the opposing teeth at #6 and #11 , and didn’t want to spend that room on a bar.
That second call has a trade-off. In a one-year trial of 50 patients with four upper implants, implant survival was 96.7% with Locators and 97.9% with bars, but the bar group lost less bone. Good data doesn’t make the choice for you. In this mouth, space decided it.
Why These Upper Denture Implants Made the Design Harder
Before starting, we checked the plan against the records. Four upper denture implants is a fair starting point: the 1st Global Consensus report says the literature supports four or more for an upper overdenture. A meta-analysis of bar-supported upper overdentures also found four not inferior to six. Those were bar cases, though, and this one wasn’t.
Four problems showed up.
The implants stop at the premolars
The palate-free designs reported to work well used four to six implants spread widely front to back. These implants run only from canine to second premolar on each side . So the molar area rests on the ridge, and natural lower teeth bite right on it. We raised this with the dentist. The answer was to keep the open palate, keep full ridge coverage back over the tuberosities, and watch the bite closely .
An open palate makes the base flexible
An upper implant denture with an open palate is basically a horseshoe of acrylic, and that bends. It bends most where the palate used to tie the two sides together. That’s why the consensus report suggests metal reinforcement, preferably with an open palatal design. So the frame wasn’t an extra here. It was doing the palate’s old job.
Three things wanted the same space at the canines
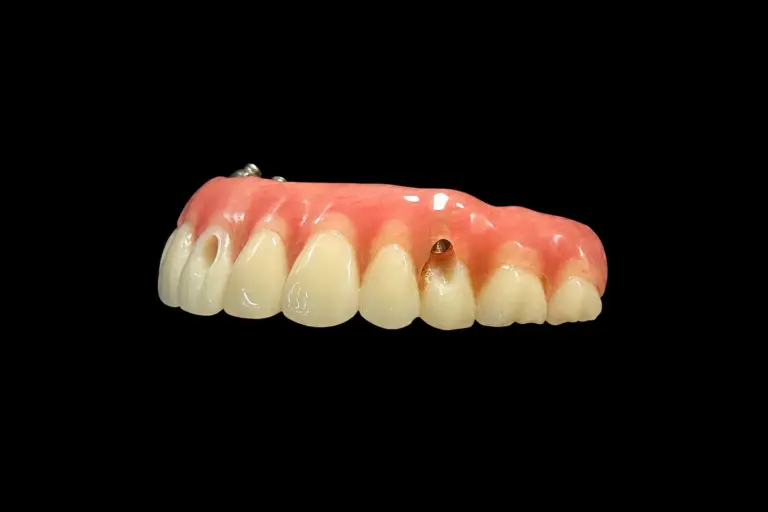
At #6 and #11, the denture had to fit a housing, the metal frame, the denture tooth, and enough acrylic to hold them. Our first design preview showed just 0.6 mm of acrylic behind the tooth at both sites . We could’ve pushed the teeth forward to make room, but that would’ve changed the lip support the dentist asked us to keep.
One implant leaned
The implant at #6 sat about 14° off from the other three . Stud attachments have limits on how much angle they can make up, and this one was close enough to matter. An insert that’s out of line wears fast and makes the denture harder to seat.
How We Met Each Requirement
| Dentist’s requirement | What we did | How we checked it |
|---|---|---|
| Four LOCATOR abutments, no bar | Housings set in the base on one shared path | Denture seated and came off the model smoothly, with no binding |
| Open palate behind the marked line | Trial base and final base both cut to that line | Patient wore the trial base at try-in; final edge checked against the model line |
| Full ridge coverage and flange | Flange form copied from the old denture, then trimmed at try-in | Dentist checked lip support at try-in |
| Metal reinforcement | Cobalt-chromium frame following the ridge, with windows around all four housings | Frame seated on the model with no rocking |
| Try-in before metal | Wax setup on an open-palate printed base | Dentist’s notes on gagging and speech |
| Final stage within 7 working days | Design approval, then production | Shipped on working day 6 |
Getting room at the canines
We sent the dentist the design preview with the 0.6 mm reading marked, plus two options: move the teeth forward, or keep them where they were and take the room from the tooth and the frame. The dentist chose to keep the tooth position .
So we hollowed the back of the #6 and #11 denture teeth and opened the frame a little wider around those housings . That brought the acrylic up to about 1.1 mm . The cost was a slightly weaker tooth at those two sites, and the dentist knew that going in. It’s the sort of call we’d rather put in front of you than make quietly.
Lining up the inserts
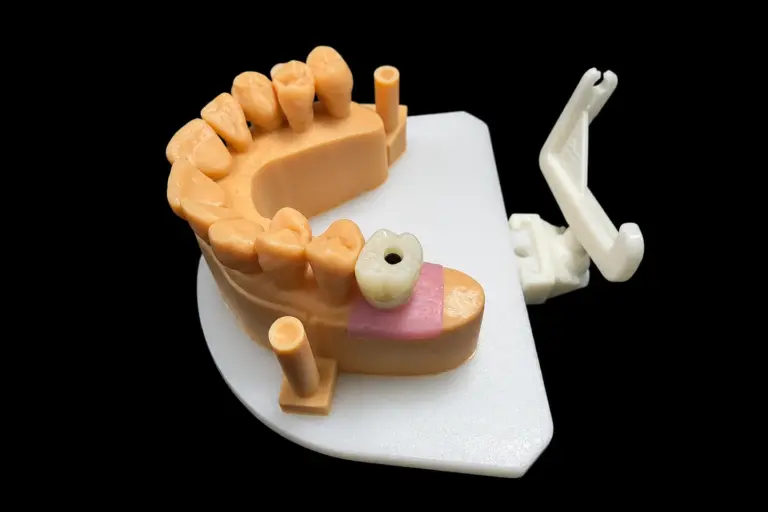
We surveyed the master model and set one path of insertion between all four abutments. That left #6 about 14° off . LOCATOR extended range males are rated for up to 20° on a single implant, so the dentist specified them on all four, starting at 2 lb . The lighter start gives a patient room to go up later, and it’s easier on the hands while learning to take the denture out .
Keeping the frame out of the way
In a slim upper implant denture, a frame this close to the surface can show through or create a ledge. We ran the metal along the ridge, under the teeth, and stopped it short of the palatal edge . The edge itself is acrylic, thinned and rounded, because that’s the part the tongue finds first.
How We Made This Upper Implant Denture
Stage 1: Records and setup
The try-in
You can’t test gagging on a stone model, so this visit carried a lot of weight. The patient wore the trial base for about 20 minutes with no gagging . Lip support looked right after the dentist trimmed the flange a little over #6 .
Speech was the surprise. The patient’s /s/ came out with a whistle . The dentist added a thin layer of wax behind #8 and #9, retested, and sent the trial base back . We scanned that contour and copied it into the final design. The dentist’s wax was more useful than any note could have been.
Stage 2: Design approval and the frame
We rebuilt the design around the approved setup and sent screenshots showing the frame, the housing windows, the tooth changes, and the thickness readings. The dentist approved it the next working day .
Once the frame was made, we seated it on the master model with analogs. It sat without rocking, and the windows cleared all four housings . We sandblasted and degreased the retention areas, since acrylic holds onto metal mechanically.
Stage 3: Processing and final checks
The Finished Upper Implant Denture
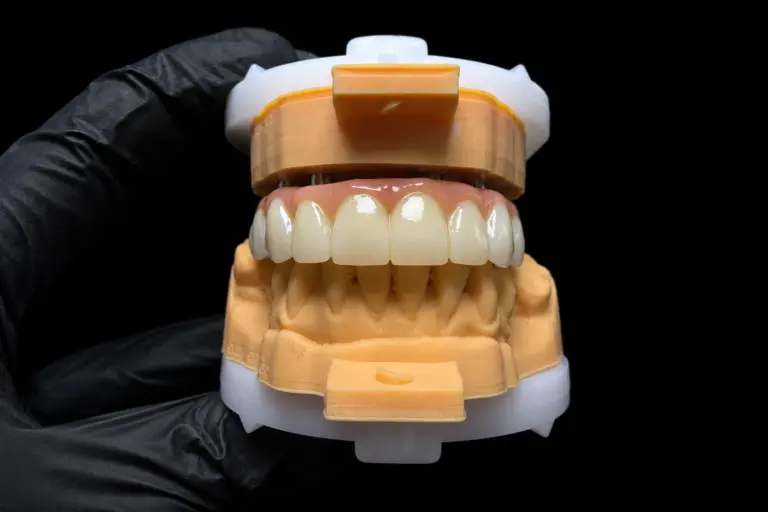
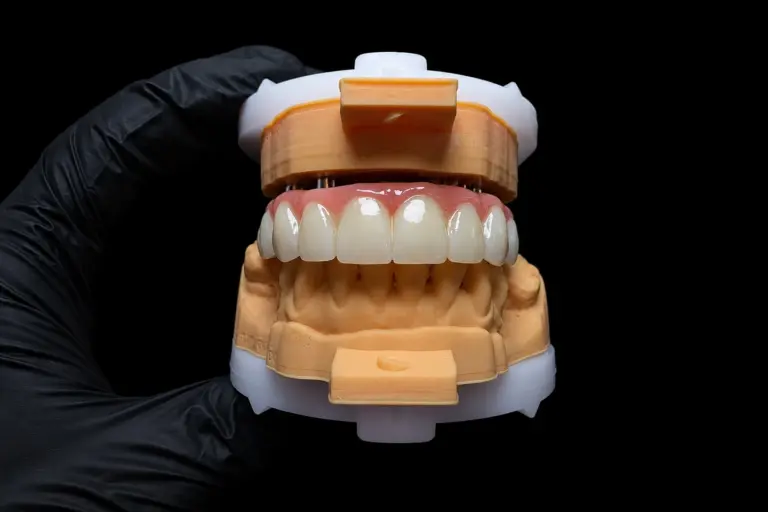
At final inspection, the palatal edge sat on the dentist’s line, the acrylic behind #6 and #11 measured about 1.1 mm, and all four inserts engaged with the denture sitting flat on the model . The /s/ contour matched the returned trial base .
Dentist and Patient Feedback After Fitting
The upper implant denture seated at the first appointment. It needed one small adjustment, a pressure spot on the left flange at the one-week check .
No gagging at fitting or at two weeks. The whistle was gone by the second week. The patient stopped using adhesive .
What This Design Still Needs
We wouldn’t call this one finished for good, and neither did the dentist. This upper implant denture gave up the palate’s support, so it depends more on the attachments and the ridge. Insert changes are common with this type of denture, and rebasing, relining, or replacing teeth gets more common after several years. The same guidance advises taking it out overnight.
One long-term number is worth keeping in mind. In a 10-year trial of palate-free bar overdentures, implant survival stayed at 100% and 96.7%, while overdenture survival was 73.1% and 40.0%. That study used bars and a small group, so it doesn’t predict this case. It does show that implants staying in place doesn’t mean the denture will last as long. The dentist set up a recall schedule for this patient on that basis .
Sending Us Upper Denture Implants Cases
An open palate on upper denture implants is much easier to plan if we get the right records up front. Send us:
An upper implant denture generally takes 5–7 working days in the lab, counted from the day we get the case. Clinic visits and shipping between try-ins come on top of that.
Who Made It
This upper implant denture went through two of our departments. Our implant dental laboratory team of about 80 technicians handled the parts and the implant data, and our removable department of about 55 made the frame, setup, and base. A separate QC team of about 25 inspects work before it ships.
Istar Digital Dental Lab runs four labs in Shenzhen and Huizhou, China. We’ve been at this since 2012, we have about 460 people, and we don’t outsource any of it. We’re an FDA-registered establishment (Registration Number 3039441248), and you can look us up in the FDA establishment registration database. Our labs run an ISO 13485 quality management system, and custom-made dentures for EU clinics follow the MDR custom-made device procedure. You’re welcome to visit the factory or book a video tour.
Upper Implant Denture FAQ
Do you work with my implant system?
Most likely, yes. We support most systems on the market. If you’ve got your own implant library, send it and we’ll use it, so the parts fit what you’ve placed.
Can you supply the abutments and attachments?
Yes. Tell us the model you want and we’ll buy parts to match. Parts we supply are charged separately, and their batch and supplier records are traceable.
Can you build this on a bar instead?
Yes, we can make a bar-retained upper implant denture too. Tell us the bar type, and send the implant data and your space readings. Titanium bars are available, and we’ll show you the bar and the cleaning space in the design preview. For more on the removable options, see our denture implants page.
What frame materials can I choose?
Cobalt-chromium is a common choice. We also use Vitallium alloy and pure titanium. We never change a material without your consent, written or verbal.
What if I want a design you think is risky?
We’ll flag it and tell you why. If you want to change it, we change it. If you’d rather stay with your design, we’ll build it to your Rx, with no sign-off form. Remakes caused by that design aren’t on us, though.
What if the case should go fixed?
We make those too. See our All-on-X page for what we need.
What does the warranty cover?
This upper implant denture carries a 1-year warranty. Problems on our side, like a denture that won’t seat, lifted borders, or an off bite, get adjusted or remade free. If you change the basic requirements, or ask us to go ahead on an impression we’ve flagged as unclear, the remake is charged. You pay to send the case in, and we pay to ship finished work back, remakes included.
How does pricing work?
We don’t publish prices on the website. Ask for our price list, and we’ll quote each case item by item, so you’ll see what the frame, parts, and try-ins each add. Single trial cases are welcome, and ongoing partnerships suit clinics with a regular case flow.
Send Us Your Next Upper Case
Got a patient with upper denture implants who can’t live with a palate? Send one as a test case, with your implant details and the line you’d like the base to stop at. We’ll send you the design with any tight spots marked before we make anything. You can also request our price list or book a factory or video visit.