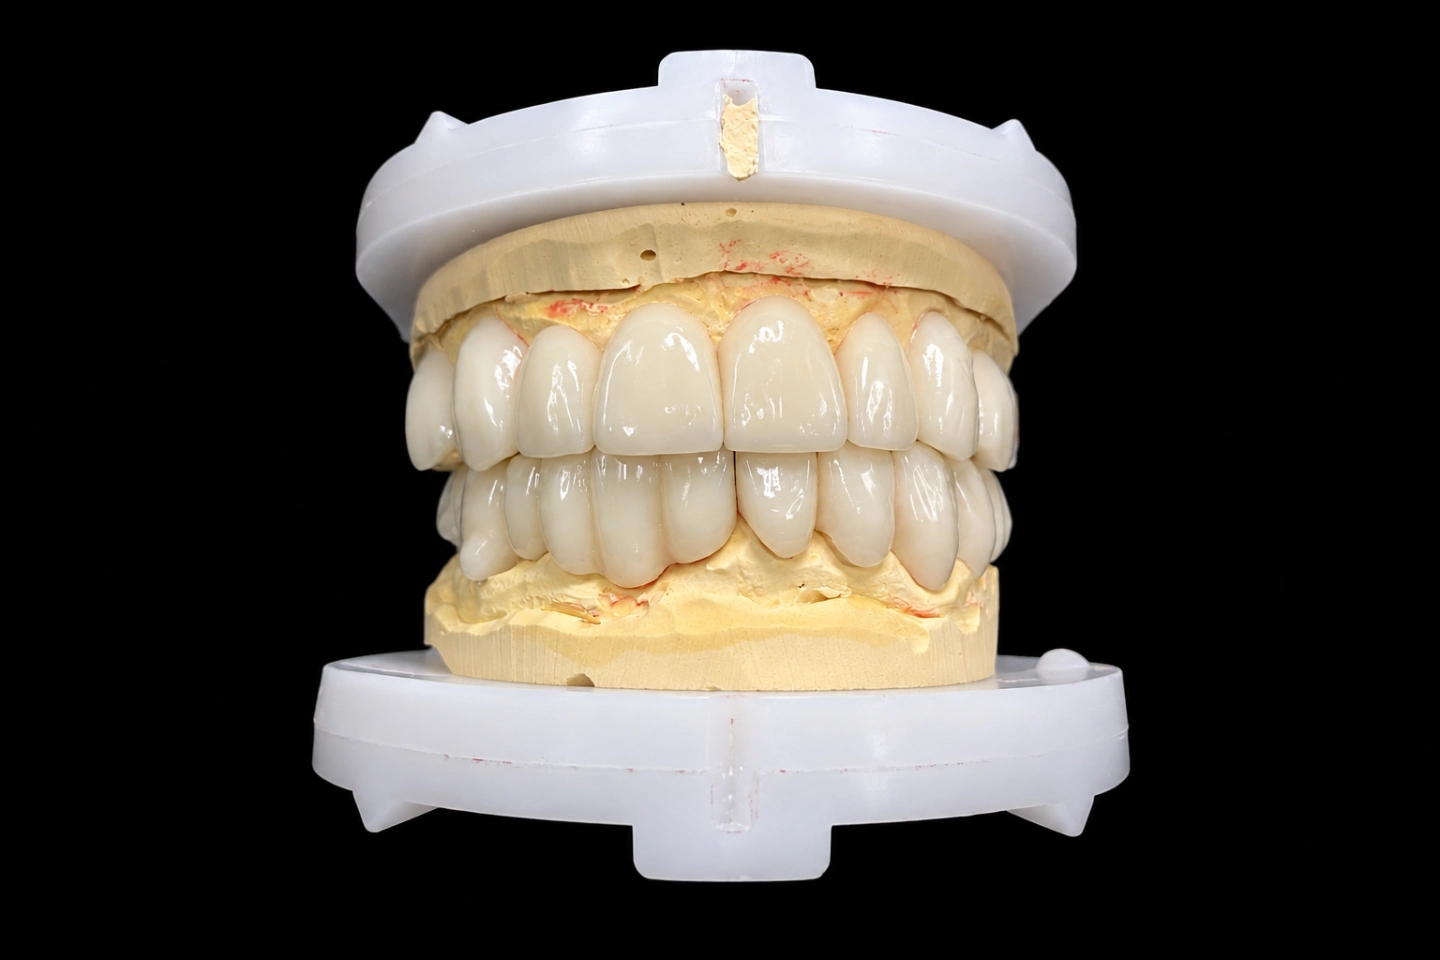
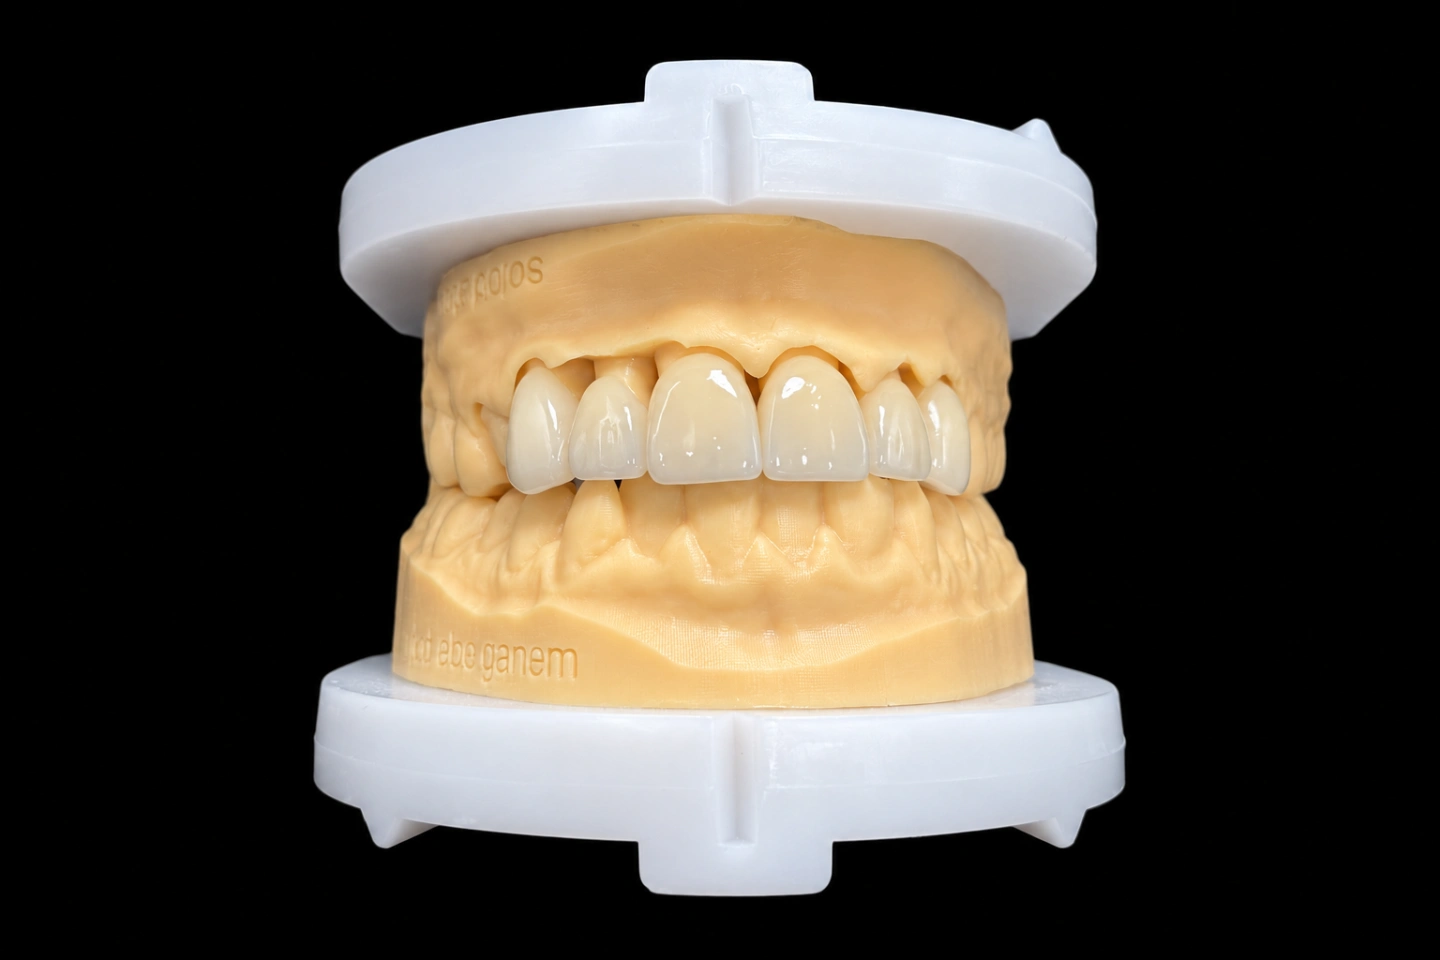
The Patient Behind This Veneer for One Tooth
The patient is in their early 30s . About eight years ago they chipped the mesial-incisal corner of #8 in a fall. A dentist rebuilt it in composite. Since then the composite has picked up a brown line at the margin and chipped twice .
What they wanted was simple: fix #8 and leave everything else alone. No veneer on #9, and no whitening first .
What the dentist recorded :
Skipping whitening was the patient’s call, and it made the target clear. The ADA notes that whitening won’t change the color of veneers, so the one veneer had to match #9 exactly as it is now.
What the Dentist Asked For
From the Rx form and our WhatsApp thread :
The dentist sent scans of both arches before and after the prep, a bite scan, consult photos from a week earlier with A1 and A2 tabs beside #9, photos from the prep visit with an A1 tab, and a photo of the prepped #8 with a shade tab .
Why a Single Tooth Veneer Is So Easy to Spot
A veneer for one tooth has nowhere to hide when it sits next to its untouched twin. In a row of new veneers, small differences tend to blend into each other. But one tooth beside its own mirror image gets compared at every smile.
Wright and colleagues put it plainly: restoring a single front tooth is a challenge for both the dentist and the technician. Shade is part of that. So are shape, edge detail and surface texture. Getting the color right while the shape is off still reads as fake.
Two Shade Records That Didn't Agree
Here’s what we saw when the case came in :
| Record | When it was taken | What it showed |
|---|---|---|
| Consult photos | A week before the prep, at the start of the visit | The A2 tab sat closer to #9’s body than A1 |
| Rx shade | Near the end of the prep visit | A1 |
| Prep-day photos | Right after the prep | #9 looked lighter and chalkier than in the consult photos. A1 looked like a fit |
The dentist confirmed the shade was picked after about 45 minutes with a lip retractor and air drying . That’s the likely reason the two records split.
A drying tooth looks whiter and more opaque. A 2025 clinical study on dental color during drying and rehydration found the change was already noticeable at 5 minutes and clinically unacceptable at 15. After 15 minutes of drying, the color didn’t always fully come back even after 24 hours.
So an A1 read at the end of the prep visit could just mean #9 was dry. Press a veneer for one tooth to that, and #8 might look whiter than #9 once both teeth are wet again.
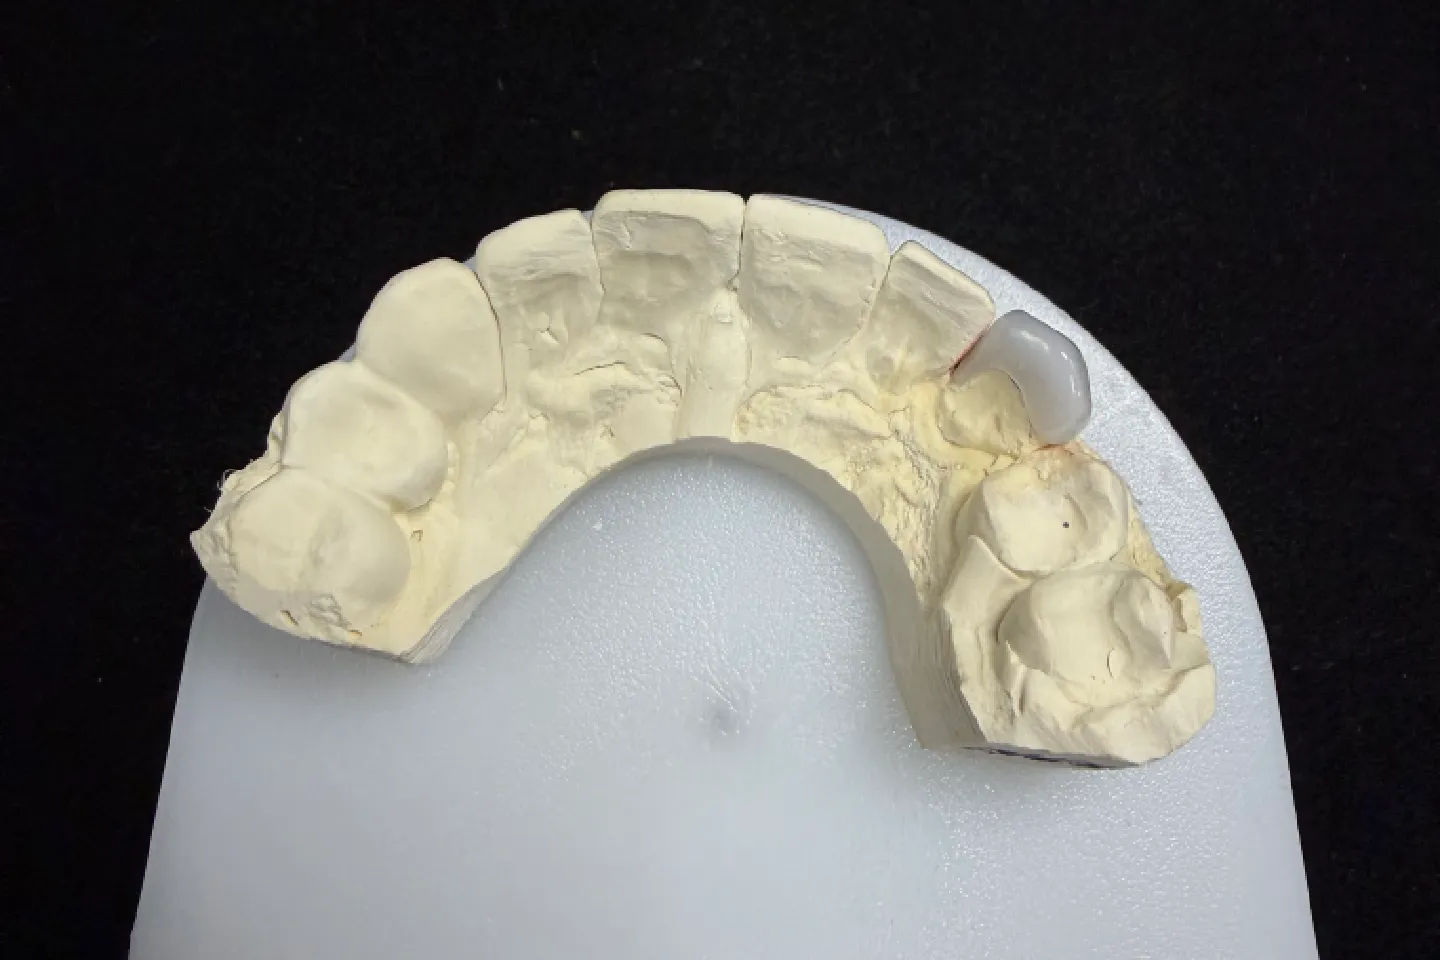
We also looked at the prepped #8. The cervical half read about A3. Where the old composite came off, the incisal third had a small, slightly darker dentin spot . Veneers are thin, so that spot would affect the color too.
Three Options We Sent the Dentist
We held the case and sent three options over WhatsApp, each with the photos marked up :
| Option | What we’d press to | Trade-off |
|---|---|---|
| A. Build to the Rx | A1 body | Fastest. But if A1 was a dry-tooth read, #8 shows up brighter than #9 at try-in |
| B. Use the consult photos | A2 body | No wait. But those photos only had A1 and A2 tabs, nothing darker to compare, and no close-up of the incisal third |
| C. Reshoot before pressing | Whatever the new photos show | A few days’ wait. The answer comes from wet teeth, with more tabs and close-ups |
Which shade goes on the Rx is the dentist’s decision. Our job was to point out the mismatch and show what each choice would mean for the one veneer.
The dentist chose C. The patient already had a temporary on #8, with a check visit booked four working days later . That visit became the reshoot.
Retaking the Shade at the Temporary Check
We sent a short checklist for the reshoot :
The new photos settled it :
We pressed to A2 body.
The Design for One Veneer
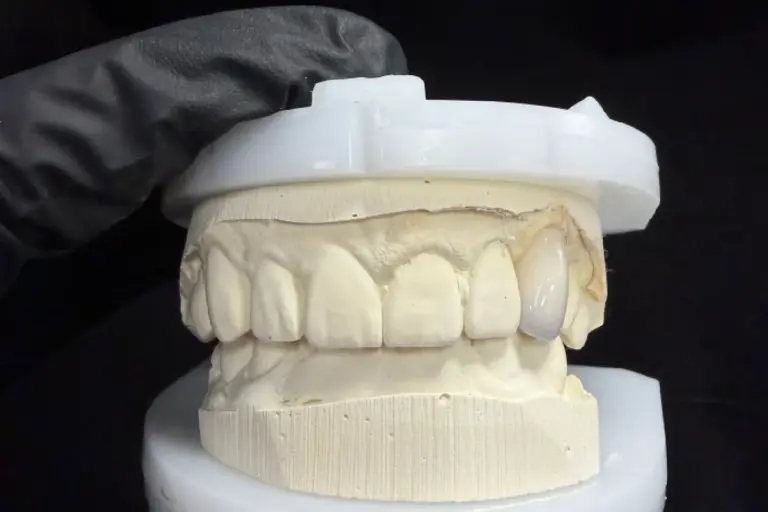
While we waited for the new photos, we sent the single tooth veneer design for approval .
The dentist approved it in one working day without changes .
Making the Veneer to Match #9
Color over the prepped tooth
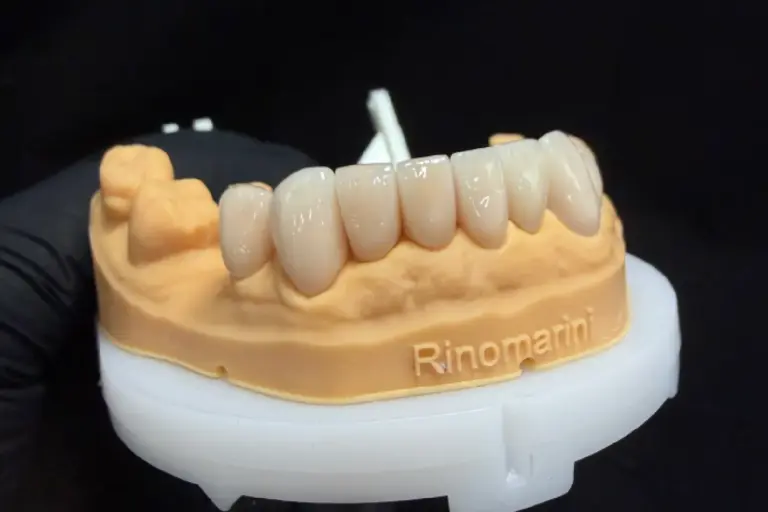
For this veneer for one tooth, we planned the ingot from both the stump photo and the target. The goal was to hide the darker spot in the incisal third without making the whole veneer look flat . Then we used stains for the warmer cervical third and #9’s incisal effects .
In production
From the new photos to shipping took 5 working days .
Our Try-In Paste and Cement Advice
On a single tooth veneer this thin, the cement layer is part of the final color. So with the case we sent a short note :
The cement system and steps are the dentist’s call. Follow the cement maker’s instructions.
Finished Veneer for One Tooth: Try-In Results
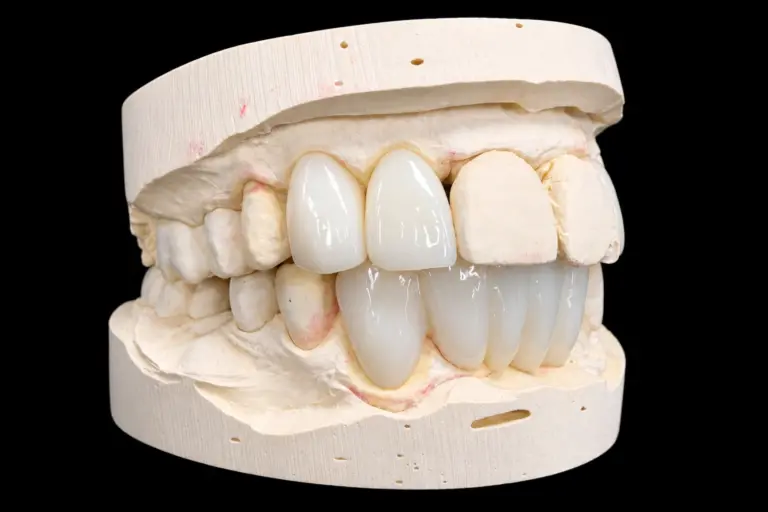
The dentist tried in the veneer for one tooth with neutral try-in paste, then bonded it with the matching resin cement at the same visit .
| Design goal | How it was checked | Result |
|---|---|---|
| Body shade | Photos with A1, A2 and A3 tabs, teeth wet | No visible step between #8 and #9 |
| Incisal edge | Close-up photos side by side | Reads the same on both centrals |
| Stump | Neutral paste at try-in | Didn’t show through |
| Edge length | Visual check, smile photo | Level with #9 |
| Protrusive | Articulating paper | Same marks on #8 as on #9 |
| Margins | Dentist’s check at bonding | No ledge |
Apart from where the old composite had been, the prep stayed in enamel . That’s worth the effort. A meta-analysis of ceramic veneers on different bonding substrates found that veneers bonded to enamel did best, with results dropping as more dentin was exposed.
Feedback from the Dentist and Patient
From the dentist’s messages after bonding and at the two-week check . The patient’s comments reached us through the dentist.
The dentist
losing four days was a fair trade for not having to send the veneer back after a failed try-in .
showing the patient the two photo sets side by side got the wait accepted without a long talk .
no adjusting, no re-polishing, no re-glaze. The appointment ran shorter than booked .
on single front teeth, they now take the shade at the start of the visit, before any prep .
The patient
in a hand mirror, they couldn’t tell which central was the new one. At two weeks, nobody around them had noticed either .
biting into food feels the same on both front teeth .
floss slides through the contacts on #8 the same way it does on the other teeth .
What to Send for a Veneer for One Tooth
Here’s how to send a case. A single veneer generally takes 5–7 working days, simple cases 2–3. Add 1–2 days when you ask to approve the design first.
Who Made This One Veneer
This one veneer went through our CAD design team (about 100 people), our ceramic and metal department (about 70) and a separate QC team of about 25. They’re part of Istar Digital Dental Lab’s four labs in Shenzhen and Huizhou, China. We’ve been at it since 2012, with about 460 staff and no outsourcing.
Istar Digital Dental Lab is an FDA-registered establishment (Registration Number 3039441248), which you can check in the FDA establishment registration database. Our labs run an ISO 13485 quality management system.
Single Tooth Veneer FAQ
Can you match a tooth next to an old crown or veneer?
Yes. Send photos with tabs as usual. You can also mail us the physical shade tab you used, or the old restoration itself, and we’ll match against it.
What if my patient grinds?
Tell us on the Rx. For heavy bite forces, we’d talk through zirconia veneers, which are stronger and wear better than glass ceramic. We also make night guards to your prescription.
What if I want a design you think is risky?
We’ll tell you why, then make it to your Rx with no sign-off form. A remake caused by that design isn’t on us, though.
What's free to redo, and what isn't?
Open margins, open contacts, high bite, a veneer that won’t seat, inaccurate color, visible flaws and poor shape are ours to fix for free. Changing the shade or material afterward isn’t free. Neither is a case you asked us to make from an impression or scan we’d already flagged as poor.
What else do you make veneers in?
Besides pressed e.max veneers, we make zirconia veneers and lab-made composite veneers. See what else our e.max lab makes. We won’t swap a material without your OK.
What about warranty and shipping?
Veneers carry our 3-year warranty. You pay to send a case in, and we pay to ship finished work back, remakes included.
Can you rush a single tooth veneer?
Rush service is free for clients who send us 10 or more cases a month. We guarantee the ship date, but not the arrival date, because customs times vary.
How is pricing handled?
We don’t publish prices on the website. Ask for our price list, and we’ll quote each case item by item to your requirements.
Send Us Your Next Veneer for One Tooth
Got one front tooth that has to disappear next to its neighbor? Single trial cases are welcome, and you can see our labs on a factory visit or a video tour.