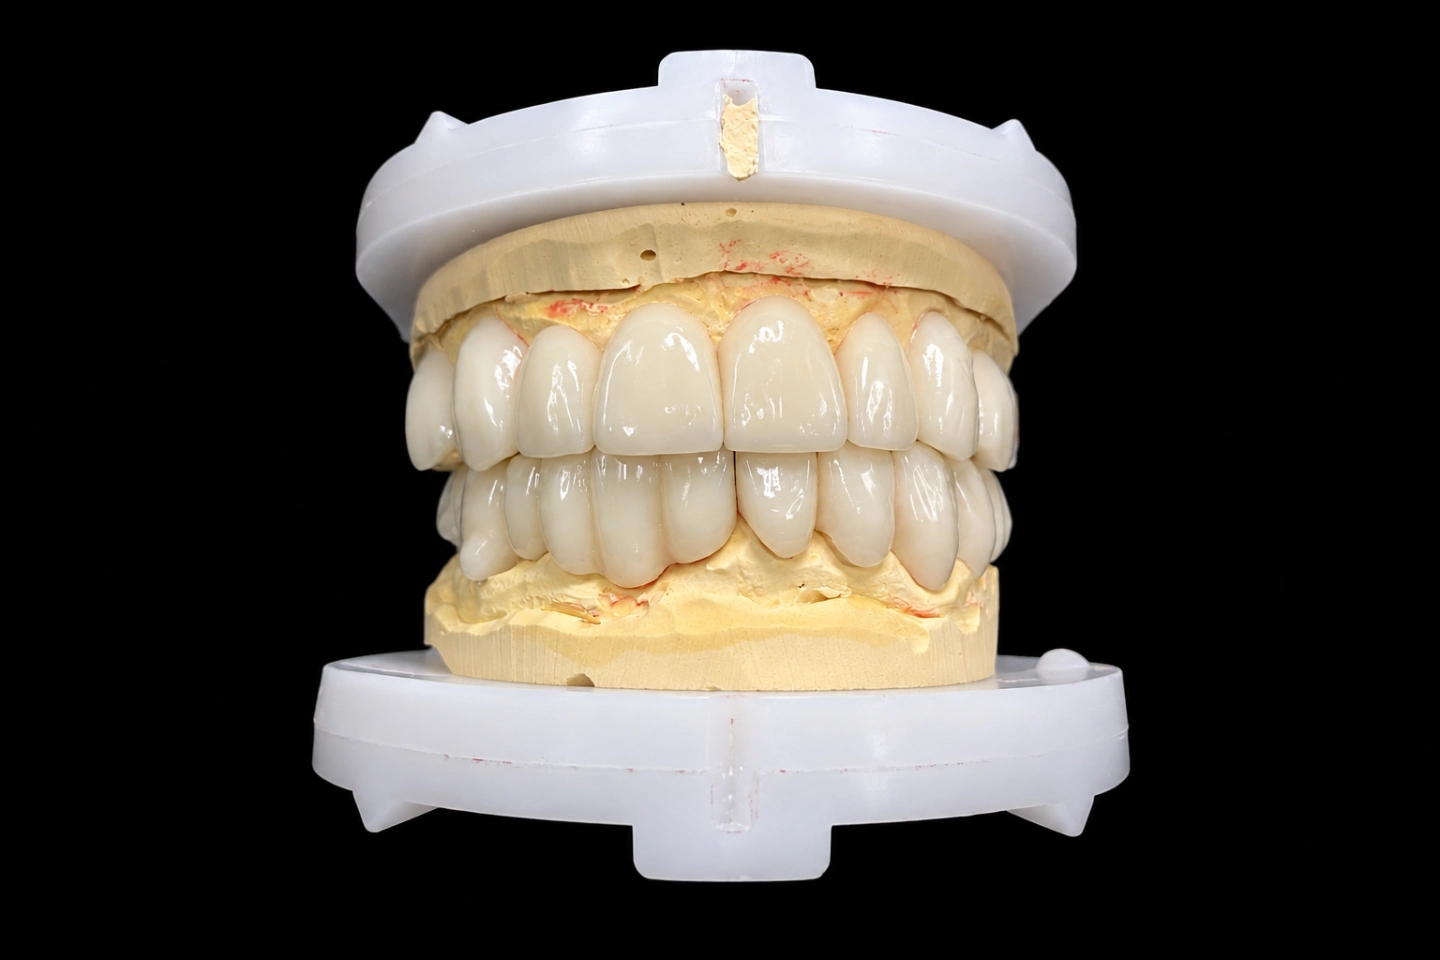
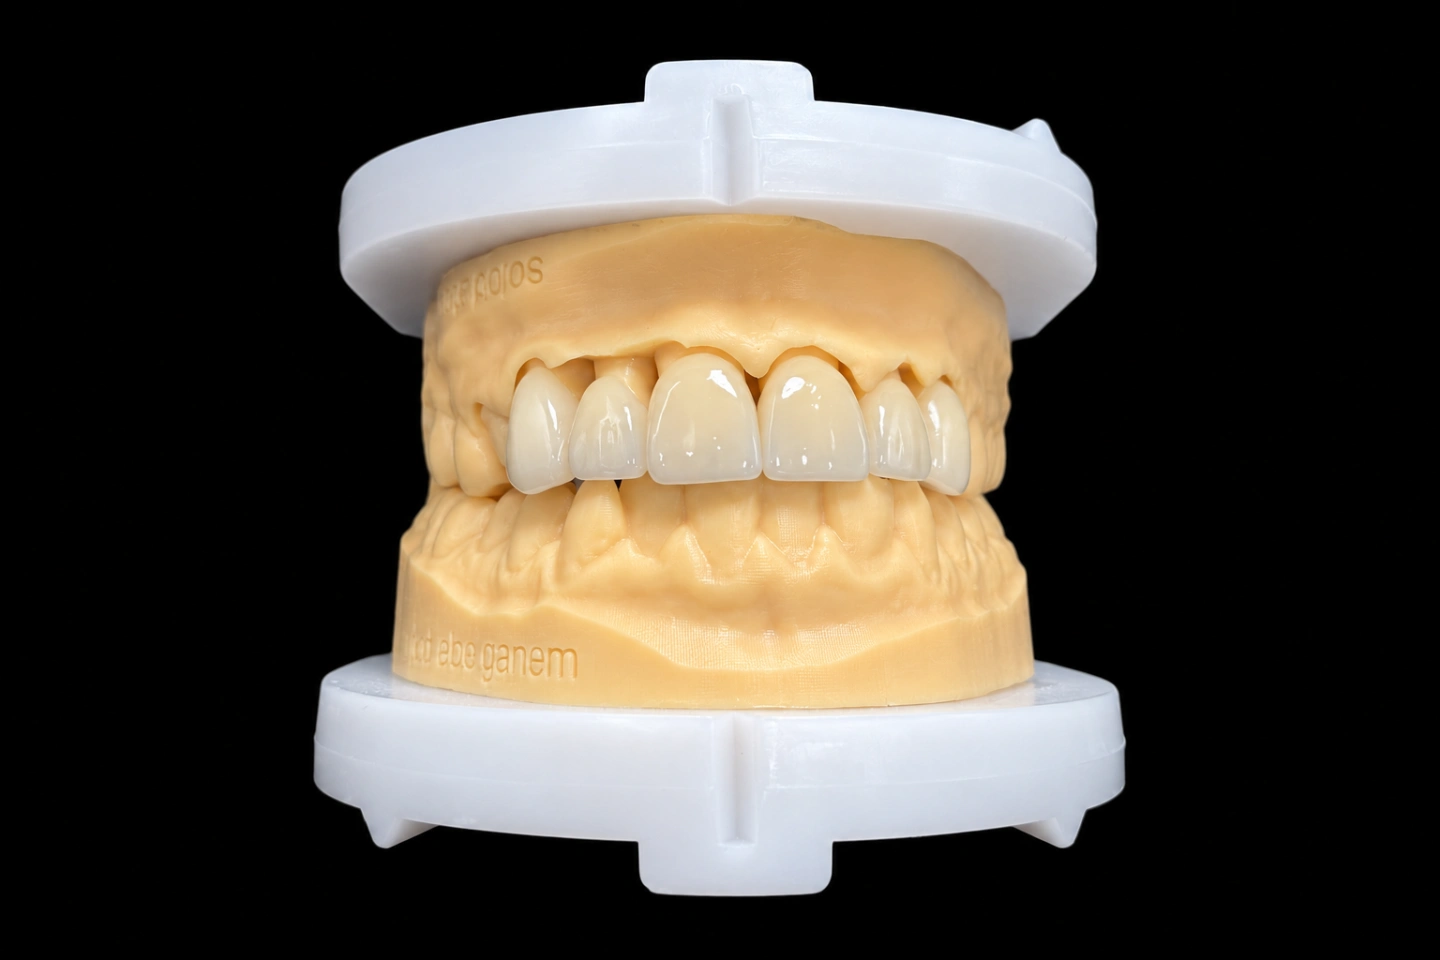
Patient background: why these ceramic veneers failed in seven years
The first thing we do with any veneer case is read the constraints before we read the smile. On this one the dentist’s photos and the intraoral scan told us five things that the plan had to respect:
For a dental lab, that reads as: short on space, high on bite load, moderate on bonding risk, and emotionally time-boxed. We said yes, but on written conditions. More on that in the boundaries section.
Why this matters is well documented. A 2025 systematic review and meta-analysis of 29 clinical studies puts 10.4-year survival for ceramic laminate veneers at roughly 96% across feldspathic, leucite-reinforced and lithium disilicate, with no statistically significant difference between the three materials. What did differ was the complication rate over the same period: about 6% technical complications for lithium disilicate against more than 41% for feldspathic. Survival is not the same as a clean result. For a bruxer coming back for a second round, it is the complication curve we design against, not the survival number.
What the dentist asked us to do
The dentist is one of our regular European clients and he writes clear prescriptions. Below is the lab-facing version of his requirements, broken out the way we actually use them on the bench.
| Requirement area | What the dentist asked for | What that meant for us |
|---|---|---|
| Units | Remake all four veneers (12, 11, 21, 22). | Keep the esthetic unit symmetrical. Not three, not two. |
| Material | Switch from the old feldspathic ceramic veneers to a stronger ceramic. | Lithium disilicate, pressed, with limited cutback for layering. |
| Thickness floor | At least 0.6 mm facial, 1.0–1.5 mm at the incisal to protect against chipping. | Design incisal overlap, not a feather margin. |
| Shade | BL3 overall, with real translucency at the incisal third. | Press in a low-translucency ingot, then cut back the incisal and layer. |
| Occlusion | Flatten incisal contacts so load is even across the four units, with no single tooth taking the force first. | Standard bruxism design, as in G019 in our workflow. |
| Pairing | A soft heat-pressed night guard built on the same digital model. | Thermoforming department, matched to the final occlusion. |
| Try-in | One PMMA try-in before pressing the final porcelain veneers. | Build time budgeted for mock-up plus one adjustment loop. |
| Delivery | Before her travel window. | Fixed-restoration lab make time of 2–3 working days plus try-in, booked around his schedule. |
The real conflict in porcelain laminate veneers: strength vs. optics
Every veneer case has one dominant tension. On this one it was simple and unforgiving: the patient needed porcelain veneers tough enough to live inside a grinder’s mouth, and at the same time she wanted the kind of light handling you only get with layered ceramics. Those two goals pull in opposite directions.
Our answer, which we will walk through next, is a hybrid: press for the body, cut back for the incisal, layer feldspathic porcelain to carry the translucency. That gives most of the strength of the monolithic approach, with a believable incisal edge. It is not a universal answer. It is the right answer for this patient’s bite, this patient’s shade target, and this patient’s available space.
Two more things sat under that main conflict and we had to design around them:
Our fabrication plan, step by step
The following is what actually ran through our lab for this case. Nothing was outsourced. Istar Digital runs the whole production chain in-house, from CAD to packaging, which is the model we have followed since 2012.
1. Case intake and data check (same day)
The dentist’s package came in with the IOS files, a full photo set (face, retracted smile, both lateral views, both occlusal views, plus the shade-tab-in-frame photos we require), bite registration, and a written prescription. Our case coordination team ran it through our standard intake check. The scan had enough overlap, the opposing arch was fully captured to the last molar, and the bite was clean. Nothing to send back.
If something had been off — missing opposing scan, bite from wax (we discourage wax bite because it deforms during international transit), unclear margins — we would have flagged it inside 24 hours. That is the window we commit to.
2. CAD design review (1 working day)
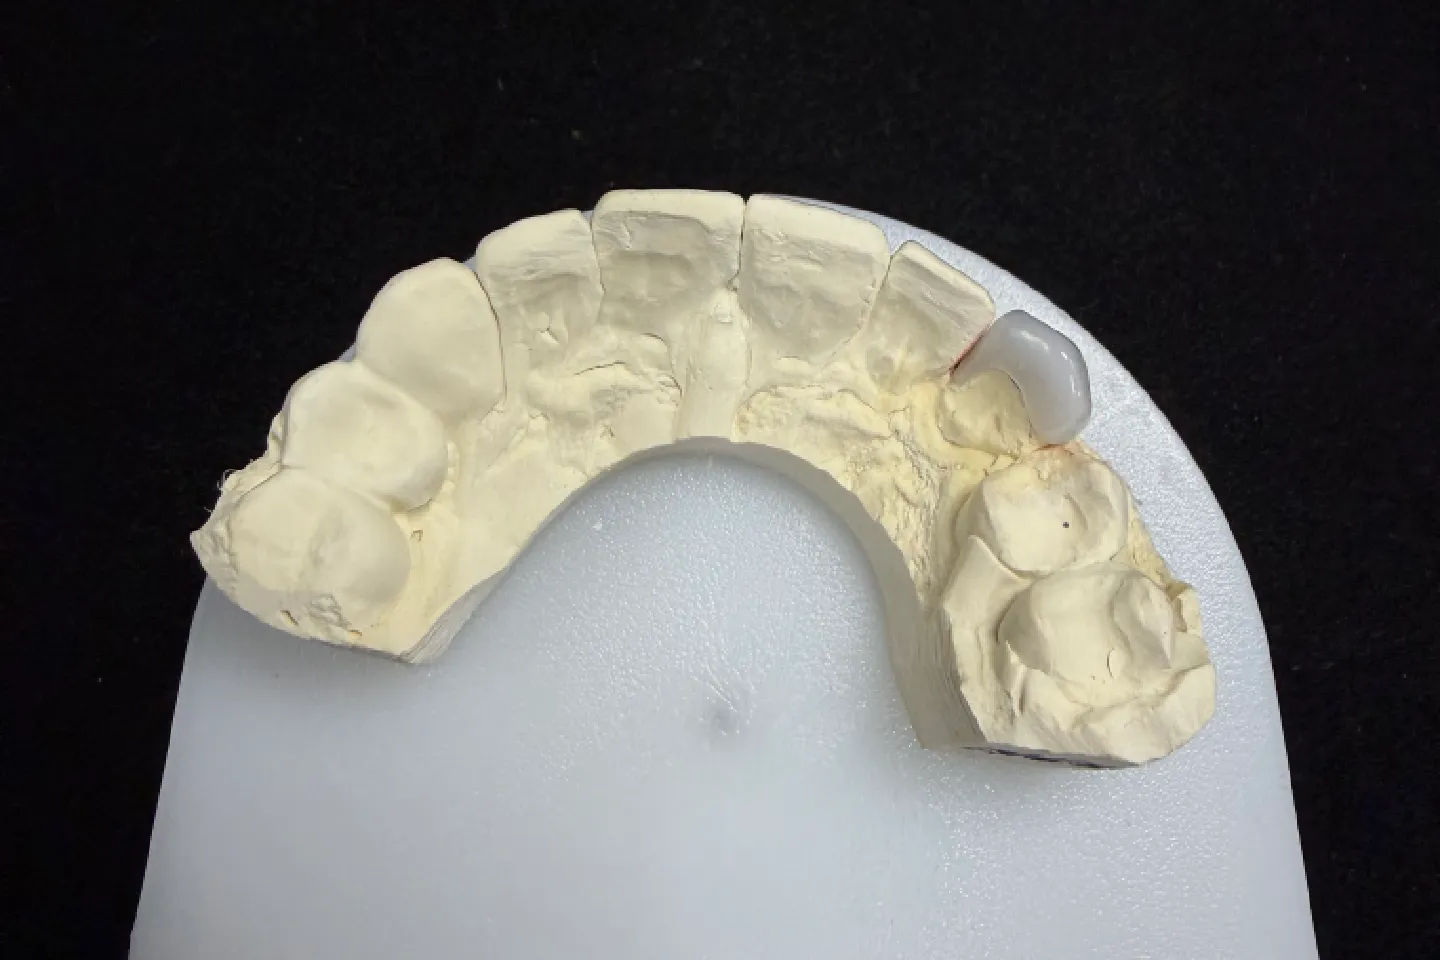
Our senior designer built the digital wax-up with the esthetic unit as the base: all four teeth planned together, mid-line checked against the facial photo, incisal plane referenced to the lower lip curve. Facial reduction on each unit was planned at 0.6 mm minimum, incisal overlap at 1.2 mm. Design file was sent back to the dentist for approval before we touched a single piece of ceramic.
3. PMMA try-in prototype (2–4 working days)
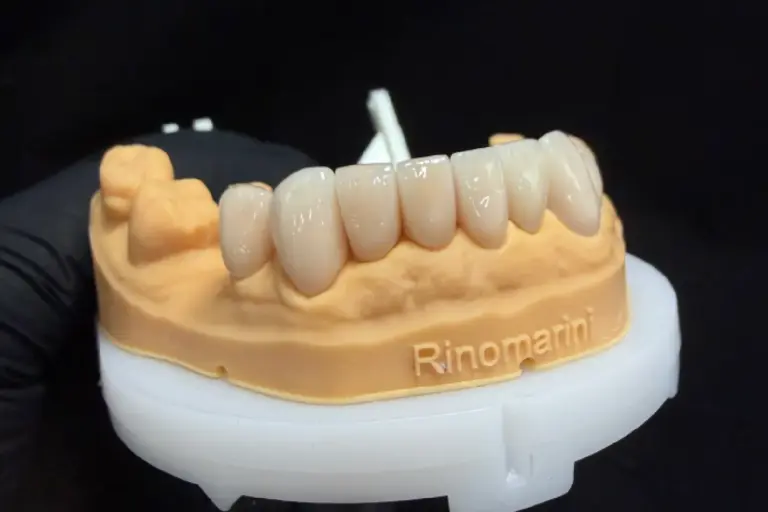
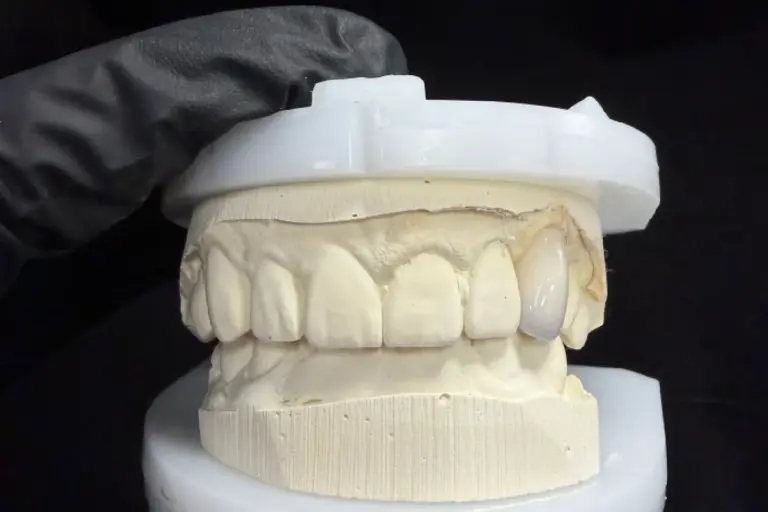
Because this is a bruxer with four symmetric units, we prototyped in PMMA first. That is standard in our workflow for cases where incisal length, mid-line, or occlusion carries real risk. The dentist tried the mock-up in the mouth, confirmed the length (we got it right the first time), and photographed the try-in with the shade tab in frame. He approved the final shape and we moved to pressing.
4. Pressing and cutback (lithium disilicate)
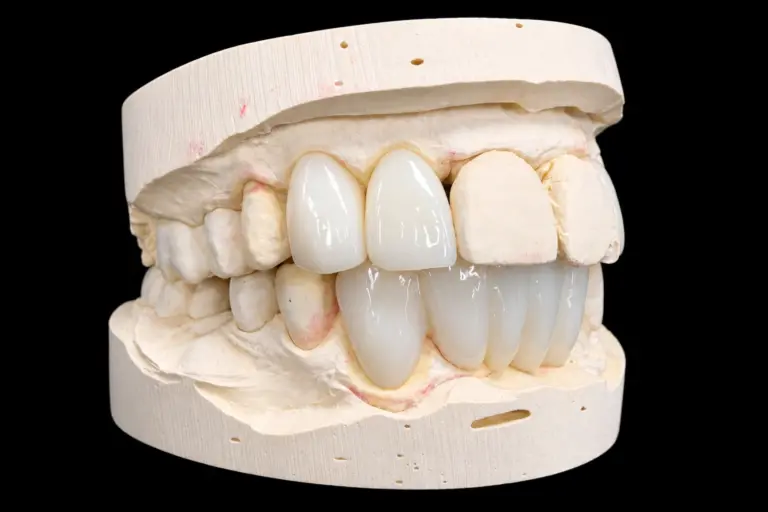
We pressed the four units in a low-to-medium translucency lithium disilicate ingot calibrated to our BL3 shade target. Right after divestment and finishing, we performed a measured incisal cutback — about 1.5 mm — on each unit, keeping the proximal line angles intact. The cutback was deeper on 11 and 21 than on 12 and 22, following the natural asymmetry of incisal translucency in a real smile.
5. Layering, glazing, polishing
The cutback area was built back up with feldspathic porcelain, layered in the shade recipe our ceramist locked for this case: a thin halo of lighter dentin blended into a translucent incisal, with a fine mamelon pattern on 11 and 21 only. Glaze was applied under polarized light to avoid over-glossing. Final hand polish on the facial brought the surface texture close to the adjacent canines, which the dentist had not restored.
The cutback is where the strength budget gets spent. Every fraction of a millimetre we take off the pressed core is strength we do not get back, so the depth gets decided per tooth from the shade target and the bite in front of us, not from a fixed recipe.
6. Occlusal design: flat and even
For a bruxer, the occlusal design is where cases are won or lost. We built the incisal contacts flat and even across all four units, so no single tooth bites first. That is directly aligned with how our workflow handles bruxism cases in general: increase the thickness in the loaded area, keep the occlusal surface even, and distribute the force. For this patient the dentist also noted that she slides her lower teeth forward and sideways when stressed, so we kept the units a fraction shorter than the ideal esthetic length to stay inside her envelope of function. That trade-off was discussed in writing before pressing.
7. Matching night guard
While the finals were being glazed, our thermoforming department built a soft heat-pressed night guard on the same digital model. We use heat-pressed soft or dual-laminate guards for bruxers who already have ceramic restorations; we do not fit hard clear acrylic splints against new veneers because the hard surface can catch the incisal edges during a strong clench cycle. The night guard was delivered in the same shipment.
8. QC and shipping
Each veneer went through a two-stage check: margin fit on the printed master model under magnification, then a final inspection against the approved design. All four passed on first pass. The shipment was packed in foam-filled cases, with the night guard in a sealed bag labelled with the patient identifier.
Case file: the field template we fill for every porcelain veneers job
This is the document we open on day one and close on the day we ship. It is also what we would need back from the dentist for any future remake. Nothing is left to memory.
| Field | What we recorded for this case |
|---|---|
| Esthetic unit | Four units: 12, 11, 21, 22. Dentist’s rationale: symmetry around the mid-line. |
| Prior restorations | Four porcelain veneers, feldspathic, placed ~7 years earlier at another clinic. Chipped at 11 and 22 incisal; marginal staining at 21. |
| Patient parafunction | Nocturnal bruxism, daytime clenching. Confirmed by dentist. |
| Material system chosen | Lithium disilicate (pressed), incisal cutback with layered feldspathic. |
| Alternative materials considered and declined | Monolithic lithium disilicate (declined: flat incisal under BL3 target). Full feldspathic (declined: strength margin too thin for a bruxer, old failure pattern). Zirconia-reinforced (declined: available space did not justify the opacity). |
| Facial reduction target | 0.6 mm minimum, 0.8 mm average. |
| Incisal overlap | 1.2 mm, with 1.5 mm cutback for layered incisal. |
| Margin position | Supragingival on all four units. No subgingival chase. |
| Shade target | BL3, with layered incisal translucency. |
| Shade reference files | Natural tooth + shade tab, prep + shade tab, incisal close-up (3 photos per unit). |
| Try-in | One PMMA try-in. Approved on first fit; no length adjustment. |
| Design approvals | 2D render approved by dentist on day 2. Try-in approved on day 6. |
| Lab make time (after try-in approval) | 3 working days. |
| Remakes | 0 on this case. |
| Pairing product | 1 soft heat-pressed night guard, same digital model. |
| Shipping | Foam-filled case, international courier, tracked. |
| Follow-up | Dentist confirmed bonding completed at week 10 after shipment. No early complication reported at the 3-month call. |
The finished result
The dentist bonded the four porcelain veneers in a single session using the protocol he prefers. The patient left with the night guard and written instructions to wear it every night. At the three-month call, the dentist reported no chipping, no marginal discoloration, no occlusion complaint. We log all follow-up calls at months 1, 3, 6 and 12 for cases involving parafunction.
We will update this page if anything changes at the 6- or 12-month call. We will not update it to make the number better than it is.
What makes this kind of case repeatable in our lab
A case like this does not come together because one technician had a good day. It works because the lab is built for it. Here is what, concretely, that looks like at Istar Digital.
Where we draw the line
Not every veneer case belongs in our lab, and this one came in with a few conditions we wrote back before accepting. We think a case page is more useful when it says these out loud.
These are not slogans. They are what the production floor runs on, and they are also why cases like this one finish on time.