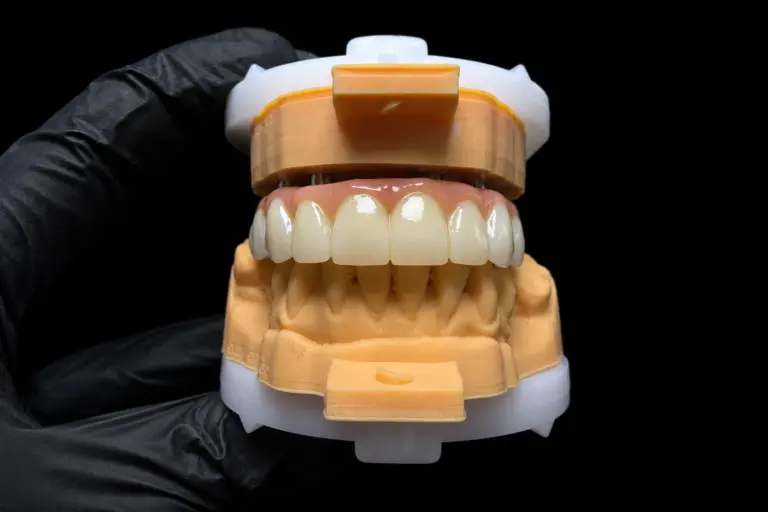
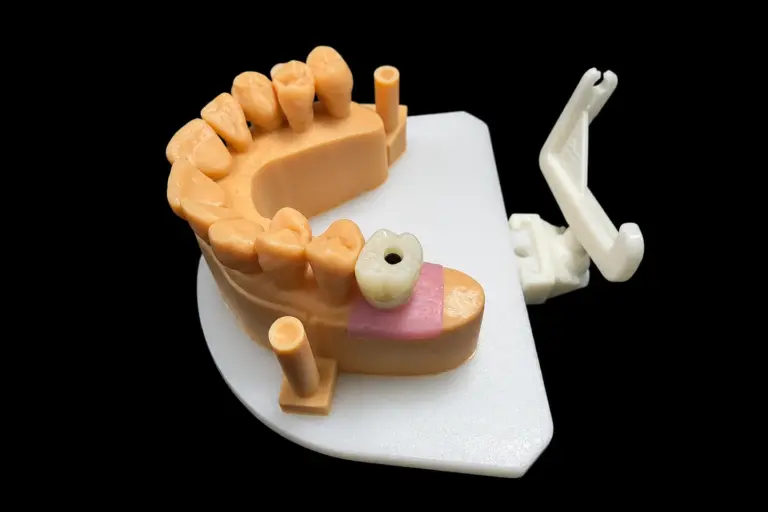
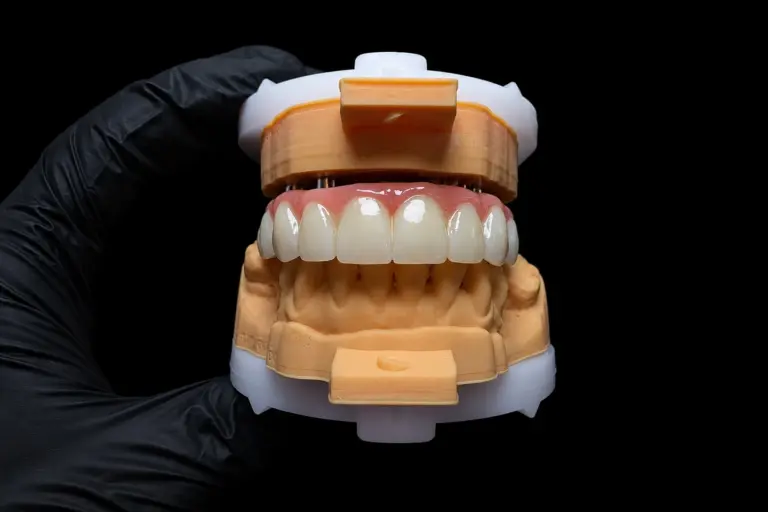
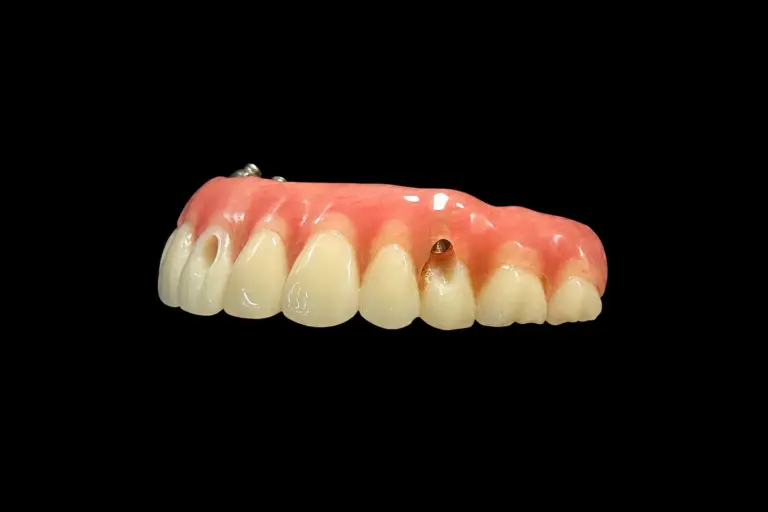
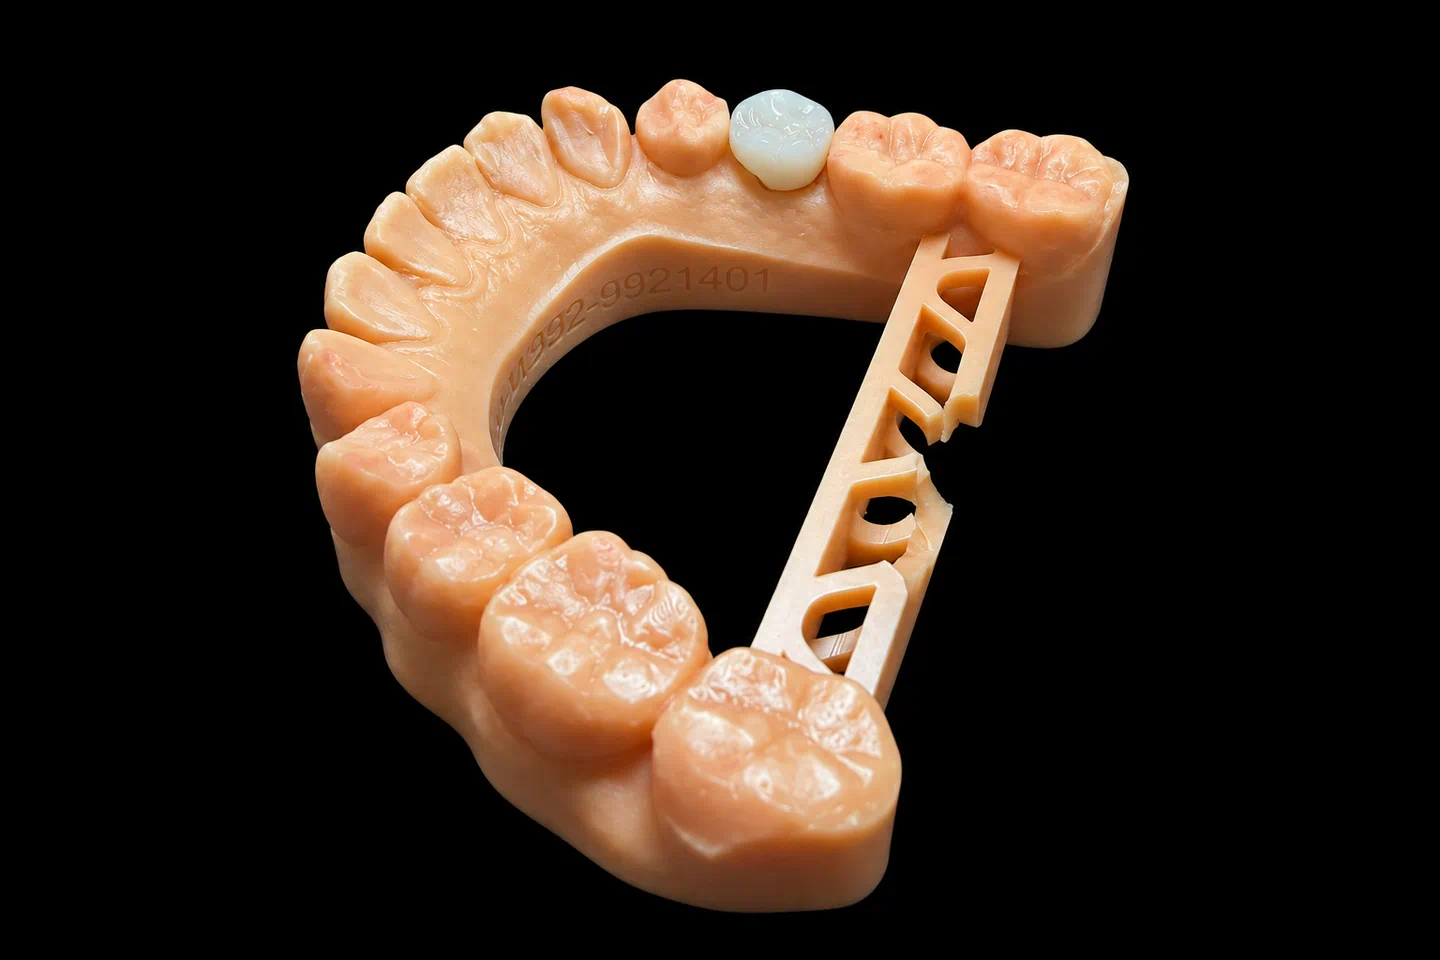
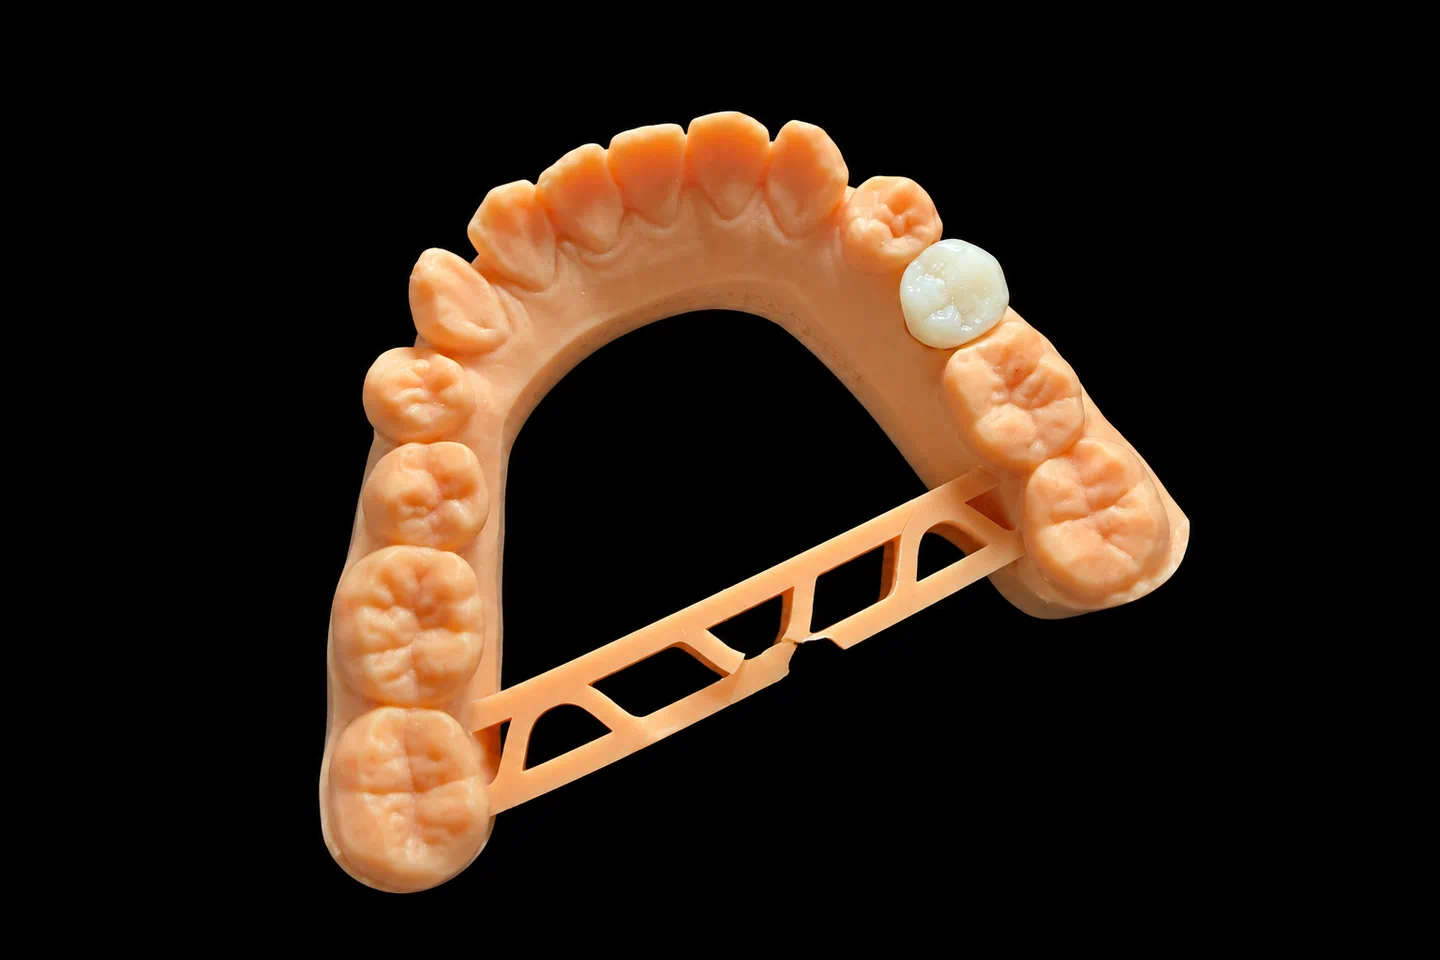
The Patient Behind These Lower Dental Implants
The patient was in their late 60s and had worn a lower complete denture for about 11 years . The upper denture, made two years earlier, fit well . The lower never stayed put.
The dentist had placed the four implants between the chin nerves, and all four were integrated and ready to load when the case reached us . We make what goes on lower dental implants, not the implants themselves.
What the Dentist Asked For
The Rx had six points :
Why a bar? The dentist wanted the least movement possible on that ridge with that tongue, and four joined implants felt like the safest bet . That’s a reasonable call. It’s also not the only one.
In a randomized trial of 110 patients with resorbed lower jaws, overdentures on two implants with ball attachments, two implants with a bar, and four implants with a bar all ended with similar satisfaction at 16 months. The authors decided the simpler two-ball design was enough. So four implants and a bar aren’t automatically better. Here the implants were already in, and the question was what to put on them.
The Technical Problems in This Lower Dental Implants Case
The try-in shortened the front teeth
At the wax try-in, the lower front teeth showed too much when the patient talked. The old denture’s front teeth had been set long to hide the sunken bite, and that had fooled everyone . The dentist trimmed #22 to #27 by about 1 mm and approved the rest of the setup .
That was the right clinical call. It also took 1 mm away from the space we had to work with in the front.
Space comes from the teeth, not the implants
With the setup approved, we scanned it and cut cross-sections through each implant. They show the real room between the gum and the back of the denture teeth, which is where a bar and its clips have to live. It’s the order we follow on every lower dental implants case: teeth first, attachments second.
A bar under a lower denture has to fit four things into that room: a cleaning gap under the bar, the bar itself, the clips, and enough acrylic to hold the clips and the teeth. We keep at least 2 mm between the bar and the gum so a floss threader or small brush can get under it.
Between #23 and #26, it didn’t add up. With that gap kept, the front clips came within 0.3 mm of the denture teeth . There was no room left for acrylic.
The tongue had nowhere else to go
The obvious move is to slide the bar toward the tongue. On this patient, that would’ve thickened the denture right under the tongue, and the Rx asked for at least the old tongue room .
#28 leaned back
The implant at #28 leaned back about 14° compared with #26 . Under a bar, that hardly matters, because the bar joins all four. Separate attachments are different. Each one has to share a path of insertion with the others, so we checked all four angles against the attachment maker’s limits. They were within range .
Bar vs LOCATOR Overdenture: The Options We Sent
We marked the readings on the cross-sections and laid out four options for the dentist . When a design carries a risk, we say so and leave the decision with the dentist. If they’d kept the bar, we’d have built it to the Rx.
| Option | What it fixes | What it costs |
|---|---|---|
| Keep the bar, cut the cleaning gap to about 1 mm | Room for the clips | Harder to clean under the bar, every day |
| Keep the bar, grind the denture teeth thin over the clips | Keeps the cleaning gap | Thin, weak spots in the front teeth, right over the clips |
| Move the bar toward the tongue | Room for acrylic | Less tongue room, against the Rx |
| Four separate LOCATOR attachments, no bar | Much lower profile at each implant | Four abutments to clean around, and inserts that wear and need replacing |
Why the dentist picked four LOCATORs
The dentist went with option four the same day . Joining the implants had been about stability.
The ITI consensus on loading overdentures found that splinting and attachment type had no effect on one-year implant survival compared with freestanding implants. A meta-analysis of 25 randomized trials on lower overdenture attachments found splinting didn’t significantly change biological complications, and LOCATOR attachments had the best record on prosthetic complications.
Neither one tells you which design suits a given mouth. They just meant the dentist wasn’t giving up much by dropping the bar. On this patient, the bar vs LOCATOR overdenture question came down to space, not survival numbers.
How We Met the Rx
Stage 1: Records and wax setup
Stage 2: Space check and the attachment decision
The space check went out the next working day after the try-in came back . A senior designer ran it, and a technical supervisor reviewed it first, as on all our complex implant cases.
We also suggested LOCATOR abutment heights from the gum depth at each implant, so each one would sit just above the tissue . The dentist ordered and placed them .
Stage 3: Final design
We placed the four housings on one shared path and copied the lingual contour of the approved setup . Then we checked the acrylic around each housing in the design. The dentist approved the screenshots the same day .
Stage 4: Processing and final checks
The Finished Lower Implant Overdenture
Dentist and Patient Feedback After Fitting
The overdenture seated at the first appointment with no adjustment to the housings. One sore spot under the left lingual flange at the one-week check came off with a quick adjustment .
The tongue no longer lifted the denture when talking. The patient had it in and out on their own by the end of the fitting visit .
What This Design Still Can't Do
It’s still a removable denture. Lower dental implants hold it down, but sticky food can still lift it, and the base will need checking as the ridge changes .
Sending Us Lower Dental Implants Cases
On top of the usual records, a few things help on lower dental implants cases:
A lower implant overdenture generally takes 5–7 working days in the lab, counted from the day we get the case. Clinic visits and shipping between stages come on top of that.
Who Made It
Our implant dental laboratory team of about 80 technicians handled the implant side of this lower dental implants case, and our removable department of about 55 built the denture. A separate QC team of about 25 checks work before it ships.
Istar Digital Dental Lab has four labs in Shenzhen and Huizhou, China. We started in 2012, we’ve got about 460 people, and we don’t outsource. We’re an FDA-registered establishment (Registration Number 3039441248), which you can check in the FDA establishment registration database. Our labs run an ISO 13485 quality management system, and custom-made devices for EU clinics follow the MDR custom-made device procedure. You’re welcome to visit the factory or book a video tour.
Lower Dental Implants FAQ
What implant parts can you supply?
Titanium bars, multi-unit abutments, temporary cylinders, screws and tools. Parts are charged separately. Our denture implants page covers the removable builds we offer.
Do you work with my implant system?
Most likely, yes. We support most systems on the market. If you’re working digitally, send the scan library name too.
How does pricing work?
We don’t publish prices on the website. Quotes are itemized to what you ask for, so you’ll see what parts and try-ins add.
What does the warranty cover?
Implant dentures carry a 3-year warranty. Problems on our side, like a denture that won’t seat, lifted borders or an off bite, get adjusted or remade free. Changing the material or shade later, or asking us to go ahead on records we’ve flagged, is charged. You pay to send the case in, and we pay to ship finished work back, remakes included.
Got Four Implants and Not Much Room?
Send us one of your lower dental implants cases as a test. Single trial cases are welcome, and ongoing partnerships suit clinics with a regular case flow.