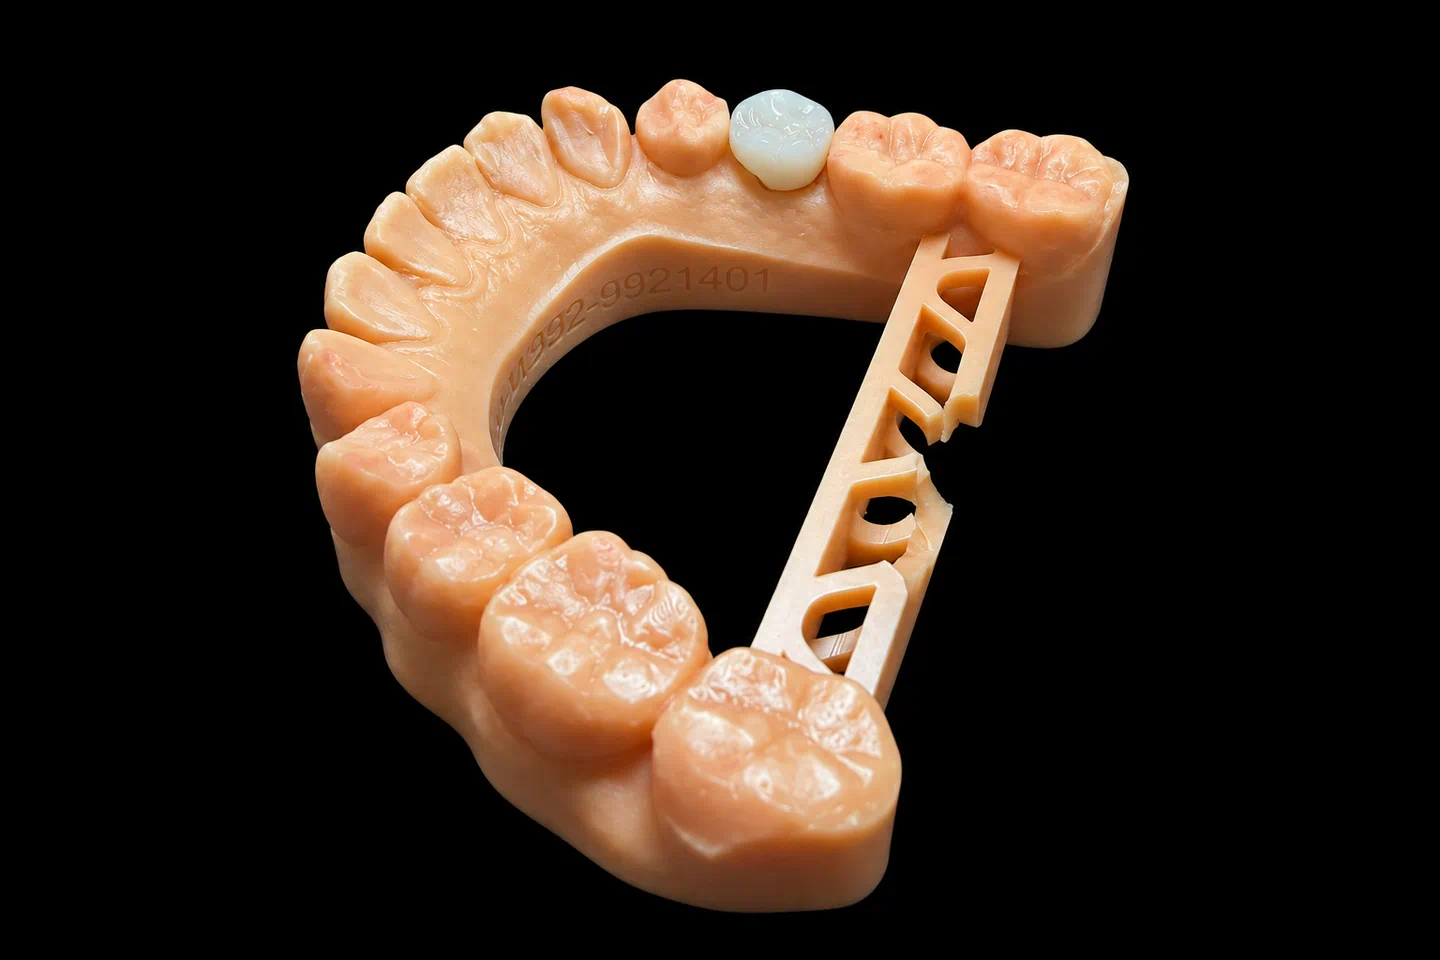
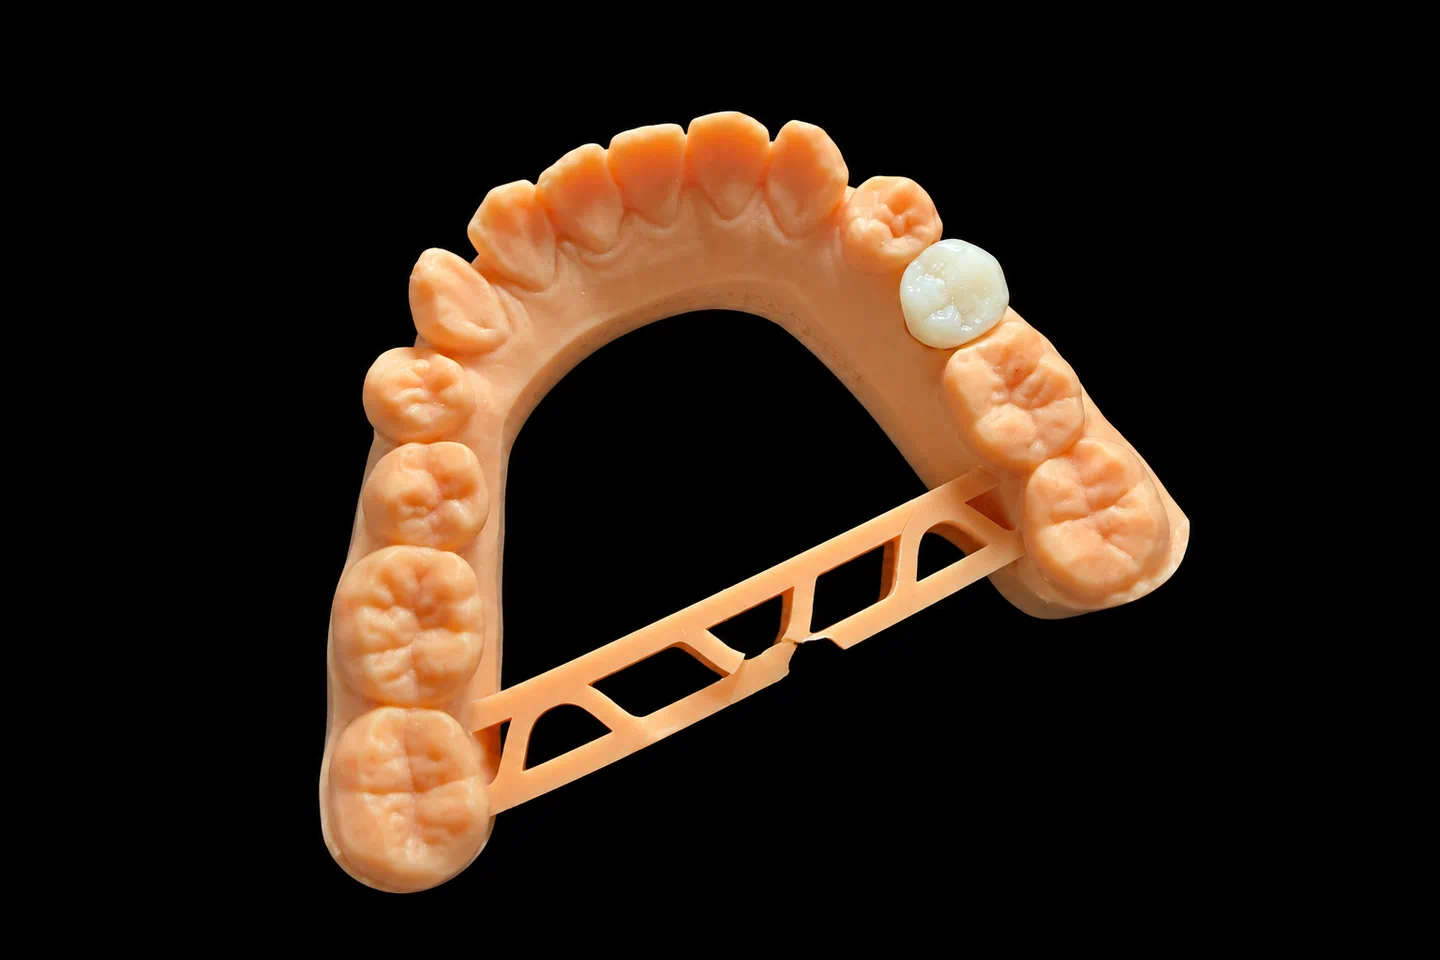
The Problem: Narrow Space, Thin Bone, High Stakes
Sarah, a 38-year-old professional, came to her dentist with a missing maxillary right lateral incisor (#7). Twenty years earlier, the tooth had been extracted due to a failed endodontic treatment. For two decades, she’d worn a removable partial denture — functional, but not ideal for her line of work in executive consulting, where first impressions matter.
The challenge wasn’t just that the tooth was gone. The clinician’s CBCT scan revealed what we see in about 74.4% of maxillary anterior cases: insufficient buccal bone. The bone thickness at the crest measured just 0.8 mm — well below the 1.5 to 2 mm considered optimal for implant placement without additional bone augmentation.
The interarch space posed another constraint. The distance from the buccal surface of the adjacent central incisor (#8) to the would-be implant position measured 5.4 mm at the coronal level — slightly under the commonly cited guideline of 6.3 mm for a restoration that looks natural without compromising the tissue contours of the neighboring tooth. With this geometry, there was no room for error in the restorative design.
What the Dentist Required
The treating periodontist and prosthodontist submitted a treatment plan with specific clinical directives:
How We Tackled It: The Provisional Crown as a Tissue Architect
This is where the case moved from the implant surgeon’s OR and the prosthodontist’s exam chair into our lab.
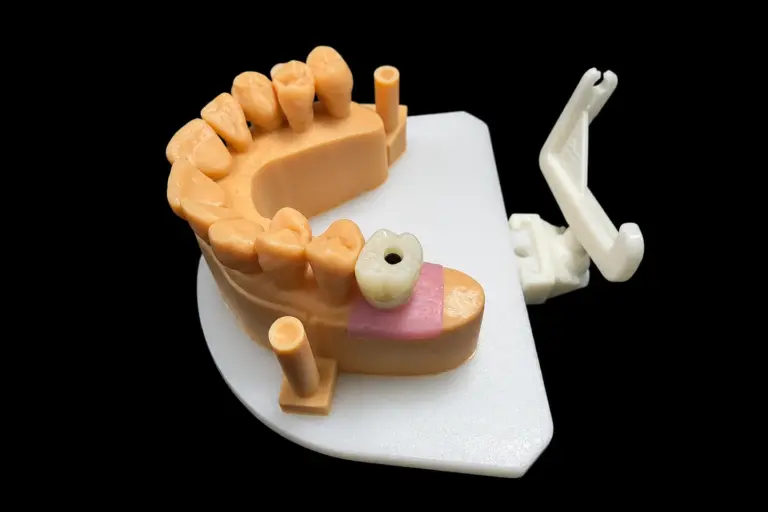
Phase 1: The Diagnostic Model and Emergence Profile Analysis
When the case came to us for the provisional crown, the implant was already in place and integrated (six months post-placement). The treating prosthodontist sent:
We imported these scans into our CAD software and reconstructed the three-dimensional scenario:
Phase 2: CAD Design and DLP 3D Printing
We designed the provisional crown in our CAD software with these specifications:
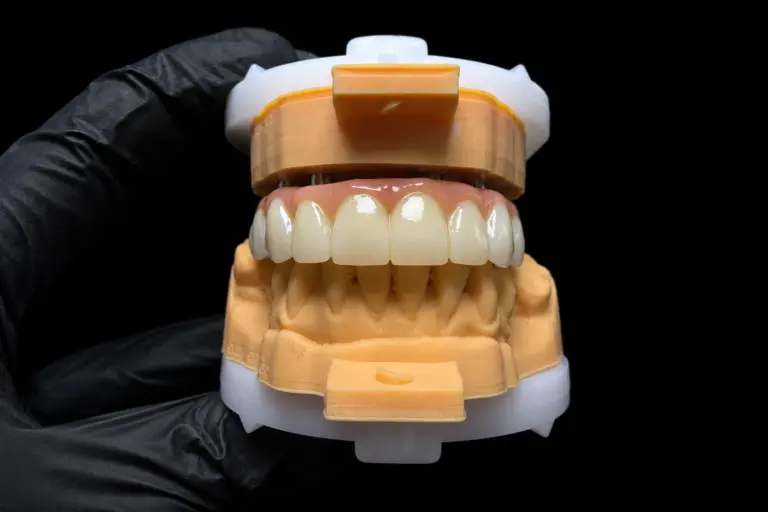
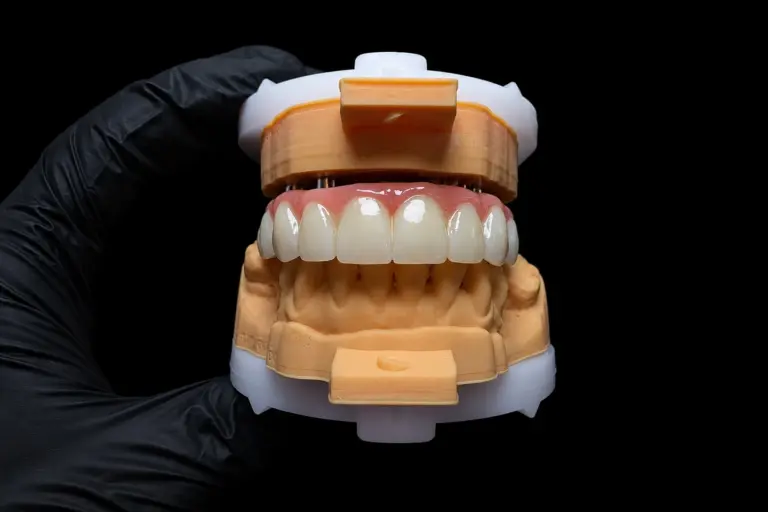
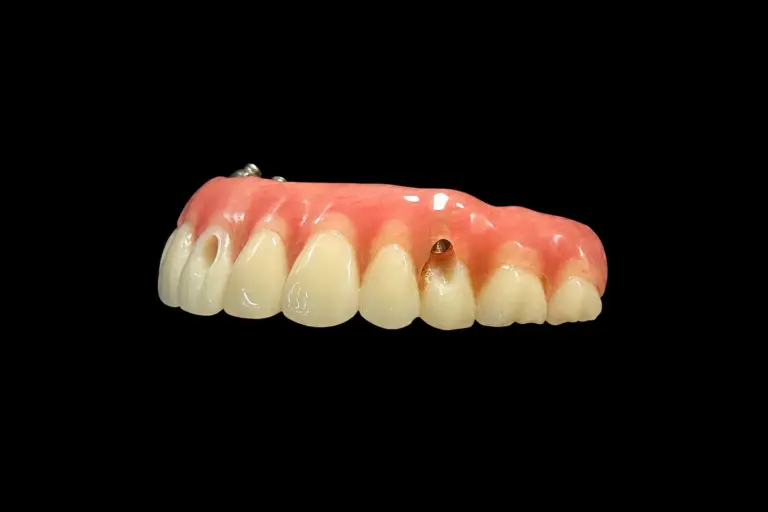
We 3D-printed the provisional crown using DLP (Digital Light Processing) technology, which gives us sub-0.1 mm precision in the form. This was critical because any deviation in the cervical contour would be magnified over months of gingival adaptation.
Phase 3: Adjustments for Fit and Refinement
When the provisional crown was 3D-printed, it sat on the temporary abutment with a perfect fit. However, we knew that the dentist would need to make minor adjustments in the mouth — the gingiva isn’t perfectly captured in a scan, and the exact margin position would only be finalized once the crown was in place.
We sent the crown to the dentist with the following notes:
Phase 4: Managing Gingival Adaptation Over Three Months
Three months later, the dentist sent an update scan and a photograph of the provisional crown in situ. The gingival tissue had migrated apically (downward) by approximately 0.4 mm on the facial aspect — exactly as expected. The gingival margin sat now where we’d anticipated, at the correct zenith position relative to tooth #10.
Importantly, the soft tissue thickness at the facial aspect had increased. This wasn’t new bone — that would take more than three months. Rather, it was a combination of remodeling and the maturation of the mucoperiosteal tissues around the implant abutment.
The dentist then sent us the final specifications for the definitive crown:
The Final Restoration: What We Delivered
The custom zirconia abutment was milled with these characteristics:
The final crown was designed as a monolithic lithium disilicate restoration. No layering, no exposed metal. The reasons:
The result: When the crown was delivered and cemented, the gingival margin perfectly matched the zenith position of the contralateral tooth. The transition from the crown to the gingival tissue was seamless. No dark line at the margin. No over-contour causing food trap. The patient looked in the mirror and couldn’t distinguish it from her natural tooth.
Key Takeaways for Your Case
If your patient has a similar scenario — narrow space, insufficient bone, high esthetic demands — here’s what we’ve learned: