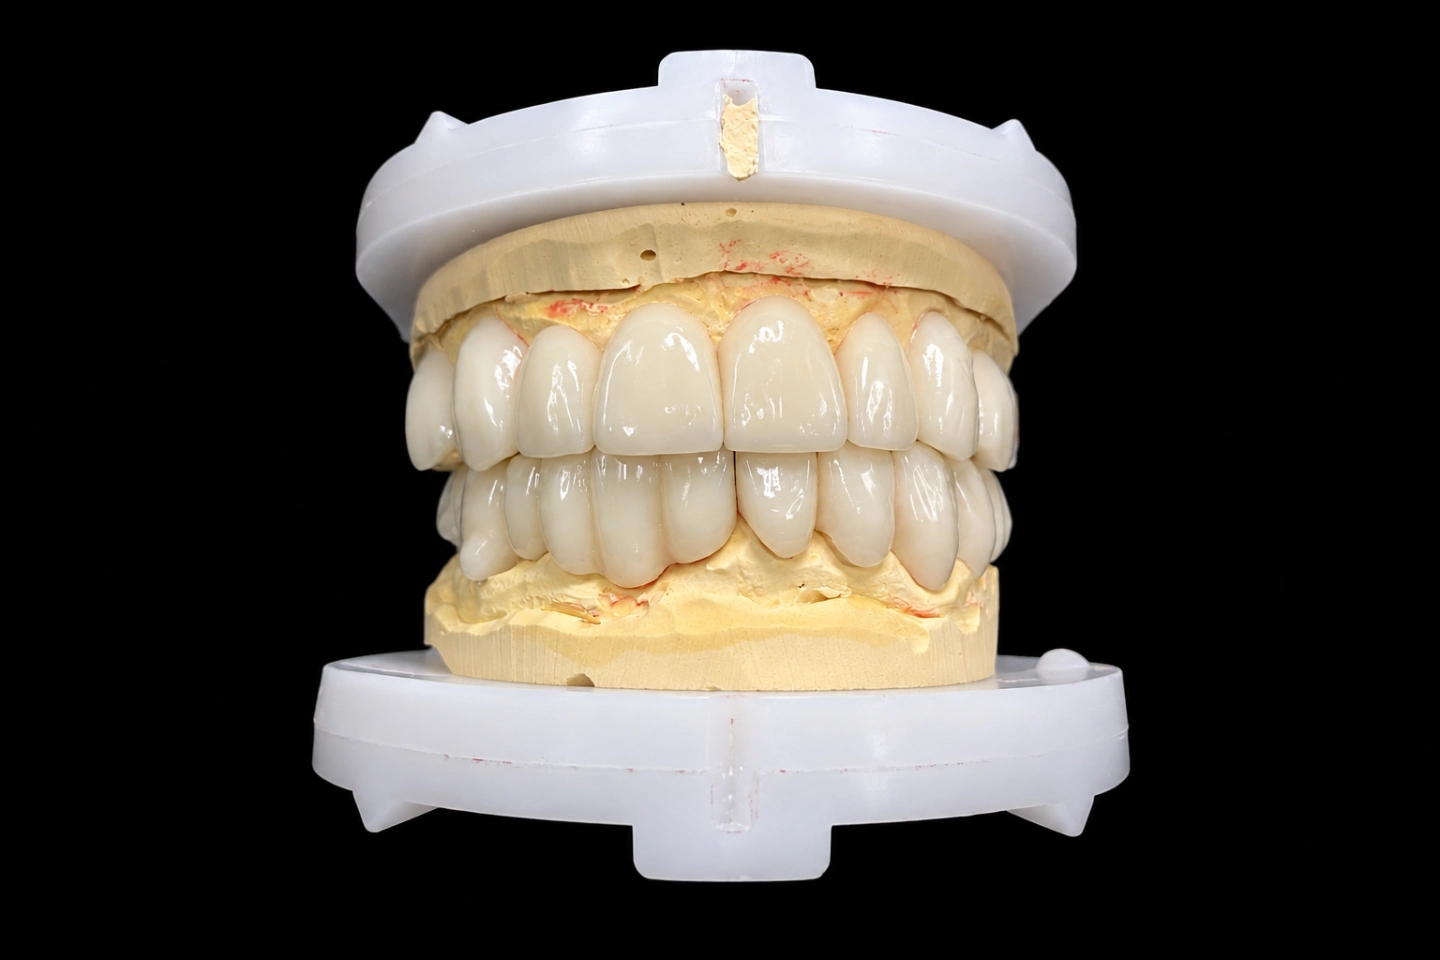
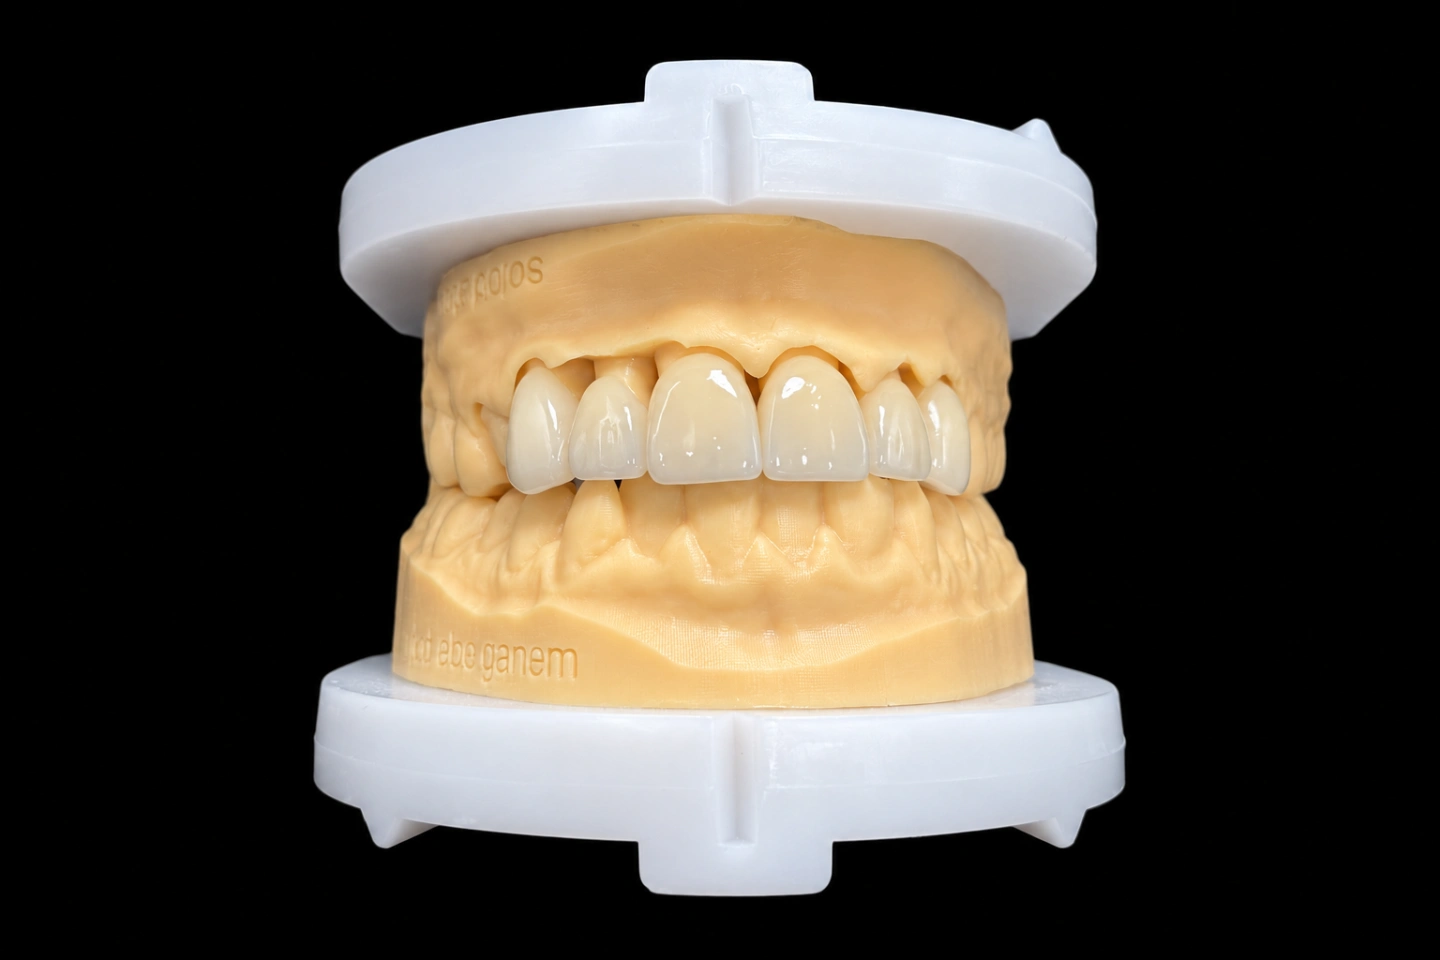
The Patient Behind These Full Veneers
The patient is an adult in their 40s . They’d whitened their teeth and still didn’t like the smile: old composite on the edges of #7 to #10 had stained, the edges were uneven, and in photos the smile “looked crooked” to them . They asked for a brighter, even set.
What the dentist recorded :
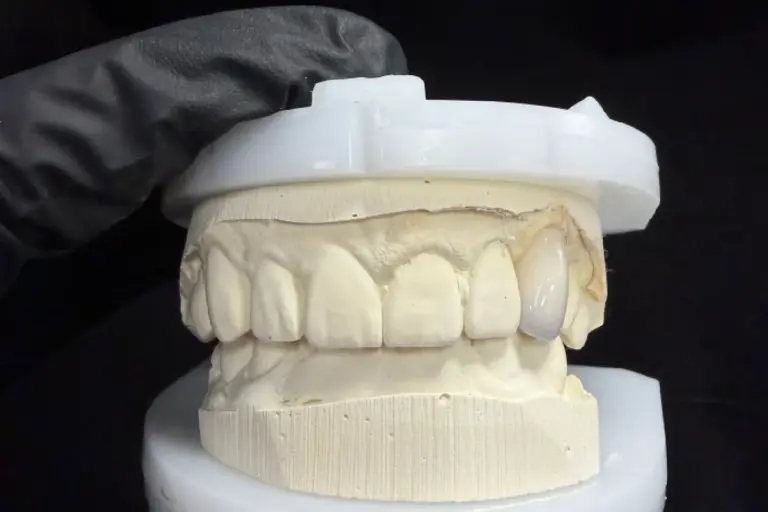
The bite : canine guidance on both sides, normal overbite, no wear facets, no clenching or grinding reported. The dentist checked that first, because the ADA says veneers may not be a good choice for people who clench, grind or have a deep overbite.
What the Dentist Asked For in This Full Veneers Rx
From the Rx form and our WhatsApp thread :
Along with the Rx, the dentist sent full-arch scans of both arches, a closed bite scan, a bite scan on each side, a face scan at rest and smiling, smile photos and a short talking video .
Why Full Teeth Veneers Lose Their Reference
When a dentist sends one, four or even six veneers, the natural teeth beside them tell us where the edges go. With full teeth veneers across the whole smile, there’s nothing natural left to line up with. Whatever the design says becomes the new smile, tilt and all.
And an intraoral scan doesn’t know where the eyes are. Design software builds the wax-up around the teeth in the scan. If the teeth are tilted, a wax-up made to “even them out” ends up neat, symmetric and tilted along with them.
How much does a tilt matter? A study on how dentists and lay people see altered smiles found that orthodontists and general dentists rated a 1 mm cant of the incisal plane as less attractive. Lay people didn’t pick it up until 3 mm. Neither general dentists nor lay people noticed even a 4 mm midline shift. That’s why we treat the edge line and the midline as two separate questions.
Which Record Set Each Point of the Full Veneers Design
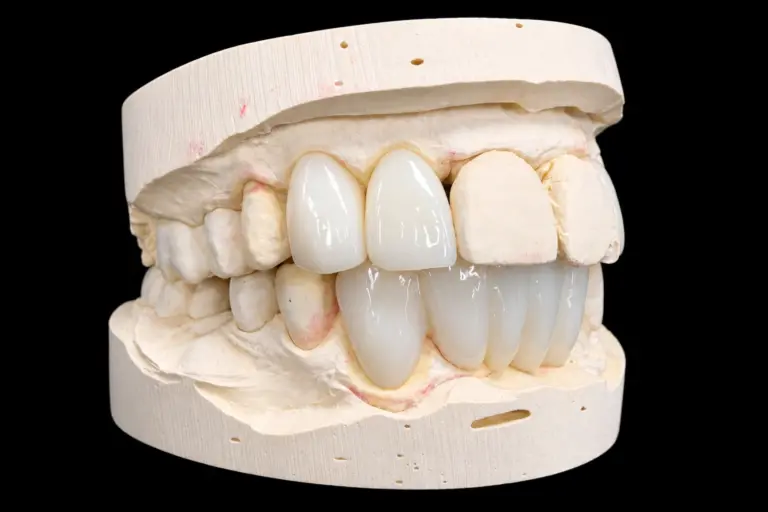
Our CAD team built the first wax-up to the Rx: #8 and #9 at today’s length, the other edges evened up with them . Then we laid the design over the face scan and the smile photo, lined up on the eyes .
The overlay showed the wax-up had kept the old tilt: about 1.5 mm higher at #11 than at #6. It had also kept the midline 1.0 mm right, lean included .
So we went through the design point by point and asked which record should decide it:
| Design point | Records compared | What set it |
|---|---|---|
| Edge line | Scan (tilted 1.5 mm) vs. face scan (eye line) | The face scan. Edges leveled with the eyes |
| Midline position | Teeth (1.0 mm right) vs. face midline | The teeth. Kept where it is |
| Midline lean | Teeth (leaning) vs. face midline | The face. Contact line made upright |
| Edge length | Rest photos vs. talking video | Rest photos first, then the mock-up |
| Where the set ends | Broad smile photo | #4 and #13. The first molars barely show |
| Shade | Shade tab photos vs. natural #3, #14 and lower teeth | B1 centrals, stepping toward A1 at the premolars to meet the natural teeth |
Two of those were the dentist’s call, so we sent the overlay screenshots and the numbers over WhatsApp .
The edge line. Leveling it meant either lengthening the left side by up to 1.5 mm, or shortening the right side the same amount.
The centrals only showed 1.5 mm at rest, so the dentist didn’t want the right side much shorter. They chose a split: the left side longer by up to 1.0 mm at the canine, and the right side shorter by up to 0.5 mm, taken off in the incisal prep . That moved #8 and #9 a little too, so the dentist dropped “keep the length of #8 and #9” from the Rx .
The midline. To move it 1.0 mm left, #8 would end up about 1 mm wider than #9, or every tooth on the left would have to get narrower. The dentist kept the position and asked us to make the contact line upright .
Planned Edge Changes, Tooth by Tooth
Here’s the edge change for each of the full teeth veneers against today’s teeth after the decision. Minus means shorter, plus means longer .
| Tooth | #4 | #5 | #6 | #7 | #8 | #9 | #10 | #11 | #12 | #13 |
|---|---|---|---|---|---|---|---|---|---|---|
| Planned (mm) | −0.3 | −0.4 | −0.5 | −0.3 | −0.1 | +0.3 | +0.9 | +1.0 | +0.8 | +0.6 |
The canine tips move 0.5 mm and 1.0 mm in opposite directions, which takes out the 1.5 mm tilt. The new #11 tip follows the path the lower canine already takes on its way out, so the guidance doesn’t get steeper .
Testing the Full Veneers Plan in a Printed Mock-Up
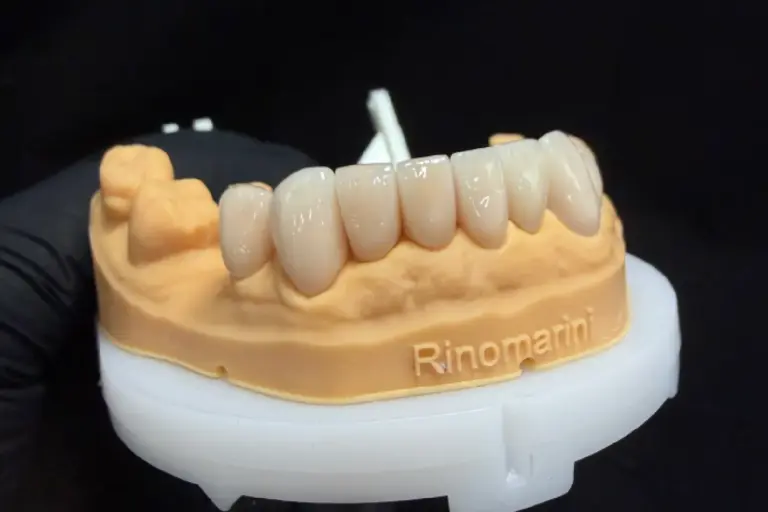
We printed a mock-up of the full veneers, all ten teeth, from the leveled design for the dentist to try on the unprepped teeth .
A mock-up can only add. So it showed the left side at its new length, but the right side at today’s length. For the right side, we sent a photo overlay showing where those edges would end up after the prep .
At the mock-up visit :
The dentist scanned the trimmed mock-up and sent it in. We copied it into the design, so the final #10 edge is +0.6 mm, not +0.9 mm . Nothing else changed.
The Approved Design and the Prep for Full Teeth Veneers
The dentist approved the revised design in writing, and the approved contours went on file . For the prep, we sent a sectioned silicone reduction guide cut from that design. It showed the extra incisal reduction on #4 to #8 .
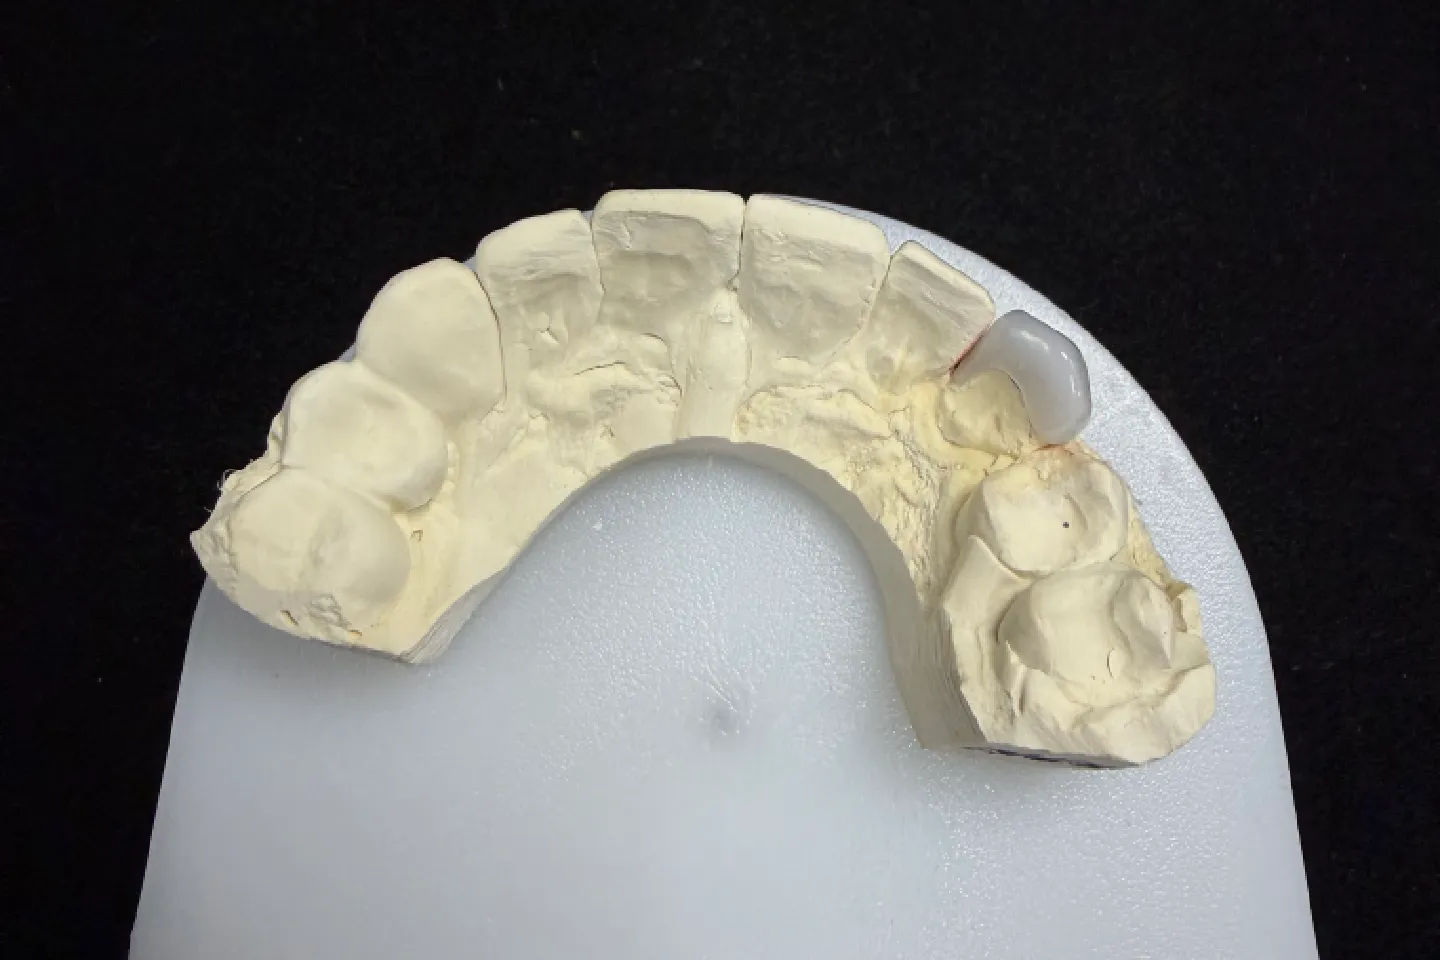
The dentist prepped all ten teeth for the full veneers with a butt-joint incisal reduction, as the Rx asked. When the prep scan came in, we checked the room at each third of every tooth against the design before pressing . All ten had the planned room, and the dentist reported enamel all round except a small spot on #9 under the old composite .
Making the Full Veneers
Shade across the set
The dentist sent stump photos with a shade tab in the same plane. The prepped teeth read about A2, fairly even across all ten . Since full teeth veneers this thin let the stump show through, we planned the ingot from the stump shade as well as the target .
B1 across all the full veneers would have looked like a row of identical white blocks. So the centrals got the most brightness, and the canines and premolars stepped toward A1. That’s what lets #4 and #13 sit next to the natural first molars without a jump .
Edges and surface
In production
Design approval took 1 working day, and the mock-up round about a week on the clinic’s side . From the prep scan to shipping took 7 working days .
Finished Full Veneers: Try-In Results
The dentist tried in all ten veneers with try-in paste, then bonded them with resin cement at the same visit, following Ivoclar’s instructions . A review of bonding protocols for lithium disilicate veneers also points to the maker’s steps for getting the most out of the bond.
| Design goal | How it was checked | Result at try-in |
|---|---|---|
| Edges level with the eyes | Full-face photo with an eye-line overlay | Canine tips level within what the photo can show |
| Upright midline, same position | Face photo with a midline overlay | Contact line upright, still about 1.0 mm right of the face midline, as planned |
| #10 clear of the lower lip | “F” and “V” sounds | No catch, same as the trimmed mock-up |
| Bite and guidance kept | Articulating paper, closed bite and both side movements | Marks in the same spots as before; canines guide on both sides |
| No jump at #4 and #13 | Smile photos and video | Premolars blend into the natural first molars |
| Clean margins | Dentist’s check at bonding | No ledge at any margin |
Feedback from the Dentist and Patient
The dentist
The overlay showed the tilt before anything was pressed. Without the face scan, the practice would have bonded a neat, tilted set of full teeth veneers .
They now take a face scan on every case of eight veneers or more .
The patient
“It finally looks straight in photos” .
Talking felt normal after the first week .
What to Send for Full Teeth Veneers
Here’s how to send a case. Full veneers still take 5–7 working days, plus 1–2 days when you ask to approve the design first.
Who Made These Full Veneers
These full veneers went through our CAD design team (about 100 people), our ceramic and metal department (about 70) and a separate QC team of about 25. They’re part of Istar Dental Lab’s four labs in Shenzhen and Huizhou, China. We’ve been running since 2012, with about 460 staff and no outsourcing.
Istar Dental Lab is an FDA-registered establishment (Registration Number 3039441248), which you can look up in the FDA establishment registration database. Our labs run an ISO 13485 quality management system.
Full Veneers FAQ
What if my patient grinds?
Tell us on the Rx. For heavy bite forces, we’d talk through zirconia veneers, which are stronger and wear better than glass ceramic. We also make night guards to your prescription.
What if I want a design you think is risky?
We’ll tell you why, then make it to your Rx with no sign-off form. A remake caused by that design isn’t on us, though.
If one veneer in the set chips years later, can you match it?
We keep the design files and contours of every multi-unit case on record, so a single replacement can follow the same shape. For color, send fresh shade photos. A new pressing won’t copy an old one just because the shade code is the same.
What else do you make veneers in?
Besides pressed e.max veneers, we make zirconia veneers and lab-made composite veneers. See what else our e.max lab makes. We won’t swap a material without your OK.
What's free to redo, and what isn't?
Open margins, open contacts, high bite, a veneer that won’t seat, inaccurate color, visible flaws and poor shape are ours to fix for free. Changing the shade or material afterward isn’t free. Neither is a case you asked us to make from an impression or scan we’d already flagged as poor.
What about warranty and shipping?
Veneers carry our 3-year warranty. You pay to send a case in, and we pay to ship finished work back, remakes included.
Can you rush a veneer case?
Rush service is free for clients who send us 10 or more cases a month. We guarantee the ship date, but not the arrival date, because customs times vary.
How is pricing handled?
We don’t publish prices on the website. Ask for our price list, and we’ll quote each case item by item to your requirements.
Send Us Your Next Full Veneers Case
Planning a full set across the smile? Send the face scan with it, and we’ll show you where the edges sit against the eyes before anything gets pressed. Single trial cases are welcome, and you can see our labs on a factory visit or a video tour.