Patient Situation
The patient is in their 40s . #8 (FDI 11) had a post crown for about 15 years . The root cracked below the post, and the tooth couldn’t be kept.
What the dentist’s records showed about the site for this dental implant front tooth temporary :
The surgeon planned guided immediate placement, with the temporary going on the same day if the implant came out stable enough. That’s ITI Type 1A. The ITI consensus on loading protocols calls it a complex procedure and lists conditions such as a facial wall of at least 1 mm and set torque or ISQ values. That decision belongs to the surgeon, at the chair. Our job was to have the right parts waiting.
What the Dentist Asked For
The Rx for the dental implant front tooth temporary, condensed :
The system was a narrow-platform conical-connection implant, 3.5 × 13 mm . The dentist sent the package label photo and the scan library name, and asked for original parts.
The Technical Problems in This Dental Implant Front Tooth Temporary
Rx items 2 and 3 can't both be true
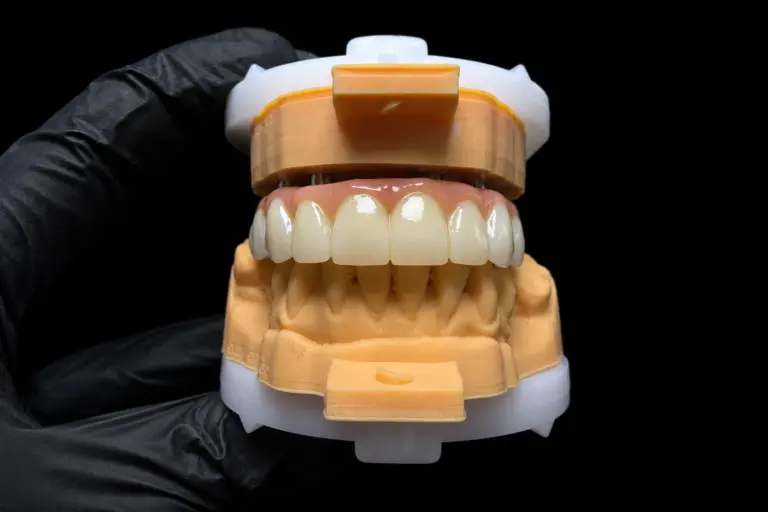
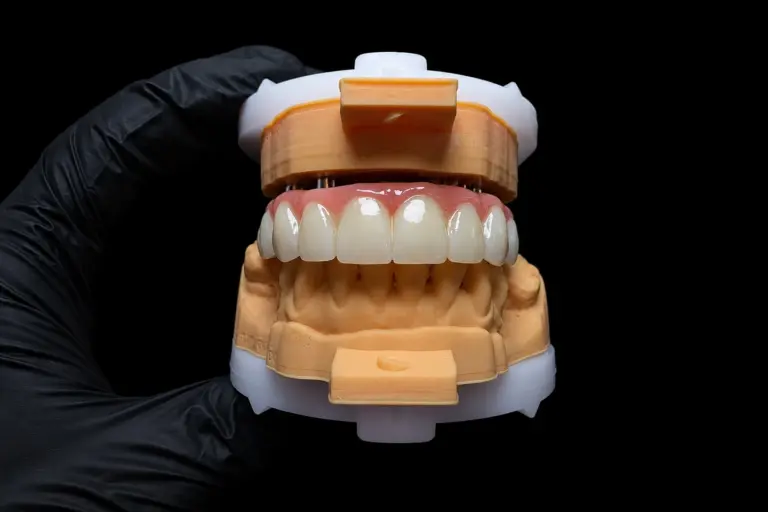
We mirrored #9 onto #8 and put it in the bite. In closing, the mirrored palatal touched #25 and #26 at the cingulum . In a forward bite, #25 slid up the palatal for the first 2 mm of travel .
That’s exactly what #9 does, and on a natural tooth it’s fine. On a fresh implant, it’s the load you’re trying to avoid. The ITI selection criteria for this protocol say the temporary’s occlusion should have no eccentric contacts. A real copy of #9 would break that on day one.
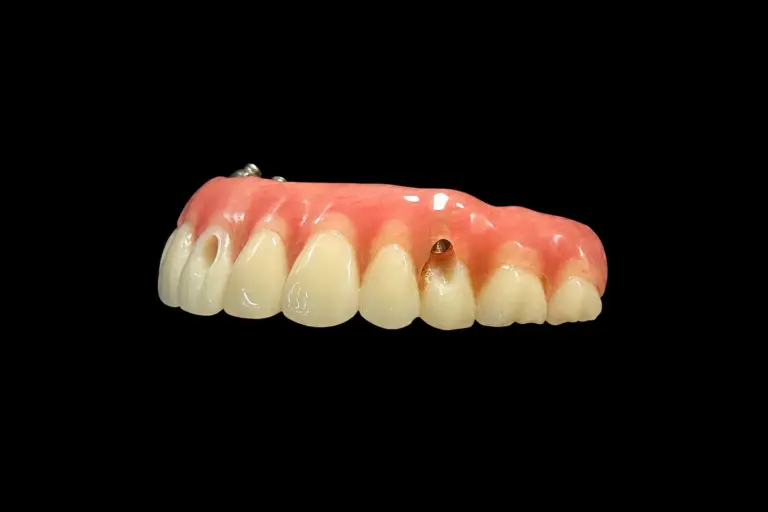
Hollowing the palatal thins the wall at the screw access
The screw access comes out on the palatal, just above the cingulum . Pull the palatal surface back to clear the lower teeth, and the PMMA between the access and the outside wall gets thin. Our first pass left 0.7 mm there . We wanted at least 1.0 mm at that spot, because it’s the thinnest ring of PMMA in the whole crown and it sits right behind the bite.
A prefab crown only fits if the implant lands on plan
A finished screw-retained temporary crown follows the implant. If the implant goes in a little deeper or tipped, the crown goes with it, and the edge no longer lines up with #9. Guided surgery gets close, but nobody can promise the exact spot until the implant is in.
The site might not take a temporary at all
If the implant isn’t stable enough, the surgeon won’t put anything on it. Then the patient needs a tooth that sits on nothing at the socket.
Three Options for the Immediate Implant Temporary Crown
We posted the bite screenshots in the case’s WhatsApp group on working day 1 , with three ways to handle items 2 and 3:
| Option | What it means | The catch |
|---|---|---|
| A. Copy #9 as is, adjust at the chair | Exact copy, ground out of contact after seating | Grinding on surgery day, unknown thickness left, and a ground surface that’s no longer highly polished |
| B. Same facial and length, palatal pulled back | Facial and edge mirrored from #9; palatal cleared by 0.5 mm in closing and along the forward path | Palatal looks a little flatter than #9’s from behind; needs a fix for the thin wall at the access |
| C. Shorten the edge by 1 mm | Clears the forward path without touching the palatal shape | #8 visibly shorter than #9 when smiling |
We recommended B for this dental implant front tooth temporary, because nobody sees the palatal and everybody sees the edge. The dentist agreed and picked B on working day 2 . Waiting on a reply doesn’t count toward the lead time, so our clock picked up from there.
How We Built the Screw-Retained Temporary Crown
Design
The outline came from three places :
| Source | What we took from it |
|---|---|
| #9, mirrored | Facial outline, length, incisal edge position |
| Pre-op scan of #8 | Neck width and the gum line, so the new tooth starts where the old one did |
| Closing and forward-bite scans | The path #25 and #26 travel, for setting the palatal |
For the wall at the access, we trimmed the temporary abutment 1.5 mm shorter on the analog and moved the cingulum 0.2 mm palatal . That brought the PMMA around the access from 0.7 mm to 1.1 mm without bringing the palatal back into contact.
Contacts with #7 and #9 were set light, as the Rx and the ITI criteria ask.
Under the gum
We kept the facial contour flat to slightly concave, built from the pre-op scan of the old crown’s neck. The ITI’s clinical piece on transitional prostheses explains why: most of the facial contour on these is concave, so the clinician can guide the gum margin without squeezing it thin. The ITI criteria add that it shouldn’t be over- or under-contoured, and that the surface has to be highly polished. Everything below the gum got a mirror polish .
The dentist approved the design on working day 3 , with no changes.
Material: milled PMMA
We milled both the crown and the shell from the same multilayer PMMA disc in A2 . We make single temporaries both milled and printed. The Rx asked for milled, and we’d have suggested it anyway: a thin palatal, a deep bite, and weeks of wear.
Bench data backs that up, with limits. One lab study of implant-supported temporary crowns measured anterior milled crowns at a mean of 988 N to fracture, against 637 N for printed ones. No aging step is reported in the abstract, so it’s a reason to choose milling, not a promise of how long a temporary lasts.
The kit we shipped
| Item | When the dentist uses it |
|---|---|
| Screw-retained temporary crown in PMMA, bonded to a temporary abutment | Implant lands on plan and the surgeon is happy with stability |
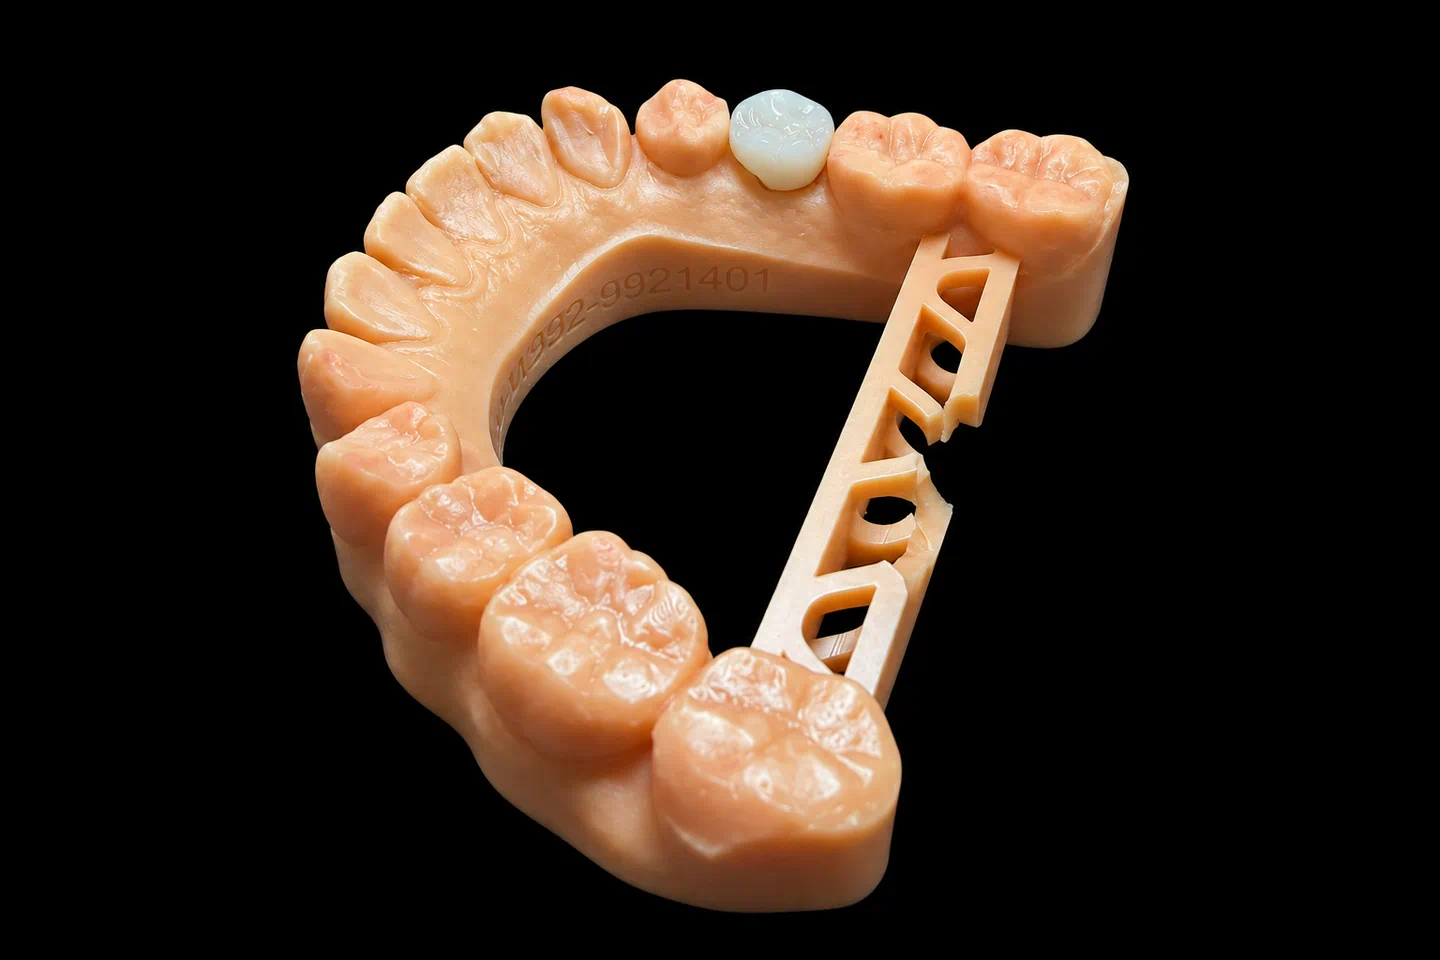
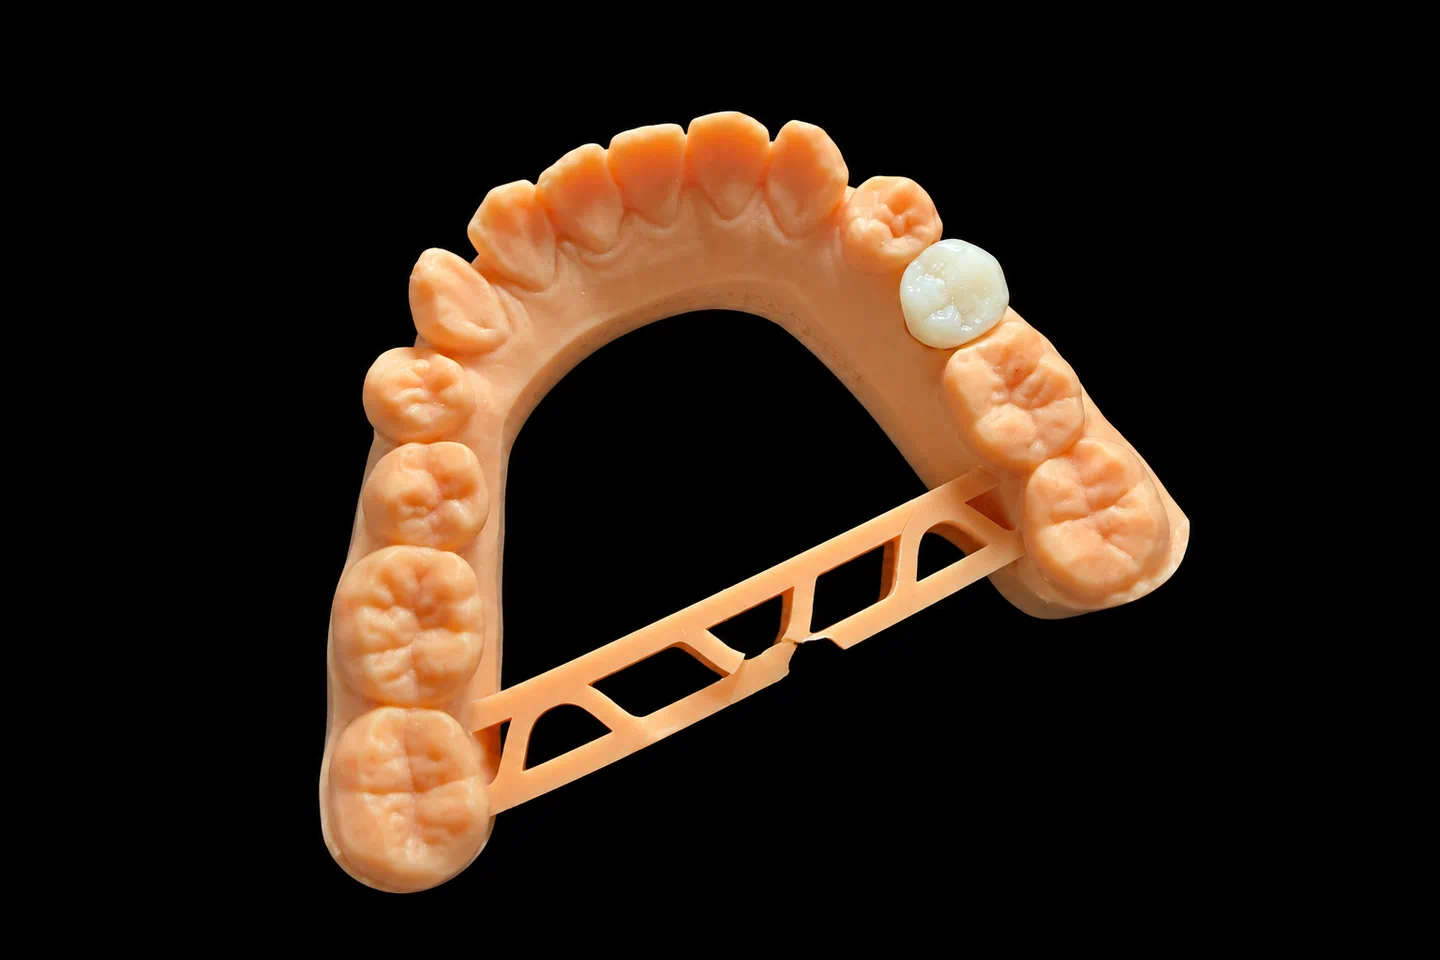
| Pickup shell with the same outer shape, plus a second loose temporary abutment | Implant is stable but lands off plan |
| Essix retainer with a #8 pontic, relieved so it doesn’t touch the socket | The surgeon decides not to put anything on the implant |
A lab study comparing prefabricated temporary shells with lab-made CAD/CAM PMMA temporaries on central and lateral incisor implants found no significant difference in fracture load, and every sample survived the chewing simulation. That’s bench data too, but it meant the shell wasn’t the weaker backup.
The temporary abutments were original parts for the dentist’s system , with the screws in labeled bags marked non-sterile.
Checks before shipping
QC checked every piece of the dental implant front tooth temporary kit against the Rx and the approved design. That meant the seat on the analog with no rocking, the screw going in smooth, and the interface clean under magnification. It also meant no contact with the opposing model in closing or a forward bite, light contacts at #7 and #9, the polish below the gum, and no cracks or voids.
The kit shipped on working day 7 in a foam-filled box, with tracking sent that day. It landed eight working days before surgery .
Surgery Day: Which Piece Went In
The surgeon placed the implant through the guide, and stability met their criteria for a same-day temporary . So the Essix stayed in its box.
Then the dentist tried the finished immediate implant temporary crown. It seated, but the edge came out 0.6 mm shorter than #9 . The implant had gone in 0.5 mm deeper than planned and tipped about 2° palatal . A short central next to a natural one shows in a smile, so the dentist switched to the shell.
They put the loose temporary abutment on the implant, set the shell where the plan put it against #7 and #9, and picked it up with resin . Then they filled the part under the gum, followed the outline of our design, and polished it. The shell kept the planned edge and facial. The implant position didn’t change them.
The dentist checked the bite with paper and shim stock: no marks on #8 in closing or a forward bite, light contacts on both sides .
The finished screw-retained temporary crown wasn’t used. It was on the itemized quote from the start, so that wasn’t a surprise. That’s the trade with an immediate implant temporary crown made before surgery: you pay for a piece you may not use, so the patient doesn’t leave without a tooth.
12 Weeks with the Dental Implant Front Tooth Temporary
The dentist reported back at each visit :
The patient told the dentist they’d forgotten which tooth was the temporary by week 2 .
The Finished Dental Implant Front Tooth Temporary: Targets and Results
At week 12, the dentist sent three scans : the temporary in the mouth with the bite, the temporary out of the mouth, and the gum around the implant. Measured on those scans against our design :
From the Temporary to the Final Crown
Those week-12 scans became the starting point for the final crown. We laid the temporary’s shape under the gum over the tissue scan and copied it into the final design, so the gum didn’t have to adapt to a new shape. That’s the digital route the ITI piece describes. As with any implant crown, the dentist saw that contour in the design preview and approved it before we milled.
That copying step is the reason to shape the tissue with a temporary in the first place. A 2026 narrative review on temporaries after implant surgery notes that temporaries shape the emergence profile and the tissue around the implant, and that careful case selection and bite control favor good outcomes.
Sending Your Own Dental Implant Front Tooth Temporary
Got an anterior immediate case coming up? Send the plan before surgery and we’ll mount it in the bite first, so any clash with the Rx shows up before you’re in the chair.
What we need
We usually check scan files within 1 working day and tell you right away if something needs a rescan.
Lead time
5–7 working days at the lab, counted from complete records. Asking to see the design adds 1–2 days. Shipping from China comes on top, so send the case at least three weeks before surgery.
Who makes it
Our implant dental laboratory team has about 80 technicians, working alongside a 100-person design group, 70 people in milling and a separate 25-person QC group. They’re all inside Istar Dental Lab’s four labs in Shenzhen and Huizhou, China. We’ve been running since 2012, we have about 460 people, and nothing gets outsourced. You can book a factory visit or a video visit with sales.
Istar is an FDA-registered establishment, Registration Number 3039441248, which you can check in FDA’s establishment database. The lab runs under ISO 13485, and everything is made to the dentist’s Rx. For EU clinics, custom-made devices follow the MDR custom-made device procedure.
Planning a dental implant front tooth temporary? Send the plan and the bite as a trial case, and we’ll show you where the temporary touches before anything gets milled. Single trial cases are welcome, and ongoing partnerships suit clinics with a regular case flow. Send your first case or talk to us.
FAQ
What's the warranty on a dental implant front tooth temporary?
1 year. It’s made for short-term wear, so it doesn’t get the 3 years we give final implant crowns. Lab-side problems like a crown that won’t seat, open or tight contacts, a high bite or the wrong shade get remade free. Implant parts aren’t included in a free remake. A shade or material change you ask for later isn’t free either, and neither is a remake after you asked us to go ahead on unclear records.
Do you make custom healing abutments?
Yes. They hold the tissue shape when you don’t want a tooth on the implant yet. Send the pre-op scan and tell us on the Rx what shape it should hold.
Can you print an immediate implant temporary crown instead of milling it?
Yes. We make single temporaries both milled and printed. Tell us your preference on the Rx. We won’t swap the material without your OK.
Can I use compatible parts instead of original ones?
Yes, it’s your decision. Original parts generally give the best fit. Compatible parts cost less, but tolerances, materials and warranty terms can differ.
Can I send it after the implant is placed instead?
Yes. Send a scan body scan of the implant with the bite, and we’ll make the screw-retained temporary crown from the real position. No shell needed then.
Do you take rush cases?
Yes, at no extra charge, for clients who send 10 or more cases a month. We guarantee the ship date. The arrival date depends on customs, so we can’t promise that.
How do you price it?
Quotes are itemized to your Rx, so the crown, the shell, the Essix and any implant parts each show up as their own line. Ask us for the price list.