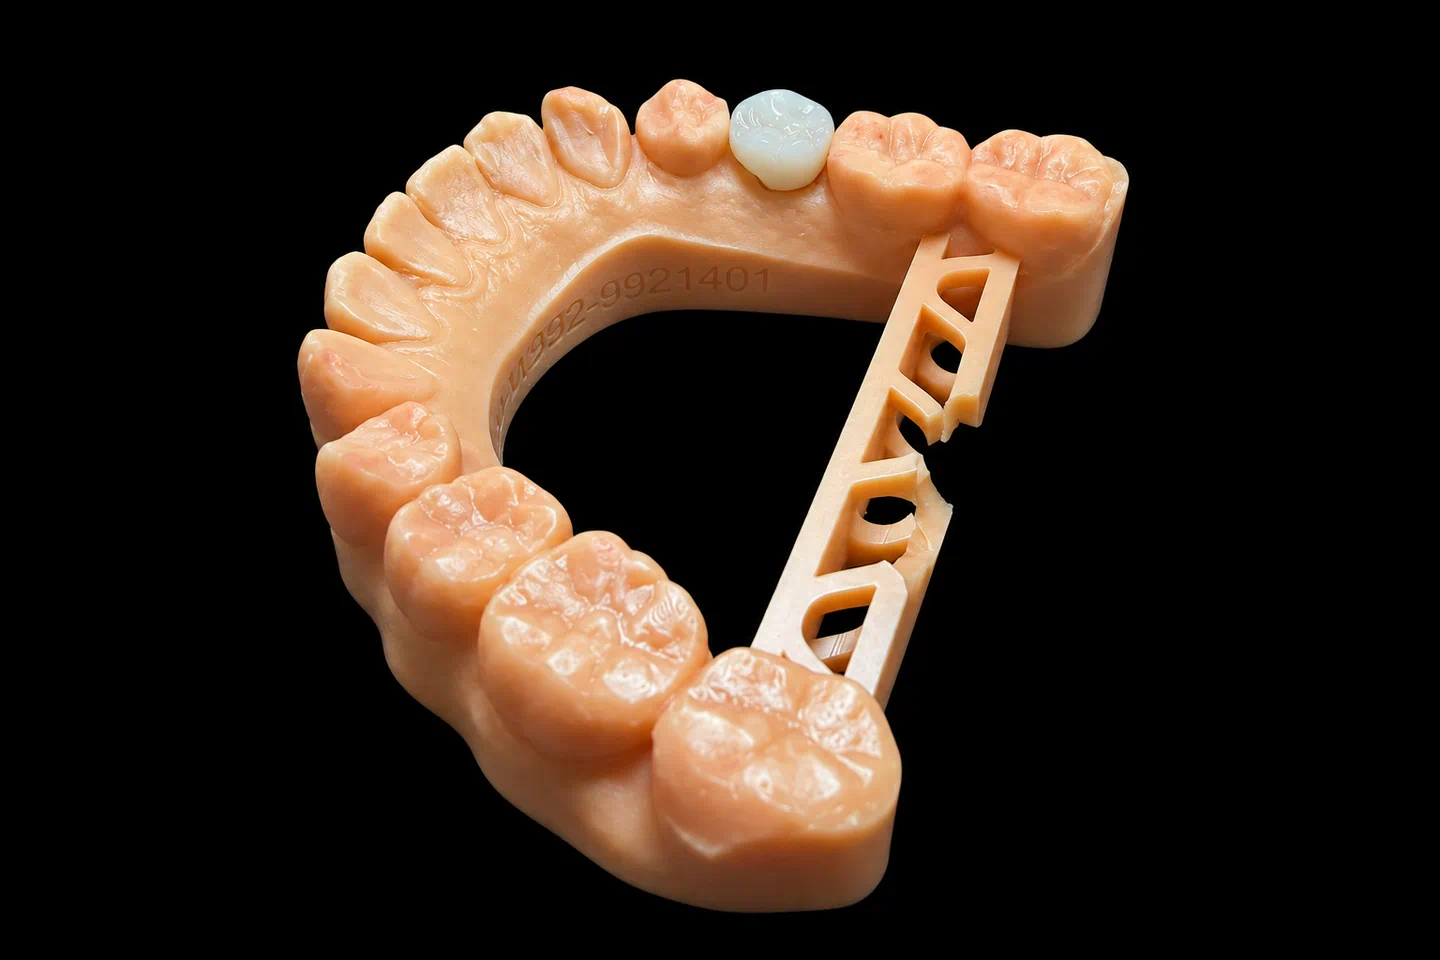
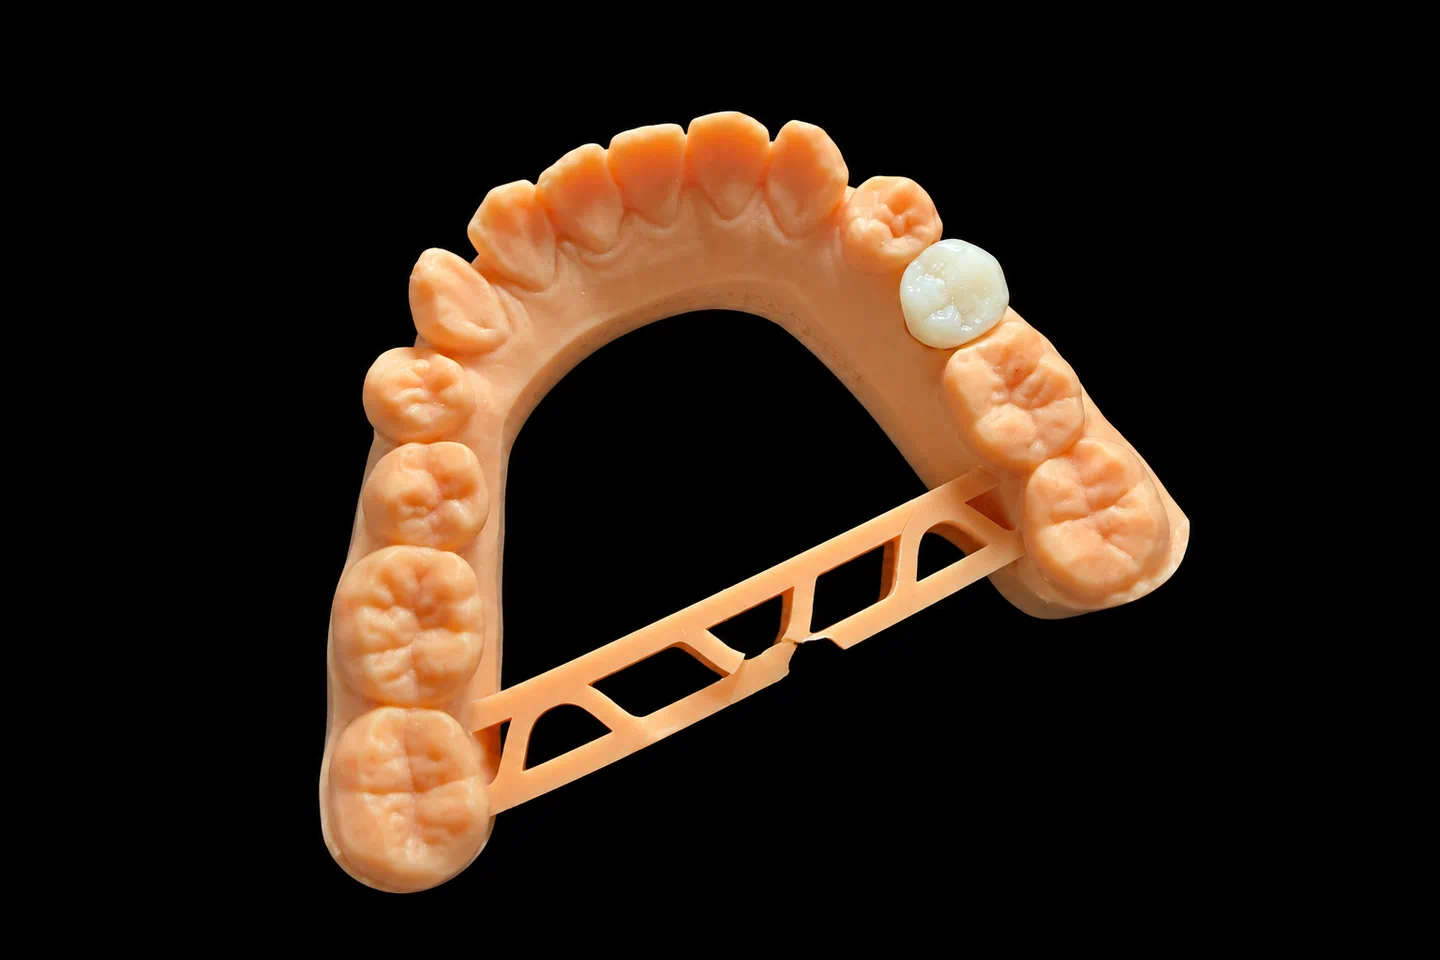
Patient Situation
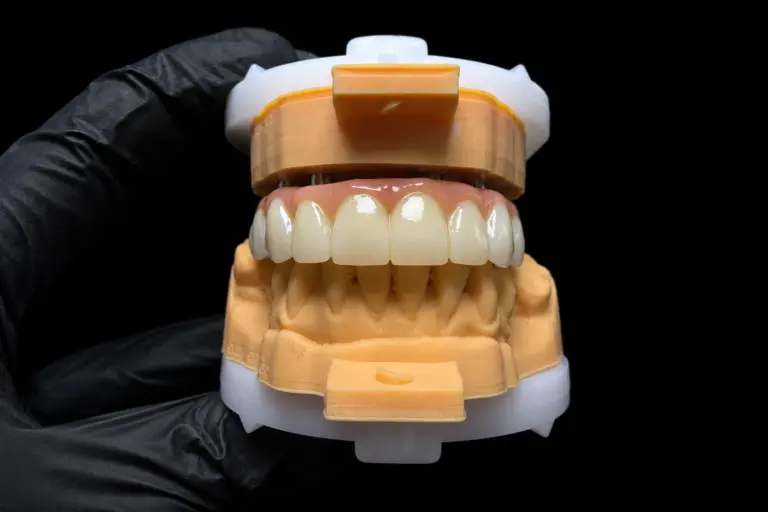
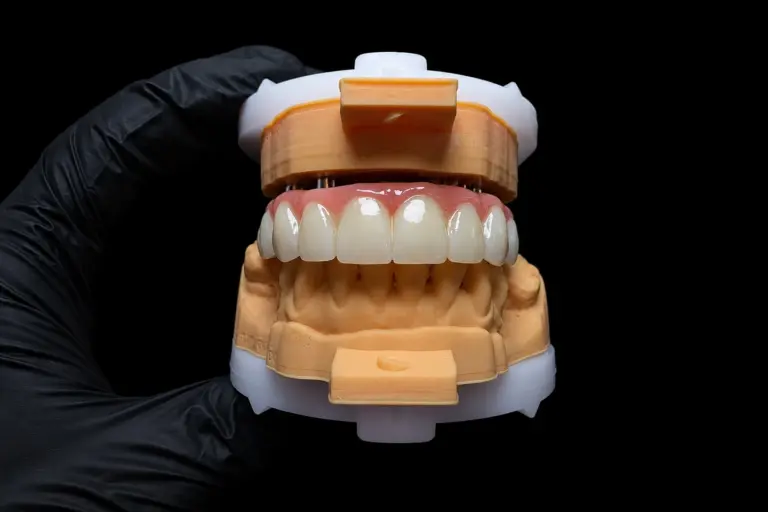
The patient lost both centrals to root resorption after an old sports injury . The front teeth dental implants had been in for five months when the case reached us. Chairside screw-retained provisionals had been shaping the tissue for 12 weeks .
What the Dentist Asked For
The Rx for these 2 front teeth dental implants :
The Technical Problems on These Front Teeth Dental Implants
There was only so much tissue to work with
On 2 front teeth dental implants, the tissue has a ceiling. Tarnow’s 2003 study of 136 inter-implant papillae measured an average of 3.4 mm of soft tissue above the bone, mostly 2–4 mm. This case fell right in that range. No crown contour was going to stack more tissue on top of that.
Spacing mattered too. In Tarnow’s 2000 radiographic study, implants 3 mm apart or less lost about 1.04 mm of crestal bone, against 0.45 mm when they sat farther apart. This gap landed just past that line.
So the provisionals left a dark triangle under the contact , and that triangle was the job.
Close the triangle and the teeth go square
Dropping the contact toward the tissue is the obvious fix on adjacent implant crowns. But #8 had a crown 8.6 mm wide and 10.8 mm long . Run the contact too far down and two long contact walls turn the centrals into blocks.
What zirconia could and couldn't do
The dentist’s reason for zirconia was color, and the evidence backs that part. Totou’s 2021 systematic review found titanium abutments caused significantly more soft tissue discoloration than ceramic ones, though zirconia still caused slight discoloration. It found no significant difference in papillary fill. And a small randomized trial under metal-ceramic crowns saw the same esthetic scores for both materials at one year. So we didn’t count on the abutment to fix the dark space.
Two mirror teeth on uneven gum margins
The uneven margins meant #9 would come out longer, at 11.4 mm . A crown can’t move the gum. With adjacent implant crowns at the midline, the two centrals are the first thing anyone compares, so the difference had to go somewhere it wouldn’t catch the eye.
Shade without seeing the patient
Our technicians never met this patient. With both centrals gone, there was no natural central left to copy, only #7 and #10.
What We Sent Back to the Dentist
On day 2 , we sent three contact options for these front teeth dental implants, as designs laid over the patient’s smile photo :
| Option | Contact length | Dark space left | The catch |
|---|---|---|---|
| A. Keep the provisional’s contact | 4.0 mm | 2.5 mm | Nice proportions, but the triangle stays |
| B. Close it completely | 6.5 mm | None | The contact runs about 60% of the crown length |
| C. Stop just short | 6.0 mm | 0.5 mm | Less contact, but the space doesn’t fully close |
We don’t choose for the dentist. They circled the tooth outlines on the image, picked C, and asked us to soften the square look .
How We Met Each Requirement
Rx item 1: the zirconia custom abutment build
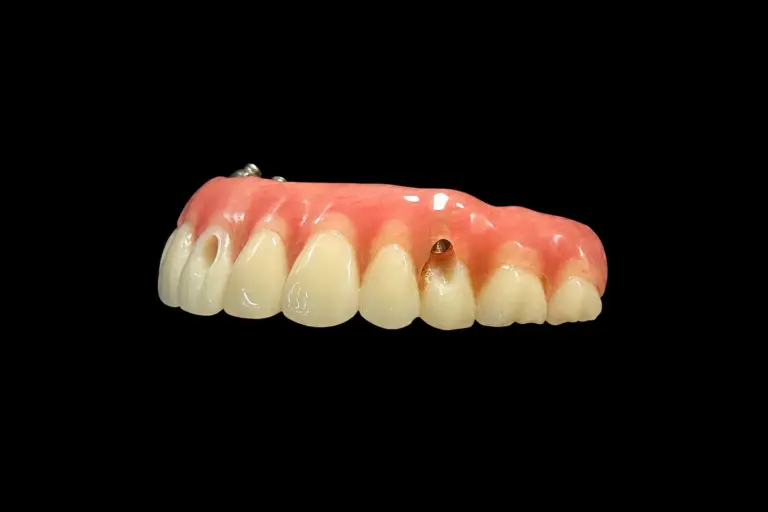
Each zirconia custom abutment was designed from the Nobel library and bonded to a Nobel Ti-base , with the interface masked. Why a metal base under the ceramic? The Totou review also found abutment failure was rare but tied to ceramic abutments, especially with internal connections. A titanium interface was the dentist’s way of keeping zirconia at the tissue and metal at the connection .
Rx items 2 and 3: cement line and tissue contour
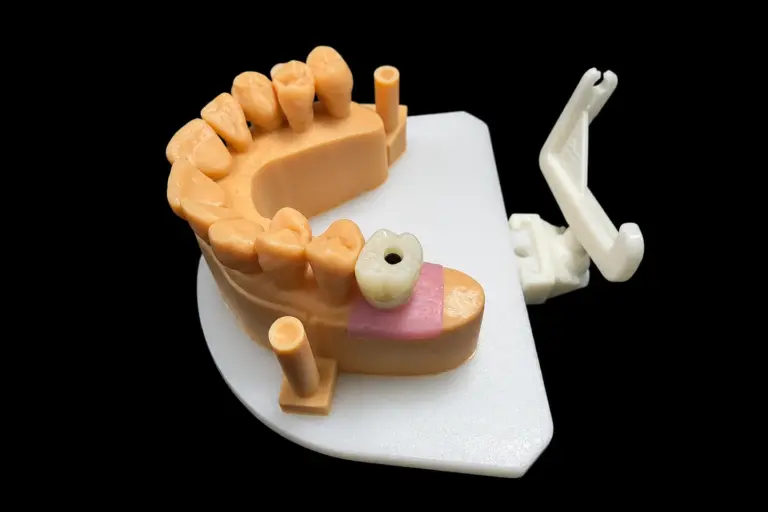
We scanned the provisionals out of the mouth, overlaid them on the tissue cuff scans, and copied the contour . The AO/AAP consensus on peri-implant diseases is why we kept that transition polished and didn’t let it bulk up: a bulky contour under the tissue can make cleaning and tissue stability worse.
Abutment margins sat 0.5 mm below the tissue on the facial and level with it between the teeth . That keeps the cement line where the dentist can reach it.
Rx item 4: the longer contact
The contact on these adjacent implant crowns went in with two small design changes :
Rx item 5: mirroring the centrals
We mirrored the #8 design across the midline, then changed only the neck of #9 . Widths and incisal edges stayed identical. The extra length lives at the gum line, so it reads as a slightly higher margin, not a longer tooth at the edge.
Rx item 6: shade from a distance
Records stood in for an in-person visit :
Target shade was A2, with A3 at the neck and a translucent incisal zone . The same technician layered both crowns in one session from one porcelain batch , so the pair would match each other first and the neighbors second. We recorded the layer recipe and compared color before and after firing, under standard lighting.
The layered build
Layered zirconia gave us the incisal detail the Rx wanted, but layering has a cost. A systematic review of ceramic implant crowns put chipping at 1.65% a year for veneered crowns and 0.39% for monolithic, with no difference between front and back teeth. It’s short-term data, but the direction is clear.
That’s why this layered zirconia build kept porcelain on the facial and incisal only, about 1.0 mm thick . With that overbite, the lower incisors contact bare zirconia on the palatal .
Rx item 7: the PMMA try-in
The patient wore the PMMA try-ins for two weeks . The dentist sent back photos with their notes circled, through the WhatsApp group we set up for the case :
So we flattened the facial contour below the tissue on #9 by 0.3 mm . A senior designer and the technical supervisor reviewed that change before milling . The dentist then signed off .
Production Timeline
| Stage | Working days | What happened |
|---|---|---|
| Try-in round | 1–5 | Checked the scans, matched the scan bodies to the library, then made and shipped the PMMA |
| Final round | 1–2 | Finished the abutments |
| 3–5 | Milled the crowns, layered, fired, and glazed | |
| 6 | Rechecked contacts, bite, and margins after glazing | |
| 7 | Final QC, then shipped with screws in labeled bags marked non-sterile |
The Finished Adjacent Implant Crowns
Final inspection on these adjacent implant crowns:
| Goal | Check | Result |
|---|---|---|
| Right parts | System, platform, and Ti-base against the Rx and label | All matched |
| Clean interface | Magnified look at both interfaces, on the analog | No burrs or resin |
| Fit | Abutments seated on the analogs, crowns on the abutments | No rocking or catching |
| Contact | Length and position against the signed design | Matched |
| Symmetry | Midline and tooth outlines | Matched |
| Tissue contour | Below-tissue shape on the model | Smooth, no ledges |
| Bite | Closing and forward movement | Light closing marks, nothing heavy going forward |
| Shade | Crowns against the #7 and #10 photos | Value and incisal zone matched |
The dentist torqued the abutments to Nobel’s IFU and cemented the crowns on their own protocol . At delivery, they reported :
What didn’t come out perfect :
Sending Your Own 2 Front Teeth Dental Implants Case
Got side-by-side front teeth dental implants and a dark space you’re not sure about? Send the records before you commit to a contact design. For this kind of case, we need:
Who Made It
These front teeth dental implants went through our implant dental laboratory team of about 80 technicians, with a 100-person design group and a separate 25-person QC group. Front esthetic cases go to the group leaders and to technicians with 10 or more years of experience. They all work inside Istar Digital Dental Lab’s four labs in Shenzhen and Huizhou, China. We’ve been at this since 2012, we have about 460 people, and nothing gets outsourced.
Every case passes three QC checks: incoming records, in-process, and final release by an independent inspector. Component batch and supplier records stay traceable. Istar Digital is an FDA-registered establishment (Registration Number 3039441248), which you can verify in the FDA database, and our labs run an ISO 13485 quality system. For EU clinics, custom-made restorations follow the MDR custom-made device procedure.
FAQ on Zirconia Custom Abutment Cases
How long does a zirconia custom abutment case take?
Generally 5–7 working days from the day we receive it. Simple cases can take 2–3, and complex ones take 5–7. A design sign-off adds 1–2 days.
Which implant systems do you work with?
Most systems on the market. If your library version differs from ours, send it and we’ll use yours so the fit lines up.
Can I use compatible parts instead of original ones?
Yes, it’s your decision. Original parts generally give the best fit and long-term stability, and they cost more. Compatible parts cost less, with tolerances, materials, and warranty terms that can differ. We never swap either one without your consent.
What's the warranty?
Three years on implant restorations. If the problem’s on our side, like an open contact, a high bite, a crown that won’t seat, or a wrong shade, we adjust or remake it free. Implant parts aren’t included in a free remake. A shade or material change you ask for later isn’t covered, and neither is working from a poor impression after we’ve flagged it.
You pay to send a case in, and we pay to ship finished work back, remakes included.
Can you rush a case?
Yes, free of charge, if you send us 10 or more cases a month. We guarantee the ship date, but not the arrival date, because customs times vary.
How is pricing handled?
We don’t publish prices on the website. Quotes are itemized: the unit, the material, then any implant parts and design complexity. Ask us for the price list.
Send Us a Test Case
Single trial cases are welcome, and ongoing partnerships suit clinics with a regular case flow.