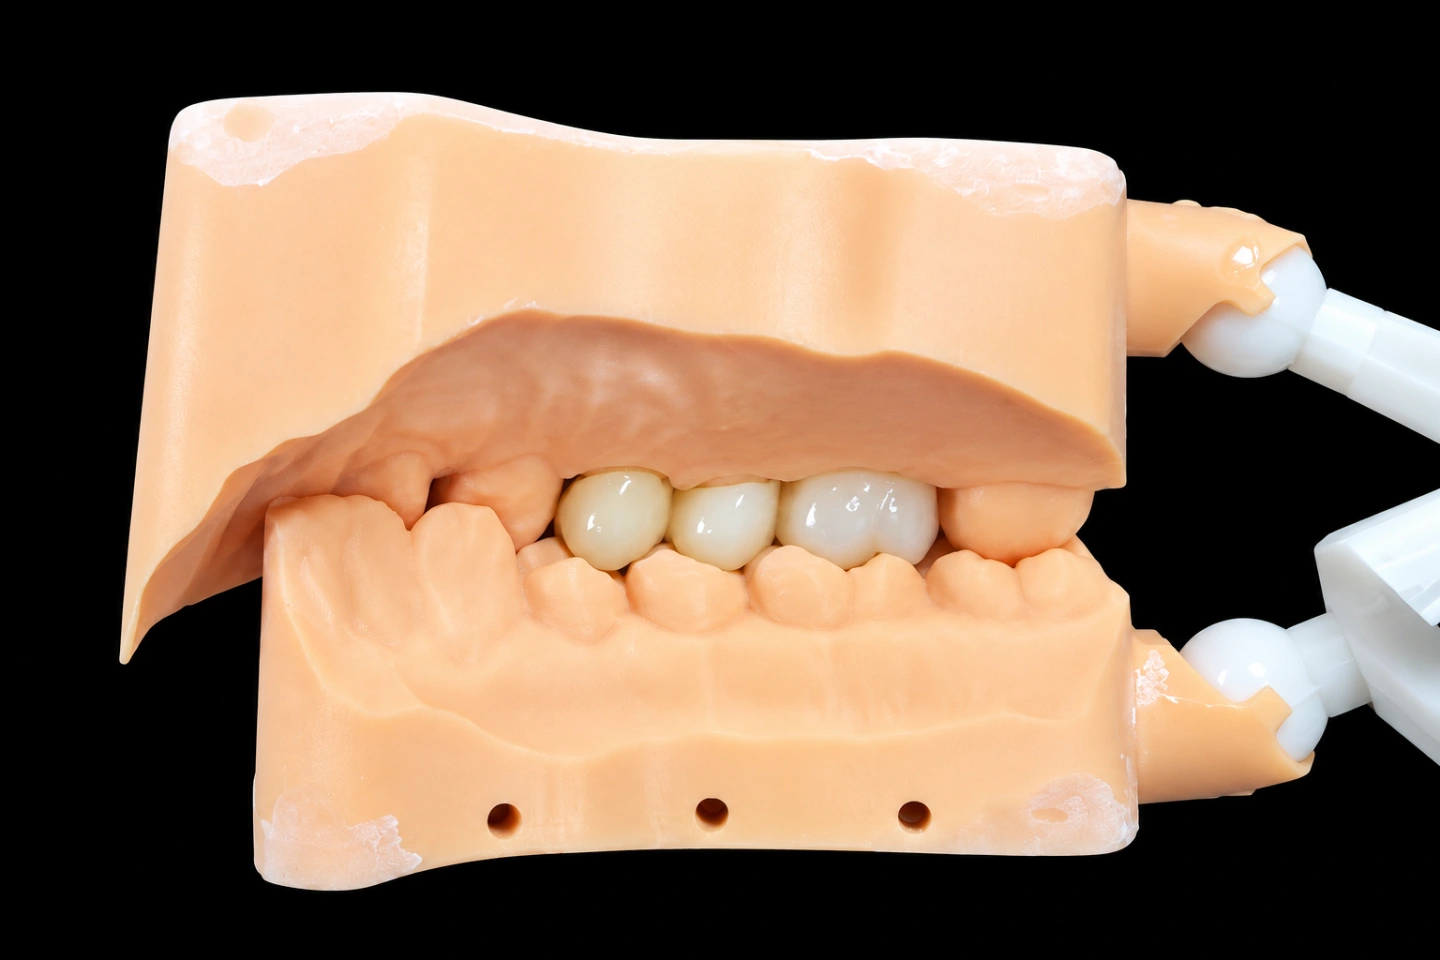
Patient Situation
Here’s what we knew about this aesthetic zirconia crown case, all from the scans, the photos and the dentist’s notes:
That stump was good news. In a lab study of anterior zirconia crowns, the hardest backgrounds to cover were the ND9 die shade and metal. Neither one applied here, so we could put our effort into matching #9.
What the Dentist Asked For
The Rx, condensed :
Choosing zirconia was the dentist’s call. They’d considered IPS e.max Press, which we’d reach for first on many front crowns, but we’re careful with it on clenchers. With this bite, they wanted zirconia on the palatal side.
The Technical Problem: A2 Only Described Part of #9
VITA’s classical guide has 16 shades. Each tab is a handy label, but this tooth needed more than one label. Here’s what the Rx gave us next to what the photos showed:
| On the Rx | What #9 showed in the photos | What it meant at the bench |
|---|---|---|
| A2 | Neck closer to A3 | More chroma at the neck than the body |
| A2 | Body at A2 | The only part A2 described on its own |
| A2 | Incisal third near A1, with gray-blue translucency | A see-through zone needing its own material |
| Nothing | White spot near the mesial corner | Had to be built in, by hand |
| Nothing | Faint crack line in the distal third | Same, and it had to stay subtle |
| Nothing | Vertical lobes, fine horizontal lines near the neck | Surface texture had to be cut by hand |
The space was wider than the tooth we had to match
The gap for #8 measured 8.7 mm across, while #9 measured 8.4 mm . Nobody was going to move #9, so #8 couldn’t just be narrower.
A tooth looks about as wide as the distance between its line angles, the ridges where light turns the corner. So we planned to bring those ridges closer together than the crown’s real width, and let the outer edges fall away into shadow.
The bite limited where porcelain could go
Those lower contacts ruled out porcelain on the palatal side of this anterior zirconia crown. The clenching made us careful about the incisal edge as well.
Picking the Build for This Esthetic Zirconia Crown
We sent the dentist three ways to build this esthetic zirconia crown, with our recommendation marked :
| Option | What you get | Why it did or didn’t fit |
|---|---|---|
| Full-contour multilayer zirconia, stained | No porcelain to chip and the least room needed | The white spot, crack line and blue edge would sit in surface stain alone, too flat for this neighbor |
| Multilayer frame plus a thin facial porcelain layer | Bare zirconia where the teeth touch, porcelain where the eye looks | Chosen. It fit the 1.3 mm of space and the bite |
| Fully layered zirconia | The most room for hand-built effects | The best looks on paper, but it means more porcelain in a clencher’s bite |
Two sources backed up our thinking. The ADA’s materials overview says more yttria gives more translucency, but also a more brittle material with lower flexural strength. So the most see-through disc wasn’t automatically the right one for an anterior zirconia crown in this bite.
And in a review of monolithic and porcelain-veneered zirconia bridges, the veneered ones had more complications, chipping above all. That’s bridge data, not single-crown data, but it’s why we kept the porcelain thin and off the contacts.
How We Met Each Requirement on This Aesthetic Zirconia Crown
| The dentist asked for | What we did | How it got checked |
|---|---|---|
| Copy #9 | Marked up a shade map for this tooth and built the crown from it | Compared under a standard light, before and after firing |
| Leave #9 alone | Handled the extra width with line angles | Dentist’s review of the design and the try-in |
| No porcelain on contacts | Cut back the facial side only | Bite checked on the model and at try-in |
| See the design first | Sent a preview and held milling | Written approval from the dentist |
| Pre-glaze try-in | Shipped the crown with no glaze | Dentist’s photos and notes |
| No glaze under the gum | Stopped the porcelain short and polished the margin | Final inspection against the Rx |
How We Made This Anterior Zirconia Crown
Reading the records
We opened the PLY scan for this anterior zirconia crown first, since the color lets us see gum levels and surface detail that an STL leaves out. That’s part of our standard digital workflow for front teeth.
The first shade photo had a problem: #9 looked lighter than it did in the pre-op shots . It had been taken after the prep, and the tooth had dried out. A dry tooth reads brighter, so we asked for the pre-prep photos with the tab and worked from those .
Then we circled each color zone, the white spot and the crack line on a photo, and sent it to the dentist. They moved the crack line slightly toward the distal and signed off on the rest .
CAD design
Our design team mirrored #9 for the aesthetic zirconia crown and sent the preview in the case’s work group. The dentist asked for the incisal edge to come up 0.3 mm to line up with #9, and approved it in writing after that change .
What the approved design locked in :
Milling and sintering
We set the frame’s position in the disc to put the higher-chroma layers at the neck . Layer position matters on a graded disc.
Kuraray’s KATANA FAQ says you can shift the crown inside the disc to get the best gradation. The same FAQ sets a 0.8 mm anterior wall as the minimum for its UTML and STML discs, including under a porcelain overlay. Other discs have their own rules, so we go by the maker’s numbers for whichever one the case uses.
The frame for this esthetic zirconia crown then sintered on a locked program, with the shrinkage setting taken from the zirconia maker’s numbers and checked with test pieces on each batch.
The porcelain layer
Front esthetic work usually goes to technicians with 10 or more years at the bench. On this esthetic zirconia crown, the technician built the facial in order :
The porcelain stopped 0.5 mm short of the margin, and the zirconia carries the palatal half of the incisal edge. We recorded every porcelain type, stain, placement and firing on the case file, so anyone can trace how this crown got its color.
We also stopped a little light on purpose. Stain can add color, but it can’t take color away. Leaving some room meant the try-in could only push the shade in a direction we could still follow .
The Pre-Glaze Try-In
The aesthetic zirconia crown shipped on working day 6, with no glaze on it . The dentist had kept a chairside provisional on #8, so the patient wasn’t left without a tooth in the meantime .
They tried it in with the teeth wet, and sent us photos with the tab beside #8 and #9 under the same flash settings. Here’s what came back :
| Checked at try-in | What they found | What we did |
|---|---|---|
| Seat, margin, contacts | Fine | No change |
| Neck | Matched #9 | No change |
| Body | A touch brighter than #9 | Added light stain to bring it down |
| Mesial incisal corner | Rounder than on #9 | Added porcelain and squared it up |
| Palatal contact | One spot high, marked with paper but not ground | We adjusted it at the lab and polished it again |
Without this round, that bright body and round corner would’ve turned up after glazing, when they’re much harder to change. That’s the whole reason to do it: changes are still easy at this stage.
Glaze and polish went on different zones
The anterior zirconia crown came back to us, and the second stage took 2 working days . The finish was split by zone :
Polishing and glazing aren’t interchangeable on an esthetic zirconia crown, and that includes color. Kuraray’s FAQ warns that some of its multilayer zirconia comes out with more chroma and a little darker if it’s polished only. That didn’t matter on the palatal side here, because nobody sees it.
On wear, a 2022 meta-analysis of lab studies found polished zirconia wore enamel less than glazed zirconia. It pooled just three studies, but that’s enough for us to polish where the lower incisors touch.
Final checks
A QC technician who didn’t make the crown ran the final inspection, with an extra review because it’s a front esthetic case. They checked margins, inner surface, seat, contacts with #7 and #9, the bite in center and forward movement, then color, translucency, fluorescence, texture and symmetry under a standard light, against the approved design and the shade map.
The Finished Aesthetic Zirconia Crown
| Design goal | What we planned | Where it ended up |
|---|---|---|
| Neck color | Near A3 | Matched #9 at try-in, unchanged after |
| Body color | A2 | Matched after the stain correction |
| Incisal third | Near A1, gray-blue | Translucent zone in place, ending short of the palatal zirconia |
| White spot and crack line | Copied from #9 | In place, crack line softer than the real one |
| Apparent width | Same as #9 | Line angles 6.6 mm apart like #9, real width 8.7 mm |
| Surface | Same lobes and shine as #9 | Hand-finished to the dentist’s OK |
| Lower contacts | On bare zirconia | On polished zirconia only |
What the dentist told us
The aesthetic zirconia crown seated with no changes, and the dentist cemented it with an MDP resin cement .
What the patient told us
Before cementation, the patient checked the crown with a hand mirror in daylight and approved it . Through the dentist, they told us the old crown was the first thing they noticed in photos, and now they have to look closely to pick out which front tooth is the crown . They also said the back of the tooth feels smooth against the lower teeth .
Send Us Your Own Aesthetic Zirconia Crown
Got an aesthetic zirconia crown that has to live next to a natural tooth? Here’s what helps us most.
- Photos: the neighboring tooth and tab in one frame, and the stump and tab in another. Those two tell us how to color the crown and whether it needs masking.
- Camera: ring or twin flash at 5500K, ISO 100, 1/125–1/200 s, f/22 for intraoral shots. Keep the teeth wet, and shoot before they dry out.
- Characters: if a white spot or crack line is hard to describe, send a picture and we’ll work from it. You can circle what you want changed on any image.
- Scans: we take TRIOS, Medit, iTero, CEREC, Aoralscan and Planmeca. Send PLY as well as STL for front teeth.
- Rx: use our Rx form, and see how to send a case. Write “pre-glaze try-in” on it if you want one.
- Materials: Aidite, Wieland, Zirkonzahn and 3M Lava zirconia, with Ivoclar, Shofu and Noritake porcelains, or the brand you name. We never change a material without your OK.
- Lead time: an aesthetic zirconia crown generally takes 5–7 working days at the lab. Design approval adds 1–2 days.
- Shipping: you pay to send work to us, and we pay to ship finished work back.
- Warranty: 3 years on crowns. A wrong shade, poor shape or visible flaw gets remade free, and so do open margins, open contacts, a high bite or a crown that won’t seat. Changing the shade or material later isn’t free, and neither is a case we flagged for a poor impression and you asked us to try anyway.
- Quotes: itemized to your Rx, not one bundled price. Ask for the price list.
All of this happens in our own four labs in Shenzhen and Huizhou, China. We’ve been at it since 2012, with about 460 people, including about 100 in design, 70 in milling, 70 in ceramics and metal, and 25 in QC. Nothing gets outsourced.
Istar is an FDA-registered establishment, Registration Number 3039441248, which you can look up in FDA’s establishment database. The lab runs under ISO 13485. You can also book a factory or video visit.
Have a single central that needs an aesthetic zirconia crown? Send it as a test case, with the photos above, and tell us what the last crown got wrong. Send your first case or talk to us.
FAQ
Can I send phone photos for an esthetic zirconia crown?
We’d rather you didn’t for shade. Phone filters shift color easily, and that throws off what the technician sees.
Can I mail you a physical shade tab or an old restoration?
Yes. Both are fine as references.
Can the same technician handle every anterior zirconia crown I send?
Yes, you can ask for a specific technician, designer or QC person.
Will you remember how I like my crowns?
Yes. Send your bite, contact, margin and esthetic preferences in writing and we’ll keep them on your account. You can change them any time, and the newest written version counts.
What should I do if I adjust an aesthetic zirconia crown chairside?
Polish it step by step with a zirconia polishing kit until the scratches are gone.
Can you rush an aesthetic zirconia crown?
Yes, at no extra charge, for clients who send 10 or more cases a month. We guarantee the ship date. The arrival date depends on customs, so we can’t guarantee that.