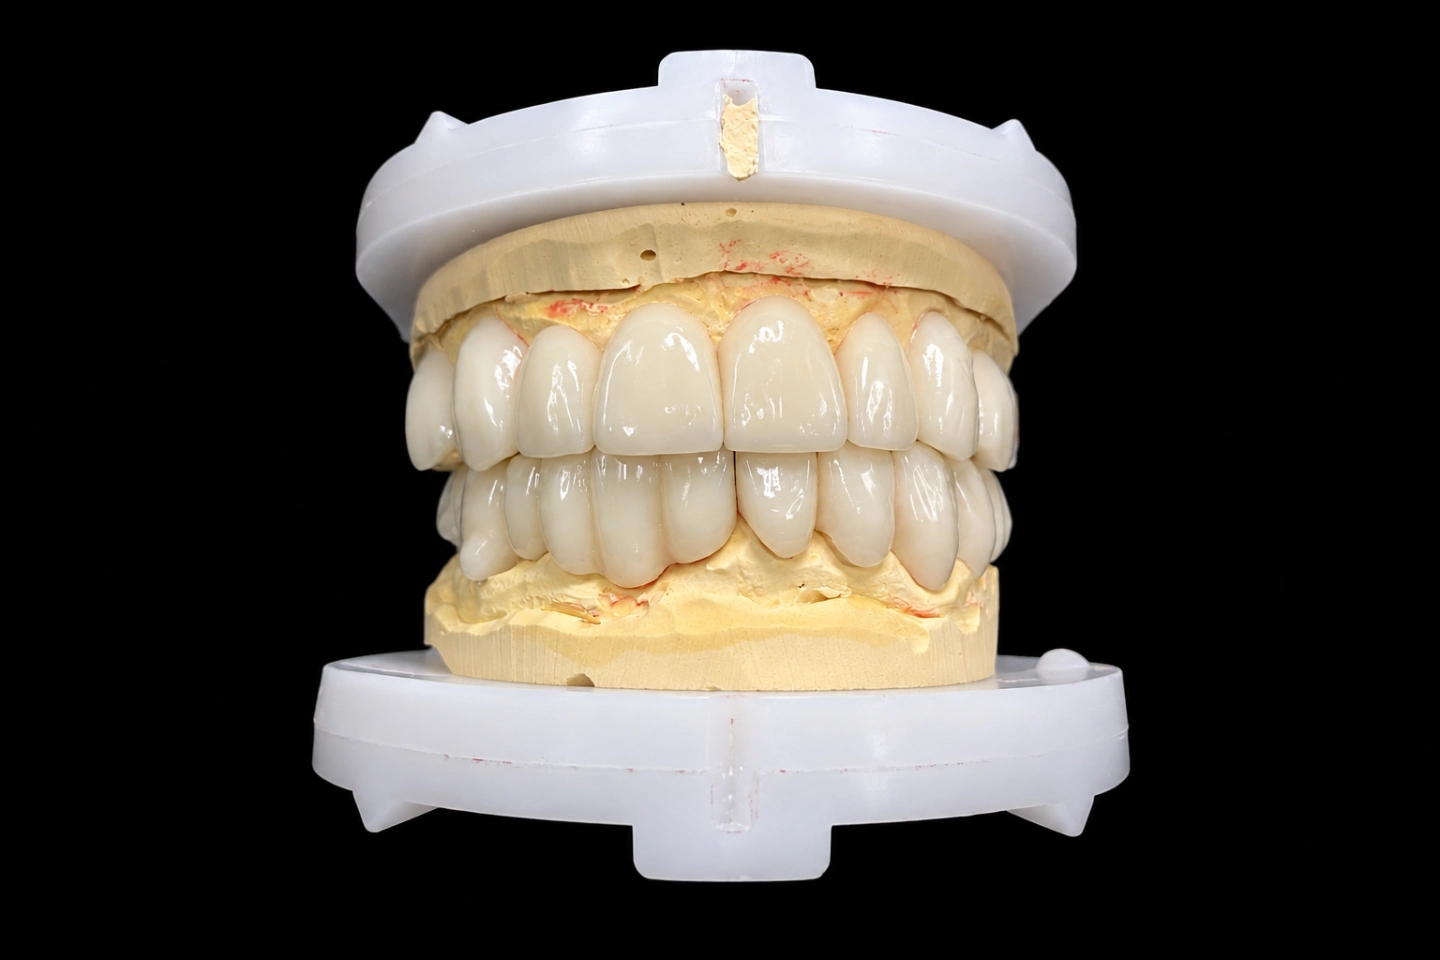
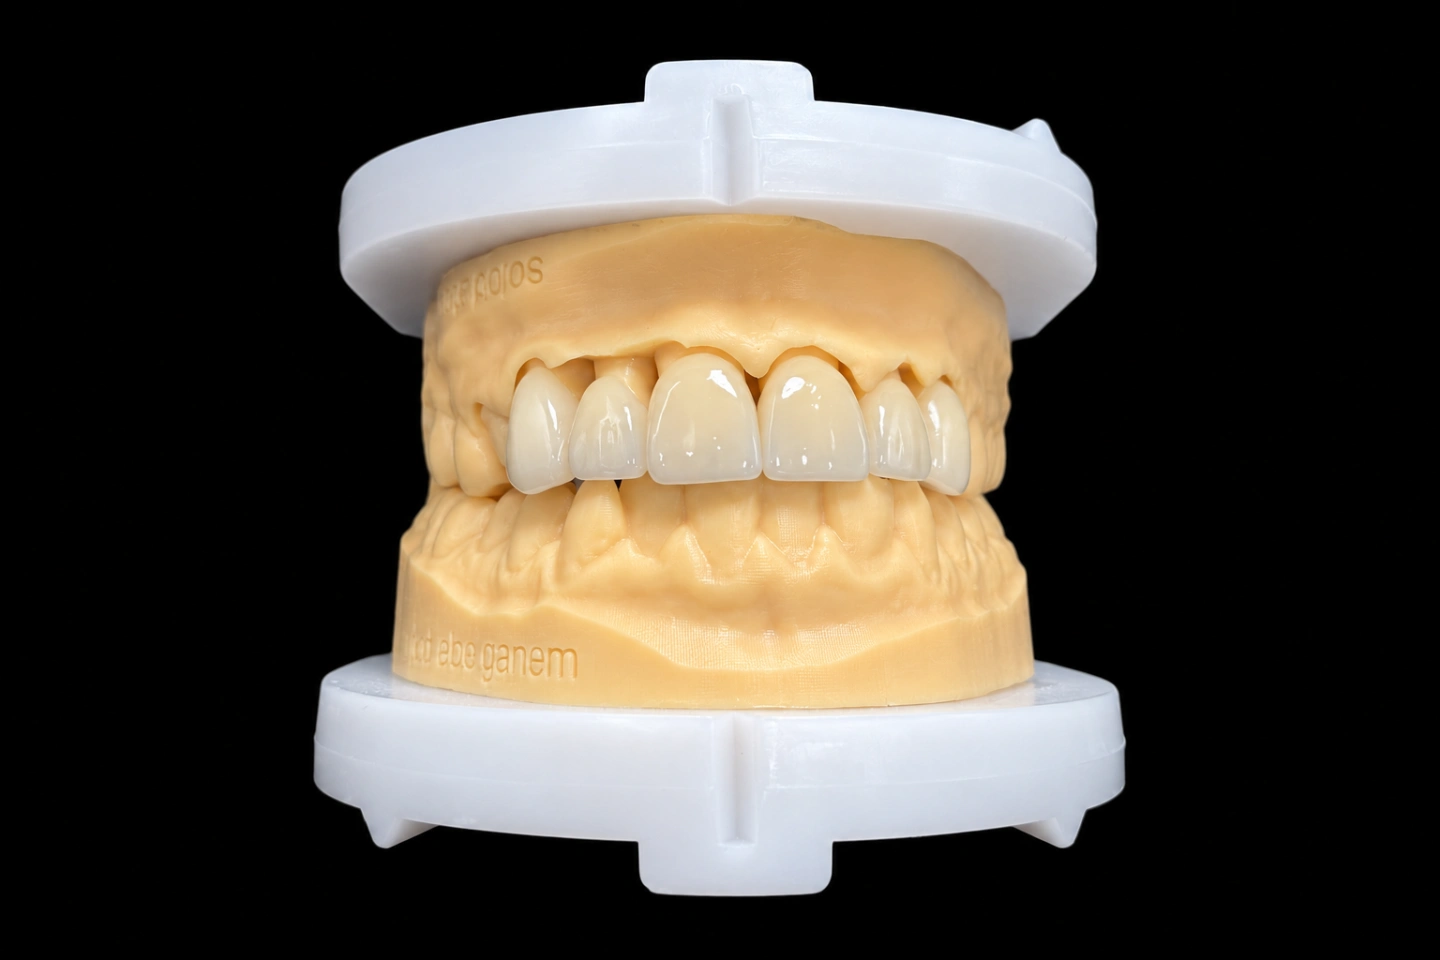
The Patient Before Cosmetic Veneers
The patient is an adult with healthy, unrestored upper front teeth . No decay, no fillings on the facial surfaces, and gums the dentist called stable. That part isn’t optional. The ADA says decay and gum disease have to be dealt with before veneers go on.
What the patient didn’t like :
The patient also didn’t want their teeth “shaved down.” That fear drove the whole Rx.
The bite was simple : normal overbite and overjet, no wear facets, and no history of grinding or clenching. The canines guide on their own.
What the Dentist Asked For
From the Rx and our WhatsApp thread :
Requests 1 and 3 pull against each other. Add ceramic without removing any tooth, and the tooth gets thicker.
Why "No Prep" Depends on the Final Shape, Not the Veneer
With minimal prep veneers, a 0.5 mm veneer doesn’t mean you remove 0.5 mm of tooth. How much you remove depends on the gap between today’s facial surface and the planned outer surface of the veneer.
So the question isn’t “how thin is the veneer.” It’s “where’s the finished smile, and where’s each tooth now.” You can’t answer that from the tooth alone. You need a wax-up of the result and a scan of the teeth before prep.
Cosmetic Veneers Planning: The Wax-Up Over the Pre-Op Scan
Our CAD team built the wax-up for all six teeth first: edges squared on #8 and #9, length kept, a smooth arch from canine to canine. Then we laid it over the pre-op scan and measured, tooth by tooth, the room between the current facial surface and the planned outer surface.
We planned a minimum veneer thickness of 0.5 mm at the gum third and 0.7 mm at the middle third . Anything short of that has to come from prep.
| Wax-up 1 (mm) | #6 | #7 | #8 | #9 | #10 | #11 |
|---|---|---|---|---|---|---|
| Room at the gum third | +0.5 | −0.3 | +0.5 | +0.5 | −0.2 | +0.5 |
| Room at the middle third | +0.7 | −0.1 | +0.7 | +0.7 | 0.0 | +0.7 |
| Prep needed, gum third | 0 | 0.8 | 0 | 0 | 0.7 | 0 |
| Prep needed, middle third | 0 | 0.8 | 0 | 0 | 0.7 | 0 |
A minus sign means the tooth already sits outside the planned contour.
Four teeth could take cosmetic veneers with no prep. #7 and #10 couldn’t. The design preview showed the reduction as a color map on each tooth, so the dentist could see exactly where it would land.
The Problem in This Porcelain Veneers Case: 0.8 mm Near the Gum
The gum third is where the enamel on a front tooth is thinnest, and laterals are small teeth. The dentist’s own read was that 0.7 to 0.8 mm there would likely be through the enamel on both laterals .
That matters for bonding. In a study of 580 porcelain veneers in 66 patients followed for up to 12 years, veneers bonded to dentin or with dentin margins were about ten times more likely to fail than veneers bonded to enamel. Preps kept in enamel had 99% estimated survival. A later meta-analysis of veneers on different substrates found the same pattern: the more dentin exposed, the lower survival and success.
So on this porcelain veneers case, the job wasn’t to make prep vanish. It was to keep it on two teeth only, and keep it shallow enough that the dentist had a fair chance of staying in enamel.
Three Options We Sent the Dentist
We sent the reduction map with three options over WhatsApp, each one marked on a screenshot :
| Option | What changes | Prep on #7 / #10 | What it costs |
|---|---|---|---|
| A. Prep the laterals to wax-up 1 | Nothing in the design | As in wax-up 1 | Likely dentin at the gum third of both laterals |
| B. Move the planned facial line forward | All six facial surfaces come forward about 0.2 mm, the laterals’ gum third about 0.3 mm | 0.4–0.6 mm | Teeth a little fuller; request 3 has to be checked in the mouth |
| C. Align #7 and #10 first | Laterals moved back with aligners, then veneers | Close to none | Months added, and a second treatment the patient hadn’t planned |
We didn’t pick for the dentist. Whether to prep, and how deep, is a clinical call. Our part was to show what each choice does to the teeth and to the look.
The dentist chose B and asked for a mock-up to see whether “slightly fuller” would read as “bigger” .
The Printed Mock-Up: Testing "Not Bigger"
We printed the option B design as a mock-up of the cosmetic veneers that the dentist could try on the unprepped teeth . The patient wore it in the chair and the dentist sent us front, side and rest photos .
What came back:
So we pulled the centrals back. They had the most room to start with, so they didn’t need the full 0.2 mm. The final plan moved #8 and #9 forward only 0.1 mm and kept the rest of option B as it was .
| Approved design (mm) | #6 | #7 | #8 | #9 | #10 | #11 |
|---|---|---|---|---|---|---|
| Facial moved forward vs wax-up 1, gum third | 0.2 | 0.3 | 0.1 | 0.1 | 0.3 | 0.2 |
| Prep needed, gum third | 0 | 0.5 | 0 | 0 | 0.4 | 0 |
| Prep needed, middle third | 0 | 0.6 | 0 | 0 | 0.5 | 0 |
The dentist approved it in writing, and the approved contours went on file.
The Reduction Guide
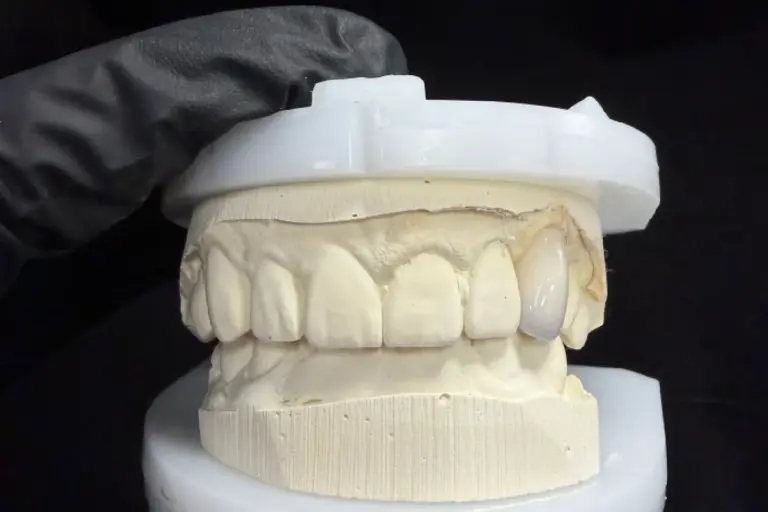
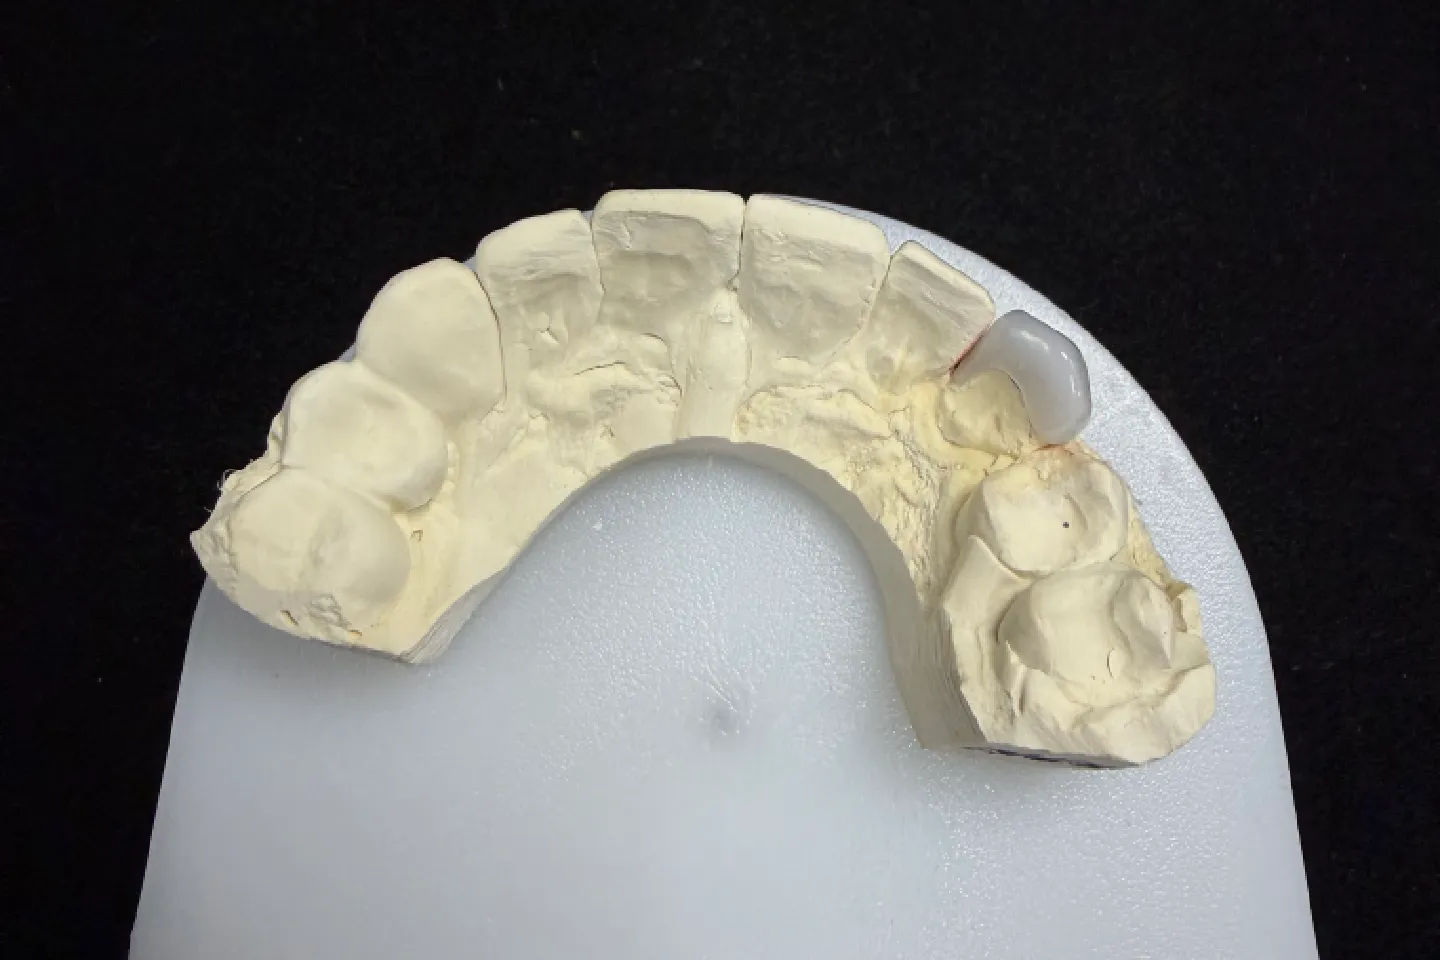
From the approved design, we made a silicone reduction guide for #7 and #10 . It’s cut in sections, so the dentist can lay it on the tooth and see the gap between the tooth and the finished contour at the gum third and middle third. Prep stops when the gap matches the plan.
On the four no-prep teeth, the dentist only smoothed the margins and edges a little so each veneer had a clear seat . No facial reduction.
How the Prep Came Out
The dentist’s notes with the prep scan :
We checked the prep scan against the approved design. The thinnest spots were 0.5 mm at the gum third and 0.7 mm at the middle third, as planned . So the dentist didn’t have to take any more off.
Making the Six Cosmetic Veneers
Color over a natural tooth
On no-prep and minimal prep veneers, the tooth underneath is part of the color. So we planned the shade with the stump photos, not just the shade tab. Going from A3.5 to about A2 through 0.5 mm of ceramic needed a less translucent ingot at the gum third than a darker target would . The edges got a soft translucent band, kept within what the lower teeth show.
All six came from the same ingot batch, so the four no-prep teeth and the two prepped laterals would read as one set .
Shape and edges
In production
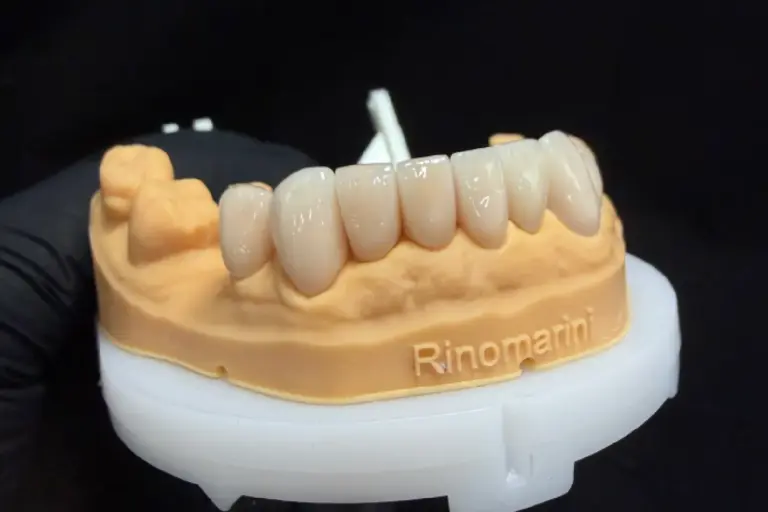
The mock-up round took . From the prep scan to shipping was 6 working days .
Finished Cosmetic Veneers: Try-In Results
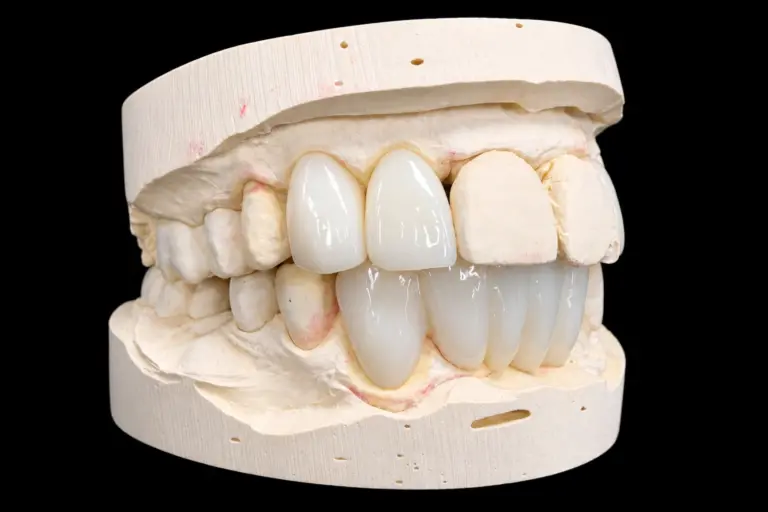
The dentist tried in all six cosmetic veneers with try-in paste, then bonded them with resin cement at the same visit, following Ivoclar’s instructions for IPS e.max Press .
| Design goal | How it was checked | Result at try-in |
|---|---|---|
| Seat and contacts | Try-in paste, floss | All six seated without adjustment; floss passed with normal resistance |
| Not bigger | Side photos against the approved mock-up | Gum-line fullness matched the mock-up |
| Same length, even edges | Pre-op scan against the design | Length unchanged, corners of #8 and #9 squared, guidance still on the canines |
| Lighter but natural | Photos with a shade tab | About A2, no visible step between the prepped laterals and the no-prep teeth |
| Clean margins | Dentist’s check at bonding | No ledge at any margin |
Try-In Feedback from the Dentist and Patient
The dentist
With the reduction map in hand before prep, the patient knew which two teeth would be touched and why. There was no “how much are you going to drill?” moment at the prep visit .
Pre-op scan first, prep decision second .
#7’s mesial margin goes on the list for recall checks .
The patient
“Like my teeth, just neater.” The lip doesn’t catch on them .
Lighter, not white. Friends said the smile looked brighter, but nobody guessed veneers .
What to Send for a No-Prep or Minimal Prep Veneers Case
Upload scans through our digital case submission . Veneer cases generally take 5–7 working days, simple ones 2–3. Design approval adds 1–2 days.
Who Made It
These six cosmetic veneers went through our CAD design team (about 100 people), our ceramic and metal department (about 70) and a separate QC team of about 25. They’re part of Istar Digital Dental Lab’s four labs in Shenzhen and Huizhou, China. We’ve been running since 2012, with about 460 staff and no outsourcing.
Istar Digital Dental Lab is an FDA-registered establishment (Registration Number 3039441248), which you can look up in the FDA establishment registration database. Our labs run an ISO 13485 quality management system.
Cosmetic Veneers FAQ
Can you copy the shape of a patient's provisionals?
Yes. Scan the provisionals in the mouth, and we’ll copy their shape and guidance into the final veneers. We can mirror a tooth from the other side, too.
Can you make the provisionals too?
Yes. We make provisionals in composite or PMMA, milled or printed.
What other materials do you make veneers in?
Zirconia, which is stronger and more wear-resistant, and lab-made composite. Compare them with pressed e.max veneers, or see what else our e.max lab makes. We won’t swap a material without your OK.
Do you make night guards?
Yes. If your patient grinds, we make night guards to your prescription.
What if I want a design you think is risky?
We’ll tell you why, then make it to your Rx with no sign-off form. A remake caused by that design isn’t on us, though.
What's free to redo, and what isn't?
Open margins, open contacts, high bite, a veneer that won’t seat, inaccurate color, visible flaws and poor shape are ours to fix for free. Changing the shade or material afterward isn’t free. Neither is a case you asked us to try on an impression or scan we’d already flagged as poor.
What about warranty and shipping?
Veneers carry our 3-year warranty. You pay to send a case in, and we pay to ship finished work back, remakes included.
Can you rush a veneer case?
Rush service is free for clients who send us 10 or more cases a month. We guarantee the ship date, but not the arrival date, because customs times vary.
How is pricing handled?
We don’t publish prices on the website. Ask for our price list, and we’ll quote each case item by item to your requirements.
Send Us Your Next Cosmetic Veneers Case
Got a patient who wants cosmetic veneers with as little prep as possible? Send the pre-op scan first, and we’ll send back a reduction map that shows which teeth need prep and how much. Single trial cases are welcome, and you can see our labs on a factory visit or a video tour.