Patient Situation
The patient was in their late 50s and had lost the upper teeth to gum disease . The lower arch still had its natural teeth, with crowns on #19 and #30 . No clenching or grinding was reported .
The surgeon placed six implants on the day of extraction . #3 and #14 were tilted, with the tips kept in front of the sinus, so their heads came out near the first molars . That’s why those two sit on 30° multi-unit abutments . The ITI consensus on implant numbers leaves that count to the restorative plan. Six was the surgeon’s and dentist’s call, made before the case reached us.
The clinic converted an immediate denture into a screw-retained acrylic bridge chairside that day . The patient wore it for four months . The clinic had relined it chairside twice during that time . Keep that in mind. It matters later.
We didn’t place these full upper dental implants. We made what goes on top.
What the Dentist Asked For
The Rx for these full upper dental implants asked for six things :
The records came in one package : an intraoral scan with scan bodies on all six multi-unit abutments, a scan of the lower arch, a bite scan, photos at rest and in full smile, and a scan of the acrylic bridge taken out of the mouth from all sides.
The Problem: One Implant Didn't Line Up
What the cross-arch check showed
Every full upper dental implants case gets a cross-arch check before design. We match each scan body to the implant library. Then we look at the stitching across the arch, compare arch width with the other records, and check that the bite sits evenly on both sides.
Here, two readings disagreed at #14 :
| Check | #3, #5, #7, #10, #12 | #14 |
|---|---|---|
| Acrylic bridge scan laid over the scan body positions | Within 0.05 mm | About 0.2 mm off, and 1.2° in angle |
| Stitching between #10 and #14 | Long stretch of smooth palate with few landmarks | Same stretch |
| Bite scan | Even contacts | Contacts slightly heavier on the left |
Why we couldn't just pick one
Two records, two answers. The scan could have drifted. A long span with few landmarks is exactly where full arch scans go wrong, because the software has less to stitch to. A 2020 systematic review of complete-arch implant scanning named implant distance, scan body design, scan pattern, and operator experience as the main factors in accuracy.
But the acrylic bridge could have been wrong too. It had been relined chairside twice. That’s fine for a temporary, but it doesn’t make a reference.
And a titanium bar is rigid. If one of six positions is off by 0.2 mm, the bar won’t drop on by itself. Screws would pull it down, and the bar would carry that strain from the first day on these full upper dental implants.
Options We Sent the Dentist
We don’t decide which record is right. The dentist does. We sent the overlay, the numbers, and three options through the case’s WhatsApp group :
| Option | What it involves | The catch |
|---|---|---|
| Rescan | Rescan the arch, with more reference points across the palate | Same method as the first scan, so it could drift the same way |
| Verification jig | We make a jig from the scan. The dentist tries it on the six abutments. If it rocks, they cut it, join it in the mouth, and send it back | One more clinic visit, plus courier time both ways to China |
| Photogrammetry | Record the six positions with a photogrammetry camera | The clinic didn’t have one |
Photogrammetry has strong data behind it. A 2025 meta-analysis found it more accurate than intraoral scanning for complete-arch implant impressions in 10 of 13 studies. The authors still recommend a rigid prototype try-in until there’s more clinical data.
The dentist picked the verification jig . One extra visit was cheaper than finding out at delivery.
Verification Jig: What We Made and What It Showed
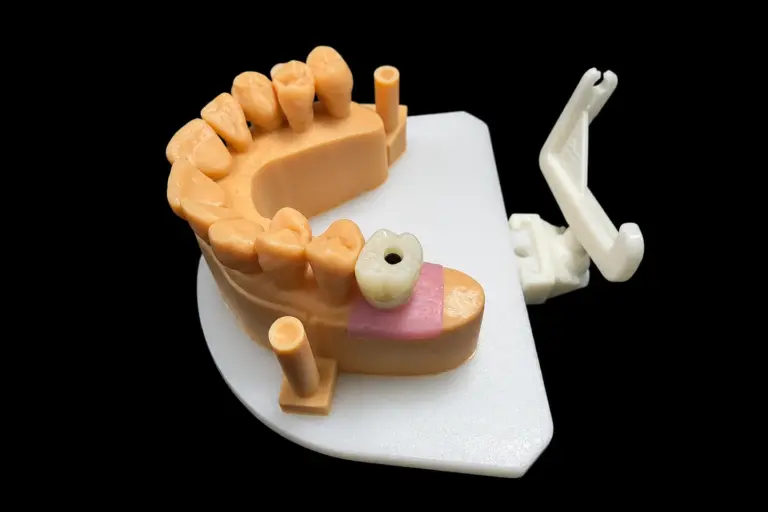
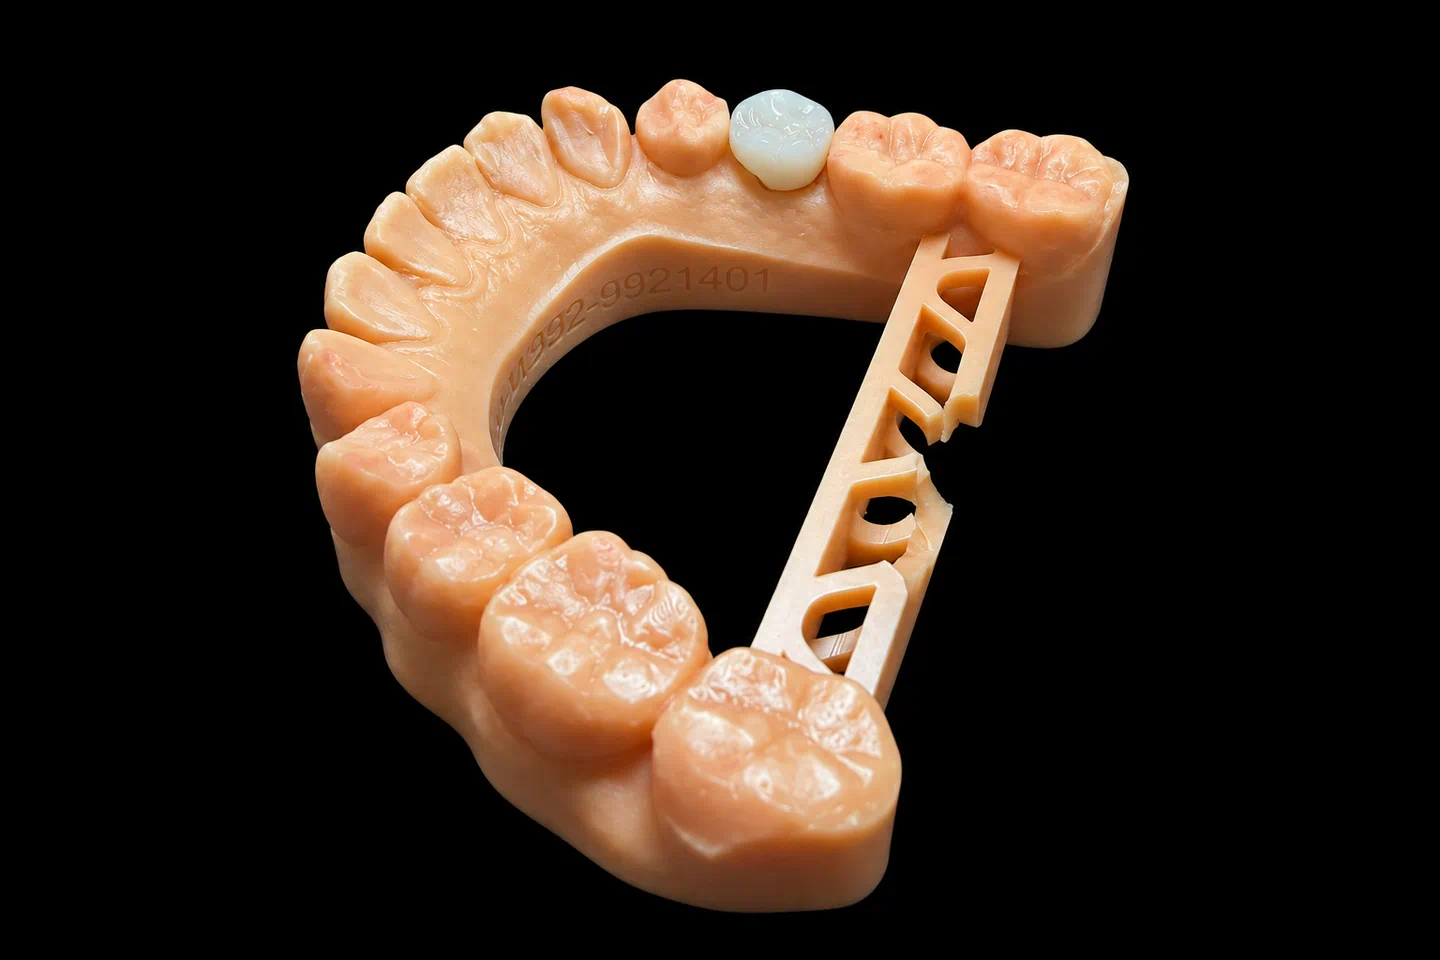
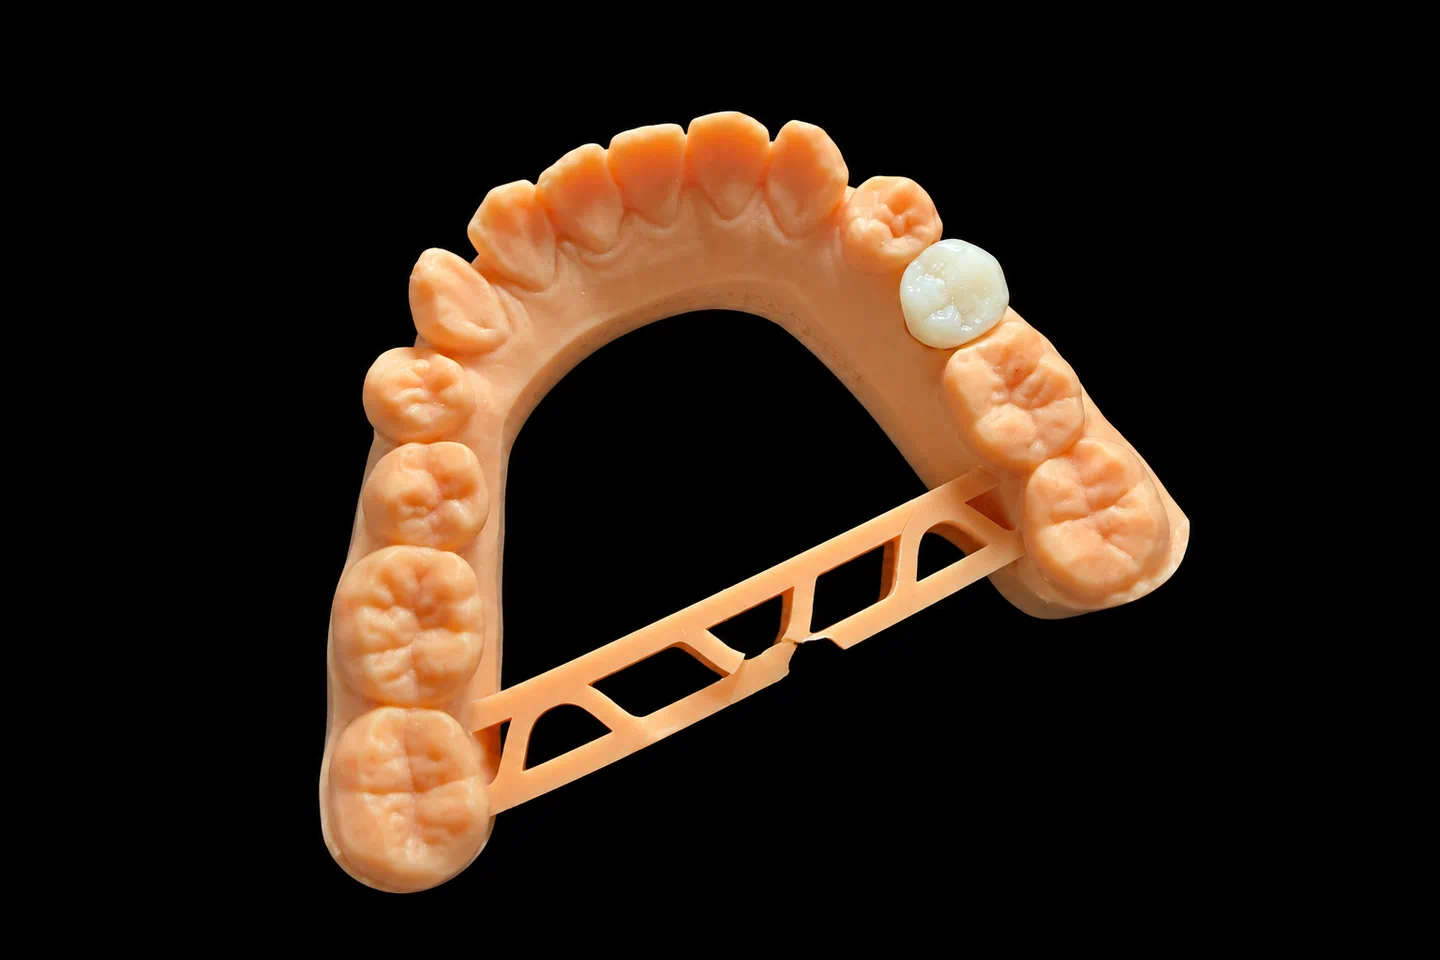
We designed the verification jig on the six positions from the original scan, with a cut line already marked between #12 and #14 . It shipped in the same box as a printed model, so the dentist could compare the two .
At the clinic, the jig went onto the six multi-unit abutments with one screw at #3 . It sat flat on five of them. At #14 it lifted, and the dentist could see the gap .
So the dentist did what the plan said:
Back at the lab, we scanned the joined verification jig and registered the implant library to it. #14 moved about 0.2 mm and 1.2° from the intraoral scan, matching what the overlay had shown . The other five didn’t change . So the scan had drifted at the far end, and the jig settled it.
Is the extra step worth it? A 2012 retrospective study of 30 full arch frameworks found clinically passive fit in all 16 made with a verification jig, and in only 2 of the 14 made without one. That study used conventional impressions and metal frameworks, not scans. Still, the point carries over: check the positions before you make something rigid.
PMMA Prototype: Testing Bite, Look, and Fit
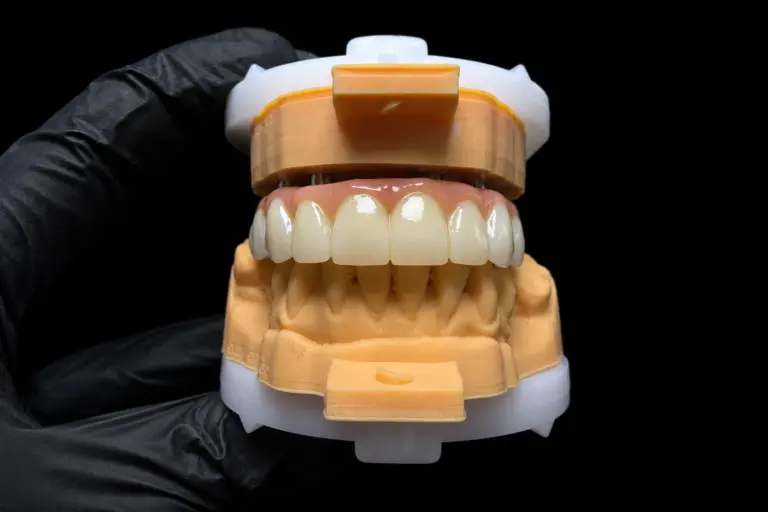
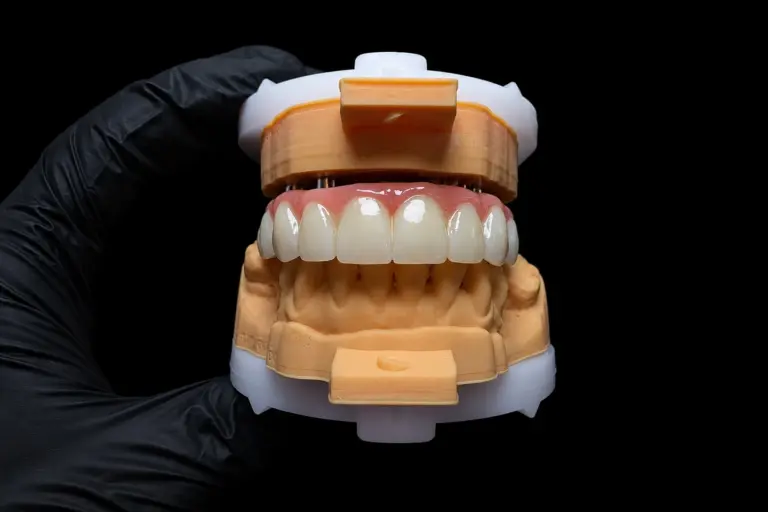
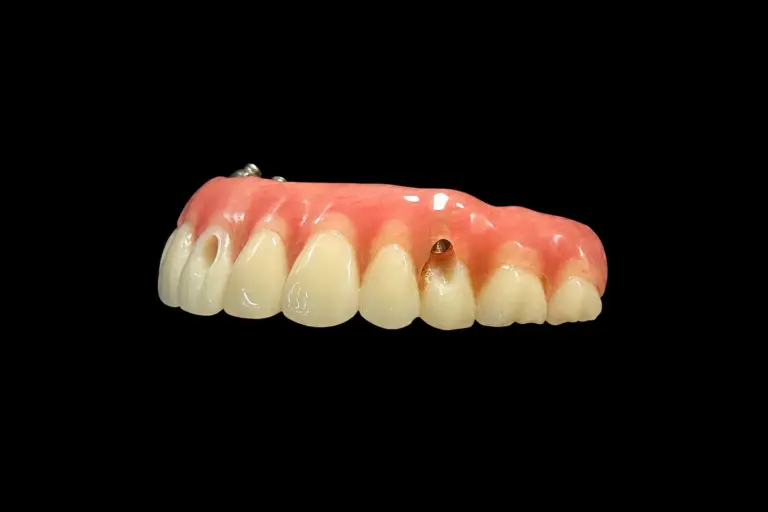
Positions confirmed, we built a milled PMMA prototype on the corrected model . It copied the acrylic bridge’s bite height, midline, and tooth length, as the Rx asked.
The prototype checked two things at once. First, fit: it should seat with no rocking on all six. Second, the patient: bite, speech, lip, and smile.
At the try-in :
We took both changes into the final design. Nothing else moved.
How We Met Each Requirement
| Dentist’s requirement | What we did | How we checked it |
|---|---|---|
| Bridge #3 to #14, no cantilever | Ended the bridge at the two tilted implants | Design approval before milling |
| Titanium bar with zirconia on top | Bar on all six, zirconia superstructure bonded on | Bar fit checked on its own, then the full bridge |
| Copy bite height, midline, tooth length | Copied from the approved PMMA prototype | Overlay of final design on the prototype scan |
| Canine guidance, no back-tooth side contacts | Took out the contacts the dentist marked on the lower left | Contact check in the design, then on the articulated models |
| Room to clean under the bar | Smooth, convex tissue side with space for floss and a water flosser | Checked in design and on the model under magnification |
| Final in 7 working days | Production started the day the design was approved | Shipped on working day 7 |
Making the Final Bar and Bridge
Moving the prototype into the final design
We registered the approved prototype scan to the implant interfaces. Bite, tooth position, outer shape, and screw channels came across from the prototype. The inner side didn’t. All six connections were rebuilt from the implant library, on the jig-corrected positions .
Then the dentist approved the final design: occlusal, facial, and palatal views, bar cross-sections, screw channel positions, and contact points .
Passive fit on the bar
A bar either drops on by itself or it doesn’t. We check passive fit this way:
The bar passed on the first check .
Zirconia, bonding, and final checks
The Finished Full Upper Dental Implants Bridge
Here’s how each check turned out across the case :
| Check | Original scan | Verification jig | PMMA prototype | Final bridge |
|---|---|---|---|---|
| #14 position | About 0.2 mm and 1.2° off | Rocked, then joined in the mouth | Seated, no rocking | Seated, no rocking |
| Fit at all six | Not tested | Five of six flat | No gaps on X-ray | No gaps on X-ray |
| Back-tooth side contacts | Not tested | Not tested | Lower left touching | None |
| Front tooth shape | From old bridge | Not tested | Patient asked for softer corners | Softer corners |
Feedback after fitting
The bridge seated at the first appointment. One-screw test passed at all six, and X-rays showed no gaps . Screws were torqued to the implant maker’s values. No adjustments needed .
Liked the softer front teeth. Uses the water flosser under the bar every night .
What this case still needs
A passive fit at delivery on full upper dental implants is the start, not the end. The dentist booked regular checks with the bridge off, to look at the screws and the tissue under the bar . And the timeline did grow: the jig round added a clinic visit and two courier trips . The dentist and patient agreed to that up front .
Timeline
| Stage | Time |
|---|---|
| Records in, cross-arch check, dentist told | Working day 1 |
| Verification jig made and shipped | Working day 3 |
| Jig at the clinic, joined in the mouth, shipped back | 9 calendar days, courier included |
| PMMA prototype made and shipped | 3 working days after the jig arrived |
| Prototype try-in and feedback | 1 clinic visit |
| Final bar and bridge | 7 working days after design approval |
Sending Us Full Upper Dental Implants Cases
Want us to check positions before we build? Send:
Who Made It
This full upper dental implants bridge went through our implant dental laboratory. Full arch cases there go to a dedicated team inside an implant department of about 80 technicians. A separate QC team of about 25 inspected it before it shipped.
Istar Digital Dental Lab runs four labs in Shenzhen and Huizhou, China. We started in 2012, we have about 460 people, and nothing gets outsourced. We’re an FDA-registered establishment (Registration Number 3039441248), and you can look us up in the FDA establishment registration database. Our labs run an ISO 13485 quality management system, and custom-made work for EU clinics follows the MDR custom-made device procedure. Want to see the full arch line? Visit the factory or book a video tour.
Full Upper Dental Implants FAQ
Do you work with my implant system?
Most likely. We restore most systems on the market. Send the label photos and your scan library name, and we’ll confirm before you ship.
Can you supply the parts?
Yes: titanium bars, multi-unit abutments, temporary cylinders, screws, and tools. They’re charged separately, and batch and supplier records are traceable. Parts aren’t included in free remakes.
Do I have to use a titanium bar?
No. We also make one-piece zirconia, titanium bar with PMMA, and PFM. Space and strength usually decide it. Our All-on-X page covers the options.
What if I'd rather skip a check you flag?
We’ll explain why it worries us. If you want to change the plan, we change it. If you’d rather go ahead, we build to your Rx, with no sign-off form needed. Remakes caused by that choice aren’t on us.
How long does the final stage take?
5–7 working days after you approve the design. Try-ins, clinic visits, and shipping come on top of that.
What does the warranty cover?
A full arch implant bridge carries a 3-year warranty. Problems on our side, like a bridge that won’t seat, a high bite, or a wrong shade, get adjusted or remade free. If you change the shade or material, or ask us to go ahead on records we’ve flagged as unclear, the remake is charged. You pay to send records in, and we pay to ship finished work back, remakes included.
How does pricing work?
We don’t publish prices on the website. Ask for our price list, and we’ll quote each case item by item, so you can see what parts and try-ins add. Single trial cases are welcome, and ongoing partnerships suit clinics with a regular case flow.
Send Us Your Next Full Arch Case
Got full upper dental implants waiting for a final bridge, and a scan you’re not sure about? Send the records. We’ll run the cross-arch check and tell you what we find before we make anything.