Patient Situation
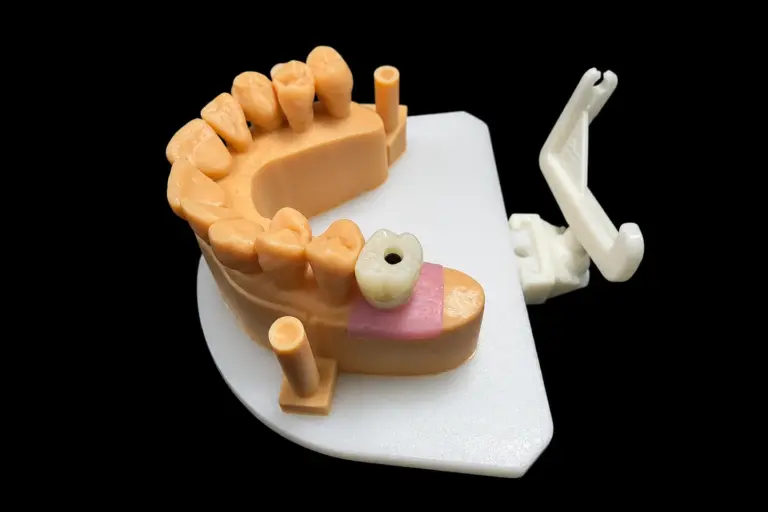
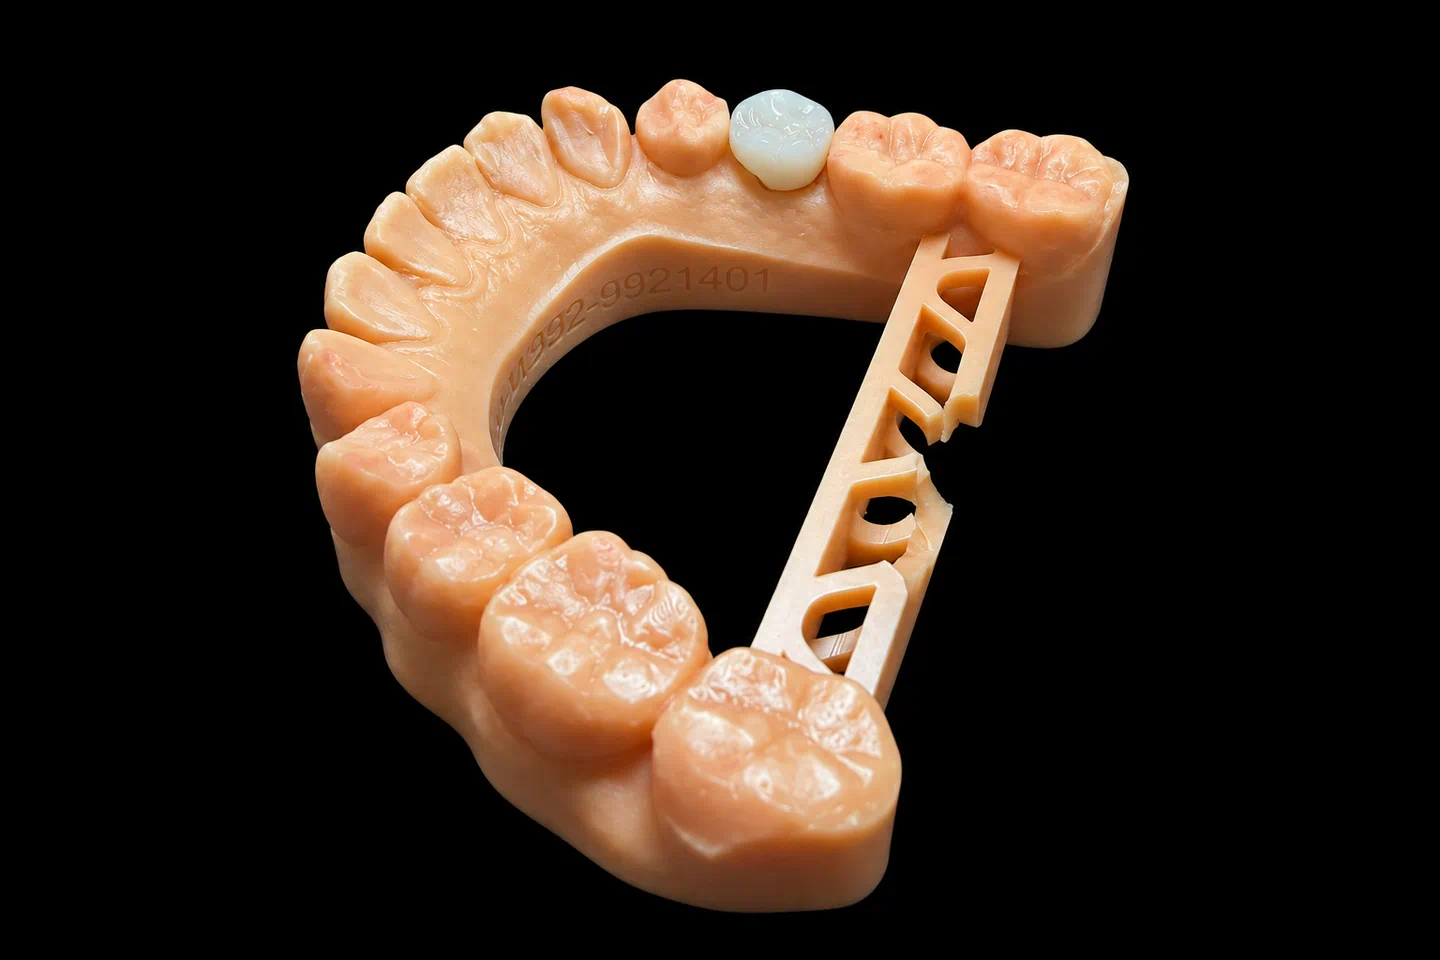
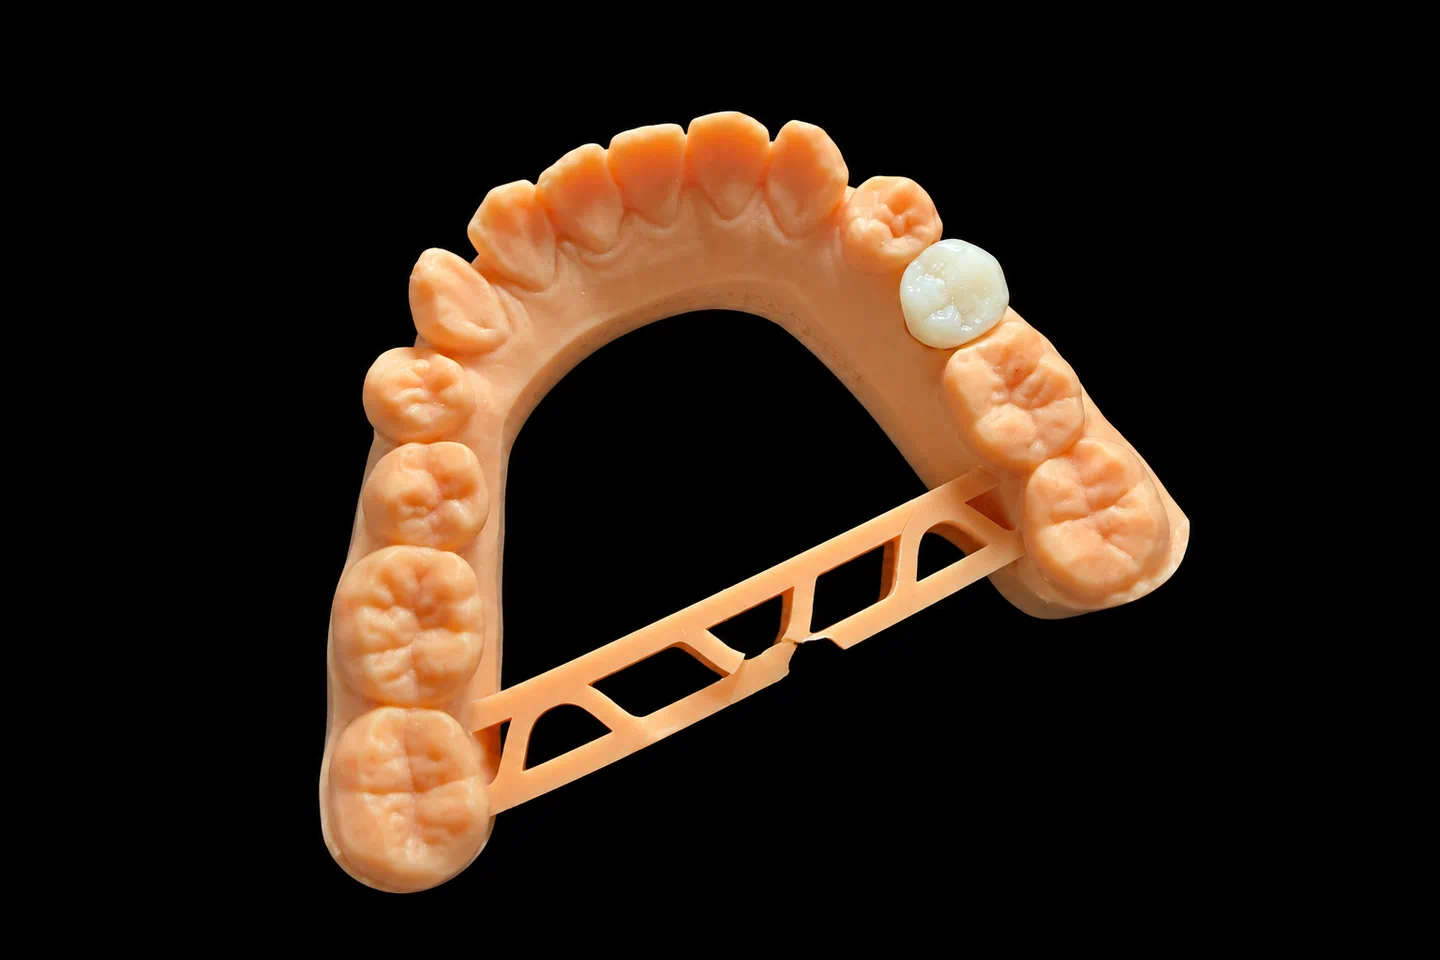
Being born without #7 made this a missing lateral incisor implant from the start. Braces opened the space, and the implant went in about five months before the case came to us. #10, the other lateral, is natural and has never been restored.
What the Dentist Asked For
The Rx for this missing lateral incisor implant said :
The Technical Problems
Gray under thin tissue
In cosmetic dental implants, a gray gum line is hard to miss in a high smile. With a standard design, the zirconia wall over the Ti-base collar came out at 0.6 mm on the facial. Under gum this thin, the titanium can still show through.
The research backs up the worry, but it isn’t one-sided. A 2021 review of 23 randomized trials on anterior single-implant abutments found titanium discolored the soft tissue more than ceramic. Zirconia matched better, but it still caused slight discoloration. A 2021 meta-analysis of spectrophotometric data found no difference between the two and concluded abutment material isn’t the main factor in tissue color. So we treated material as one lever, not a fix.
A narrow gap for a lateral incisor implant
The difference from #10 looks small on paper. A systematic review on missing lateral incisors notes that small changes in width relationships can change how a smile reads. Rx item 6 also meant the neighbors stayed as they were.
A small neck with little room
A narrow platform, a narrow tooth, and a shallow site. The crown has to go from a round cuff to a lateral-shaped neck in that short distance. Any extra thickness on the facial pushes on the gum.
What We Sent Back to the Dentist
On day 1 , we emailed the cross-sections and three ways to build this cosmetic dental implants case:
| Build | What you get | The trade-off |
|---|---|---|
| A. As written | Screw-retained crown on the Ti-base, standard neck | Only 0.6 mm of zirconia over the titanium on the facial |
| B. Screw-retained, reshaped neck | Shortest Ti-base collar the maker offers, 1.0 mm of zirconia over it on the facial, opaque cervical zone | The deep part of the neck is a little straighter, so the gum may blanch more at seating |
| C. Two pieces | Zirconia custom abutment on a Ti-base, plus a separate cemented crown | Most ceramic over the titanium (1.2 mm ), but a cement line about 1.0 mm under the facial gum, and harder to retrieve |
The choice was the dentist’s. They picked B on day 2 , with C as the backup if the facial wall couldn’t reach 1.0 mm.
How We Met Each Requirement
Rx items 1, 2 and 4: more zirconia where it counts
We matched the scan body to the maker’s library and used the shortest-collar original Ti-base . Then we rebuilt the neck to the build B facial wall. On cosmetic dental implants, that’s the number we watch most. The mesial and distal walls stayed at 0.8 mm , since those sides don’t sit under the thin facial gum.
The cervical third uses a more opaque, warmer zirconia zone , so the gum sits against something tooth-colored instead of metal. The screw channel comes out through the cingulum , so it didn’t need an angle.
Rx item 5: shaping the transition
The healing abutment had left a round cuff. We drew the neck from that scan, keeping the upper part concave so the gum has room. The deep part runs straighter to carry the extra zirconia. Emergence angles came out at 28° facial, 24° mesial and 25° distal . A study on bone-level implants linked angles over 30° to more peri-implantitis. Not every later study agrees, so we use 30° as a point to talk about, not a hard limit.
Rx items 3 and 6: making 6.0 mm look like 6.6 mm
We couldn’t add width to the lateral incisor implant crown, so we worked on how wide it looks. We mirrored #10’s length to within 0.2 mm and copied its incisal edge and embrasures. Then we moved the mesial and distal line angles 0.3 mm each out toward the contacts, so the flat front face, which is what people actually see, matches #10’s. The missing width hides in a tighter turn into the contacts.
For shade, the dentist sent a PLY scan and photos with the A1 tab held beside #10 . It’s a layered zirconia build, with facial porcelain carrying the translucent edge .
Rx item 7: the sign-off
On day 3 , the dentist approved the design screenshots, including a width overlay against a mirrored #10.
Rx item 8: bonding
We bonded the crown to the Ti-base following the Ti-base maker’s instructions, with the implant interface masked . Excess resin came off while it was still soft, so nothing could set inside the interface.
Making It After Sign-Off
Zirconia implant crowns normally take 5–7 working days from receipt. A design sign-off round can add 1–2 days.
The Finished Lateral Incisor Implant Crown
Before shipping, this missing lateral incisor implant crown passed final inspection:
| Goal | Check | Result |
|---|---|---|
| Right parts | System, platform and Ti-base against the Rx and label | All matched |
| Facial wall over titanium | Caliper on the zirconia before bonding | 1.0 mm |
| Clean interface | Magnified look at the interface, on the analog | No burrs or resin |
| Smooth screw path | Screw seated on the analog | No catching |
| Fit | Seated without force on the analog | No rocking or spring-back |
| Width | Facial face against the mirrored #10 | Within 0.2 mm |
| Contacts | Film on the model at #6 and #8 | Even on both sides |
| Bite | Closing and right-side movement | Light closing contact, canine guides |
| Shade | Crown vs. #10 photo, under lab lighting | Value and edge matched; dentist’s photo to confirm |
Dentist and Patient Feedback
- The crown seated on the first try, with no changes to the contacts or the bite.
- The facial gum blanched at seating and pinked back up within about 10 minutes.
- In the full-smile photo taken a week later, there was no gray band at the margin.
- Seeing the cross-sections side by side made the build choice quick.
- They sealed the access chairside with their own materials.
- They’d worn a removable retainer with a tooth on it since braces, and were glad to stop taking a tooth in and out.
- In photos, they couldn’t tell #7 from #10.
- The gum line on both sides looks even to them.
Cosmetic dental implants can look right on delivery day and still change. There’s no long-term follow-up yet, so we can’t promise how this gum will look years from now. Tissue can thin or recede over time, and the crown can’t stop that. When the gum is very thin, thickening it before the final crown is a clinical decision, and it’s the dentist’s to make.
Sending Us Cosmetic Dental Implants
If your next missing lateral incisor implant, or any front implant, has thin tissue in the smile zone, send the records before you choose the build.
What we need:
Who Made It
This lateral incisor implant crown went through our implant dental laboratory team of about 80 technicians. A 100-person design group and a separate 25-person QC group work alongside them. Istar Digital Dental Lab runs four labs in Shenzhen and Huizhou, China, with about 460 people, and we’ve been doing this since 2012. Nothing gets outsourced.
Every case passes three QC checks: incoming records, in-process, and final release by an independent inspector. Implant, full-arch and esthetic cases get an extra review on top. Istar Digital is an FDA-registered establishment (Registration Number 3039441248), which you can look up in the FDA establishment database. Our labs run an ISO 13485 quality system. For EU clinics, custom-made restorations follow the MDR custom-made device procedure.
Lateral Incisor Implant FAQ
Which implant systems do you work with?
Most systems on the market. Tell us which one before you send the case. If your library version differs from ours, send it and we’ll use yours.
Can I use compatible parts?
Yes, that’s your call. Compatible parts cost less, but their tolerances, materials and warranty terms can differ from the original maker’s. We never swap parts without your consent.
Can I order the crown without a Ti-base?
Yes. A crown-only option is available for zirconia implant crowns, including cosmetic dental implants in the front.
What torque should I use?
Follow the implant maker’s instructions. We can give you a reference value, but the maker’s instructions come first.
What's the warranty?
Three years on implant crowns. If the problem’s on our side, like an open contact, a high bite, a crown that won’t seat or a wrong shade, we adjust or remake it free. Implant parts aren’t part of a free remake. You pay to send a case in, and we pay to ship finished work back, remakes included.
Can you rush a case?
Yes, free, if you send us 10 or more cases a month. We guarantee the ship date, not the arrival date, because customs times vary.
How is pricing handled?
We don’t publish prices on the website. Quotes for cosmetic dental implants are itemized: the unit and material first, then any implant parts and design complexity.
Send Us Your Next Cosmetic Dental Implants Case
Single trial cases are welcome, and ongoing partnerships suit clinics with a regular case flow. You can also book a factory or video visit.