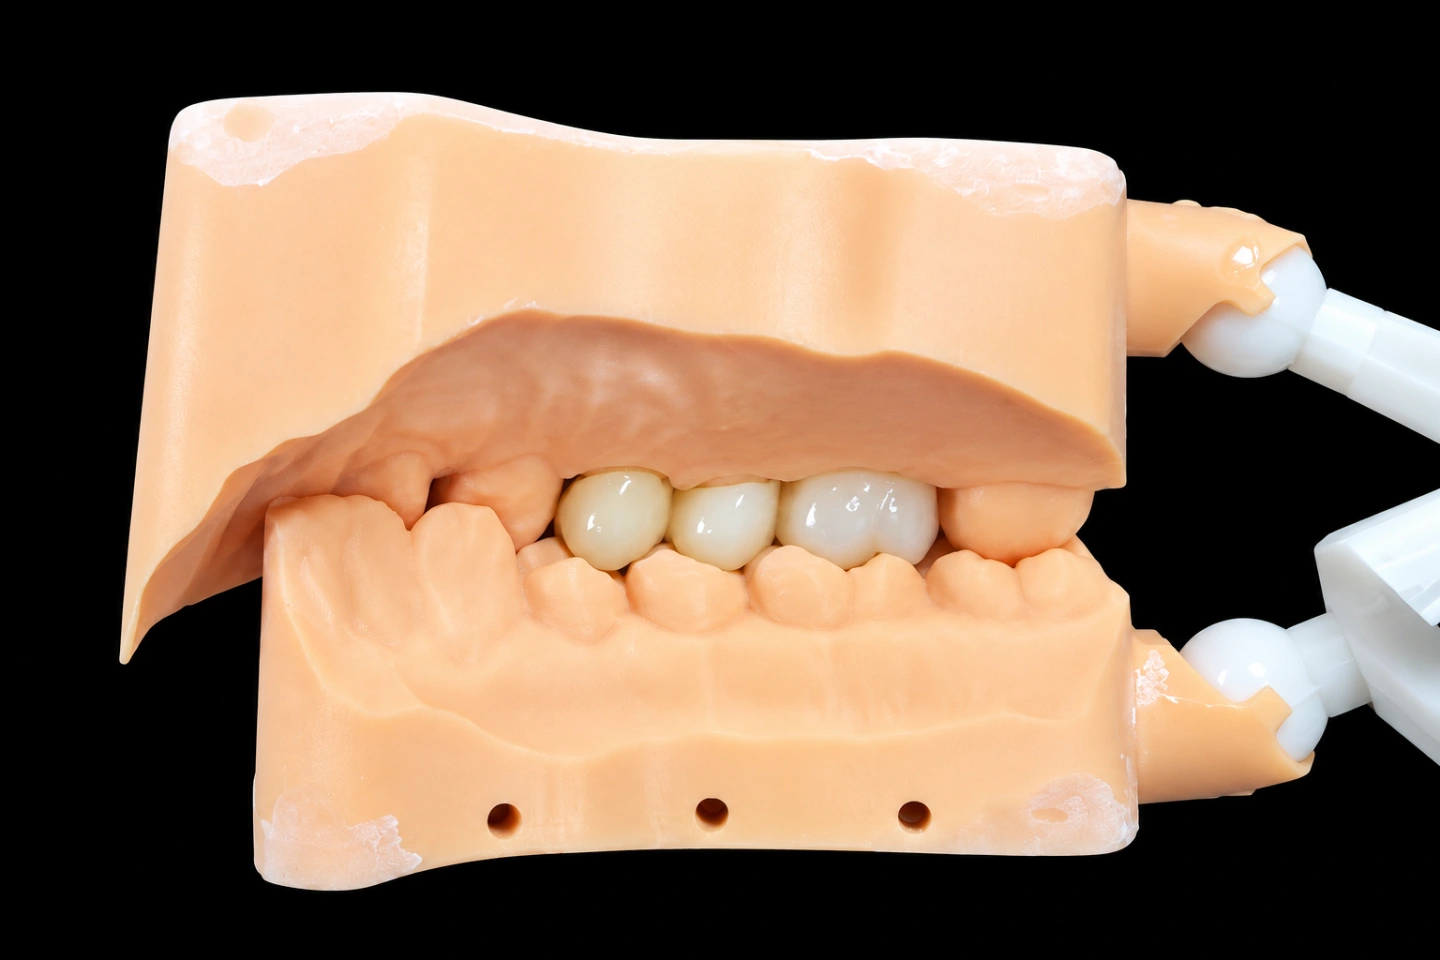
Patient Situation
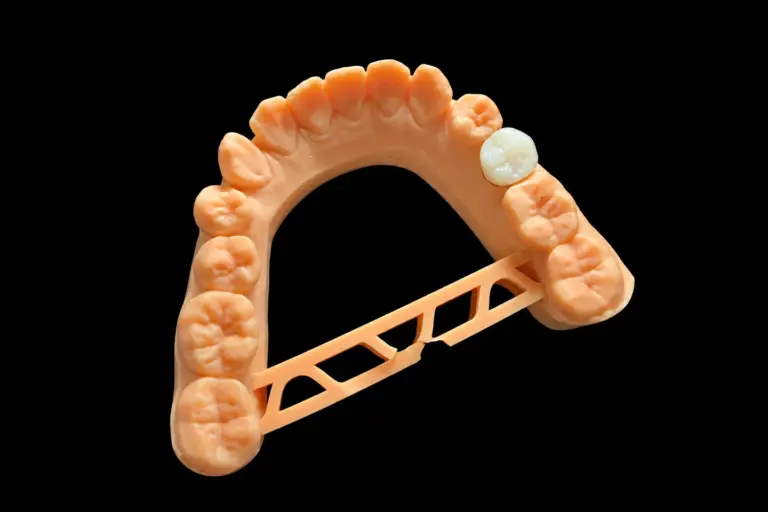
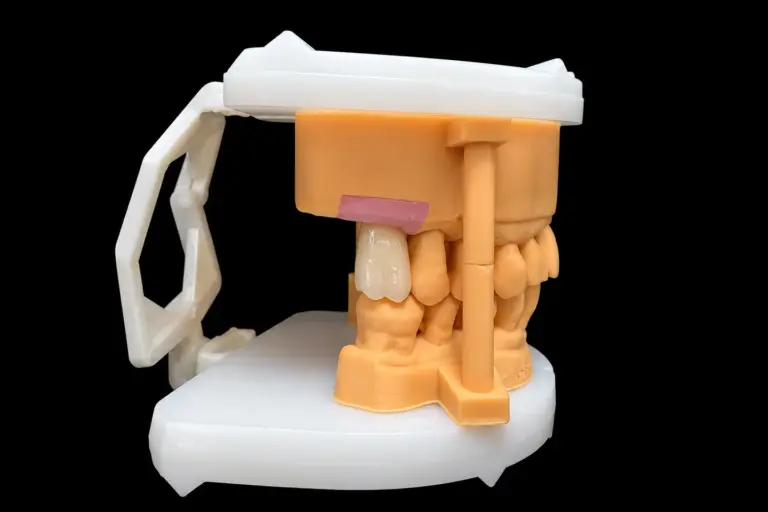
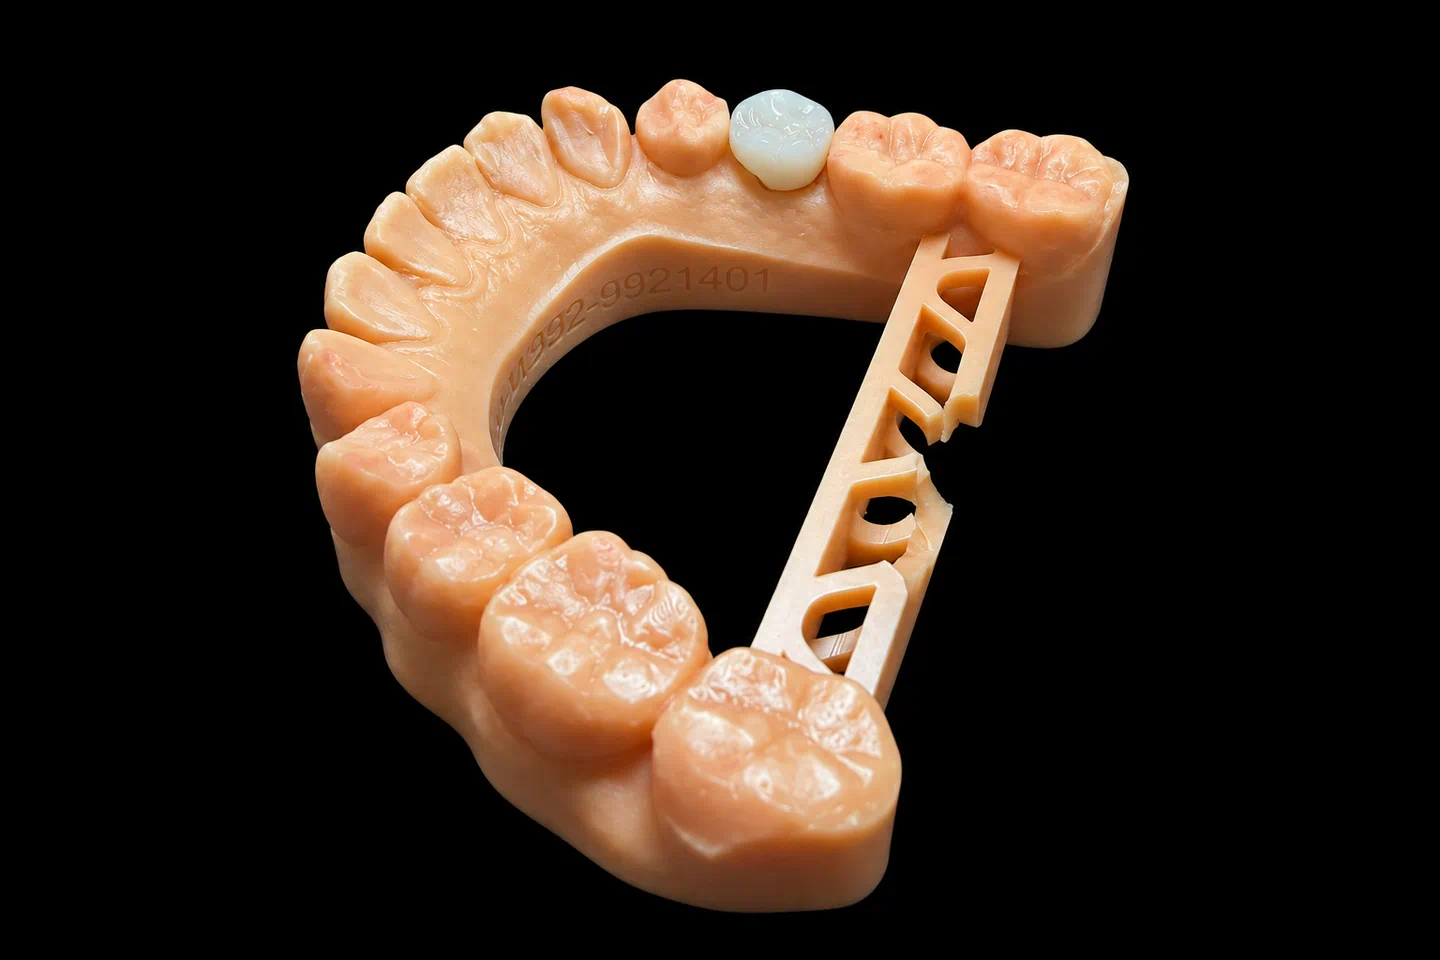
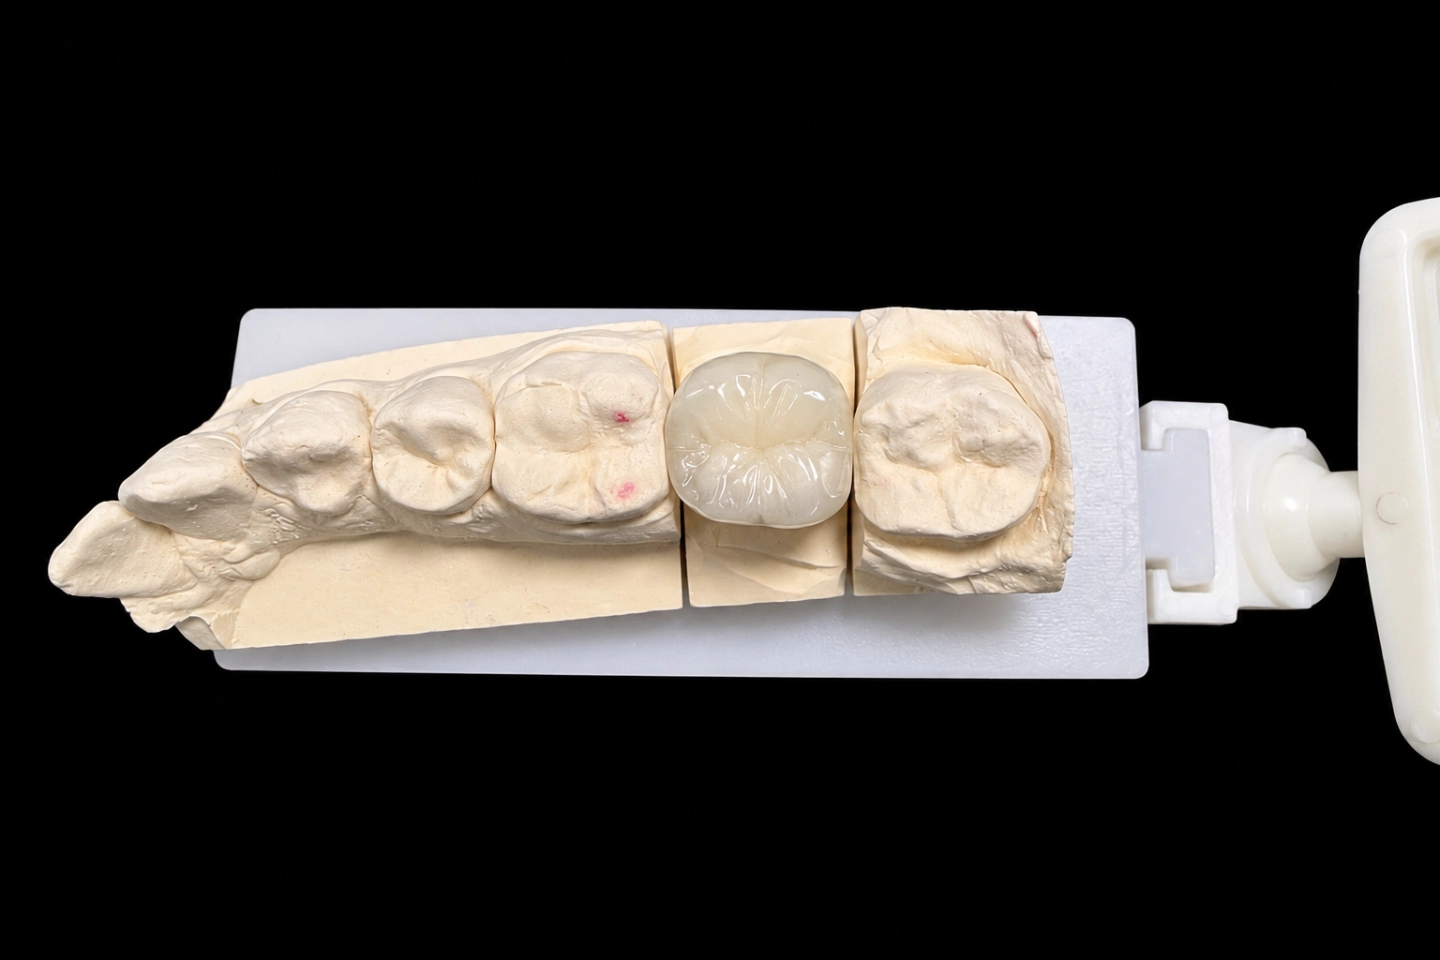
From the STL and PLY scans, the bite scan, the photos and the dentist’s notes :
What the Dentist Asked For
The Rx, in short :
The dentist had also looked at IPS e.max Press. They went with zirconia because the lower teeth hit the back of these two crowns every time the patient closes.
The Technical Problem: Thin Palatal Space on a Zirconia Crown for Front Teeth
Most of the prep was fine. The trouble was two small spots on the palatal. We set the bite scan against the prep scans and measured the gap at each contact, in the closed bite and along the forward path :
| Spot | #8 | #9 |
|---|---|---|
| Facial, middle third | 1.2 mm | 1.2 mm |
| Incisal edge | 1.8 mm | 1.8 mm |
| Palatal, rest of the surface | 0.9–1.1 mm | 0.9–1.1 mm |
| Palatal, at the lower contact (closed bite) | 0.5 mm | 0.6 mm |
| Tightest point on the forward path | Same contact spot | Same contact spot |
Why "zirconia" alone didn't settle it
A zirconia crown for front teeth can come from very different discs, and each disc has its own minimum wall.
Graded discs mix a strong zirconia near the neck with a more see-through one at the edge. Ivoclar’s IPS e.max ZirCAD Prime, for example, uses 3Y zirconia in the dentin part for strength and 5Y in the incisal part for translucency, and sets 0.8 mm as its minimum crown wall. We go by the maker’s rule for whichever disc a case uses.
The multilayer disc we’d normally pick for this shade also needs 0.8 mm . Neither palatal contact had that. Made as written, both crowns would sit under the maker’s minimum right where the bite lands hardest.
The Options We Sent the Dentist
Prep, bite and the lower teeth are clinical calls, so they’re the dentist’s. We sent the numbers and these options for the two anterior zirconia crowns :
| Option | What it gets you | What it costs |
|---|---|---|
| A. Keep the multilayer disc as written | The most natural see-through edge | Both contacts under the disc’s minimum |
| B. Take 0.3 mm more off the palatal of #8 and #9 | Room for the multilayer disc | Ruled out by the Rx |
| C. Open the bite | Room everywhere | Ruled out by the Rx, and a much bigger clinical job |
| D. PFM crowns with metal on the palatal | A common way to save space on the palatal | The dentist wanted no metal |
| E. High-strength zirconia frame, thin porcelain on the facial only | Bare zirconia where the teeth touch, porcelain where people look | The porcelain has to stay clear of every contact |
| F. Smooth the chipped edges of lower #24 and #25 slightly | A bit more room at the palatal contacts | Touches two natural lower teeth |
We marked E as our pick. The high-strength zirconia in that build had a 0.5 mm minimum . At 0.5 mm, #8 would sit right on it, with nothing left for a chairside adjustment. That’s why we added F as a safety margin.
The dentist's decision
The dentist went with E plus F . The lower edges of #24 and #25 were sharp and chipped anyway, so they smoothed them by about 0.2 mm and sent a new bite scan .
We measured again: 0.7 mm on #8 and 0.8 mm on #9 at the palatal contacts . That’s 0.2–0.3 mm above the high-strength minimum. #9 now just met the multilayer disc’s 0.8 mm, and #8 still fell short, so the dentist kept one build on both crowns to keep the two centrals matching .
How We Made the Front Teeth Zirconia Crowns
Reading the records
We worked from the scans in our digital workflow and the A2 shade photos taken next to the lateral incisors. The laterals are natural, and the new centrals had to sit between them without looking brighter or flatter .
CAD design and approval
Our designer copied the edge shape from the dentist’s pre-op photos, minus the chips, and kept the length the same . The preview went to the dentist with the palatal thickness at each lower contact shown on screen .
The dentist asked for a slightly wider gap between the two incisal edges. We changed it, and they approved the design in writing .
What the approved design locked in :
Milling and sintering
Both frames for the front teeth zirconia crowns came from the same disc and sintered on a locked program . The shrinkage setting came from the zirconia maker’s numbers, checked with test pieces on each batch.
The porcelain layer
Front esthetic work usually goes to technicians with 10 or more years at the bench. Here the technician built the facial in four steps :
Finish by zone
On a zirconia crown for front teeth in a deep bite, the palatal is where the lower teeth land, so it gets polished, not glazed. An umbrella review on enamel wear found polished zirconia wore enamel less than glazed zirconia. Clinical data is messier: a systematic review of zirconia back-tooth crowns in the mouth found wear on the opposing enamel similar to or more than natural teeth. Either way, the lower incisors meet a polished surface.
Final checks
A QC technician who didn’t make the anterior zirconia crowns ran the final inspection :
The Finished Anterior Zirconia Crowns
The crowns left the lab on working day 7, counting the design approval . After try-in, the dentist cleaned the inner surfaces and cemented with an MDP resin cement , in line with the APC steps for bonding zirconia: air abrasion, zirconia primer, then resin cement.
| Checked at seating | Result |
|---|---|
| Fit and margins | Seated on the first try-in, margins closed |
| Bite height | Same as before the preps |
| Forward movement | Lower incisors slid along the polished palatal with no catch on articulating paper |
Dentist feedback, in summary
no palatal grinding was needed, which had been their main worry with a bite this deep .
the centrals blended with the natural laterals, and no chairside stain was asked for .
getting the measurements and options before design let them settle the lower-edge smoothing in a single visit .
Patient feedback, in summary
Relayed by the dentist, with the patient’s permission :
the front teeth no longer look chipped or flat in photos .
the back of the teeth feels smooth against the lower teeth when closing .
nothing changed when talking, including “s” and “th” sounds .
What we gave up
a full multilayer anterior zirconia crown would have shown a bit more depth at the edge. The facial porcelain gets close, not all the way .
plain polished zirconia, with no surface character. It barely shows from the front .
What an Anterior Zirconia Crown Can't Promise
For a sense of how crowns like these hold up, a meta-analysis of single crowns put five-year survival for monolithic zirconia at 96.8%, with fewer fractures and chips than veneered crowns. That’s pooled data from many labs, front and back teeth together, not a number for this case. We don’t have long-term follow-up on these two crowns yet .
Sending Us an Anterior Zirconia Crown
Got a deep bite or worn palatal surfaces on your next zirconia crown for front teeth? Here’s what helps us most.
All of this happens in our own four labs in Shenzhen and Huizhou, China. We’ve been at it since 2012, with about 460 people, including about 100 in design, 70 in milling, 70 in ceramics and metal, and 25 in QC. Nothing gets outsourced.
Istar Digital is an FDA-registered establishment, Registration Number 3039441248, which you can look up in FDA’s establishment database. The lab runs under ISO 13485. You can also book a factory or video visit.
Have an anterior zirconia crown with tight palatal room? Send the scans and the bite as a test case, and we’ll measure the space before we design anything. Send your first case or talk to us.
FAQ
What if I want the crown made as written, even when the room is short?
We’ll make it to your Rx. Remakes caused by that design aren’t covered as our fault.
Can you rush front teeth zirconia crowns?
Yes, at no extra charge, for clients who send 10 or more cases a month. We guarantee the ship date. The arrival date depends on customs, so we can’t guarantee that.
Can I ask for the same technician every time?
Yes, you can ask for a specific technician, designer or QC person.
Will you keep my bite and contact preferences on file?
Yes. Send your bite, contact, margin and esthetic preferences in writing and we’ll keep them on your account. You can change them any time, and the newest written version counts.