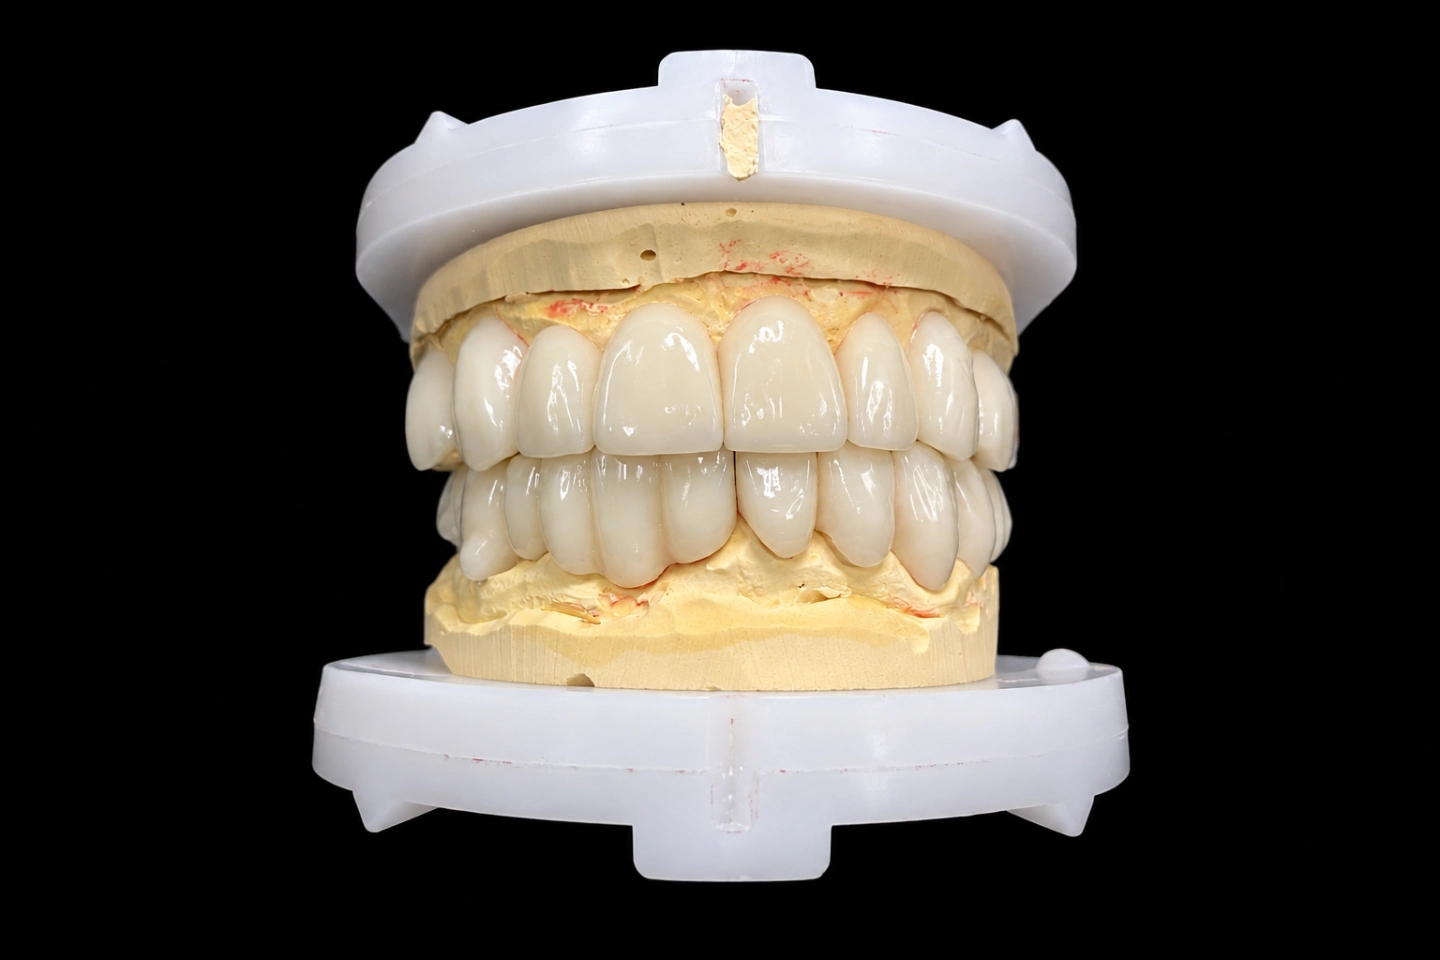
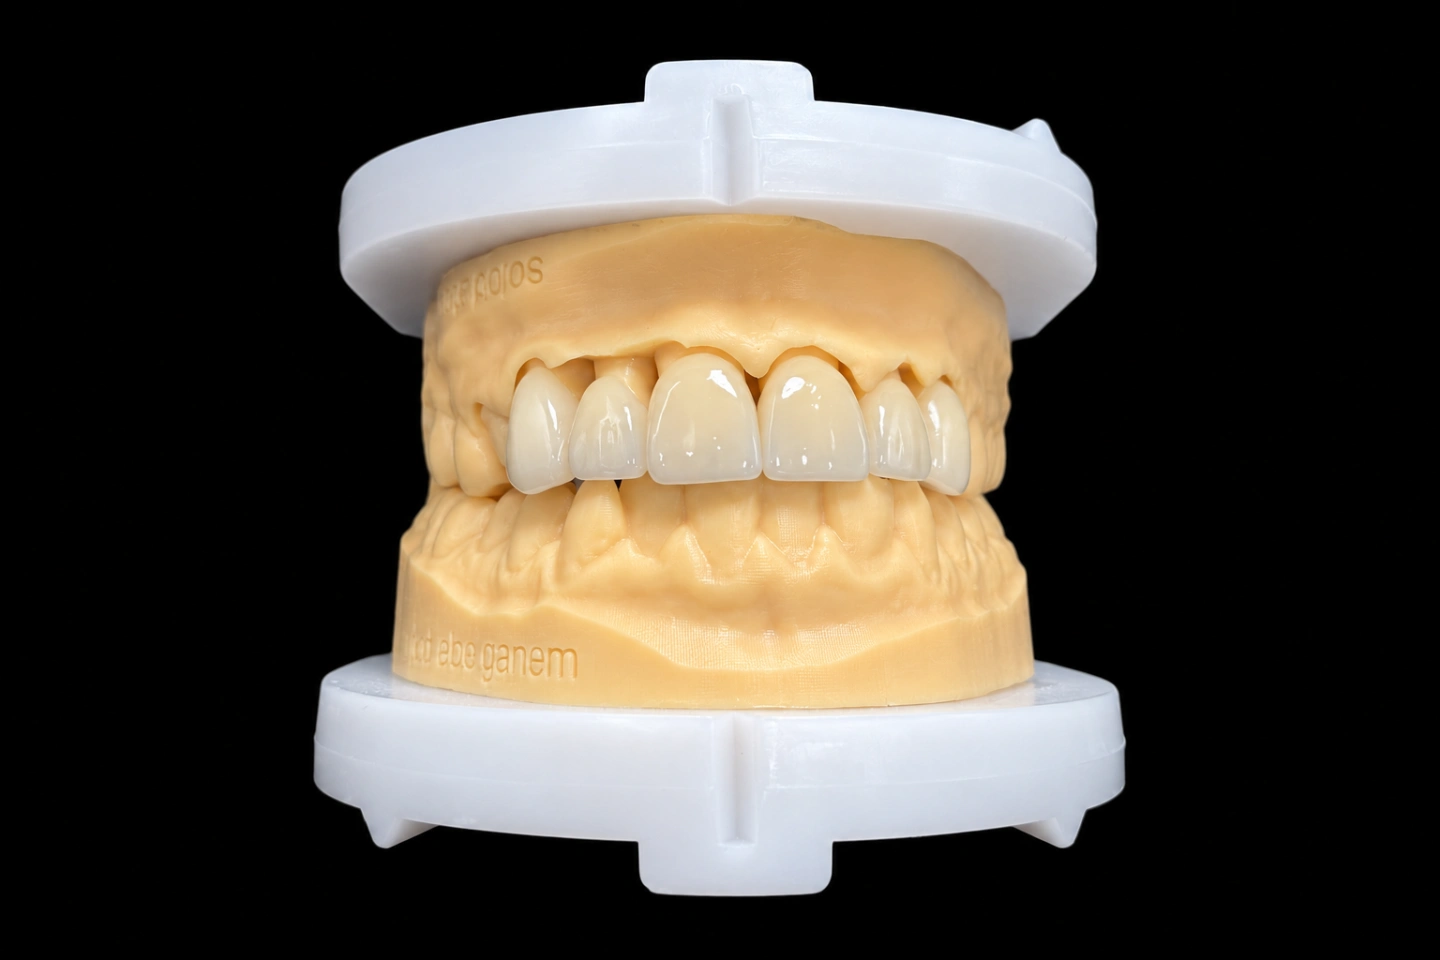
Veneers for Molar Teeth Go on the Chewing Surface
When a dentist orders veneers for molar teeth, they almost never mean a thin shell on the cheek side. Nobody sees that surface, and it isn’t where molars wear out. When you veneer molar teeth, the ceramic goes on top: a thin bonded layer that rebuilds the chewing surface and covers the cusps.
The research on facial veneers barely touches molars. A review of 6,500 porcelain veneers found tooth type for 3,446 of them, and only nine were molars. So front-tooth veneer survival figures don’t carry over to the back.
The chewing-surface kind has its own, smaller body of data. A 2025 meta-analysis of randomized trials on posterior partial-coverage restorations (onlays, partial crowns and one occlusal veneer trial) found 3-year survival of 93.7% for lithium disilicate, with low certainty. The authors rated the evidence on preparation and restoration thickness as very low certainty. So with veneers for molar teeth, each case comes down to measuring, not rules of thumb.
The Patient Before Molar Veneers
The patient is an adult whose molars had worn down from acid erosion . The dentist’s notes said the reflux behind it was now under the care of the patient’s physician, and the wear had stopped getting worse between visits .
What the four first molars looked like :
The rest of the mouth was in decent shape . Premolars and second molars showed light wear the dentist decided to watch, not restore. Front teeth were fine and the canines still guided the side movements. The patient reported no grinding or clenching, and the dentist saw no wear pattern pointing that way.
What the Dentist Asked For
From the Rx and our WhatsApp thread :
Requests 1 and 2 are the tight ones. With the bite held where it is, the ceramic can only go where there’s a gap between the teeth.
The Thickness Map: Lots of Room in the Cups, None Where the Teeth Meet
We scanned the case and built a full wax-up of all four molars at the current vertical. Then we laid it over the pre-op scans and measured how much ceramic the molar veneers could get at each spot, before touching the tooth. The design preview showed it as a color map on every surface .
| Room for ceramic without prep (mm) | #3 | #14 | #19 | #30 |
|---|---|---|---|---|
| Central fossa or cup | 1.2 | 1.1 | 1.8 | 1.6 |
| Cusps that don’t carry the bite | 1.1 | 1.2 | 1.0 | 1.1 |
| Spots where the teeth meet today | 0.1 | 0.0 | 0.2 | 0.1 |
The cups looked like the hard part. They weren’t. Erosion had already made room there. The problem sat on the cusps that carry the bite: the palatal cusps of #3 and #14 and the buccal cusps of #19 and #30. That’s where upper and lower molars still touch, so at the same vertical there was basically zero room.
Why We Didn't Just Make Them Thinner
For molar veneers in IPS e.max Press, Ivoclar lists occlusal veneers from 1.0 mm, and we planned 1.0 mm as the floor across all four teeth .
A scoping review on occlusal veneers lands in the same range: it recommends 0.7–1.0 mm for ceramic and cites lab testing where ceramic at 0.3–0.6 mm may give up strength. The same review notes that most of this evidence comes from lab testing, not long-term clinical follow-up. Thin ceramic right where the teeth meet is exactly the spot you don’t want to gamble on.
Four Options We Sent the Dentist
We sent the map with four ways to make room for the molar veneers, each one marked on a screenshot :
| Option | What it means | What it costs |
|---|---|---|
| A. Open the bite at the molars | About 2 mm more vertical, so every contact gets 1.0 mm with no prep | Premolars and front teeth fall out of contact and would need work too. Breaks request 2. |
| B. Prep only the contact spots | About 1 mm off each supporting cusp where the teeth meet, nothing anywhere else | Prep on all four teeth, but small, and mostly on cusp tips already worn into dentin |
| C. Half and half | About 1 mm more vertical plus about 0.5 mm of prep at the contacts | Still opens the premolars, so it breaks request 2 as well |
| D. Go thin at the contacts | 0.3–0.5 mm ceramic where the teeth meet, no prep | Below Ivoclar’s minimum, at the most loaded spots |
We told the dentist we’d flag D as a risk. If they still wanted it, we’d make it to the Rx, but a fracture caused by that design wouldn’t be on us. Which option to pick, and how much tooth to cut, is the dentist’s call. Our part was showing what each one does.
The dentist picked B .
How We Veneer Molar Teeth Without Opening the Bite
To veneer molar teeth at the same vertical, the room has to come from somewhere. Option B works because of where the prep lands. The contact spots are the same cusp tips erosion had already worn into dentin, #14 aside, so the cut takes almost no enamel .
The part that matters for bonding stays put: the enamel on the outer walls around each chewing surface. That’s where the margins go. A meta-analysis of veneers on different substrates found veneers bonded to enamel did best, and survival and success dropped as more dentin was exposed. The same scoping review on occlusal veneers describes a margin inside a peripheral enamel collar, with a short bevel, as a way to steer side forces down the long axis of the tooth.
So the dentist rounds the cut spots with no sharp lines and adds a short bevel on the enamel . Nothing else gets cut. The dentist approved this in writing, and the approved design went on file.
The Reduction Index and the Prep Scan Check
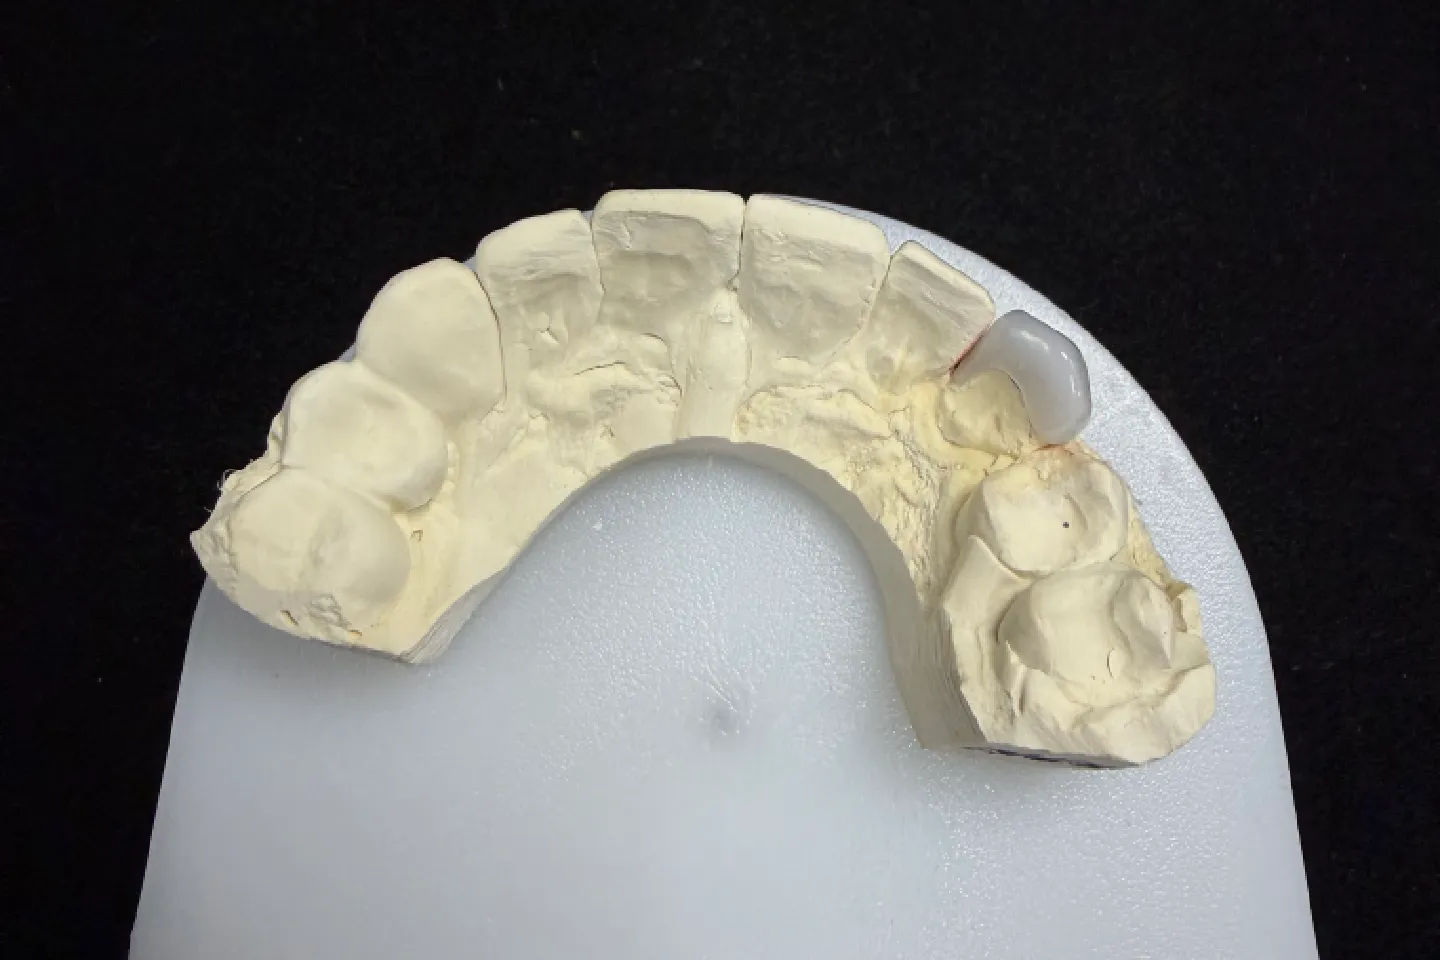
From the approved design, we made a silicone reduction index for each tooth, cut through the contact spots . The dentist seats it, looks at the gap between tooth and index, and stops when the gap matches 1.0 mm.
When the prep scans came in, we checked them against the design before pressing any of the molar veneers. Three teeth matched. One didn’t :
| Prep scan check | #3 | #14 | #19 | #30 |
|---|---|---|---|---|
| Thinnest ceramic at the contact spots (mm) | 1.0 | 1.0 | 1.1 | 0.7 |
The distobuccal cusp of #30 was 0.3 mm short. We sent the dentist a screenshot with the spot circled. They took a little more off with the index the same day and rescanned. The second scan read 1.0 mm, and production started from that scan .
Designing the Four Molar Veneers
Contacts and side movements
Margins and inner surface
Shade and surface
Pressing and Inspection
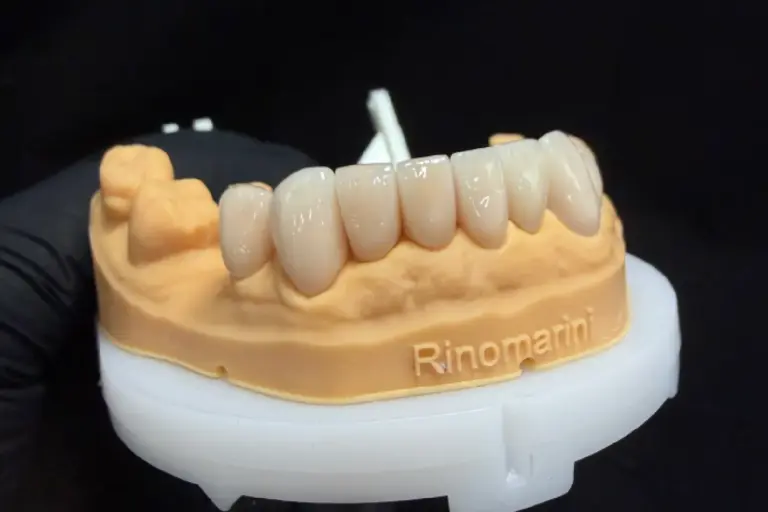
From the second #30 scan to shipping took 6 working days .
Finished Molar Veneers: Try-In and Bonding
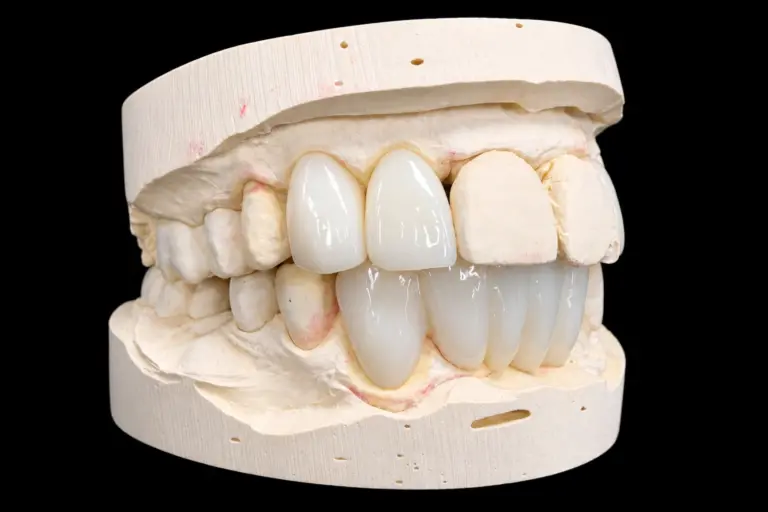
The dentist tried in all four molar veneers with try-in paste, then bonded them with resin cement at the same visit .
| Design goal | How it was checked | Result |
|---|---|---|
| Seat and margins | Try-in paste, explorer | All four seated, no gap or overhang at any margin |
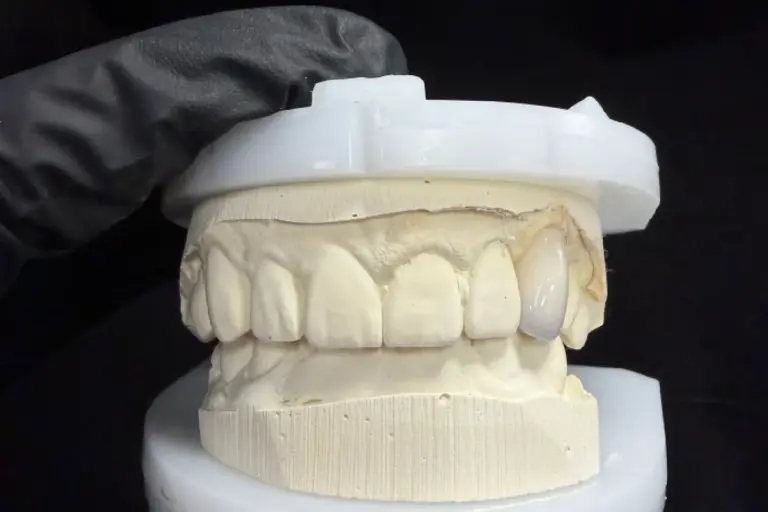
| Same vertical | Premolar and canine contacts before and after | Premolars and front teeth contacted exactly as before |
| Even contacts | Articulating paper | All four molars marked at once; one light high spot on #14 |
| Side movements on the canines | Side excursions with paper | No molar contact in side movements |
| Shade | Photos with an A2 tab next to the premolars | No visible step between the veneers and the premolars |
The high spot on #14 took a few seconds with a fine diamond. The dentist then polished it back with a ceramic polishing kit. Glazed e.max loses its glaze where you adjust it, so polishing that spot matters .
What the Dentist and Patient Said
The dentist
Summed up from the dentist’s messages after bonding :
The patient
Summed up from what the patient told the dentist about the molar veneers at the two-week check :
What to Send for a Molar Veneers Case
Upload scans through our digital case submission . Occlusal veneers generally take 5–7 working days, simple cases 2–3. Approving the design first adds 1–2 days.
Who Made It
These four molar veneers went through our CAD design team (about 100 people), our ceramic and metal department (about 70) and a separate QC team of about 25. They’re part of Istar Digital Dental Lab’s four labs in Shenzhen and Huizhou, China. We’ve been running since 2012, with about 460 staff and no outsourcing.
Istar Digital Dental Lab is an FDA-registered establishment (Registration Number 3039441248), which you can look up in the FDA establishment registration database. Our labs run an ISO 13485 quality management system.
Molar Veneers FAQ
My patient grinds. Same design for molar veneers?
Probably not. For grinders we’d usually talk about high-strength zirconia, with a thicker, flatter chewing surface that spreads the load . We also make night guards to your prescription.
What if the tooth has a big filling or a root canal?
Then you may be past what a tabletop covers. In our experience, an onlay often works better than a full crown on a root-canal-treated molar, and it takes less tooth. See our inlays and onlays.
Can you copy the shape from provisionals?
Yes. Scan the provisionals in the mouth, and we’ll copy their shape and bite into the finals. We make provisionals too, in composite or PMMA, milled or printed.
What else do you press in e.max?
Crowns, inlays, onlays and pressed e.max veneers for the front teeth. See what else our e.max lab makes. We won’t swap a material without your OK.
What's free to redo, and what isn't?
Open margins, open contacts, a high bite, a restoration that won’t seat, inaccurate color, visible flaws and poor shape are ours to fix for free. Changing the shade or material afterward isn’t free. Neither is a case you asked us to make on an impression or scan we’d already flagged as poor.
What about warranty and shipping?
Occlusal veneers carry our 3-year warranty. You pay to send a case in, and we pay to ship finished work back, remakes included.
Can you rush a case?
Rush service is free for clients who send us 10 or more cases a month. We guarantee the ship date, but not the arrival date, because customs times vary.
How is pricing handled?
We don’t publish prices on the website. Ask for our price list, and we’ll quote each case item by item to your requirements.
Send Us Your Next Molar Veneers Case
Got worn molars and a patient who wants veneers for molar teeth that keep as much tooth as possible? Send the pre-op scans first, and we’ll send back a thickness map that shows where there’s room and where there isn’t. Single trial cases are welcome, and you can see our labs on a factory visit or a video tour.