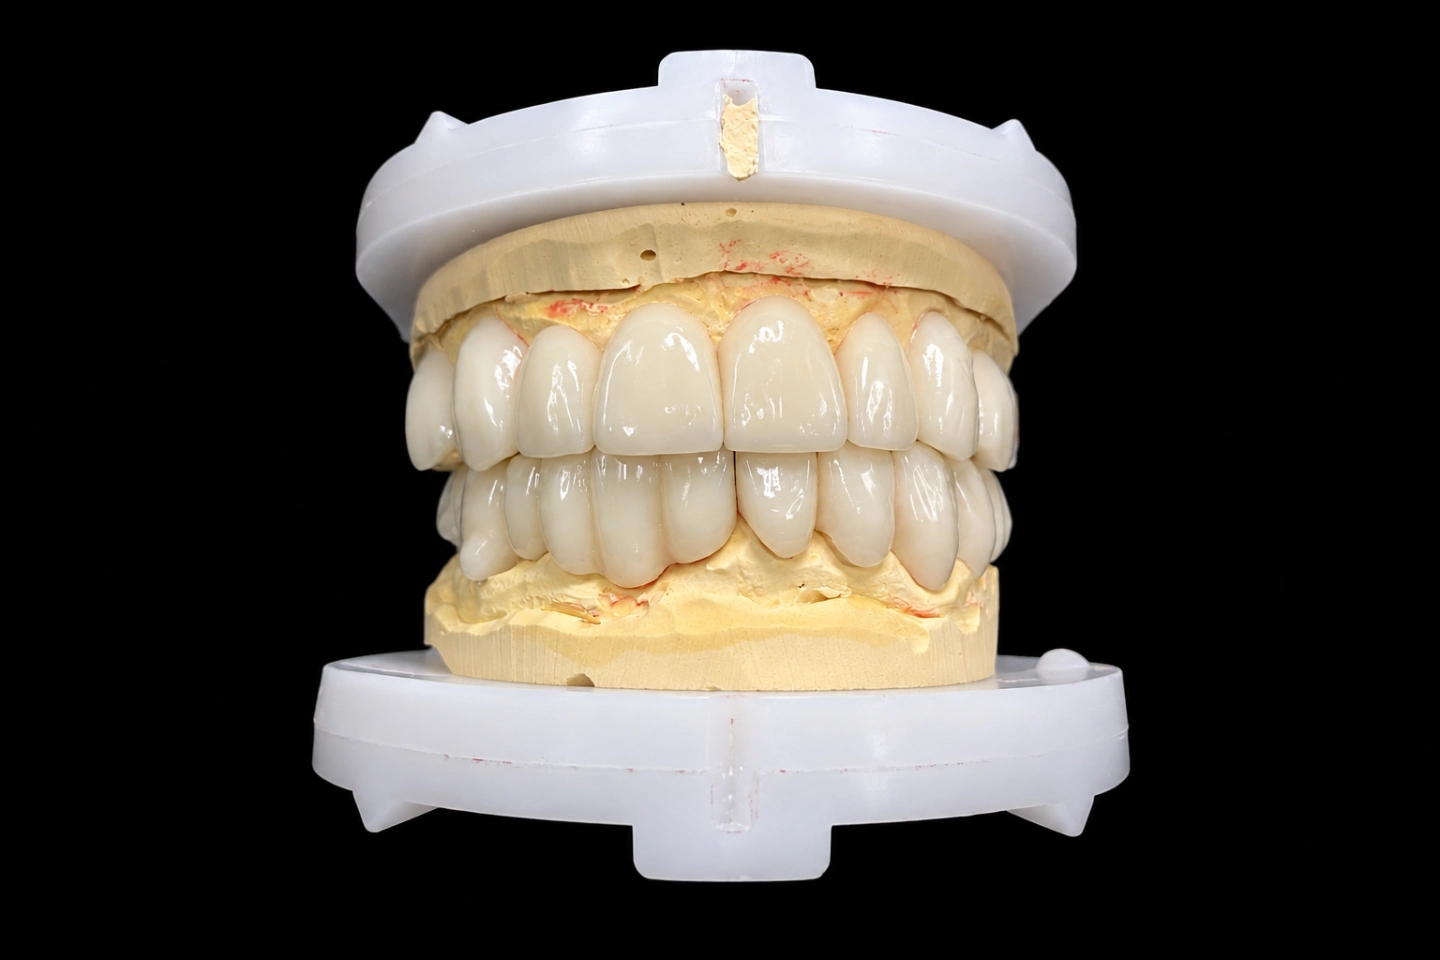
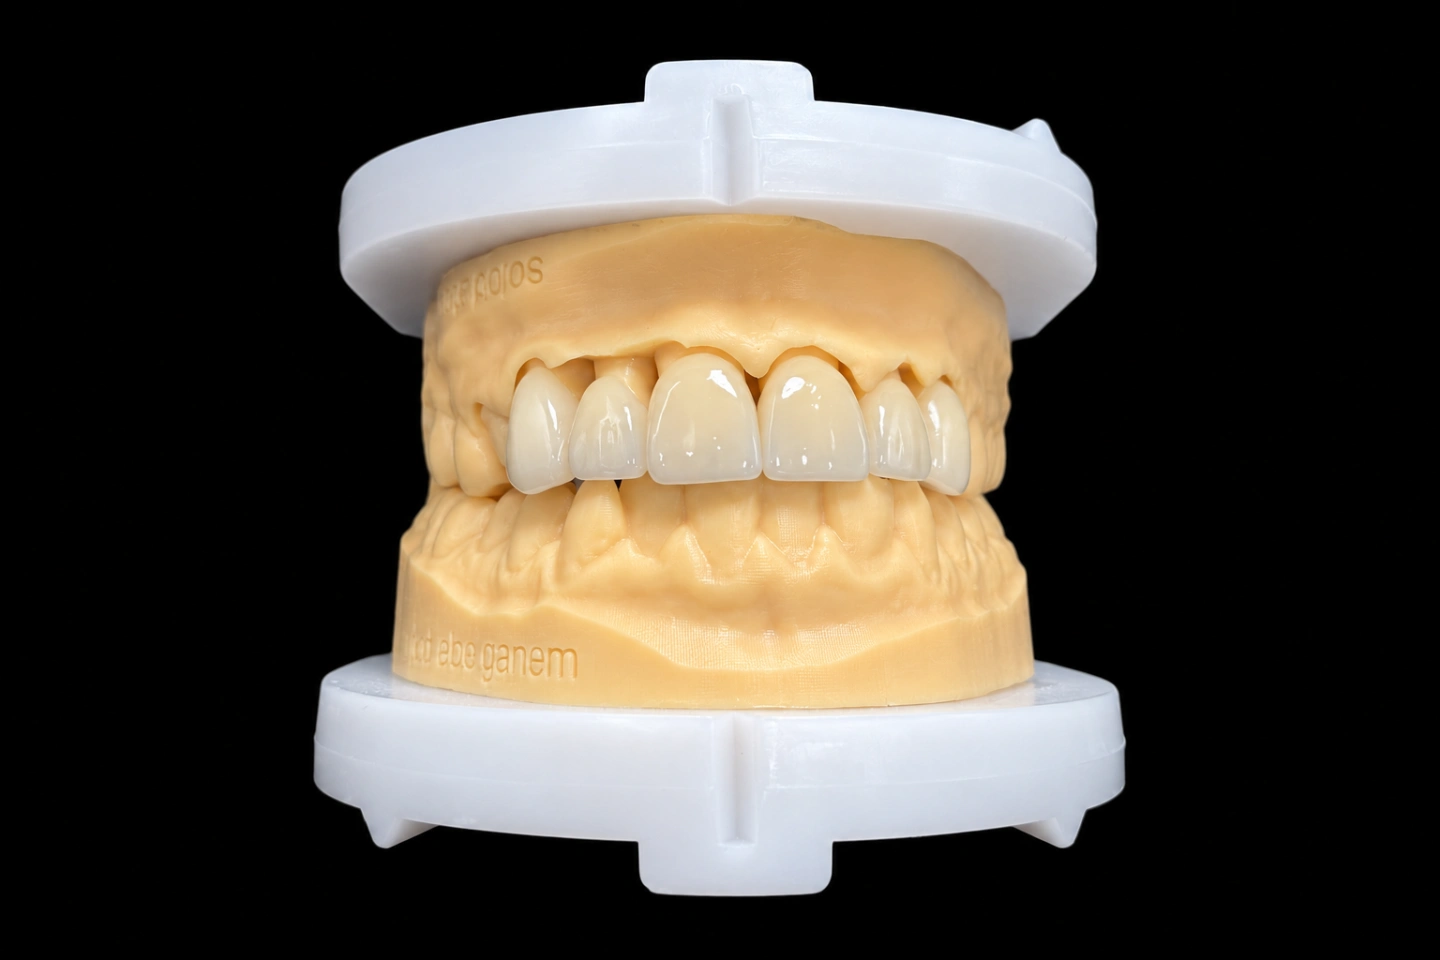
Patient Situation
The patient is an adult with porcelain veneers on #8 and #9, placed about eight years ago at another practice . The length was fine. Everything else bothered them. The laterals, #7 and #10, and the canines are natural and unrestored .
Here’s what the dentist found and sent us before touching anything:
That last point matters. The old pair didn’t fail mechanically. The problem was shape and color, which put most of the fix for the new 2 front teeth veneers on the lab side.
What the Dentist Asked For
The Rx for the new 2 front teeth veneers, plus our WhatsApp thread :
The Records Behind This Two Front Teeth Veneers Redo
Replacing old veneers gives you something a fresh case doesn’t: the old work is a full-size record of what to keep and what to change. So we asked for records from both sides of the removal.
Gum health came first because it has to. The ADA notes that gum disease should be dealt with before veneers go on, and a scan of inflamed tissue gives us a margin that won’t be there a month later.
Measuring the Old Pair: A Thickness Budget
We lined up the before and after scans on the stable teeth, then measured from the prep surface to the old veneers’ outer surface. That shows exactly how thick the old ceramic was, and where.
| Facial thickness (mm) | Old #8 | Old #9 | Room to the laterals’ line | New #8 | New #9 |
|---|---|---|---|---|---|
| Gum third | 1.1 | 1.0 | #8 −0.5, #9 −0.4 | 0.6 | 0.6 |
| Middle third | 0.9 | 0.9 | Both −0.2 | 0.7 | 0.7 |
| Incisal third | 0.8 | 0.8 | Edge unchanged | 0.8 | 0.8 |
Read across the gum-third row and you’ve got this 2 front teeth veneers case in one line. Pulling the facial back in line with the laterals leaves 0.6 mm of ceramic over the stump. That’s fine on #9. On #8, it’s the problem.
Two Stumps, One Look: The Technical Problems
#8 came out darker than #9
After removal, #9 was mostly enamel and an even ND2 . #8 had dentin showing in the gum third and read ND4 there, ND3 higher up . Neither was a surprise once we saw the old ceramic thickness. A thick, bright veneer can hide a lot.
With thin 2 front teeth veneers, the stump becomes part of the color. Put the same 0.6 mm over ND2 and ND4, and you’ll get two different teeth. That’s why we ask for stump photos on every veneer case, and why on this one they decided the plan.
Flatter and better masking pull in opposite directions
On #8, the dentist’s first two requests collided. Flat at the gum means 0.6 mm. Masking ND4 at a translucency that matches the laterals wants more room than that. When there isn’t enough thickness, we’d rather tell the dentist than quietly let one goal slide.
We sent three options, marked on the design screenshot:
| Option | What changes | What it costs |
|---|---|---|
| A. Refine #8’s gum third by about 0.2 mm | 0.8 mm of room, same flat contour | More dentin exposed on a tooth already into dentin |
| B. Keep 0.6 mm, use a lower-translucency ingot | Flat contour, stump masked | #8’s gum third reads a little less lively up close |
| C. Leave #8 0.2 mm proud at the gum | Room to mask, more translucency | Goes against request 1, and #8 and #9 no longer line up |
We didn’t push one. The bonding substrate is the dentist’s call, and it weighs heavily here. A meta-analysis of ceramic veneers on different substrates reported 99% success on enamel against 74% where dentin exposure was severe. The dentist chose B .
The pair has to match itself before it matches anything else
Option B solved #8. It also meant #9, over a lighter stump, would look brighter in the gum third if we made it with a more translucent ingot. Picture two front teeth with one neck a step lighter than the other. People notice that on 2 front teeth veneers before they notice anything about the laterals.
So we pressed both from the same lower-translucency ingot and matched #9 to #8, not the other way round. The pair agrees first. Then we tuned both toward the laterals with surface stain at the necks and incisal characterization.
Translucency came from the edge, not the neck
The dentist wanted more life in the two front teeth veneers than the old pair had. The gum third couldn’t give it, so the incisal third had to. That’s where both veneers are thickest and sit past the stump, with nothing dark behind them .
We worked from the lateral photos: a soft translucent band along the edge, a faint halo, and light surface texture to break up the flat shine the old ones had. All of it stayed within what the incisal edge of #7 and #10 actually shows. Overdo it on two teeth, and they look like a display piece next to the laterals.
Same length, new profile
The patient wanted to keep the old length, so we copied the incisal edges for the new 2 front teeth veneers from the pre-removal scan . Only the facial profile changed. Because the edges didn’t move, protrusive contact on the new veneers didn’t move either.
We designed #8, mirrored it to #9, and adjusted #9 to its own prep. The midline contact stayed where it was.
Getting the gum third right
The old bulge sat right over the gum. The new margins sit at the gum line, which was the dentist’s decision. Our part was what grows out of that margin: a straight emergence, no ledge, and a gum third that runs flush with the laterals’ facial line.
There’s a reason dentists care about this beyond looks. A 2024 review of veneers and periodontal status found seven of its nine studies reported a positive effect on gum health and two a slight worsening. It also flagged how much those studies varied. So contour and margin are worth getting right, not something veneers handle on their own.
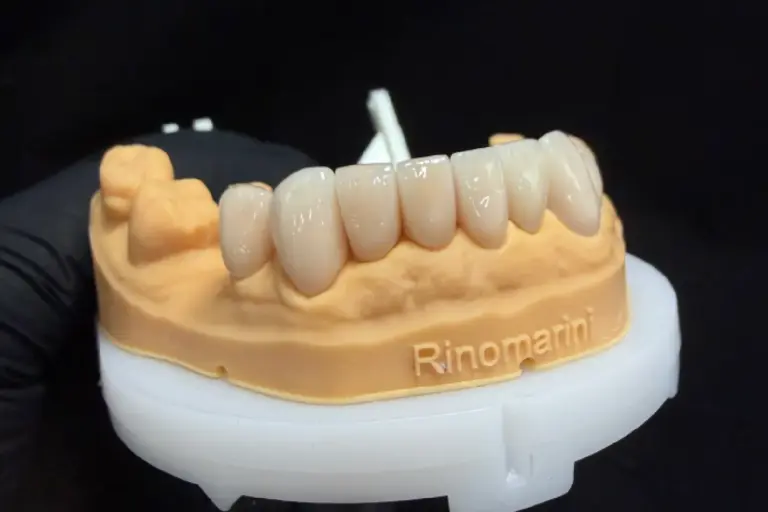
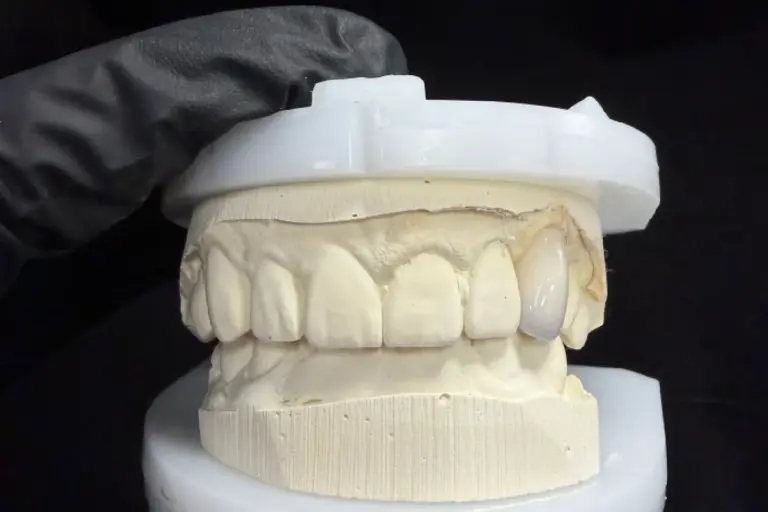
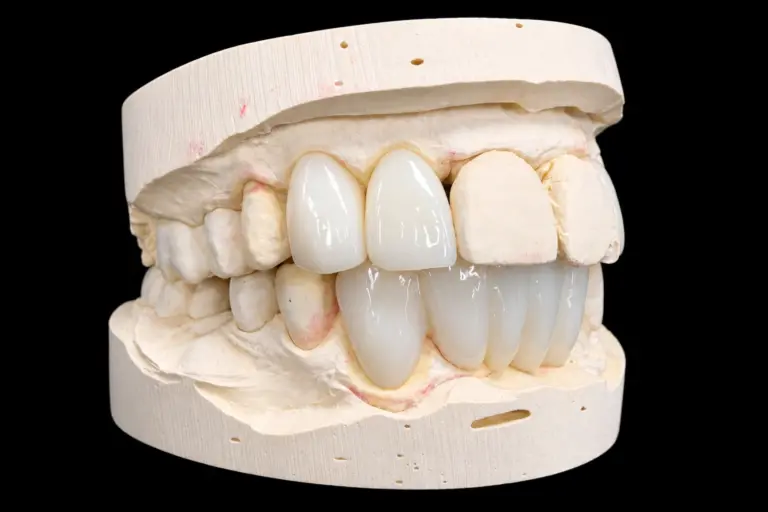
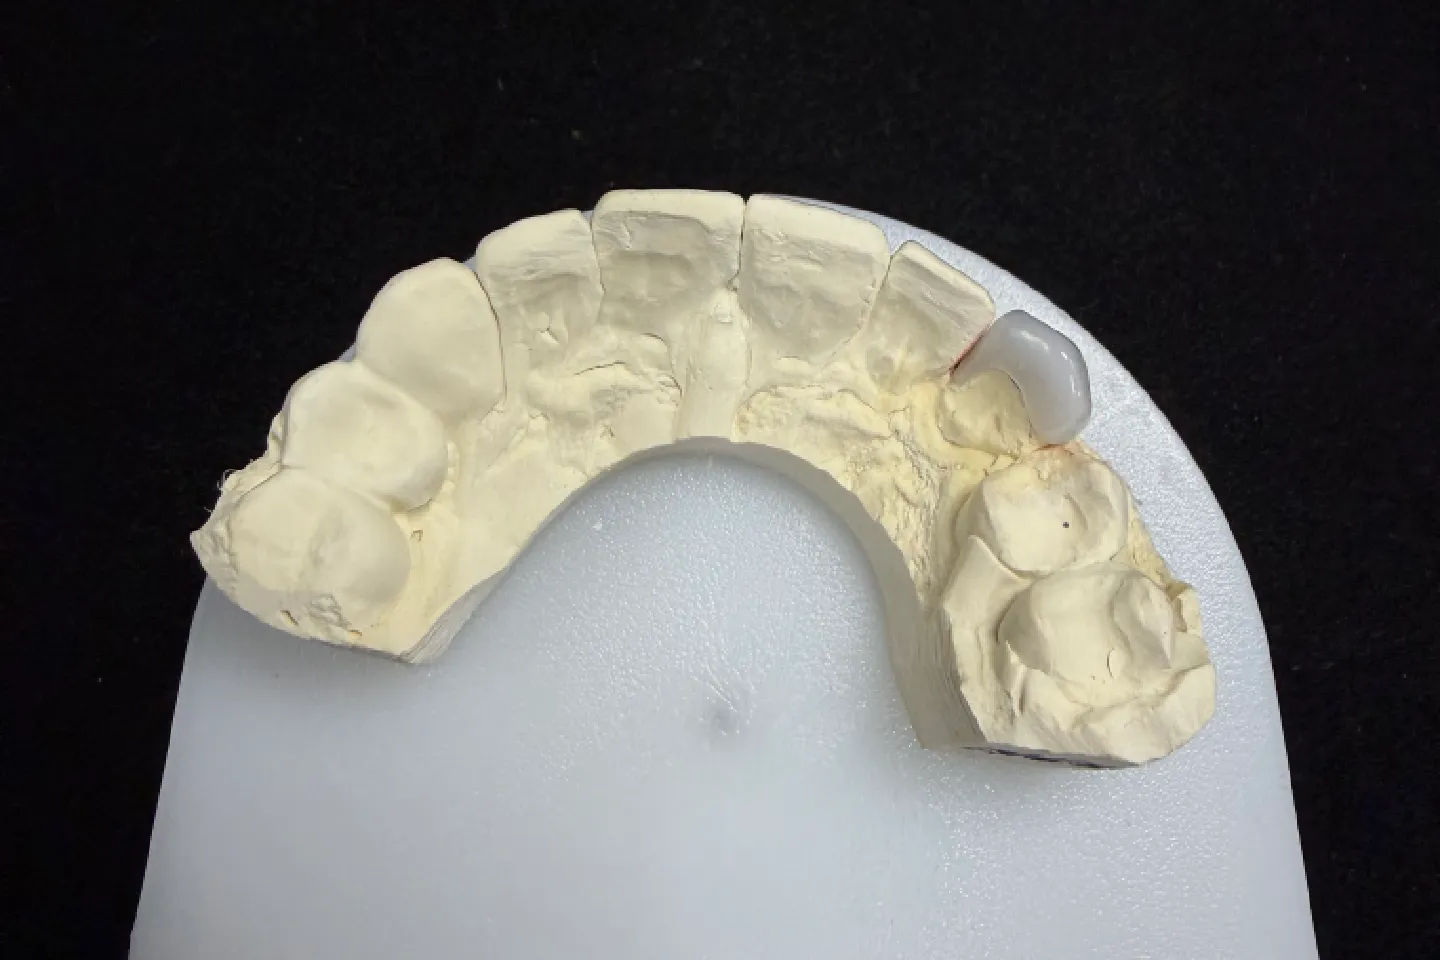
Making the 2 Front Teeth Veneers, Step by Step
Try-In and Feedback on the Two Front Teeth Veneers
The dentist tried in both veneers with paste, then sent photos, a short video and notes over WhatsApp . Here’s what came back, in their words where we have them.
What the dentist told us at try-in
both seated without adjustment. The midline contact let floss through with normal resistance, and the margins sat at the gum line where they’d been prepped .
in the side photo, the gum third of #8 and #9 no longer catches the light the way the old pair did. “From the side, the line from #7 to #10 is one smooth curve now” .
in close retracted photos, #8’s gum third reads a touch more opaque than #9’s. At conversation distance, neither the dentist nor the patient could pick it out . That’s the trade the dentist chose with option B, and it showed up about where we said it would.
before the prep scan, the dentist had shown the patient our overlay screenshot to explain why #8’s neck might look a little different. “Because they’d seen it coming, nobody was surprised at try-in. I’d make the same call again” .
What the patient said about the 2 front teeth veneers
at first the patient asked if the new pair could go a bit whiter, like the old ones . The dentist held a shade tab up to the laterals and explained that whiter centrals would bring the old mismatch straight back, and that whitening the laterals later won’t change the veneers. The patient kept A2 and said it was the first time the four front teeth “look like they belong together” .
the upper lip doesn’t sit out as far at rest, and the teeth no longer feel “stuck on” when the patient runs their tongue over them .
no change, since the edges stayed where they were. The patient read a few lines aloud at try-in to check .
Bonding and the two-week check
The dentist bonded the two front teeth veneers with resin cement at the same visit, then polished the margins .
At the two-week check, the dentist sent a retracted photo and a note: the tissue at both facial margins was pink and didn’t bleed on probing, and the patient said floss no longer catches at the gum line . The next look is at the six-month visit .
Finished 2 Front Teeth Veneers: Design Goals and Results
| Design goal | How it was checked | Result |
|---|---|---|
| Gum third flush with #7 and #10 | Finished veneers against the approved design, measured on the model | 0.6 mm at the gum third, within 0.1 mm |
| Length and edge position unchanged | Pre-removal scan against the design | Same edges |
| #8 and #9 look like a pair | Same-angle try-in photos, standard light at the lab | Matching value and hue; #8’s neck slightly more opaque up close |
| Color close to the laterals | Try-in photos with a shade tab | No visible step at #7 or #10 at normal distance |
| Clean margins, no ledge | Dentist’s check at bonding | Passed |
| Gum response at the margins | Dentist’s two-week check | No bleeding on probing at #8 or #9 |
What to Send for Replacing Old Veneers
Upload scans through our digital case submission . Veneer cases generally take 5–7 working days, and simple ones 2–3 . Design approval adds 1–2 days.
Who Made It
These two front teeth veneers went through our CAD design team (about 100 people), our ceramic and metal department (about 70) and a separate QC team of about 25. They’re part of Istar Digital Dental Lab’s four labs in Shenzhen and Huizhou, China. We’ve been running since 2012, with about 460 staff and no outsourcing.
Istar Digital Dental Lab is an FDA-registered establishment (Registration Number 3039441248), which you can look up in the FDA establishment registration database. Our labs run an ISO 13485 quality management system.
Two Front Teeth Veneers FAQ
When replacing old veneers, does it matter who made them?
No. We take cases where another lab made the original pair. We just need the records from before and after removal.
What if only one of the two old veneers needs replacing?
Send it anyway, with a stump photo and the remaining veneer in the photos. Matching one new veneer to an old one is a different job from matching a pair, so we’ll tell you what to expect before we start.
Can you make the provisionals?
Yes. We can make provisionals, a diagnostic wax-up or a mock-up before the finals.
What other materials do you make veneers in?
Zirconia, which is stronger and more wear-resistant, and lab-made composite. Compare them with pressed e.max veneers, or see what else our e.max lab makes. We won’t swap a material without your OK.
Do you make night guards?
Yes. If your patient grinds, we make night guards to your prescription.
What if I want a design you think is risky?
We’ll tell you why, then make it to your Rx with no sign-off form. A remake caused by that design isn’t on us, though.
What's free to redo, and what isn't?
Open margins, open contacts, high bite, a veneer that won’t seat, inaccurate color, visible flaws and poor shape are ours to fix for free. Changing the shade or material afterward isn’t free. Neither is a case you asked us to try on an impression or scan we’d already flagged as poor.
What about warranty and shipping?
Veneers carry our 3-year warranty. You pay to send a case in, and we pay to ship finished work back, remakes included.
Can you rush a veneer case?
Rush service is free for clients who send us 10 or more cases a month. We guarantee the ship date, but not the arrival date, because customs times vary.
How is pricing handled?
We don’t publish prices on the website. Ask for our price list, and we’ll quote each case item by item to your requirements.
Send Us Your Next Veneer Replacement
Replacing old veneers on a pair of centrals? Send the before-removal scan first, and we’ll tell you what the thickness budget looks like. Single trial cases are welcome, and you can see our labs on a factory visit or a video tour.