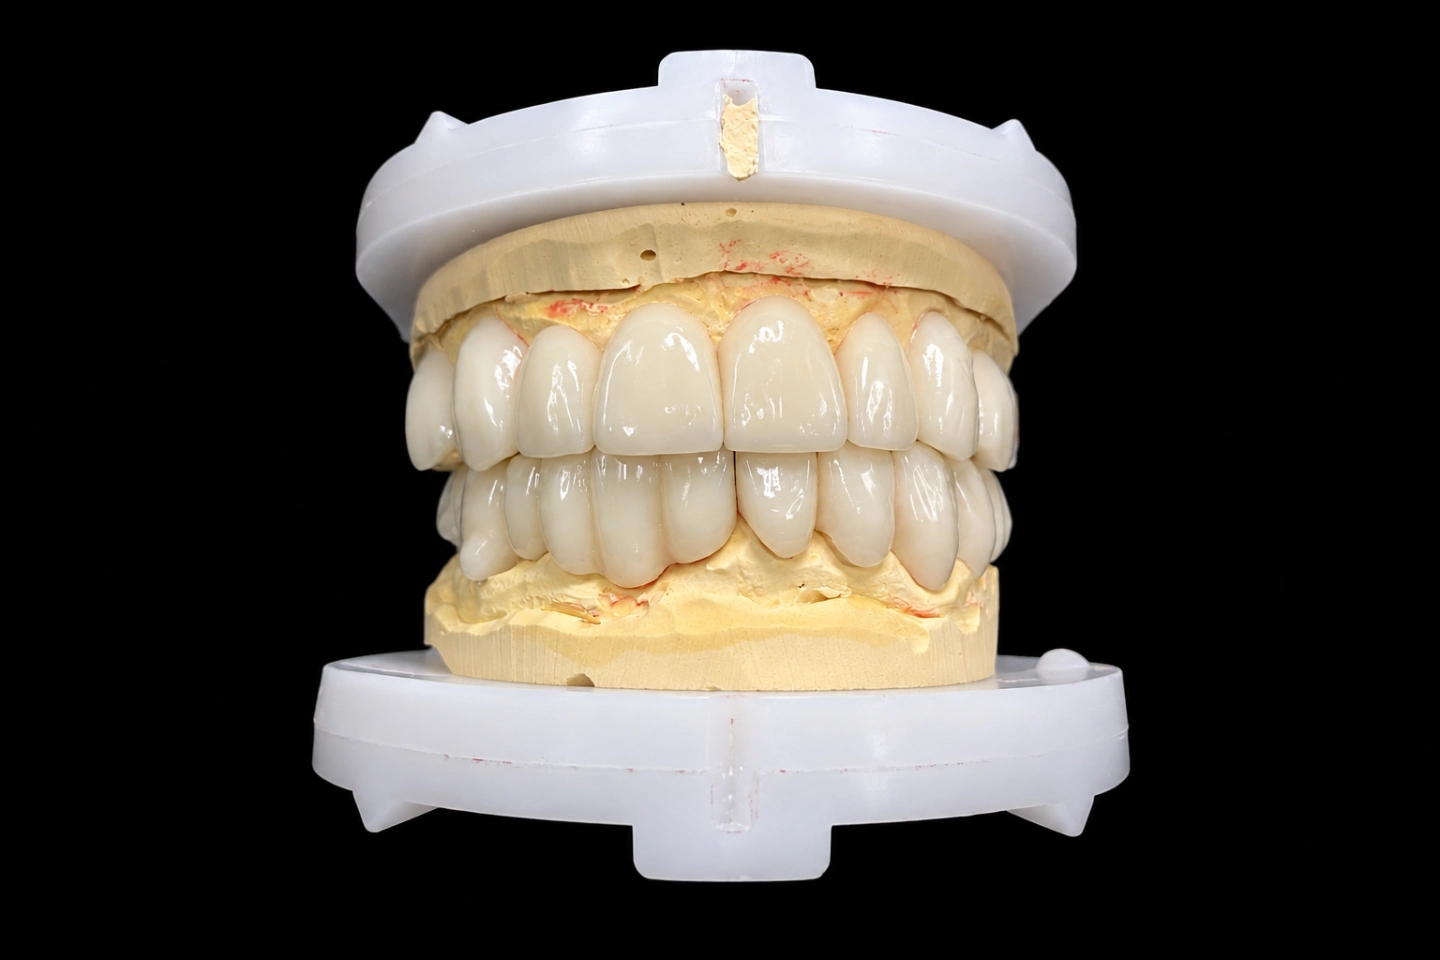
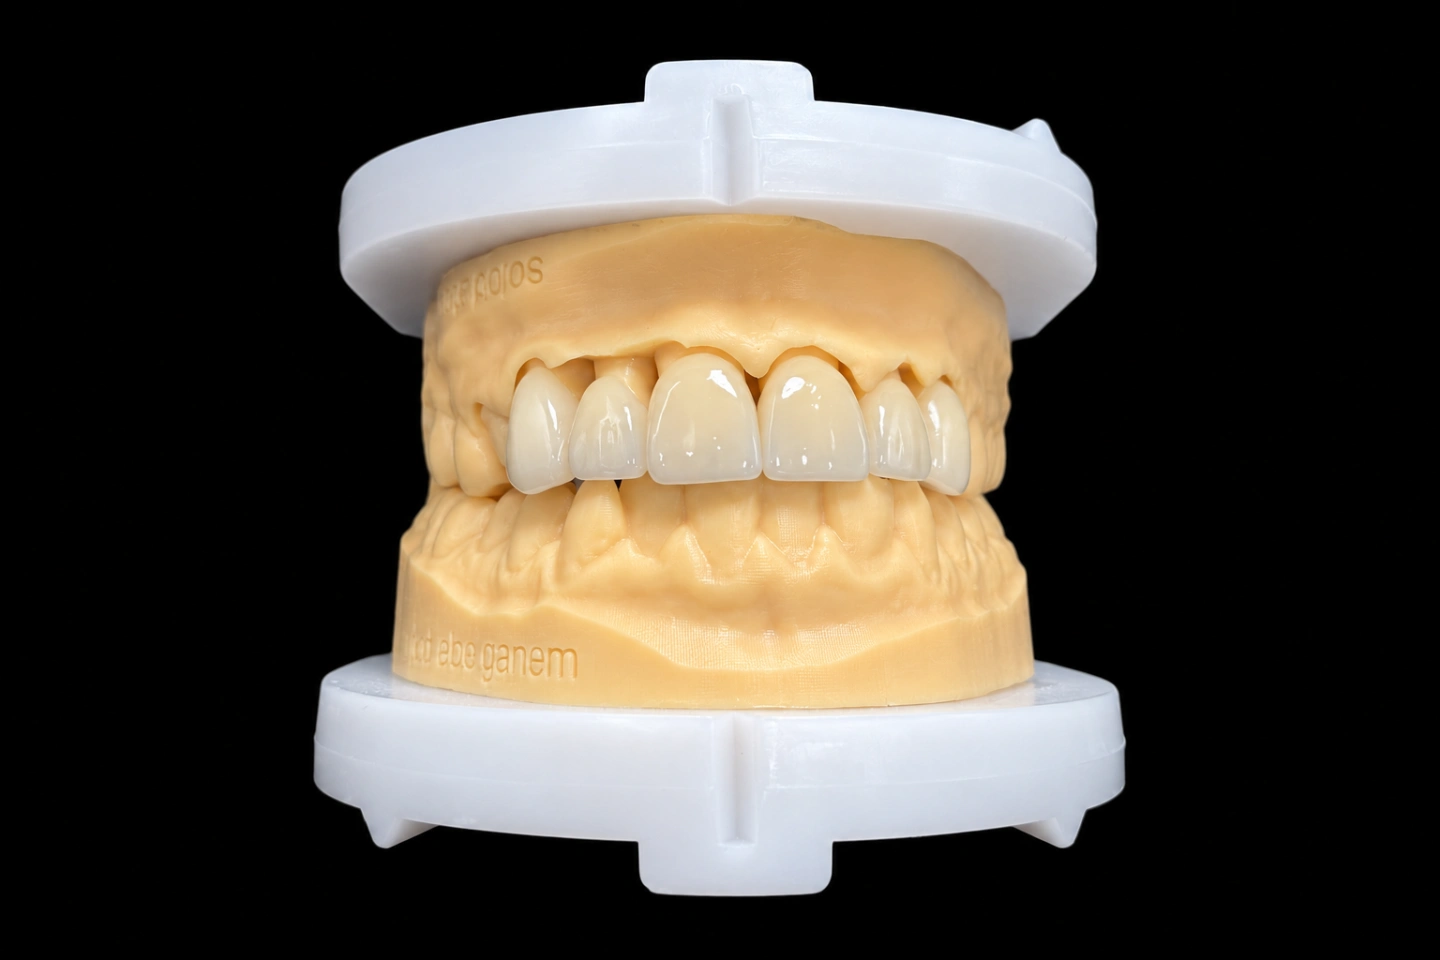
Patient Situation
The patient is an adult with healthy gums and no restorations on the upper front teeth . They’d lived with the spaces for years and had whitened before seeing the dentist . Their dentist talked through aligners first, since veneers change how teeth look and don’t move them. The patient didn’t want orthodontics .
What the Dentist Asked For
From the Rx and our WhatsApp thread :
Where the Space Went: Two Wax-Ups for Front Teeth Veneers
We measured the pre-op scan and ran the case like a budget. From the mesial of #6 to the mesial of #11, there’s 31.3 mm to fill .
Then we set one rule for both versions of the front teeth veneers. The centrals only take the midline gap, split evenly. Everything else goes to the laterals, and in the second option, to the canines too.
| Tooth | Pre-op width × length (mm) | Ratio | Four veneers (mm) | Ratio | Six veneers (mm) | Ratio |
|---|---|---|---|---|---|---|
| #7 | 5.6 × 7.8 | 72% | 6.6 × 8.8 | 75% | 6.0 × 8.8 | 68% |
| #8 | 8.4 × 10.4 | 81% | 9.0 × 11.0 | 82% | 9.0 × 11.0 | 82% |
| #9 | 8.3 × 10.4 | 80% | 8.9 × 11.0 | 81% | 8.9 × 11.0 | 81% |
| #10 | 5.2 × 7.6 | 68% | 6.8 × 8.8 | 77% | 6.0 × 8.8 | 68% |
| #6, #11 | – | Untouched | +0.6 mm and +0.8 mm in width |
Length is what keeps the centrals honest. At 9.0 mm wide and the original 10.4 mm long, #8 would hit about 87%. Adding 0.6 mm of length brings it back to about where it started.
We didn’t chase the textbook number. One clinical article on space closure puts the ideal width at 75% of height, and it also warns that restoring too few teeth can leave them too long and wide. For #8 here, 75% means a 12 mm tooth. That was too long for this lip line, so 82% was the better trade .
We put two options to the dentist:
We recommended neither. That’s the dentist’s call, and they went with four after talking it through with the patient .
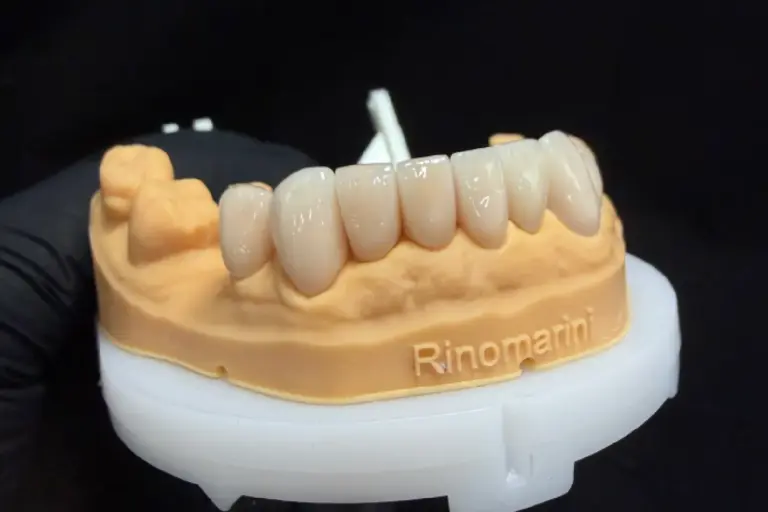
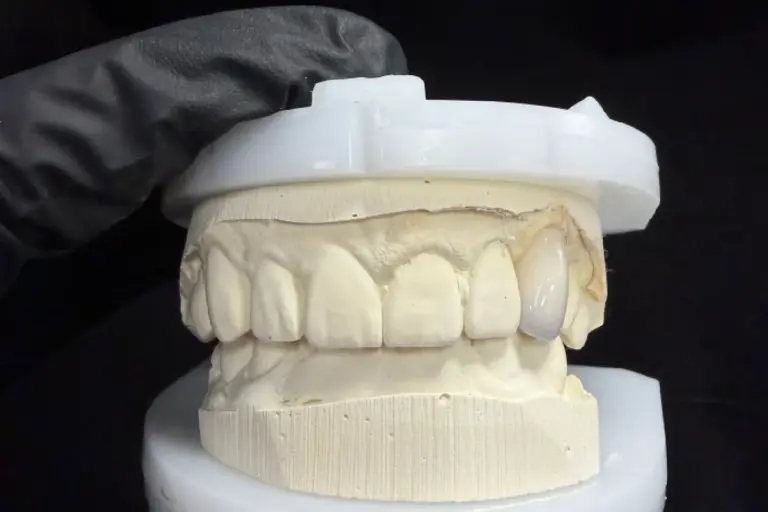
The patient tried the shape as a mock-up for a few days, and the dentist checked speech and protrusive at the longer lengths before prepping . The dentist made it chairside from a silicone matrix off our printed wax-up model . A published peg lateral report describes a similar route: wax-up, mock-up and silicone guides ahead of lithium disilicate veneers.
Why Pressed e.max for This Anterior Veneer Set
The dentist chose the material for these front teeth veneers from the start, and we press all our e.max veneers. It gave us controlled contours on four teeth that all had different shapes to hit.
There’s also solid long-term data behind it. A 2025 review of ceramic veneers pooled lithium disilicate survival at 96.81% over a mean of 10.4 years, with technical complications at 6.1%. It found no survival difference between the ceramics with long-term data. That’s a pooled number, though, not a forecast for one patient.
How We Met Each Requirement on These Anterior Veneers
Laterals that read narrower than they measure
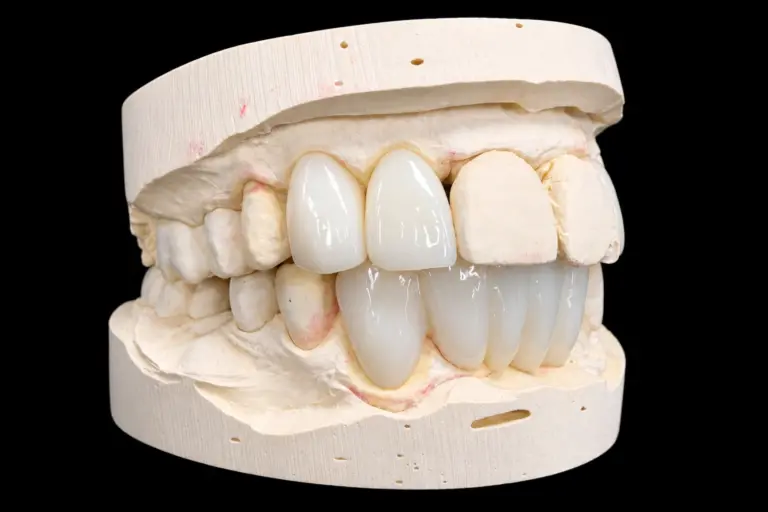
You can’t design away 6.8 mm of width, but you can change how wide a tooth looks. On #7 and #10, we pulled the facial line angles in toward the center, so the flat part of the tooth got narrower and the proximal surfaces rolled away from the light .
We opened the incisal embrasures and rounded the distal corners . The dentist wanted a little more on #10, so they marked up the design screenshot and we opened that embrasure further. That was the one revision .
We built #10 by mirroring #7, then adjusted it. The two laterals still differ by 0.2 mm in width. Evening them out would’ve meant shaving #9 or moving the midline, so we told the dentist and left it .
A ledge at the gum on #7 and #10
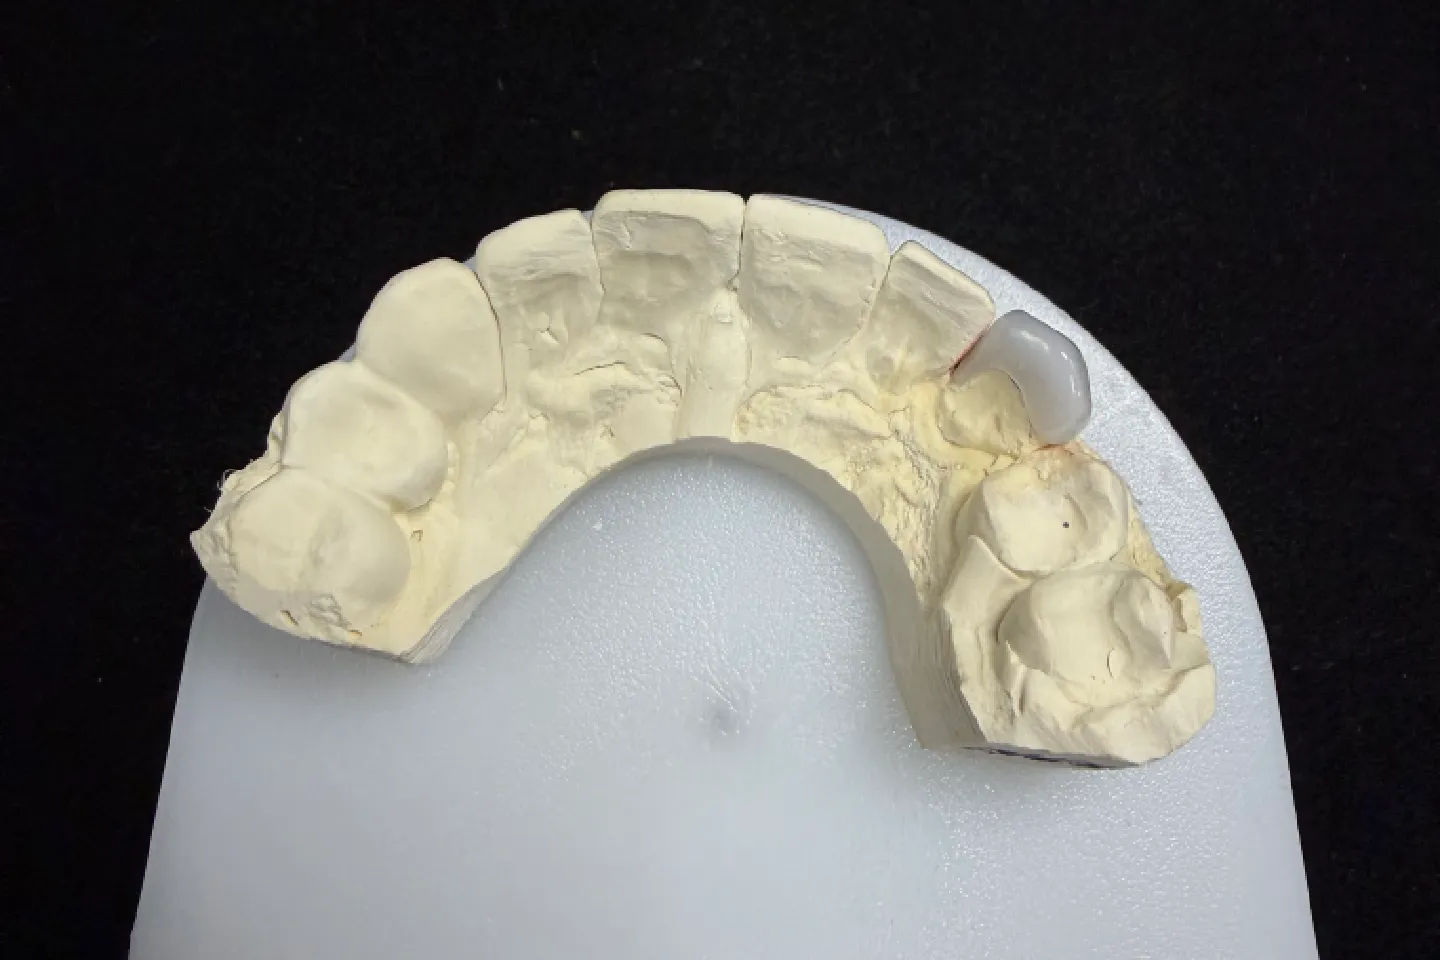
This one came up at the wax-up, which is why we plan gap-closing anterior veneer cases early. The distal of each lateral has to travel past the tooth to reach the canine . With a finish line at the gum, that makes a sudden shelf that’s hard to clean.
We flagged it on the planning file with the #10 distal marked. The dentist took the distal finish line about 0.5 mm under the gum on both laterals and carried it past the future contact toward the palate, so the margin doesn’t show and the ceramic has room to come out gradually .
A review of preparation design generally favors keeping interproximal contacts, but notes that changing them can be justified for a diastema.
Contact height at the midline
Closing a gap doesn’t automatically fill the space below the contact. To cut down the dark triangle, we ran the #8/#9 contact longer toward the gum than usual, about 4 mm tall . Go too far and the two teeth look square and joined, so we stopped there and left the rest to the dentist’s review.
We care about this because of what patients complain about later. In a 9–10 year study of 233 ceramic veneers, patients’ most common complaints were function, food impaction and cleaning. It’s a small study with 30 patients, but contacts are one thing the lab can control.
Ceramic with no tooth behind it
An anterior veneer that closes a gap hangs past the tooth, so there’s no stump behind that ceramic . Too translucent, and the dark of the mouth comes through as a gray shadow along the contact. A low-translucency ingot in A2 gave us enough body there . We cut back only the incisal third and left the proximal walls full .
We planned the color of these front teeth veneers in a set order: stump shade, then target, then layers.
Longer edges, same guidance
Adding up to 1.2 mm to an anterior veneer can get in the way in protrusive. So we copied the new edges from a scan of the mock-up rather than redesigning them .
Making the Front Teeth Veneers, Step by Step
Dentist and Patient Feedback on the Front Teeth Veneers
The dentist tried in the set with paste before bonding, and sent us photos and notes on WhatsApp . In short:
the shape matched the mock-up, so there was nothing to go back over with the patient. One thing needed fixing: the #9/#10 contact seated a little tight. They eased it chairside, polished it, and bonded the set with resin cement at the same visit .
happy that the gaps are gone and the teeth don’t look bigger. The new length felt the same as it did in the mock-up, and they asked for no changes .
Finished Front Teeth Veneers: Design Goals and Results
| Design goal | How it was checked | Result |
|---|---|---|
| Midline unchanged | Pre-op scan against the design | Same position |
| Widths and lengths as approved, all gaps closed | Finished veneers against the approved design file, measured on the model | Within 0.1 mm |
| Centrals don’t read wide | Same-angle photos, pre-op against try-in | Width reads close to the pre-op centrals |
| Color like the canines | Standard light at the lab, try-in photos | No visible step at #6 or #11 |
| No gray along the contacts | Try-in photos with paste | Not visible |
| Floss passes, no ledge | Dentist’s check at bonding | Passed |
| Guidance unchanged | Lateral movement on the printed models, then chairside | No bite adjustment needed |
| Recall |
It didn’t all come out perfect. A dark triangle under 1 mm is still there at the midline .
What to Send Us for an Anterior Veneer Case Like This
Front teeth veneers generally take 5–7 working days in our lab. Simple cases take 2–3 working days, and complex ones take 5–7. A diagnostic wax-up stage runs 2–3 working days, and design approval adds 1–2 days.
Who Made It
These front teeth veneers went through our CAD design team (about 100 people), our ceramic and metal department (about 70) and a separate QC team of about 25. They work inside Istar Digital Dental Lab’s four labs in Shenzhen and Huizhou, China. We’ve been running since 2012, with about 460 staff and no outsourcing.
Istar Digital Dental Lab is an FDA-registered establishment (Registration Number 3039441248), which you can look up in the FDA establishment registration database. Our labs run an ISO 13485 quality management system.
Front Teeth Veneers FAQ
Do you accept physical impressions for front teeth veneers?
Yes. Send VPS impressions of the prep and opposing arch, with a VPS bite registration. Wax bites can soften and distort in transit, so please skip them.
Can I send a sketch or a provisional as a reference?
Sure. Old restoration photos work too, and we can copy a provisional’s form and function.
What other veneer materials do you make?
Zirconia, which is stronger and more wear-resistant, and lab-made composite. Compare them with pressed e.max veneers, or see what else our e.max lab makes. We won’t swap a material without your OK.
Can I change an anterior veneer design after approving it?
Yes. Tell us early, and it won’t affect the lead time or the fee.
Do you make night guards too?
Yes. We make night guards to your prescription.
What if I stick with a design you think is risky?
We’ll make it to the Rx with no sign-off form, but a remake caused by that design isn’t on us.
What's free to redo, and what isn't?
Open margins, open contacts, high bite, an anterior veneer that won’t seat, inaccurate color, visible flaws and poor shape are ours to fix for free. Changing the shade or material afterward isn’t free, and neither is a case you asked us to try on an impression we’d already flagged as poor.
What about warranty and shipping?
Veneers carry our 3-year warranty. You pay to send a case in, and we pay to ship finished work back, remakes included.
Can you rush front teeth veneers?
Rush service is free for clients who send us 10 or more cases a month. We guarantee the ship date, but not the arrival date, because customs times vary.
How is pricing handled?
We don’t publish prices on the website. Ask for our price list, and we’ll quote each case item by item to your requirements. Ongoing partnerships suit clinics with a regular case flow.
Send Us Your Next Front Teeth Veneers Case
Got spaces that won’t split evenly? Single trial cases are welcome, and you can see the work for yourself on a factory visit or video tour.