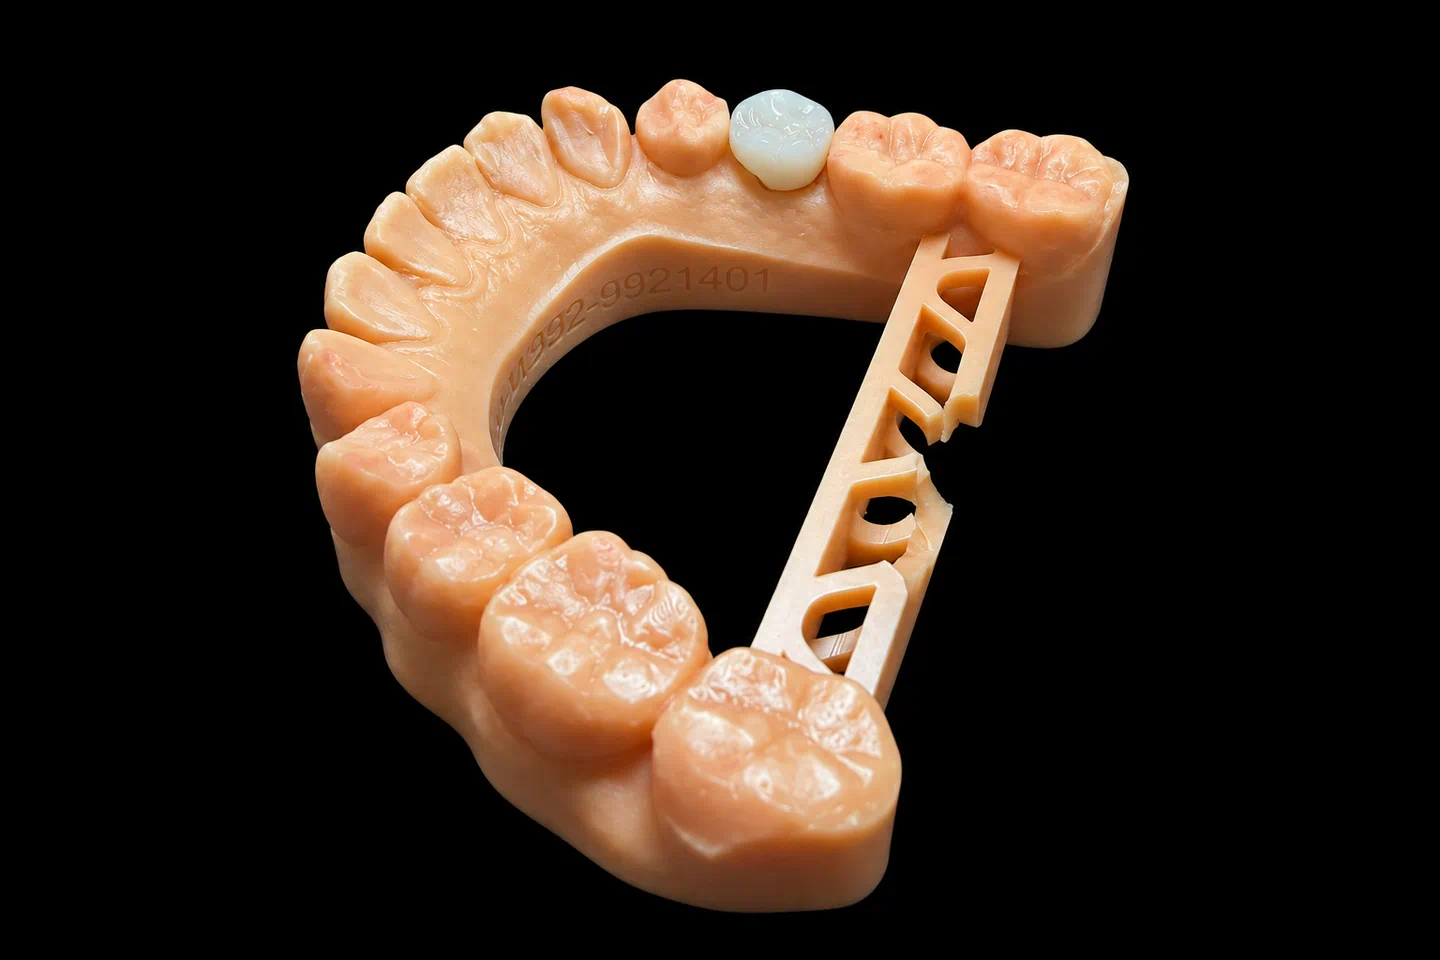
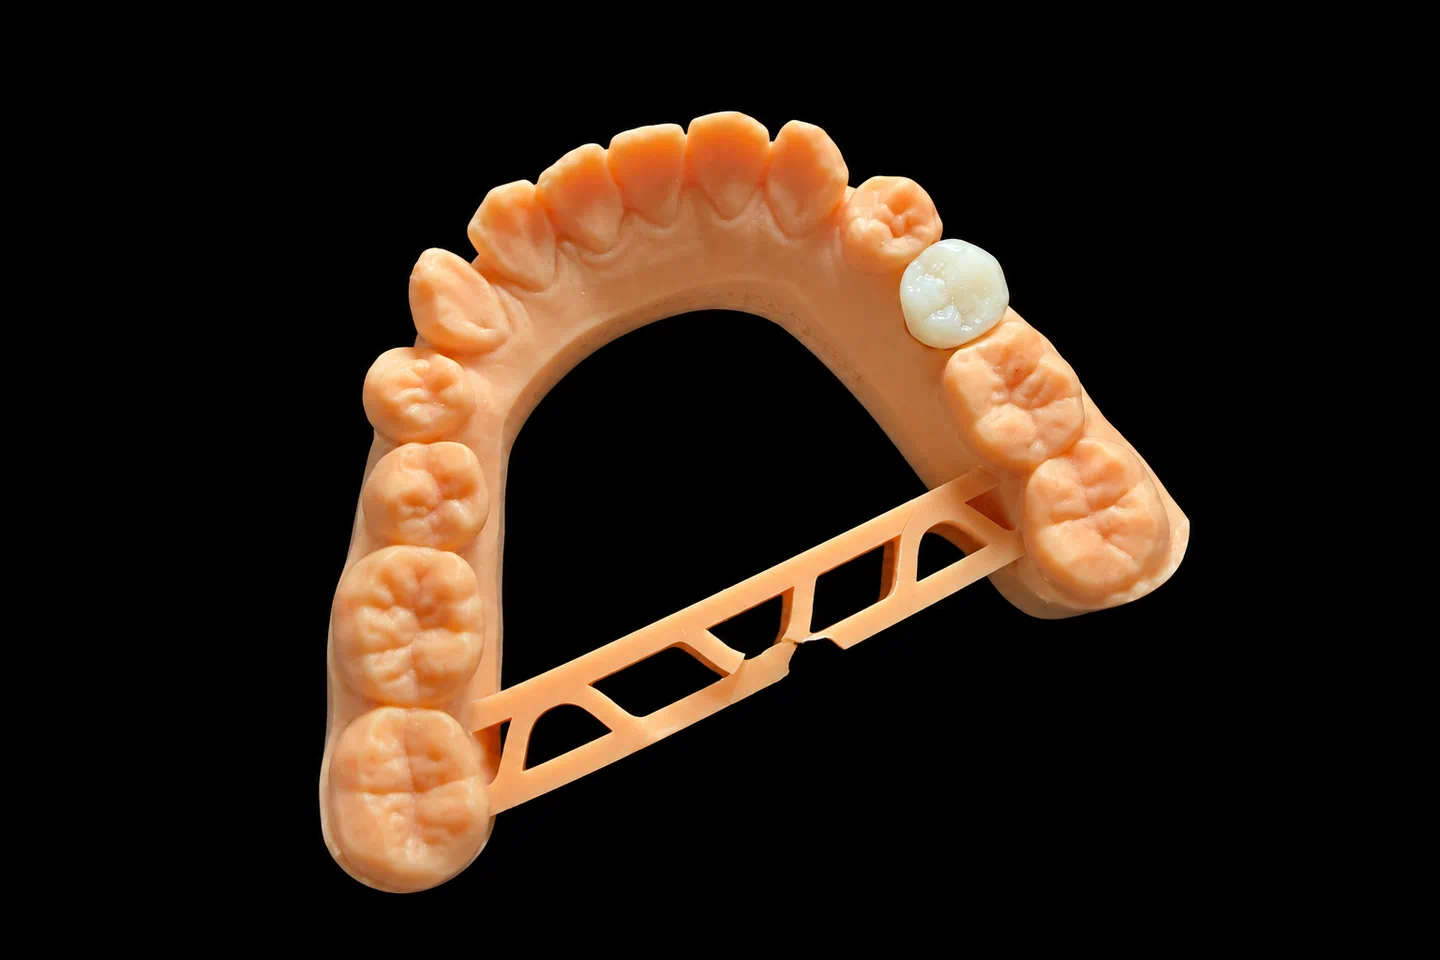
Patient Situation
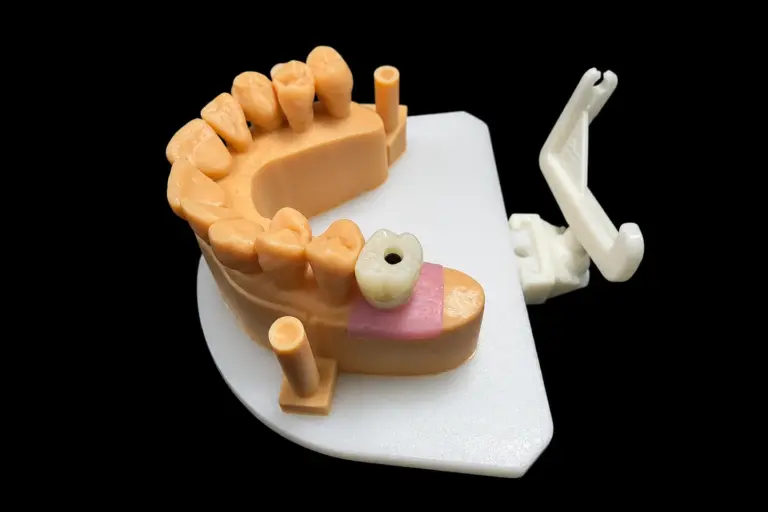
The patient lost #30 to a crack that ran below the gum . The molar implant had been in for four months , and the dentist had cleared it for the final crown.
What the Dentist Asked For
The Rx for this dental implant molar :
Where This Dental Implant Molar Got Tricky
Six millimeters to make up
The neighbors sat 10.8 mm apart at contact height, so the crown had to grow 6 mm past the implant’s width. The implant sits 0.4 mm distal of the middle of the space, which split that into 3.4 mm on the mesial and 2.6 mm on the distal.
Not much height to do it in
From the implant shoulder up to the gum, we measured 3.6 mm mesial and distal, 3.0 mm buccal, and 3.4 mm lingual . Spread a molar implant crown too fast over that height and the emergence angle climbs.
Katafuchi’s study found more peri-implantitis around bone-level implants when that angle passed 30° (31.3% vs. 15.1%), and 37.8% when a steep angle came with a convex profile. A 2022 systematic review points the same way, but it rests on only three studies, none of them about molars alone, and its authors say cause isn’t settled. We use 30° as a flag to raise with the dentist, not a hard limit.
The contacts could work against the cleaning
A long, low contact closes off the space the brush needs. It’s also not what you want for food. In a study of 286 posterior implant crowns, sites with food impaction more often had loose contacts, longer contact areas, lower contact points, and less embrasure space. That’s a link, not proof of cause, but it gave us a checklist.
There’s a limit to what a lab controls here too. A 2024 meta-analysis of posterior implant restorations put contact loss at 44.2% on the mesial and 27.5% on the distal, with wide variation between studies. A firm contact on a dental implant molar at delivery doesn’t promise a firm contact later on, and we told the dentist so.
Version 1 Missed the Brief
We matched the scan body to the Straumann library and ran the implant axis through the proposed crown. The axis landed in the central fossa , so the screw opening wasn’t the problem on this molar implant.
The first molar implant design used full natural-molar anatomy from the library, with the shape at the gum following the neighbors . On screen it looked like a nice molar. Then we measured the sections: the emergence angles ran high, and the distal gap left a brush no room to spare. That broke Rx item 5, so we flagged it instead of sending it through.
The Routes We Sent Back
On day 2 , the dentist got the molar implant section screenshots, the numbers, and these routes:
| Route | What you get | The catch |
|---|---|---|
| A. Keep version 1 | Fullest shape at the gum | Still breaks Rx item 5 |
| B. Narrow the whole crown | Easy transition, wide-open gaps | Loses the contacts and breaks Rx item 3 |
| C. Full width at the contacts, narrower neck | Molar width where it chews, more room at the gum | The open embrasure shows more, and food can get in there, so the patient has to clean it |
| D. Custom abutment, cemented crown | More control over the shape below the gum | A cement line to clean up, and harder to retrieve. Breaks Rx item 1 |
The call isn’t ours. The dentist picked C on day 3 , since nobody’s going to see that embrasure on a lower molar, and added one note: keep the #29 contact on the firm side.
How We Built the Molar Implant, Side by Side
The two versions of this dental implant molar, measured on the same sections:
| Measured on the CAD section | Version 1 | Version 2 (signed off) |
|---|---|---|
| Mesial emergence angle | 36° | 28° |
| Distal emergence angle | 31° | 25° |
| Buccal emergence angle | 34° | 25° |
| Lingual emergence angle | 28° | 24° |
| Mesiodistal width at the gum | 9.6 mm | 8.4 mm |
| Gap to #29 at the gum | 1.6 mm | 2.3 mm |
| Gap to #31 at the gum | 1.2 mm | 1.7 mm |
| Contact, below the marginal ridge | 2.6 mm | 1.8 mm |
| Contact length, top to bottom | 3.4 mm | 2.4 mm |
Mesial, toward #29
This side had the most to make up, so we let the crown do most of its spreading above the gum, where it has the height. Moving the contact up and shortening it opened the embrasure underneath without loosening anything.
Distal, toward #31
The offset made this the tight side of the molar implant, so we sized the neck here around the patient’s brush, a 1.2 mm interdental.
Buccal and lingual
The buccal had the least height, so its angle came down the most. We kept the crown 10.0 mm wide buccolingually above the gum and shaped the part below it straight to slightly concave, with no bulge pressing on the cuff.
Occlusal
The molar implant crown got four small closing contacts around the central fossa , none within 1.0 mm of the screw opening. Canine guidance took care of side movements . That matches the even contacts and anterior guidance in Sheridan’s review, though the review also says clear recommendations on implant occlusion are lacking. The thinnest zirconia over the top came in at 1.2 mm .
Why zirconia, and what it costs
The evidence backs the Rx’s material call on this molar implant. A meta-analysis of posterior implant crowns found 0% chipping with monolithic zirconia vs. 7.61% with metal-ceramic over one year, while survival was 97.5% vs. 99.1% in a narrative summary.
There’s a catch: in a one-year trial of molar implant crowns on reduced-diameter implants, zirconia scored worse on anatomical form and color match. We took that as our to-do list. We copied the cusp slopes from the #31 scan, then stained the fissures and glazed to bring the value closer to #29.
Parts and bonding
We recorded the batch numbers for the Ti-base and screw, then bonded the crown following Straumann’s IFU , with the interface masked off.
From Sign-Off to Shipping
Version 2 went out on the morning of day 4 , and the dentist signed off that afternoon . Then:
That’s our usual 5–7 working days for a zirconia implant crown, plus the 1–2 days a design sign-off adds.
The Finished Molar Implant: Design Goals and Checks
| Design goal | How we checked | Result |
|---|---|---|
| Parts match the Rx | System, platform, and Ti-base against the label | Matched |
| Clean interface | Magnified check on the analog | No burrs or resin |
| Crown seats passively | Seated on the analog without force | No rocking or spring-back |
| Screw runs free | Screw driven in on the analog | No catching |
| Shape matches sign-off | Finished crown scan against version 2 | Matched on the overlay |
| Firm contacts | 12 μm shim stock on the printed model after glazing | Held with a light pull, a little firmer at #29 |
| Cleaning access | Floss threader and brush on the model | Passed both sides |
| Bite | Shim stock on the closing contacts, then side movements | Slight drag on closing, clear on side movements |
| Shade | Crown vs. A3 tab and the #29 photo, under lab lighting | Close; dentist’s photo to confirm |
At delivery, the dentist reported that the molar implant crown seated first try, and one closing mark got a light polish . The dentist sealed the access chairside and showed the patient how to clean under the contacts .
We don’t have long-term follow-up on this dental implant molar yet. Recall checks stay with the clinic .
Sending Your Own Dental Implant Molar
Got a wide space over a narrow implant? Send the records and ask for a design preview. We’ll flag any emergence or cleaning problems we find in the design, so you can sign off or change course before we mill.
For a molar implant case like this, we need:
The Team Behind the Crown
Molar implant cases run through our implant dental laboratory group of about 80 technicians, with about 100 designers and a separate QC team of about 25. It all stays in-house: four Istar Digital Dental Lab sites in Shenzhen and Huizhou, China, about 460 people, running since 2012, and no outsourcing. We turn out about 8,000 zirconia single crowns a month in the slow season and about 15,000 at peak.
A case gets three QC checks: records coming in, in-process, and final release by an independent inspector. Istar Digital is an FDA-registered establishment (Registration Number 3039441248), which you can look up in the FDA database, and our labs run an ISO 13485 quality system. For EU clinics, custom-made restorations follow the MDR custom-made device procedure.
Dental Implant Molar FAQ
Which implant systems can you work with?
Most on the market. If your library version isn’t the same as ours, send it over and we’ll use yours.
Do I have to use original parts?
No, you decide. Original parts cost more and generally give the best fit and long-term stability. Compatible parts cost less, but tolerances, materials, and warranty terms can differ. We don’t swap either one without your OK.
Can I order just the crown?
Yes. There’s a crown-only option for zirconia implant crowns, without the Ti-base or abutment. Otherwise, we can supply a Ti-base or custom abutment. More options are on our zirconia implant crown page.
What torque do I use?
Whatever the implant maker’s IFU says. We can give you a reference value, but the IFU wins.
What's the warranty?
Three years. If the problem’s on our side, like an open contact, a high bite, a crown that won’t seat, or a wrong shade, we adjust or remake it free. Implant parts aren’t part of a free remake, and neither is a color or material change you ask for later, or a case we made from a poor impression at your request. You pay to send a case in. We pay to ship finished work back, remakes included.
Can you rush a case?
Yes, at no charge, if you send us 10 or more cases a month. The ship date’s guaranteed. The arrival date isn’t, because customs can vary.
How do you price it?
We don’t put prices on the website, and quotes are itemized: the unit and material first, then implant parts and design complexity.
Send Us Your Next Molar Implant
One trial case is welcome, and an ongoing partnership works best if you’ve got regular case flow. You can also book a factory or video visit.