Patient Situation
Before we planned the emax crowns front teeth, here’s what the dentist’s scans, photos and notes showed :
That last point shaped the whole case. Instead of a wax-up of something new, it started with a scan of something old.
Why anterior emax crowns and not veneers here
With that much old composite, there wasn’t much sound enamel left on the facial and proximal surfaces . Crowns made sense on these four teeth. That isn’t a general rule. A narrative review on lithium disilicate and zirconia sits behind the usual advice: crown a tooth when it’s structurally compromised, not just to change how it looks. The choice was the dentist’s.
What the Dentist Asked For
The Rx, condensed :
Item 6 was there for a reason. A splinted provisional hides how each tooth reads on its own. Single units let the dentist and patient judge every outline before the ceramic is made.
What Came In
The records the dentist sent for the emax crowns front teeth :
| Record | What we used it for |
|---|---|
| Pre-op PLY scan of #7–#10, taken before any prep | The shape to copy |
| Prep PLY scan, upper arch | Margins, inner surfaces, available room |
| Opposing arch and bite scan | Overbite, palatal contacts, guidance |
| Smile and retracted photos, 5500K ring flash | Value, edge effects, surface texture |
| Tab photos next to the natural canine and next to each stump | Target shade and stump shade |
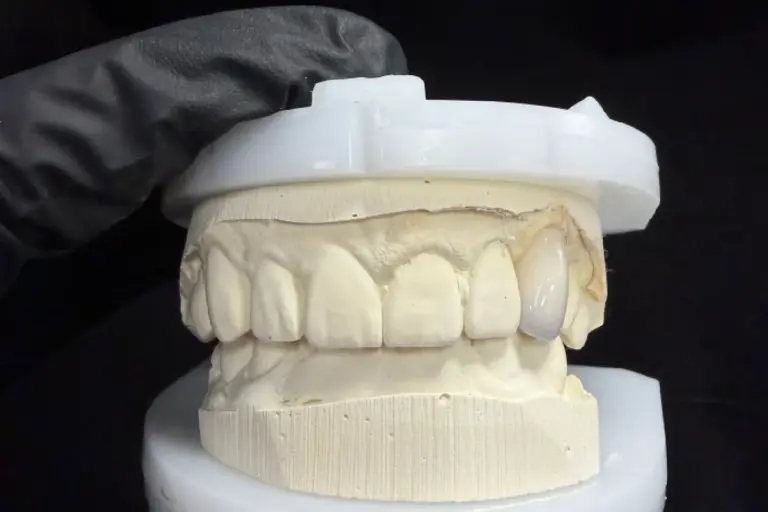
The pre-op scan was the most important file in this anterior emax crowns case. Without it, “copy the shape” is just a wish. PLY matters on front teeth too, because it carries color, gum margins and surface detail. STL doesn’t. All of it went through our digital workflow.
We ask for flash photos, not phone shots or room light. Phone filters and mixed light shift the color, and then the technician is guessing. Having the tab next to the stump matters for pressed emax crowns in particular. Ivoclar’s shade selection guidance uses the prep shade and layer thickness, not just the target shade.
The Technical Problem: Not Enough Room on #8 and #9
How we measured it
We lined up the pre-op scan and the prep scan on the untouched teeth and the palate . The gap between the old outer surface and the new prep surface is the room the crown gets, if the crown is going to copy the old shape. We mapped it in thirds for all four anterior emax crowns .
| Tooth | Incisal | Facial, middle third | Facial, cervical third | Palatal |
|---|---|---|---|---|
| #7 | 1.6 mm | 1.3 mm | 1.2 mm | 1.3 mm |
| #8 | 1.8 mm | 0.8 mm | 0.7 mm | 1.4 mm |
| #9 | 1.7 mm | 0.8 mm | 0.7 mm | 1.4 mm |
| #10 | 1.6 mm | 1.3 mm | 1.2 mm | 1.3 mm |
All values .
What the numbers meant
For these emax crowns front teeth, we used Ivoclar’s figures for a conventional pressed anterior crown: about 1.5 mm incisal and 1.2 mm facial and palatal, with a rounded shoulder or deep chamfer at least 1 mm wide. A prospective study of pressed lithium disilicate crowns, mostly on front teeth, used a similar prep. #7 and #10 cleared it. #8 and #9 came up 0.4–0.5 mm short on the facial, right where the patient would notice.
Ivoclar does describe a thinner, 1 mm crown design. It only works with adhesive cementation, and it rules out bruxism and missing canine guidance. This patient had neither problem, and the Rx already said adhesive. But at 0.7–0.8 mm, #8 and #9 were still under that 1 mm floor.
Why we didn't just press it
This is how front crowns end up looking too big. If the prep under pressed emax crowns is short, the lab has two ways to get the ceramic thick enough, and both are bad:
Neither one is what the Rx asked for. So we paused the case before design approval and contacted the dentist .
The Options We Sent
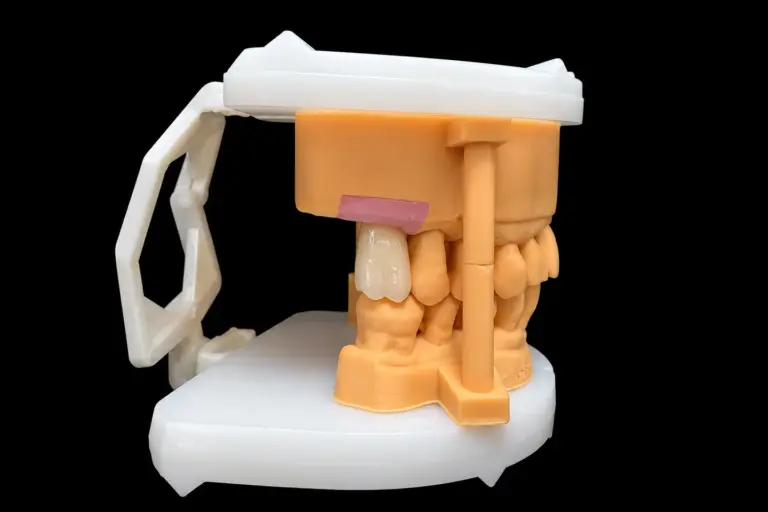
We sent the thickness map, a side view of #8 and #9 with both outlines laid over each other, and four options :
| Option | What happens | The catch | Dentist’s call |
|---|---|---|---|
| 1. Press on the current prep, full thickness | No new prep | Necks of #8 and #9 sit 0.4–0.5 mm proud of the old outline. Not a copy anymore | No |
| 2. Copy the outline, press thin | Shape matches exactly | 0.7–0.8 mm of ceramic, under the 1 mm floor for an adhesive crown | No |
| 3. Take 0.4–0.5 mm more off the facial of #8 and #9, with a printed guide | Shape and thickness both hold | One more short visit, a rescan, and a bit more tooth structure on two teeth | Yes |
| 4. Switch #8 and #9 to full-contour zirconia | Different material, different thickness rules | Two materials side by side in the middle of the smile | No |
The dentist picked option 3 the same day . Their reasoning: the patient came in for “don’t change my teeth,” and options 1 and 4 would have changed them. Option 2 would have looked right on delivery day and put the risk on later.
If the dentist had picked option 1 or 2, we’d have made it to the Rx, with no form to sign. Problems coming from that choice, remakes included, wouldn’t be ours to cover. Our job was to show the trade-off clearly, not to make the call.
How We Copied the Shape Into Four Anterior Emax Crowns
Step 1: The copy design
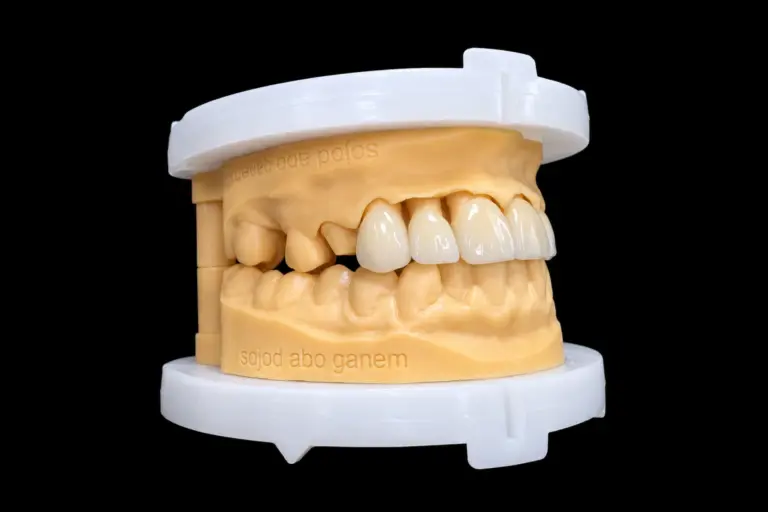
We copied the pre-op outer surface onto all four pressed emax crowns . The inner surfaces of #8 and #9 were set to the planned prep, 0.4–0.5 mm deeper on the facial, so the outer shape didn’t move at all .
During design approval, the dentist asked for one change from the copy. The old composites had closed the incisal embrasure between #8 and #9, and the dentist wanted it opened by 0.2 mm . Everything else stayed as copied. The dentist approved the design in writing .
Every front multi-unit all-ceramic case gets design approval before production here.
Step 2: The reduction guide and provisionals
From the approved design, we printed two things and sent them together :
The dentist used the guide, rescanned #8 and #9, and relined the provisionals chairside . On the rescan, the facial room on both teeth read 1.2–1.3 mm . We sent back a short thickness screenshot to confirm, then moved on to the final crowns.
A quick note on provisionals. On emax crowns front teeth, they’re good for checking shape and length. They’re not good for checking shade, because our printed provisionals come in one shade, with none of the depth of the final ceramic. So nobody judged color on them. The patient wore them for 10 days and was happy with the outline .
Step 3: Four Pressed Emax Crowns From One Lot
The four pressed emax crowns came from one ingot lot, pressed together, so the four units start from the same material . Ingot choice followed the A3 stump and the A2 target. Ivoclar makes IPS e.max Press ingots in several translucency levels, and the stump decides how much translucency the crown can take.
Step 4: Stain, glaze and texture
Pressed emax crowns for front esthetic work go to technicians with 10 or more years at the bench. On these emax crowns front teeth :
Each stain, dilution and firing went on the case file . We also keep the contour and anatomy on record, so a later crown for this patient can match these four.
Step 5: Final checks
A QC technician who didn’t make the anterior emax crowns checked them before shipping:
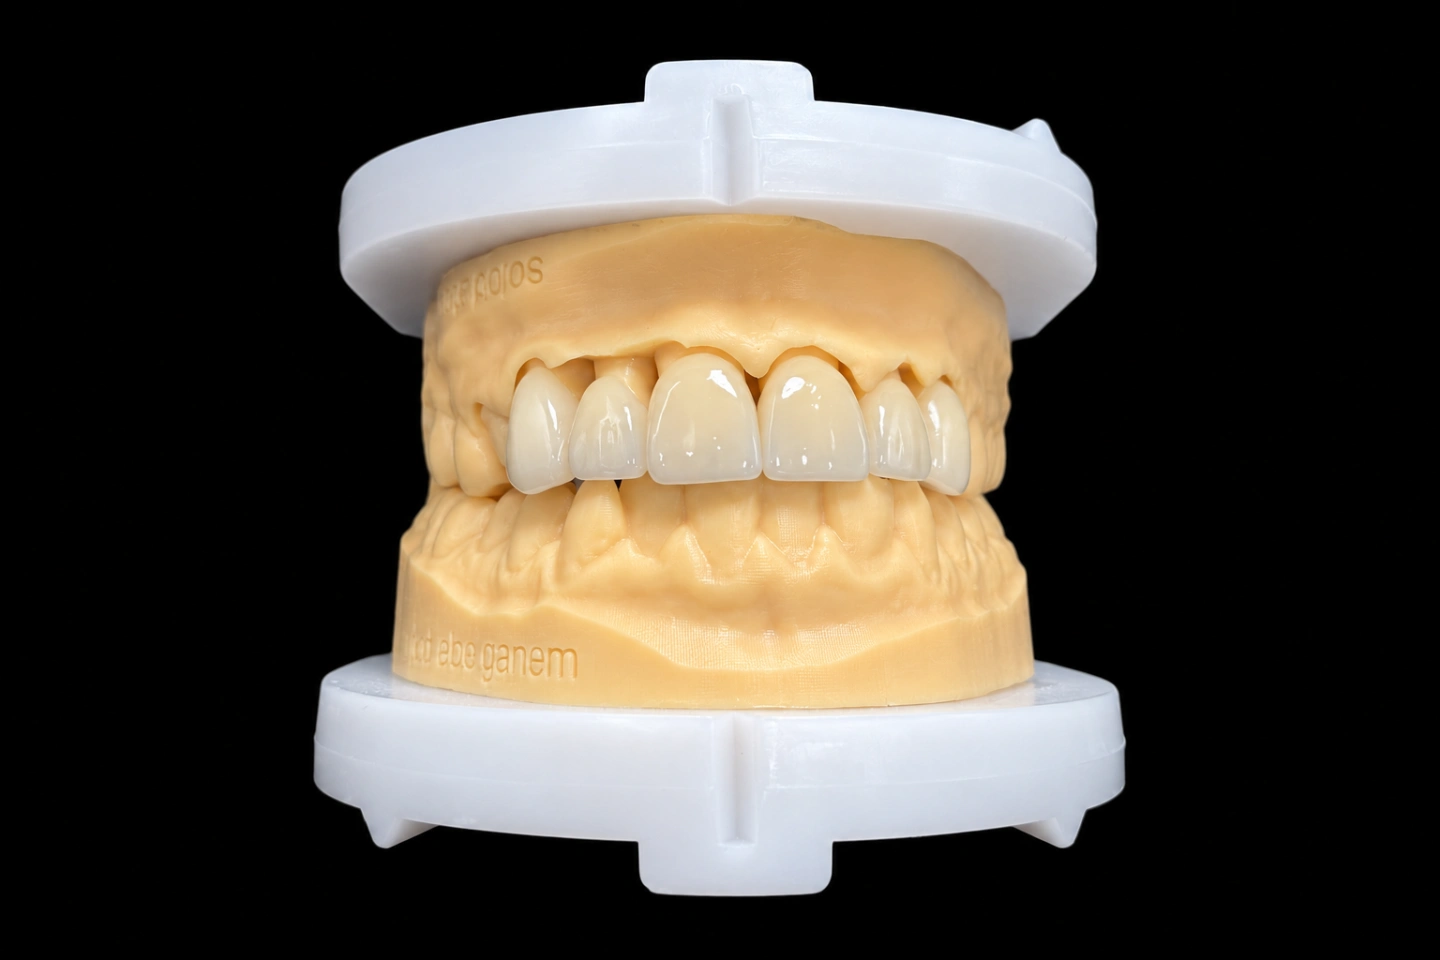
Emax Crowns Front Teeth: The Finished Result
The dentist tried the pressed emax crowns in with try-in paste, then bonded them . Cement choice, bonding steps and isolation were theirs.
What the dentist told us
They said the patient’s first reaction was that the teeth looked “like mine, just cleaner.” That was the brief .
What we gave up
Sending Us Your Own Emax Crowns Front Teeth Case
If your anterior emax crowns need to keep a shape the patient already likes, here’s what helps us most:
The terms:
How to package and ship is on our how to send a case page. More on materials and options is on our e.max crowns and bridges page and our e.max lab page.
Everything is made in our own four labs in Shenzhen and Huizhou, China. We’ve been doing this since 2012, with about 460 people, and nothing gets outsourced. Istar is an FDA-registered establishment, Registration Number 3039441248, which you can check in FDA’s establishment database. The lab works under ISO 13485. You can also book a factory visit or a video tour.
Got front teeth where the shape has to stay? Send your next emax crowns front teeth case as a test case, and we’ll show you the thickness map before we press anything. Send your first case or talk to us.
FAQ
Can you copy my provisionals instead of the pre-op teeth?
Yes. If the patient has worn provisionals they like, scan them in the mouth and send that scan with the prep scan. We copy the outer shape from it the same way, onto pressed emax crowns.
What if I only have photos of the old teeth?
We’ll design to the Rx and the photos, but it won’t be an exact copy, since a photo has no depth. Tell us that up front, so we both know what “same shape” can mean on that case.
Can I mail you a shade tab or an old restoration to match?
Yes. A physical tab or the old crown can travel with the case, and the technician will work next to it.
What if the patient changes the shade after the crowns are made?
A shade change from your side isn’t a free remake. That’s why we send the design first, and why it pays to settle shade before pressing.
Can I get the ingot brand and lot for my case?
Yes. Ask, and we’ll give you the brand, origin, lot number and certificate for that case. We won’t swap a material without your OK, written or verbal.
Can you rush an emax crowns front teeth case?
Rush is free for clients sending 10 or more cases a month. We guarantee the ship date. Arrival depends on customs, so we can’t guarantee that part.