Patient Situation
The patient is an adult in their mid-50s . #19 had a large MO amalgam, placed about 20 years earlier . At a recall visit, the dentist found decay at the mesial box margin and decided to replace it .
Here’s what mattered for the molar inlay design once the amalgam and decay were out:
Why a Molar Inlay Was on the Table
These were the dentist’s calls, and this was the reasoning on the Rx and in their notes .
Not another direct restoration
The cavity was wide after the amalgam came out. A review of ceramic inlays in posterior teeth names excessive isthmus width as one of the spots where a ceramic inlay is a real alternative to direct composite.
Not a crown
The buccal side and the distal ridge were sound, and the dentist didn’t want to cut them. Published figures put tooth removal at 67.5–75.6% for full crowns and 35.5–46.7% for onlays and partial crowns. An inlay isn’t in that data, so we don’t quote a number for it.
Not an onlay, at least at first
Covering a cusp means cutting one, and these cusps looked fine on the day. Then the scan came in.
What the Dentist Asked For
Condensed from the Rx and the notes :
What We Found on the Scan
We ran a records check first, then measured the prep digitally against published prep guidance. The references come from that same ceramic inlay review and GC’s indirect restoration technique cards. They’re reference points for a conversation with the dentist, not a pass or fail line.
| Check | Published reference | #19, first scan | Status |
|---|---|---|---|
| Pulpal depth | 1.5–2 mm | 1.8 mm | Fine |
| Occlusal isthmus | At least 2 mm | 3.4 mm | Fine |
| Proximal step | At least 1 mm | 1.3 mm | Fine |
| Gap to #20 | At least 0.5 mm | 0.7 mm | Fine |
| Cavosurface margin | About 90°, no bevel | Butt joint | Fine |
| Remaining walls | At least 2 mm | Buccal 2.6 mm, distolingual 2.3 mm, mesiolingual 1.7 mm | Flagged |
| Margin vs. occlusal contact | Margin off the contact | #14 contact 0.2 mm past the distal end of the outline | Flagged |
| Undercuts | None | 0.3 mm on the lingual axial wall, where the old amalgam was undercut | Flagged |
Most of this inlay molar prep was in good shape. Three spots weren’t, and none of them was something to quietly fix in ceramic.
We paused the case and posted marked-up screenshots in the case’s WhatsApp group the same day, along with what each finding could mean .
Inlay vs Onlay: The Call on This Molar
On paper, 1.7 mm is under the 2 mm reference. On a real tooth, it’s one short stretch of one wall, about 2 mm long, under one cusp . So inlay vs onlay wasn’t an automatic answer here.
The fair worry with any molar inlay is wedging. It sits between the cusps, so a heavy bite can load the walls from the inside. We don’t have a clean clinical number for how thin is too thin on a molar.
The bench data doesn’t settle it either. A study of milled lithium disilicate MOD restorations in premolars found no significant fracture-load effect from isthmus width or cusp coverage, but premolars aren’t molars and a bench isn’t a mouth. So it comes down to clinical judgment, and the dentist has the tooth in front of them.
Here’s how we laid out the inlay vs onlay options :
| Option | What it takes | What to weigh |
|---|---|---|
| Keep the inlay | Accept the thin stretch, adjust the outline and undercut, keep load off that wall in the design | Saves the cusp. The cusp stays thin and needs a close look at try-in. |
| Cover the mesiolingual cusp | New prep with about 2 mm of occlusal reduction over that cusp, then a new scan | Takes the thin wall out of the question, but cuts a cusp with no crack in it. A systematic review of ceramic onlays links longevity to at least 2 mm of occlusal ceramic. |
| Full crown | Full prep, new scan | Not needed for the thin wall alone, and it costs the sound buccal side and distal ridge. |
The dentist kept the molar inlay. Their reasoning: the tooth was vital, the distal ridge was intact, the rest of the walls were thicker, and there were no signs of parafunction . They added one condition. At try-in, they’d take the provisional off and check that cusp under magnification. Any crack line, and the case would become an onlay with a new scan .
Had they picked the onlay, we’d have built the onlay. Both were defensible.
What Changed Before Design
The dentist saw the patient for a short visit two days later . They changed two things and sent a new scan:
They didn’t touch the mesiolingual wall. It stayed at 1.7 mm on the new scan, and we noted that on the design .
An extra visit costs everyone something. Here it added two days and a bit of the patient’s time. Still beats a margin sitting right on a contact.
How We Met Each Requirement
| Dentist’s requirement | What we did | How we checked it |
|---|---|---|
| MO inlay in IPS e.max Press | Pressed in IPS e.max Press, as written on the Rx. No material change. | Material checked against the Rx before pressing. |
| No cusp coverage | Kept the molar inlay inside the cavity outline. Every cusp stays natural. | Design overlaid on the new scan. |
| Added after the scan: keep load off the thin wall | Kept the #14 contact in the central fossa, with shallow inclines, so it doesn’t push toward the mesiolingual wall . | Contacts checked in the design, then on the model with the bite. |
| Contact off the margin | Placed the #14 contact 0.5 mm inside the ceramic . | Contact overlay in the design. |
| Normal contact with #20 | Set the contact height to match #20 and the tightness to normal . | Checked on the model, before and after glazing. |
| A3, no gray showing | Picked the ingot from the shade photos and the photo of the prepared cavity (IPS e.max Press MT A3; its extra opacity hides the gray amalgam staining on the cavity floor). Stained the fissures lightly to match #18 . | Compared with the photos under standard lighting. |
| Thickest point reported | Measured 3.6 mm at the mesial box in the design , and sent it with the approval file. | Value recorded with the design file . |
| Design approval | Sent the design on day 3, approved on day 4 with no changes . | Pressing started only after approval. |
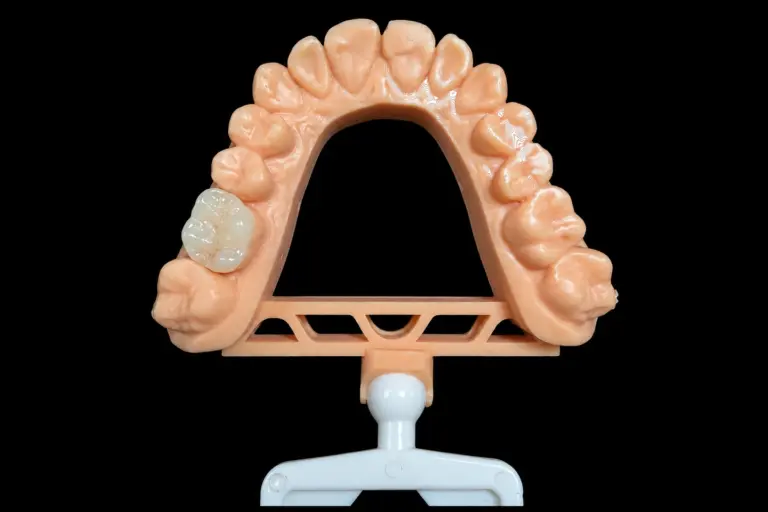
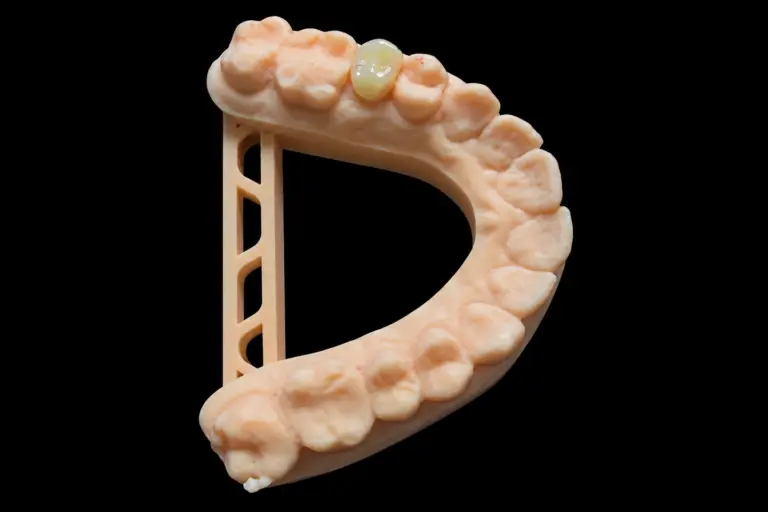
Making This Inlay Molar, Step by Step
Bonding Notes Sent With the Case
Lithium disilicate gets bonded, and the bond does the work here. The ceramic inlay review calls for excellent isolation, etching the ceramic, silane and etching the prepared tooth. It also notes that margins in enamel give a stronger bond and that dentin margins carry more risk of leakage. All of this molar inlay’s margins were on enamel .
We left the inner surface clean, ready for the dentist’s etch and silane .
That 3.6 mm figure came in handy too . The same review cites a lab study where a typical 40-second light exposure didn’t make up for light loss through 4 mm of porcelain. So on thick spots, dual-cure cement and generous curing time are worth planning for. Cement choice stayed with the dentist.
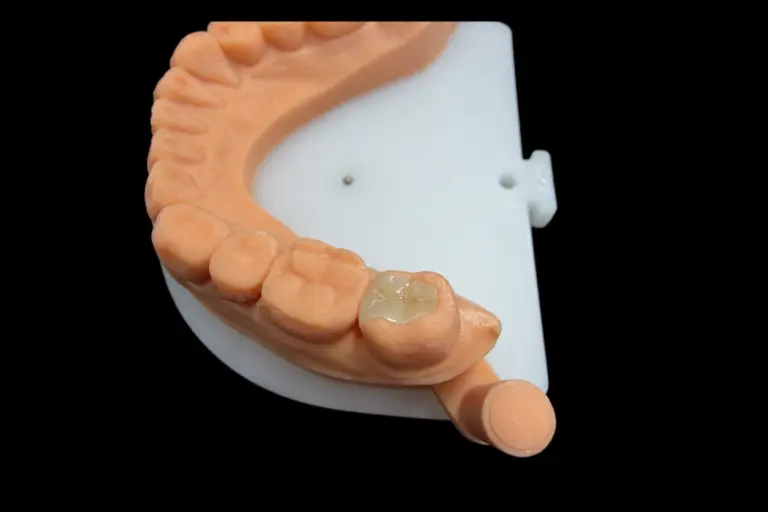
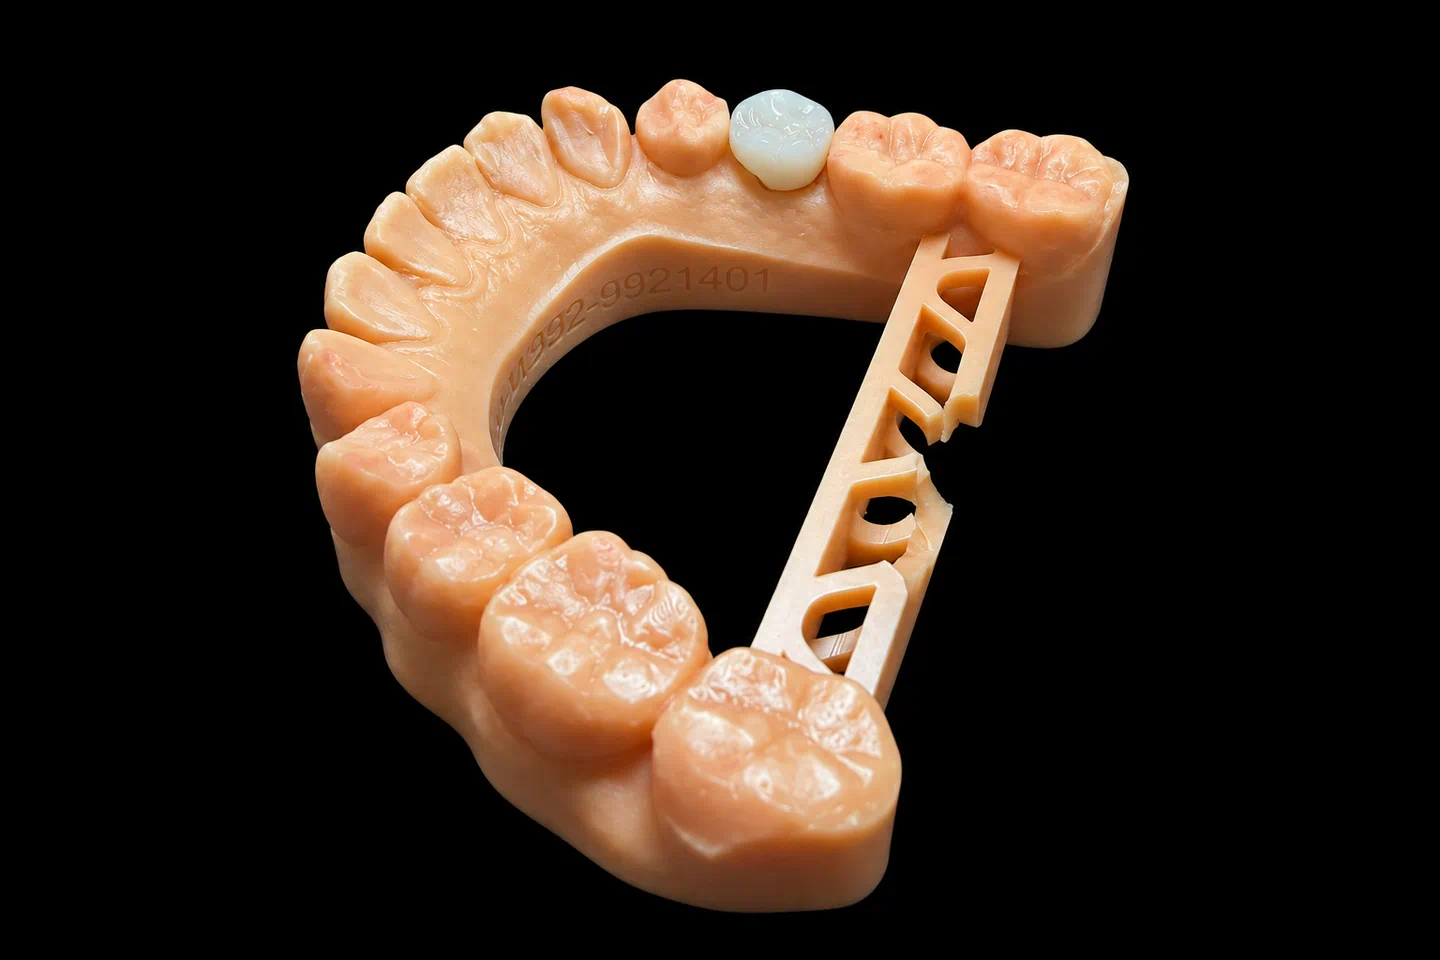
The Finished Inlay Molar
The occlusal adjustment was small, and that’s normal on a bonded ceramic. The review points out that it’s often most practical to bond first and verify occlusion after. That’s why we try to send an inlay molar that needs very little grinding: a chairside finish generally doesn’t match a lab polish.
Dentist and patient feedback
Summarized from the dentist’s message after the insert appointment :
happy with the seat and the short chair time. The margins and the #20 contact needed no work, and the one high spot was quick to fix. They also said the marked-up screenshots made the inlay call easier, and the extra visit was worth it to get the contact off the margin .
said the bite felt normal once the high spot was gone, and the edges felt smooth to the tongue. Floss went through without catching, and they were pleased the rest of the tooth stayed as it was .
This is feedback from the day of the appointment, not a follow-up report.
Sending an Inlay Molar Case
To run the same checks on your next molar inlay, here’s what helps:
Our lead time for an inlay molar case is generally 5–7 working days from the day we receive the case. Simple ones can take 2–3. For the full range, see our inlays and onlays, ceramic inlays and onlays and e.max dental lab.
Who Made It
This inlay molar case went through our CAD design team (about 100 people), our ceramics group (about 70) and a separate QC team of about 25. They work inside Istar Dental Lab’s four labs in Shenzhen and Huizhou, China. We’ve been running since 2012, have about 460 staff and don’t outsource any step.
Istar Dental Lab is an FDA-registered establishment (Registration Number 3039441248), which you can check in the FDA establishment registration database. Our labs run an ISO 13485 quality management system. Custom-made devices for the EU follow the MDR custom-made device procedure. You’re welcome to visit the factory or book a video tour.
Inlay Molar FAQ
When would you bring up an alternative to an inlay on a molar?
We’d raise it if the Rx or records show heavy loading, grinding or clenching, poor plaque control, active decay, or a deep subgingival margin that makes a dry field hard to get. The ADA’s overview of indirect materials also lists high-stress areas as a contraindication for all-ceramics, depending on the material. We’d also bring it up after a root canal with no marginal ridge left, since GC’s cards call for cusp coverage there.
You make the call. If you still want the design, we’ll make it to your Rx, and problems that come from that design, remakes included, aren’t on our side.
Do you make metal inlays as well?
Yes. See our metal inlays for that route. This molar inlay is ceramic because that’s what the Rx asked for.
Which scanners do you work with?
3Shape TRIOS, Medit, iTero, CEREC, Shining3D Aoralscan and Planmeca, plus any scanner that exports open files.
Do you accept physical impressions?
Yes. Send VPS impressions of the prep and opposing arch with a VPS bite registration. Skip wax bites, because they soften and distort in transit.
Can you make the provisional?
Yes, in composite or PMMA, including 3D-printed ones. Ask when you send the case.
What warranty comes with it?
Three years. We remake free of charge for problems on our side, like an open margin, an open contact, a high bite, a restoration that won’t seat, or an inaccurate shade. Changing the shade or material afterward isn’t free, and neither is a poor impression we flagged and you asked us to run anyway. You pay to send a case in, and we pay to ship finished work back, remakes included.
Can you rush it?
Rush service is free for clients who send us 10 or more cases a month, for any material or case type. We guarantee the ship date. We can’t guarantee the arrival date, because customs times vary.
How is pricing handled?
We don’t publish prices on the website. Ask for our price list, and we’ll quote each case item by item. Single trial cases are welcome, and ongoing partnerships suit clinics with a regular case flow.
Got a Molar You're Not Sure About?
Send us the prep scan of your next inlay molar and ask for a prep check. We’ll look at the walls, the margin and the contacts, and tell you what we see before anything gets made. You can also request our price list.