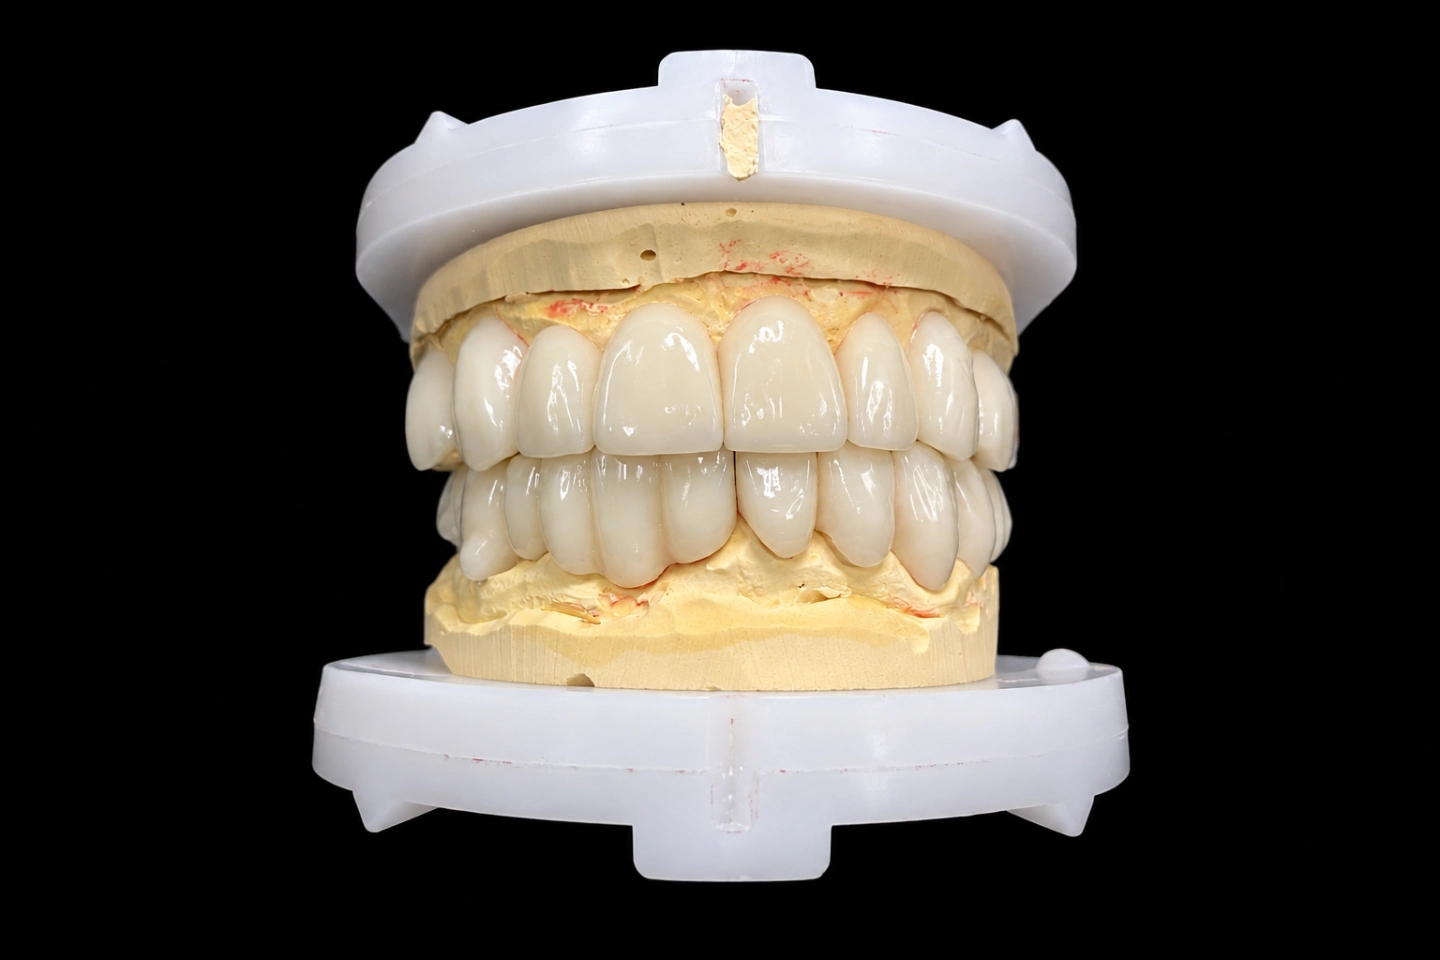
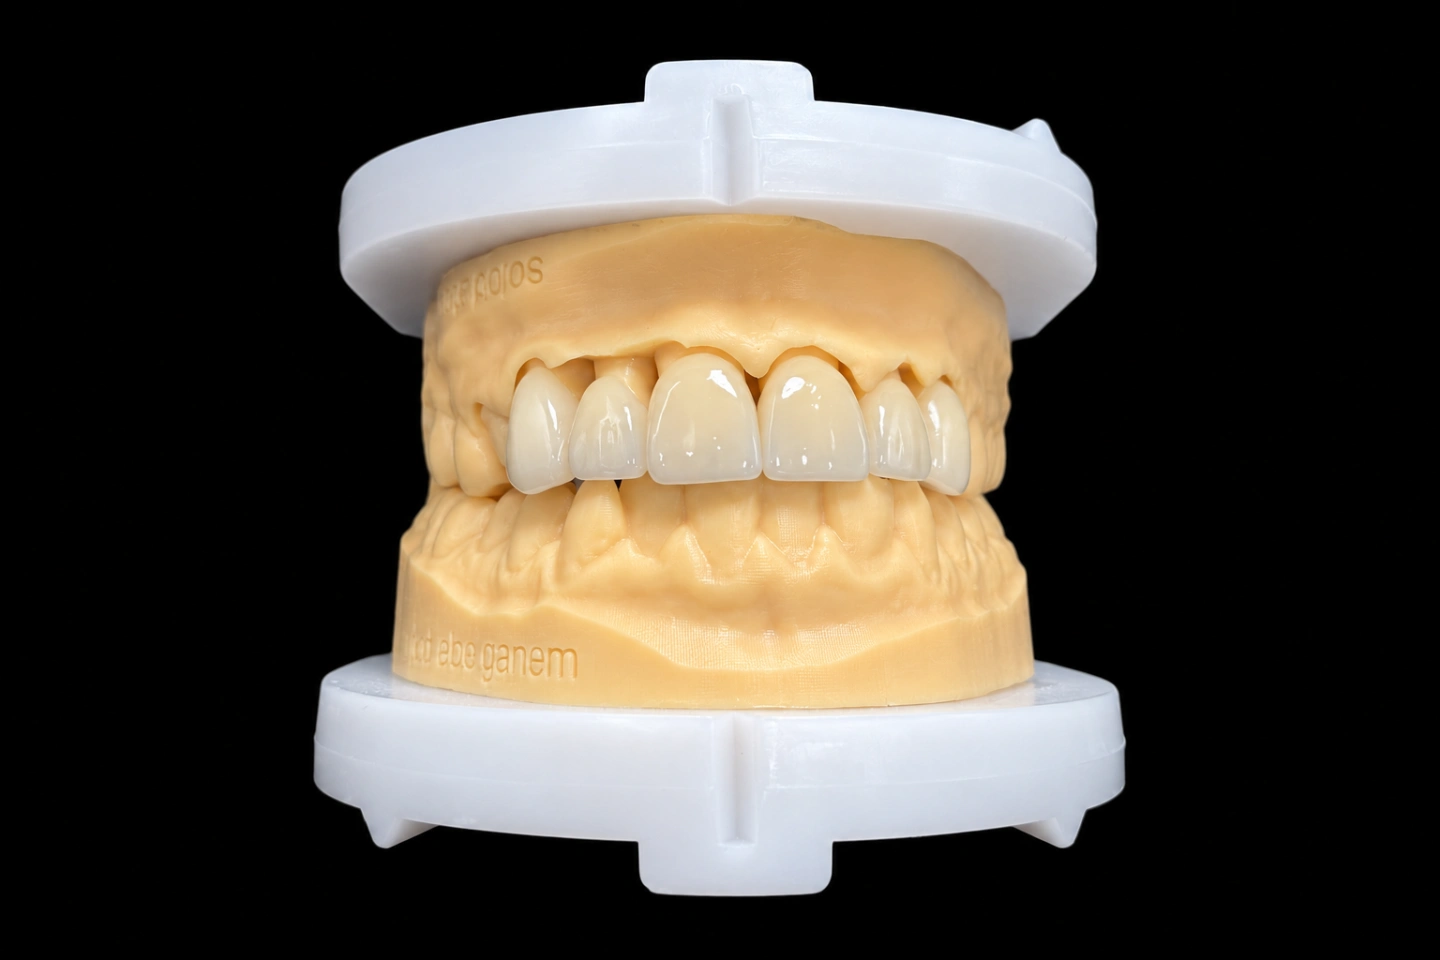
Patient Situation
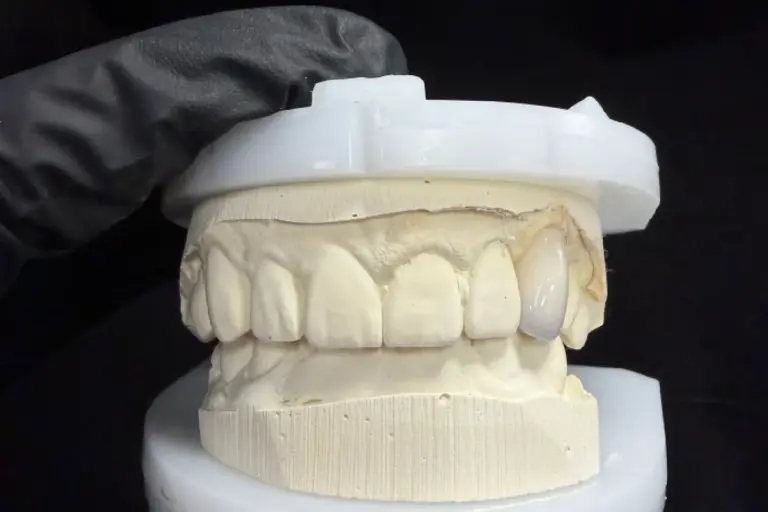
The patient is an adult in their late 30s . They hurt #9 as a teenager, and the tooth had a root canal years later . Since then it has slowly gone gray. The palatal access cavity is closed with composite, and the facial enamel is intact .
Here’s what the scans and photos showed before we planned the discolored tooth veneer:
That last point mattered. If the gum line had stayed hidden, a slightly darker cervical third would have been easy to accept. Here, it shows.
What the Dentist Asked For
The Rx was short. Condensed from the dentist’s notes :
Requests 2, 3, and 4 pull against each other, and that’s where the work was.
Why Translucent Zirconia for This Tooth
For most veneers on a normal-colored tooth, glass ceramic gives the most natural look, and we make pressed e.max veneers for exactly that. Translucent zirconia veneers are stronger and more wear-resistant than glass ceramic. On this tooth, the dentist also wanted more masking than a thin, highly translucent glass ceramic usually gives, without going deeper into the tooth.
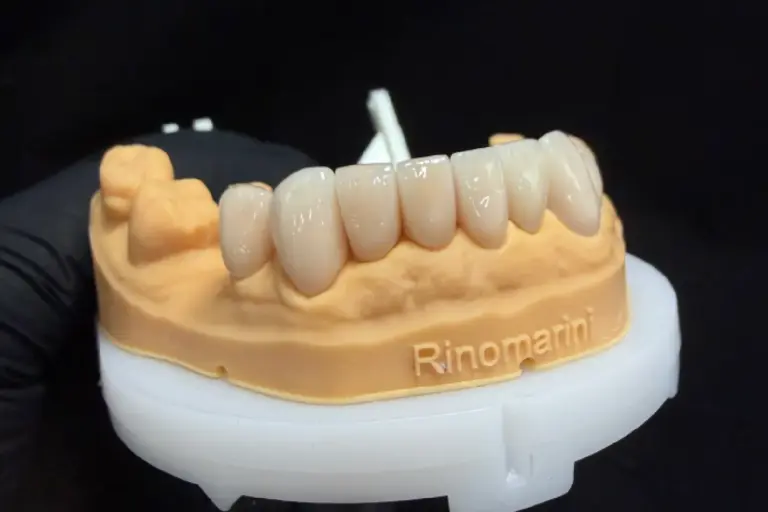
We made the veneer in multilayer zirconia. A multilayer blank is still one piece of zirconia, but its shade and translucency change from the cervical end to the incisal end. That gradient is useful here. The cervical layer is more opaque and helps with the gray stump. The incisal layer is more translucent and helps with the match to #8.
The Technical Problem in This Zirconia Veneer Case
Thin zirconia lets the stump show through
The final color of thin translucent zirconia veneers isn’t set by the ceramic alone. It’s the ceramic plus the stump plus the cement. A study on ultra-translucent multilayer zirconia veneers found that thickness, the zirconia layer, and the cement shade all changed the final color, and thinner veneers changed more. Another study on masking dark substrates with high-translucency zirconia found that more thickness masked better, and that thin zirconia may not hide a dark tooth.
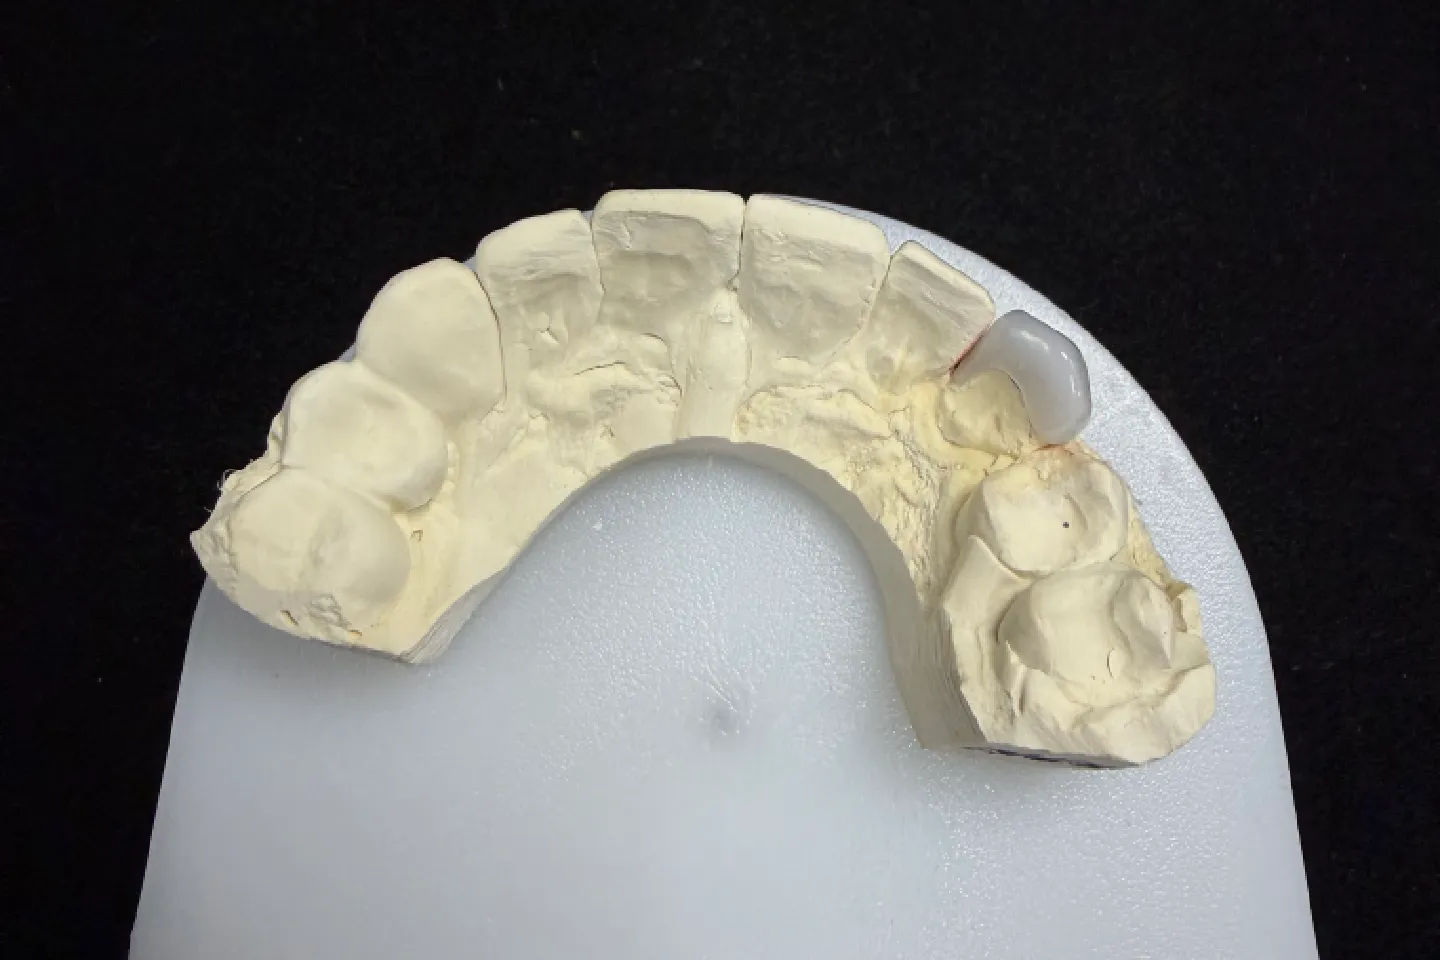
On this case, the cervical third had about 0.4 mm of room . That’s where the stump is darkest and where the gum line shows.
Making it thinner or thicker both cost something
Going thinner wasn’t an option. In one lab test, thinner zirconia laminate veneers broke at lower loads than thicker ones. We design every veneer to at least the zirconia maker’s minimum for veneers, and 0.4 mm was right at the edge of it .
Going thicker meant either a bulky cervical contour or a deeper prep. The dentist had ruled out both.
The incisal edge was the easy part
The incisal 1.0 mm of the veneer sits past the prepped edge, so there’s no stump behind it. That’s where #8’s translucency and halo live. We could keep that zone open and translucent without any risk of gray showing through. The masking work only had to happen in the cervical and body thirds.
How We Met Each Requirement
Before we started the design, we flagged the 0.4 mm cervical room to the dentist on WhatsApp with screenshots of the prep measured on the scan . We gave two options:
The dentist chose to keep the prep and protect the enamel . Everything below follows from that choice.
| Dentist’s requirement | What we did | How we checked it |
|---|---|---|
| Prep in enamel, no deeper than 0.6 mm | Designed to the prep as received. Veneer thickness of about 0.4 mm cervical, 0.6 mm body, and full length at the incisal edge . | Thickness map in the CAD software before milling. |
| Hide the gray stump | Placed the design in the multilayer blank so the more opaque layer covers the cervical and body thirds. Added a masking layer on the inner surface over those two thirds, fading out before the incisal third (masking liquid brushed on the intaglio and cervical two thirds before sintering). | Checked against the stump and neighbor photos in the lab; final check at the dentist’s try-in. |
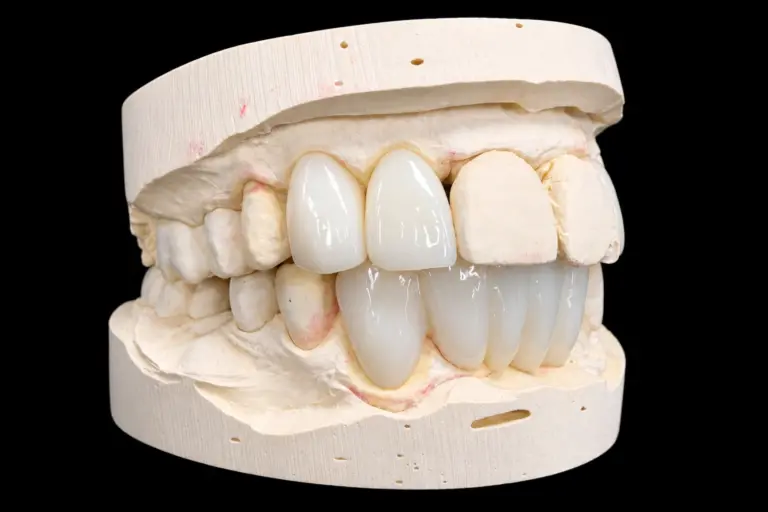
| Match #8’s translucency and halo | Kept the incisal third free of masking. Stained the translucent edge and the faint halo, and copied #8’s surface texture from the color scan and photos. | Side-by-side check with the #8 photo and the PLY scan. |
| Keep #9’s outline and length | Used #9’s pre-op scan as the outline, then checked it against a mirrored copy of #8 for symmetry. | Overlay of the design on the pre-op scan. |
| Design approval before milling | Sent design screenshots to the dentist on day 1 . The dentist asked us to round the distoincisal corner a little to match #8 . Approved on day 2 . | Milling started only after written approval. |
| Translucent zirconia, not glass ceramic | Multilayer zirconia as written on the Rx. | No material change. If we’d seen a reason to switch, we’d have asked first. |
Making the Translucent Zirconia Veneer, Step by Step
Bonding Notes We Sent With the Case
Translucent zirconia veneers have no glass phase, so HF etching and silane alone won’t give a reliable bond. A review of zirconia bonding methods covers why MDP-based protocols work. We recommended an MDP primer with a resin cement.
Cement shade is part of the color on a translucent zirconia veneer this thin. We suggested trying in two shades, a neutral one and a slightly more opaque one, to see which settled the cervical third better . We also noted that try-in paste is a guide, not a guarantee. In one study, try-in paste and the final, set cement didn’t always match, and the gap changed with shade and thickness.
The Finished Translucent Zirconia Veneer
Here’s how the veneer measured against each design goal:
At try-in, the dentist chose the neutral cement shade . The slightly lower value at the cervical third was the trade-off we’d flagged before design, and the dentist accepted it to keep the enamel .
There’s a limit here, too. A translucent zirconia veneer this thin can only mask so much. If a stump is darker than this one, or the cervical room is under the material’s minimum, full masking needs more space. That means a deeper prep or a different plan, and we raise it at the records check.
Sending a Discolored Tooth Veneer Case Like This
If your next zirconia veneer case has a dark tooth and little room, these records let us run the same checks before production:
Translucent zirconia veneers take 5–7 working days in our lab, counted from the day we receive the case. For the full range of options, see our zirconia veneers.
Who Made It
This translucent zirconia veneer went through our CAD design team (about 100 people), our milling department (about 70), and our ceramic and metal department (about 70). They work inside Istar Dental Lab’s four labs in Shenzhen and Huizhou, China. Istar has been running since 2012 and has about 460 staff. Every step happens in our own labs, and we don’t outsource. A separate QC team of about 25 inspects work before it ships.
Istar Dental Lab is an FDA-registered establishment (Registration Number 3039441248), which you can check in the FDA establishment registration database. Our labs run an ISO 13485 quality management system. You’re welcome to visit the factory or book a video tour.
Translucent Zirconia Veneers FAQ
Do you accept physical impressions?
Yes. Send VPS impressions of the prep and the opposing arch with a VPS bite registration. Please don’t send wax bites, because they soften and distort in transit.
Can you make the provisional or a mock-up first?
Yes. We can make a diagnostic wax-up or mock-up before the prep, and provisionals in composite or PMMA, including 3D-printed ones.
Can you rush translucent zirconia veneers?
Rush service is free for clients who send us 10 or more cases a month, for any material or case type. We guarantee the ship date. We can’t guarantee the arrival date, because customs times vary.
What warranty comes with translucent zirconia veneers?
Veneers carry our 3-year warranty, the same as crowns. You pay to send a case in, and we pay to ship finished work back, remakes included.
How is pricing handled?
We don’t publish prices on the website. Ask for our price list, and we’ll quote each case item by item to your requirements. Single trial cases are welcome, and ongoing partnerships suit clinics with a regular case flow.
Send Us Your Next Dark-Tooth Veneer
Send a test case with your scans, the stump shade photo, and your Rx. We’ll measure the room you’ve left and tell you how much masking it allows before we make anything. You can also request our price list or book a factory or video visit.