Patient Situation
The patient is an adult in their mid-40s . #8 had a mesial composite that had been replaced twice in about six years . Each time, the palatal margin stained and leaked, and the last one had chipped at the mesial contact .
Here’s what the scans and photos showed:
That combination is rare on a front tooth, and it’s what made an anterior inlay a real option here.
Why an Inlay, Not a Crown, Veneer or New Composite
These were the dentist’s calls. Here’s their reasoning.
One honest note. An inlay isn’t automatically “more conservative” than composite. The walls have to flare a little so the inlay can seat, and that costs some tooth. What this central incisor inlay saves is the facial enamel and the incisal edge, not every bit of tooth.
What the Dentist Asked For
Condensed from the dentist’s Rx and notes :
The Technical Problems in This Front Tooth Inlay
The incisal edge decides what the restoration is called
If the defect had reached the incisal edge, this wouldn’t be an inlay anymore. Covering the edge turns it into an anterior onlay or a palatal partial-coverage restoration. That changes the prep, the thickness and the way load hits the ceramic. So the first thing we checked was the 1.5 mm of sound incisal enamel . It was enough to keep the design inside the tooth.
Thin walls and a short path of insertion
An incisor is thin from facial to palatal. The inlay goes in from the palatal and slightly mesial side, and there’s very little wall height to guide it. A tiny undercut that a molar inlay could live with can stop a front tooth inlay from seating at all.
A bevel on a ceramic margin
For ceramic inlays, a review of ceramic inlay preparation recommends a smooth butt-joint margin with rounded internal angles and generally advises against bevels. A bevel leaves a thin ceramic edge that can chip during try-in or finishing. Veneer and composite preps often use bevels, so they show up on inlay preps too.
Color at a spot you can see from the front
Most of this front tooth inlay sits on the palatal side, where nobody looks. The mesial line angle is different. It shows in a smile, right next to #9. So the inlay had to blend into the facial enamel at that edge, and the old composite stain on the walls couldn’t show through.
The Prep Check: What We Found and What Changed
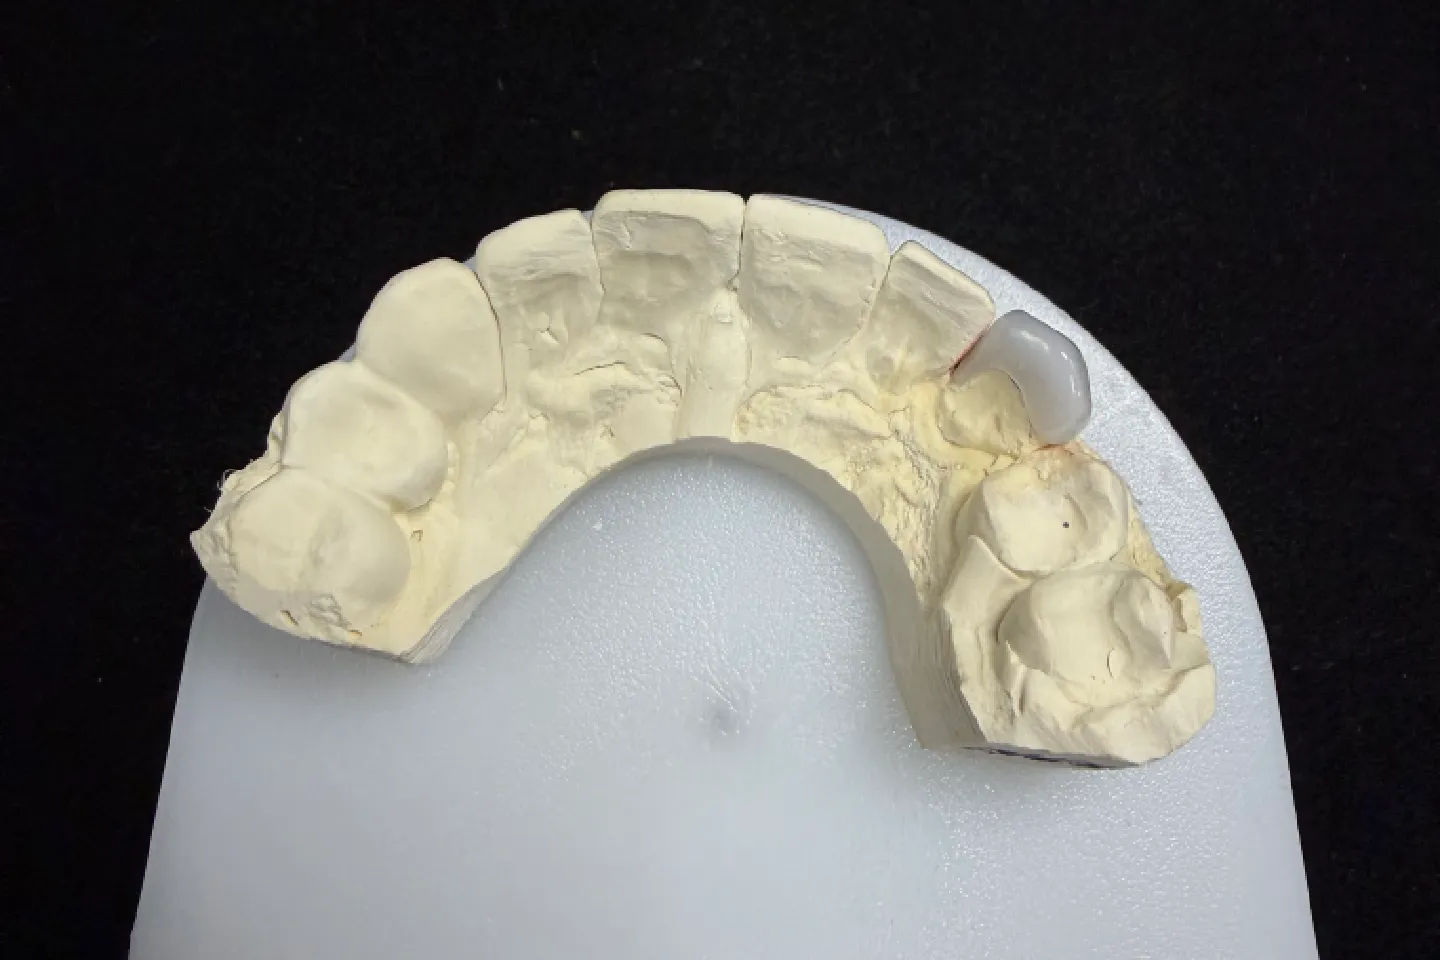
Every case starts with a records check before design. On this anterior inlay we found two things :
| What we saw on the scan | Why it mattered | What happened |
|---|---|---|
| A bevel of about 0.5 mm on the palatal margin | Thin ceramic edge at the palatal margin, likely to chip | We paused the case and sent the dentist a marked-up screenshot on WhatsApp. They smoothed the palatal margin to a butt joint and sent a new scan the same day . |
| An undercut of about 0.2 mm on the mesial-facial wall | Would block seating along the planned path | Small enough to handle in the lab. We blocked it out in the design, so the inlay fits around it, and told the dentist. No re-prep needed . |
Our rule is simple. If a fix is small and standard, our technicians make it and tell you. If it needs the tooth to change, or the records disagree with each other, we stop and ask. We don’t try to make up for a prep problem in the ceramic. The production clock starts again when we get your reply.
How We Met Each Requirement
| Dentist’s requirement | What we did | How we checked it |
|---|---|---|
| Mesio-palatal inlay in IPS e.max Press | Pressed the inlay in IPS e.max Press, as written on the Rx. No material change. | Material checked against the Rx before pressing. |
| Don’t cover the incisal edge | Kept the design inside the cavity. The incisal 1.5 mm of enamel stays natural . | Design overlaid on the prep scan. |
| Match #9 at the mesial line angle | Picked the ingot from the shade photos (IPS e.max Press LT, low translucency, in the shade matched to #9). Our ceramist then stained the mesial line angle to blend into the facial enamel and match #9. | Compared with the #9 photo and the PLY color scan under standard lighting. |
| Firm contact with #9 | Placed the contact in the incisal third, where #8 and #9 touch naturally, and set it to “normal” tightness . | Checked on the model before and after glazing. |
| Protrusive contact on enamel | Shaped the palatal surface so the lower incisors glide on natural enamel, not on the inlay margin . | Protrusive and lateral movements checked on the model with the bite scan. |
| Bonding with resin cement | Left the inner surface clean and ready for the dentist’s etch and silane. | Inner surface checked for nodules, pores and residue. |
| Design approval before pressing | Sent the design on day 1 . The dentist asked us to round the mesio-incisal corner a little to match #9 . Approved on day 2 . | Pressing started only after written approval. |
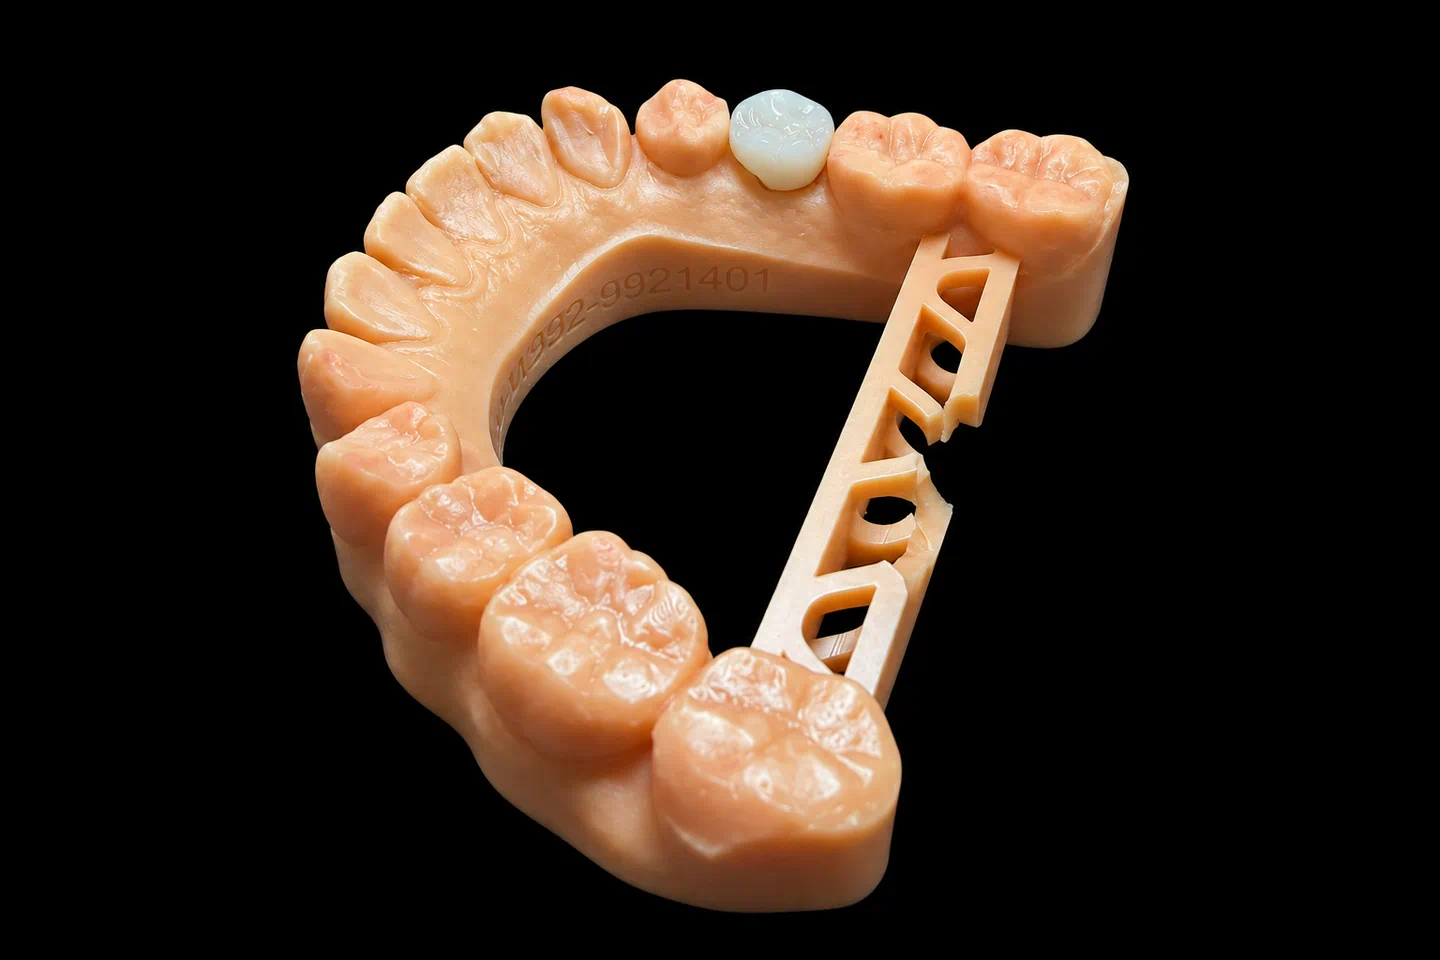
Making the Central Incisor Inlay, Step by Step
Bonding Notes We Sent With the Case
Lithium disilicate is a glass ceramic, so it’s bonded, not just cemented. Ivoclar’s instructions for IPS e.max Press call for etching the inner surface with 5% hydrofluoric acid for 20 seconds and then applying silane. The bonding surface shouldn’t be sandblasted. Try-in comes before etching.
We suggested a resin cement such as Variolink. On the tooth side, isolation matters more on an anterior inlay than most people expect. The palatal margin is easy to contaminate, and that margin is exactly where the old composite kept leaking.
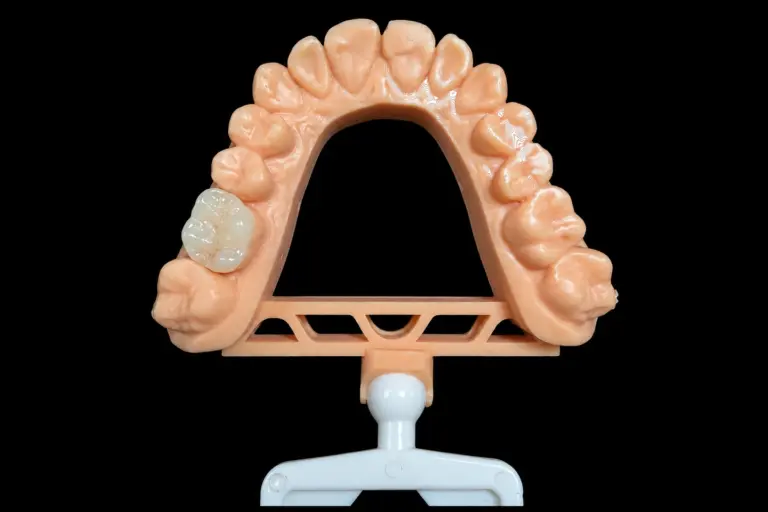
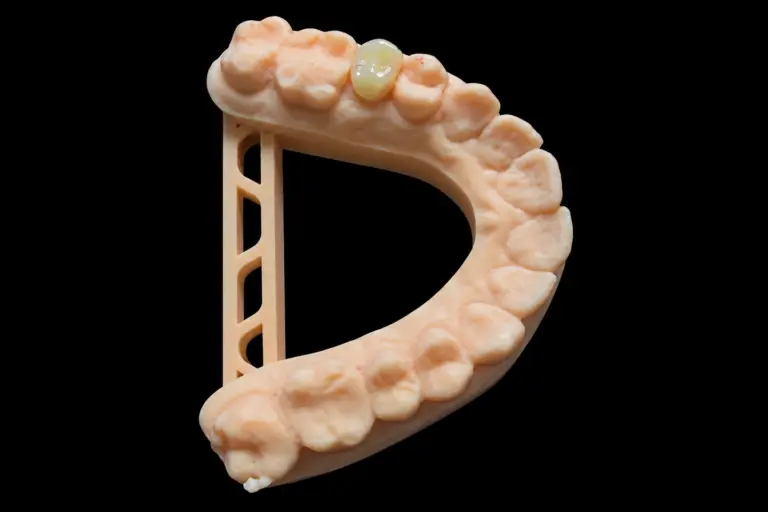
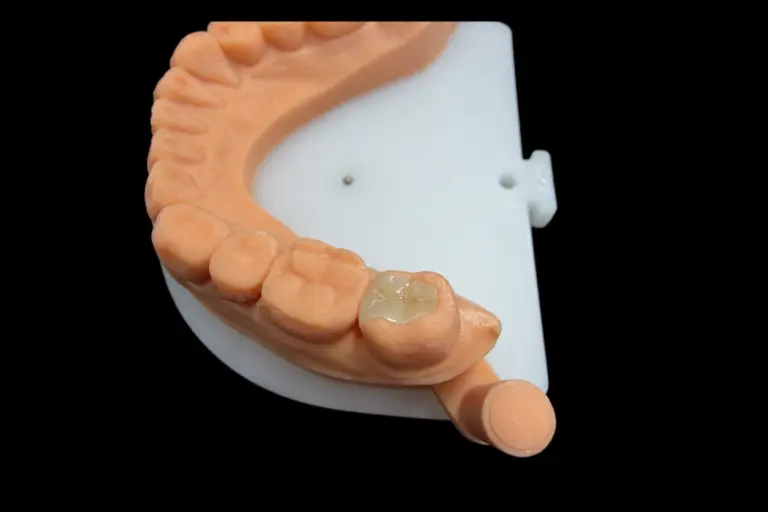
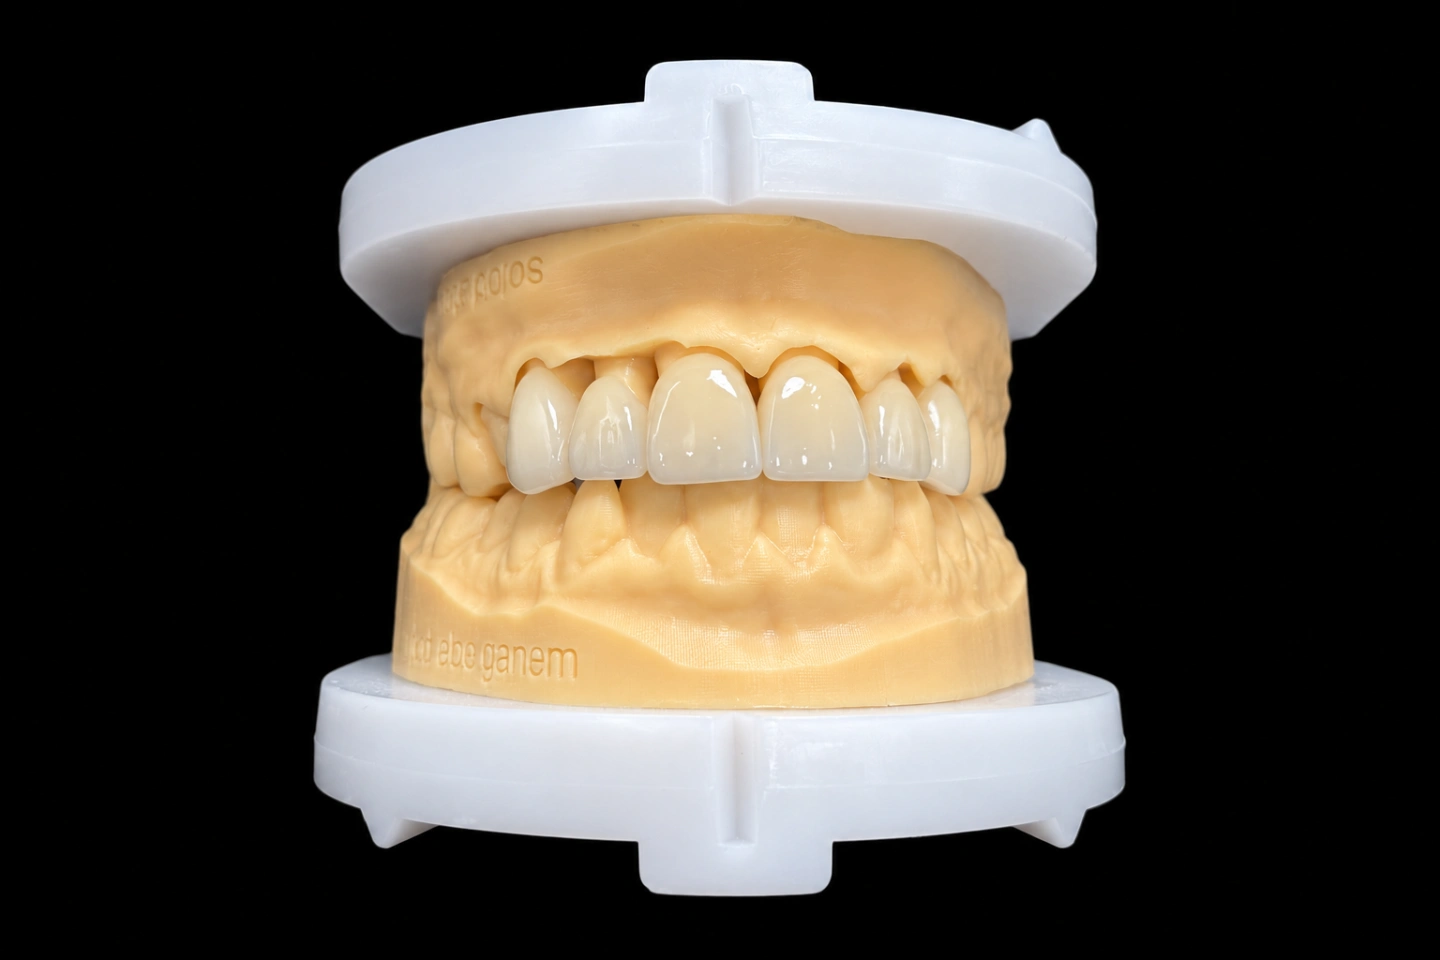
The Finished Front Tooth Inlay
Here’s how the front tooth inlay measured against each design goal:
We judge a front tooth inlay at the insert appointment. A well-made one needs little or no adjustment, and a lot of grinding at the chair usually means something was off in the lab. On this case, the dentist bonded the inlay without adjusting it .
Sending an Anterior Inlay Case
If you have a front tooth that fits this window, here’s what lets us run the same checks:
A front tooth inlay usually takes 5–7 working days in our lab, counted from the day we receive the case. Simple cases can take 2–3. For posterior work and the full range, see our inlays and onlays and our e.max dental lab.
Who Made It
This front tooth inlay went through our CAD design team (about 100 people), our ceramics department (about 70) and a separate QC team of about 25. They work inside Istar Dental Lab’s four labs in Shenzhen and Huizhou, China. We’ve been running since 2012, have about 460 staff, and don’t outsource any step. Every case goes through QC before it ships.
Istar Dental Lab is an FDA-registered establishment (Registration Number 3039441248), which you can check in the FDA establishment registration database. Our labs run an ISO 13485 quality management system. You’re welcome to visit the factory or book a video tour.
Front Tooth Inlay FAQ
Which scanners do you work with?
3Shape TRIOS, Medit, iTero, CEREC, Shining3D Aoralscan and Planmeca, plus any scanner that exports open files.
Do you accept physical impressions?
Yes. Send VPS impressions of the prep and the opposing arch with a VPS bite registration. Please don’t send wax bites, because they soften and distort in transit.
Can you make the provisional?
Yes. We make provisionals in composite or PMMA, including 3D-printed ones.
What should I do if the inlay doesn't seat?
Don’t force it or grind the inside. Contact us with photos. A slightly high bite can be adjusted chairside. For a crack, an open margin or an inlay that won’t seat, we’ll want to look at it first, and usually ask for a new scan.
What warranty comes with it?
Three years, the same as our crowns. You pay to send a case in, and we pay to ship finished work back, remakes included. If a remake needs a new prep, the remake is still free.
Can you rush it?
Rush service is free for clients who send us 10 or more cases a month, for any material or case type. We guarantee the ship date. We can’t guarantee the arrival date, because customs times vary.
How is pricing handled?
We don’t publish prices on the website. Ask for our price list, and we’ll quote each case item by item. Single trial cases are welcome, and ongoing partnerships suit clinics with a regular case flow.
Send Us Your Next Front Tooth Inlay
Send the scan of your next anterior inlay prep with your Rx and shade photos. We’ll check the margin, the path and the incisal edge before we make anything, and tell you straight away if something needs to change. You can also request our price list or book a factory or video visit.