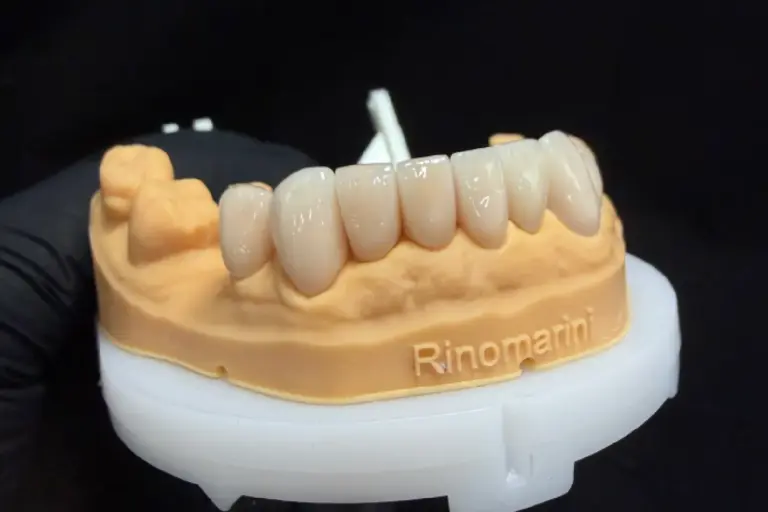
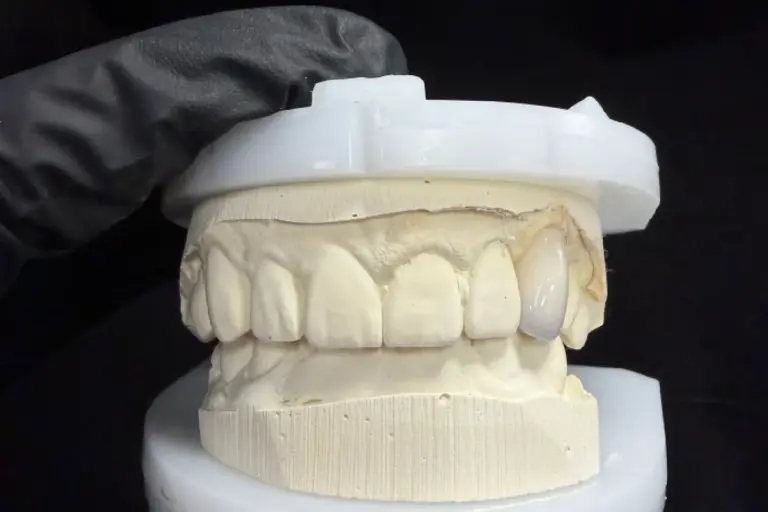
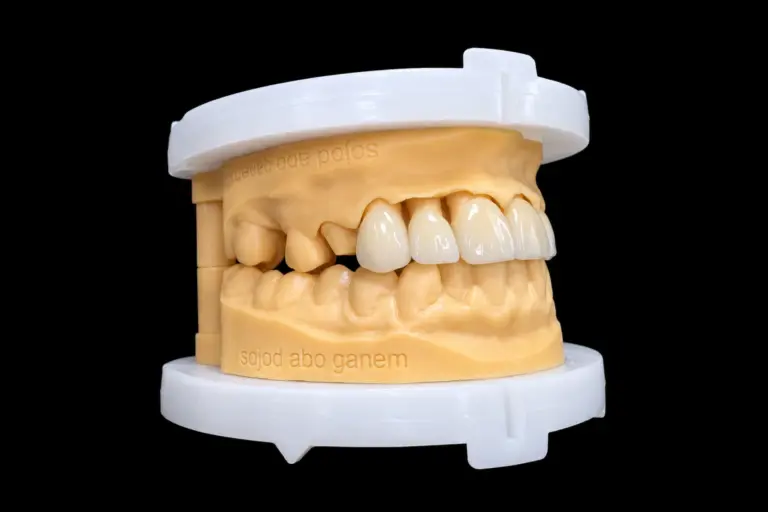
Indirect Composite Veneers: How We Fabricate Them, and Where Our Work Ends
Indirect composite veneers are composite restorations shaped and cured outside the mouth, in a dental laboratory, on a model that reproduces the prepared teeth. The clinician bonds them later in a separate appointment. That one difference, where the shaping happens, changes who controls the layering, how the intaglio surface is treated, and who bears responsibility when something doesn’t fit on insertion day.
What "indirect" actually means, and the three routes you may be quoted
Three different workflows are all sold under the name “indirect composite veneer.” They aren’t interchangeable, and the shortest way to tell them apart is to ask what gets placed on the model.
| Route | What is placed on the model | Equipment the lab needs | What the lab controls | Typical failure the route tends toward |
|---|---|---|---|---|
| Hand-layered on a die, then post-cured | Unpolymerised composite paste in body / enamel / incisal increments | Articulator, layering instruments, dedicated post-curing unit | Layer thickness, chroma gradient, incisal translucency | Operator-dependent surface finish; sensitivity to isolation during try-in |
| Compression-moulded in a matrix | Composite paste pressed into a silicone or metal matrix | Press / platinum-foil technique or similar mould system | Form fidelity, higher density than hand layering | Less freedom to tune internal effects |
| Milled from a pre-cured block | Nothing. A CAD/CAM composite blank is milled to shape | Scanner, CAM mill, block inventory | Marginal fit from CAD, consistent material properties | Monochromatic result unless surface-stained; blocks differ widely |
Four questions settle which route you’re being quoted for:
- Is a scan or an impression the starting file?
- Does the lab list a post-curing device, or does the manufacturer specify a bench light?
- Is the restoration described as “layered” or as “milled from a blank”?
- Is the intaglio sandblasted or glazed on arrival?
We run the first route: hand-layered on a model, post-cured in a dedicated unit.
Our workflow: hand layering on a model, post-cured
Our factory handles the full workflow in-house. No case is sent to another lab for a sub-step. That matters here because this route depends on one technician’s hands across layering, finishing, and polishing. Splitting those stages across suppliers is where chroma mismatches creep in. Our team sits at about 460 technicians across Shenzhen and Huizhou, with 100 in design, 25 in a quality department that reports separately from production, and 40 in client-facing case support.
The nodes, and what each one decides
| Node | What this step decides | Who owns it | What we can show you |
|---|---|---|---|
| Case intake | Whether the space and margins we see are workable for composite | Lab | Written assessment, with any flag we need to raise before production |
| Design approval | Contour, proportion, incisal character | Lab proposes, you approve | Design file sent before fabrication |
| Model work and die prep | Marginal readability, die accuracy | Lab | — |
| Layering (body, enamel, incisal) | Chroma gradient, translucency, individuality | Lab | Shade and layering plan |
| Post-curing | Why this route is “indirect” at all: the step that converts an in-mouth composite into one shaped on a die | Lab | Batch record tied to the case ID |
| Finishing and margin refinement | Cleansability of the finished margin | Lab | — |
| Polishing | Surface state before QC | Lab | — |
| Final inspection | Pass or hold | Quality department, independent from the technician who made the case | Inspection record |
| Packing | Transport integrity | Lab | Foam-packed box |
Anterior aesthetic veneers are on the list of cases we require design approval on before any material is placed. That approval adds roughly one to two working days to the schedule, and we hold the file open for your changes during that time rather than fabricating a draft you then have to reject.
Why the layering stage matters more than the equipment
The point of taking the restoration out of the mouth is to let the technician work the composite with full control of isolation, light, and vision. On the model, each increment (a chromatic dentin body, an enamel shell, incisal translucency) is placed and cured in sequence. The resins we use are from Ivoclar Vivadent (义获嘉) and Shofu (松风), both chosen because the shade systems translate predictably from paste to finished surface.
That control is the real difference between a lab veneer and a chairside build-up. Not post-curing temperature, not polishing wheels. The difference lives in the layering itself.
Post-curing: why this route uses it
A composite polymerised only with a hand-held curing light reaches a working degree of conversion. But on a die, with no soft-tissue heat sink and no time pressure, we can take the material through a dedicated post-curing cycle. We follow each manufacturer’s published protocol. The resin maker specifies the temperature, hold time, and light or heat combination that correspond to their material; we don’t improvise those numbers, and we don’t publish our own version of them. What we do commit to is that every batch is run through that cycle before the next step, and the record stays attached to the case ID in our traceability system.
Finishing and polishing
Finishing adjusts contour; polishing finishes the surface. Both happen before the restoration leaves our bench, and both are tied to the technician on the case. We don’t substitute wheel sequences on the fly, and we don’t glaze an indirect composite veneer the way we would a glass-ceramic one.
The interface: who prepares what
The intaglio surface of a composite veneer is not glass-ceramic, and treating it as if it were is the fastest way to lose a case on insertion day. The split of responsibility between our bench and your chair is where most of the “whose fault was that” conversations should have been pre-empted.
| Step | Who does it | What is done | What you’ll see if it is skipped |
|---|---|---|---|
| Intaglio surface preparation | Lab, before packing | Mechanical preparation of the fitting surface and application of a silane coupling agent, following the resin manufacturer’s protocol for lab-side priming | Delayed bond failures, often weeks after insertion |
| Enamel preparation | Clinic | Phosphoric-acid etch on the prepared tooth surface, following standard adhesive protocol | Microleakage at the margin, early marginal discoloration |
| Primer and adhesive | Clinic | Dentine primer where dentine is exposed, bonding resin per the system in use | Debonding under function |
| Luting cement | Clinic | A resin cement. The lab doesn’t prescribe a brand, but your choice should be a resin cement rather than a glass-ionomer or self-cure material intended for metal copings | Postoperative sensitivity, early margin breakdown |
A note on hydrofluoric acid. In vitro work on indirect composite surfaces has shown that mechanical conditioning combined with a silane coupling agent produces more reliable bond strength than hydrofluoric-acid etching, which is intended for silica-based ceramics (Treatment of composite surfaces for indirect bonding, Journal of Prosthetic Dentistry). That’s a lab-materials conclusion, not a chairside directive: your protocol stays with your adhesive system. But if a staff member asks whether to etch the intaglio with HF the way they would a glass-ceramic veneer, the answer for composite is no.
Space and margins: what we check before we start
Composite needs space, and the fact that it’s a “thin” veneer material doesn’t change that. The idea that a composite veneer requires less preparation than a glass-ceramic one is partly true and often misread: the material lets the clinician preserve enamel in cases where porcelain would need a cut-back, but it does not run thinner than the resin manufacturer’s minimum.
Rather than publish a single set of millimetre values that would need to be qualified case by case, we ask you to send us the design file or the preparation photographs, and we check three things:
- Whether the cervical, mid-facial, and incisal thicknesses meet the resin manufacturer’s minimum for the shade system you’re asking for.
- Whether the finish line is readable in the file we received. A readable margin is more important than a specific margin geometry for this material.
- Whether a dark substrate or a tetracycline-style stump will push the required thickness above what the preparation gives us.
If the answer to any of those is no, we tell you before we start, in the WhatsApp group that holds your account. Our usual message in that case is a short description of the problem, a photograph of the die, and one or two options: a different margin line, a different shade route, or a different material entirely. Composite doesn’t hold a knife-edge cervical margin under function the way a ceramic can, and if the preparation leaves that geometry, we’ll flag it before fabrication, not after.
Shade and masking on a thin restoration
For an anterior veneer, the substrate colour is part of the material. A veneer is thin enough that the dentine shade of the prepared tooth shows through the composite, and the only way we can plan the chromatic gradient and the opacity of the dentine layer is to see what we are covering. The single most useful photograph for the technician is a stump shade: a shot of the prepared tooth with a shade tab held against it, taken in natural light with the surface clean and moist. For multi-unit cases, send one for each die.
If a case needs a glass-ceramic result rather than a composite one, we also make E.max veneers and we’ll say so when the file comes in.
When it doesn't fit on try-in
Three try-in symptoms account for most of the problems a clinician will see with a laboratory-fabricated veneer: proximal contacts too tight, occlusion high in centric or excursion, and an open or short margin. Each has a short list of causes, and each has a path that doesn’t require starting over.
| Try-in symptom | Where the cause usually sits | What we check first | Path |
|---|---|---|---|
| Proximal contact too tight | Overbuilt proximal contour, or an adjacent undercut not blocked on the model | Compare the die contour with your scan of the adjacent tooth | Light interproximal adjustment, repolish; if the contour has to move more than a trace, we remake |
| Occlusion high in centric | Opposing tooth has drifted since the impression, or the bite record was taken with a material that distorted | Compare the mounted centric to the record we received | Chairside adjust and repolish, or new bite record and remake |
| Open or short margin | Impression margin was unreadable, die trimmed too aggressively, or shrinkage on polymerisation | Re-read the finish line on the master file | Remake with a new impression or re-scanned margin |
What we can repair at the bench: small contour adjustments, a localised polish, a stain correction before shipping, an added layer of composite where enough bulk remains to bond to. What we cannot repair: a shade that was built for the wrong substrate, a margin that is open across more than a short span, or a case where the preparation geometry doesn’t match the file we worked from.
On who pays for the remake: in the normal case, a remake caused by anything inside our workflow is free. The exceptions, both of which we flag before fabrication rather than after, are when a change in the clinical requirement after start overrides the original brief, or when a submitted model is unreadable and the clinician asks us to proceed anyway. We don’t invoice a case into existence that we flagged as a risk before start.
Inspection and traceability
Our quality department is 25 people, and they report through a separate reporting line from production. Every case is subject to a first-pass inspection against the design approved before fabrication, the aesthetic parameters on the prescription, and the fit on the master die. The number we track for that pass is a first-time inspection pass rate of 95%: for every 100 cases submitted to the final inspection step, 95 clear on the first attempt. The remaining 5 are automatically remade; nothing in that bucket ships without a second clear pass.
A full report isn’t the same thing as a pass rate. For any individual case we can tell you:
- Which technician fabricated the layering stage
- Which post-curing batch the restoration was finished in
- Which material lot the composite came from, and the material certificate for that lot
- Which inspector signed off, and what they checked
That trace is held against the case ID, not the patient name. For B2B supplier audits, we can present the aggregate records; for a single case, we can attach the material certificate to the shipment on request.
Lab-side quality system documentation is ISO 13485. The material-side documents (CE and biocompatibility files) stay with the resin manufacturers, and we pass the original Ivoclar Vivadent or Shofu certificate through per case when procurement needs it rather than reissuing it under our name.
For the US and EU markets specifically: our FDA facility registration and product listings cover custom restorations in the veneer category, and our EU MDR custom-device notification covers the same class under Annex XIII. Those are facility- and category-level filings; the implant body itself is not within the scope of either, and we don’t claim it to be.
What to send us
Most case problems, the ones that create a remake rather than a repair, originate before our bench ever receives the file.
Digital files
- STL per arch, under 150 MB; PLY (coloured) under 300 MB. If the file exceeds that, reduce the sampling density rather than compress harder.
- One case, one folder, packaged as ZIP (not RAR).
- Separate files for preparation arch, opposing arch, and bite scan. Keep the same Case ID prefix across all files.
- Avoid non-ASCII file names. They corrupt in transit and can’t be matched to the prescription on arrival.
Impressions, if you prefer physical cases
- Vinyl polysiloxane (addition-cure silicone) is our first recommendation. Polyether works. Condensation silicone is acceptable.
- Stone models, segmented models with removable dies, implant models with analogues, and 3D-printed resin models all arrive here regularly.
Bite record
- Addition-cure (PVS/VPS) silicone bite registration material. Polyether registration material works for complex implant cases that need extra dimensional stability.
- Please don’t send a wax bite. Wax softens in transport, deforms under temperature, and arrives with a lower bite than the one you recorded. We’d rather you re-record on silicone than open a case with a wax that may already be wrong.
Prescription
- Clinic, clinician, patient reference (an internal case number is fine; patient name is not required), restoration specifications, and the delivery date you are aiming for.
Photographs for an anterior veneer case
- Full smile, repose, profile, intraoral views, shade with a tab.
- Scans: prepared arch, opposing arch, pre-operative, mock-up if available, adjacent teeth, soft tissue.
- A pre-preparation photograph is especially useful. For veneers we don’t require it formally, but it saves a round of shade questions.
If any item is missing, your account contact flags it before we start the clock. We’d rather delay the start by a day than open a case against incomplete data.
Scheduling and how to start
Scheduling
Delivery dates are confirmed against your submitted file at the quote stage rather than averaged across the product range, so what you receive back is specific to your case. One pattern worth knowing in advance: cases flagged for a second inspection pass can add a day beyond the quoted date, and the quality department does not relax that pass on a schedule pressure.
Our production and shipping don’t run on Chinese weekends or on the Chinese statutory holiday calendar; those days are not counted in the delivery date we commit to. Messages still land in the inbox during those days. The response will be slower, that’s all.
How to start
Choose whichever of the following fits where you are in your evaluation:
- Send one case as a trial. We accept single-case trials. We don’t run single-case service as a steady state (international freight on single units doesn’t pay for either side), but one case to evaluate the handoff is a conversation we have most weeks.
- Request the submission checklist. The full version, including Rx form, photo guide, and shade protocol, is a short email away through your account contact.
- Ask for the B2B fee schedule. Prices move with material route, unit count, and design complexity; the current schedule is sent on request through the sales manager.
- Run a design-only dry run first. We’ll produce a design file against a hypothetical case so you can see the technician’s reading of the brief before any material is committed.
- Audit the facility. Shenzhen and Huizhou are both open to appointment visits, and video audits are available for teams who can’t travel. Supplier-approval questionnaires and annual audits are standard here.
- Ask about private labelling. Packaging, prescription forms, labels, and client communication can run under your brand rather than ours.
Cases from our lab
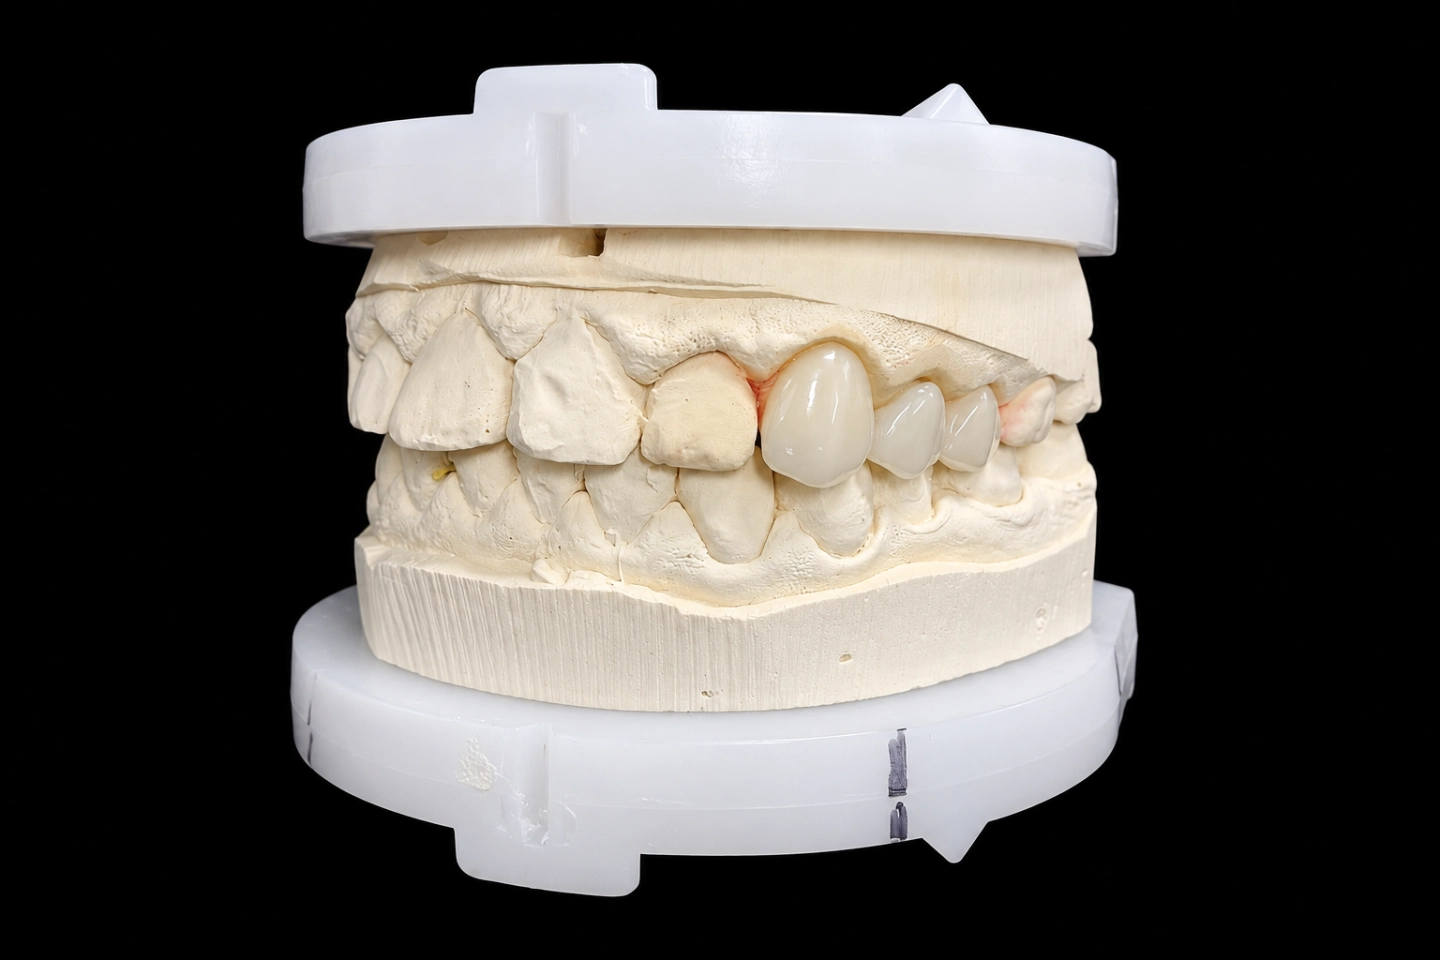
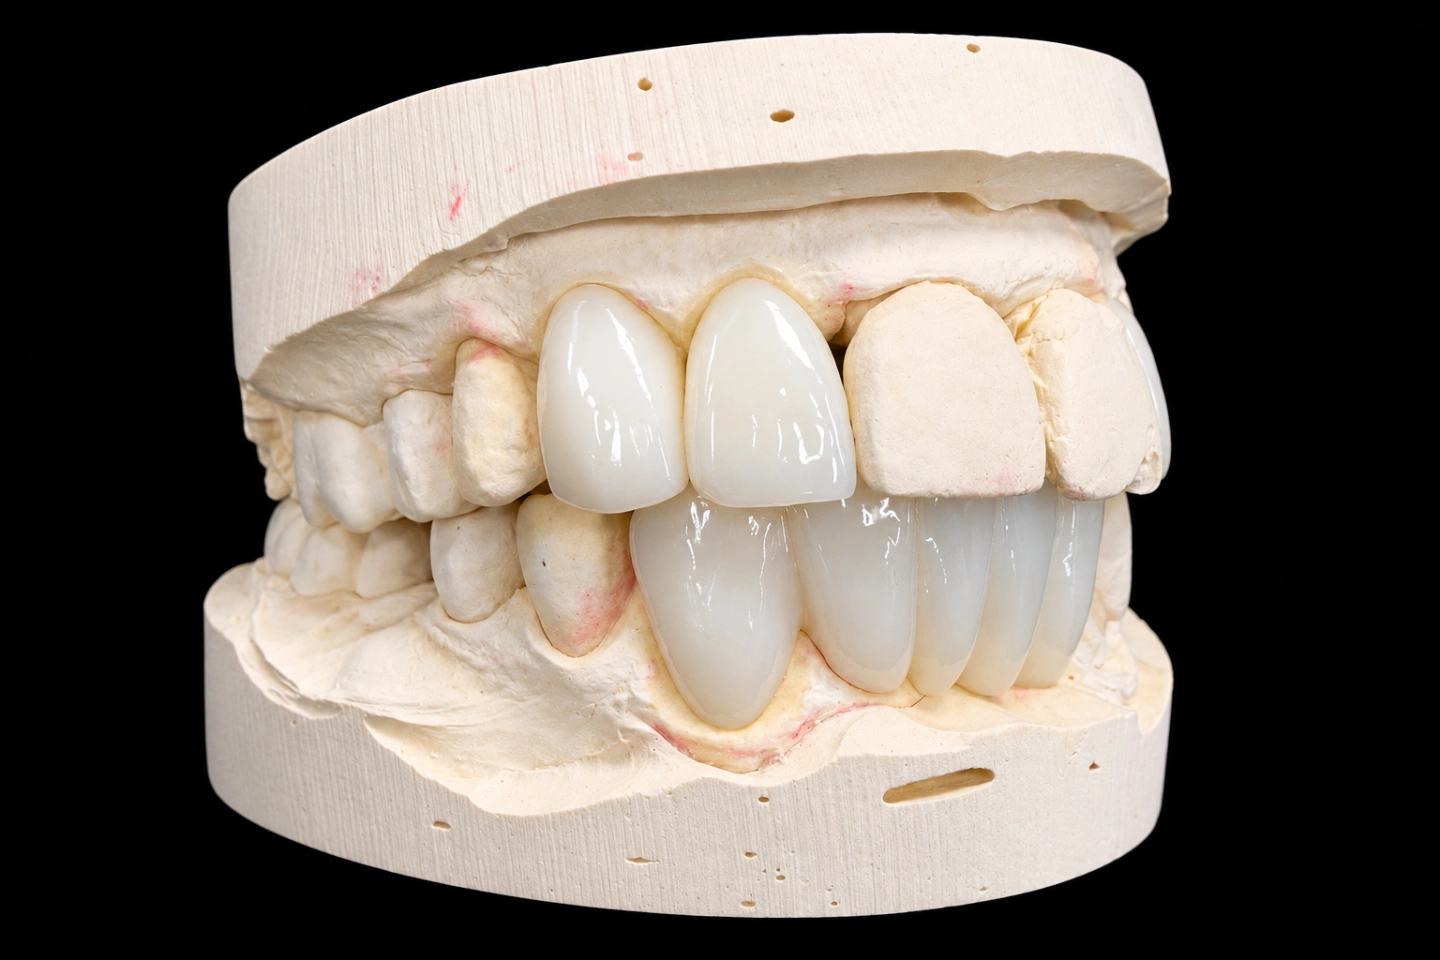
Questions we get asked most often
Are indirect composite veneers as strong as porcelain?
They are not. Composite has a lower flexural strength and lower resistance to surface wear than lithium disilicate or layered zirconia, and the colour of composite is less stable over time than that of a glass ceramic. The honest version of the trade-off is that composite preserves tooth structure and is repairable chairside; ceramic lasts longer and holds its shade longer. Pick based on which of those matters more for the case in front of you.
How long do these last?
The literature doesn’t give a single number. It gives a range that depends on study design and follow-up. In a seven-year prospective series of no-prep indirect microhybrid veneers, survival was 91.3% in 80 cases. A 2023 systematic review and meta-analysis of composite veneer studies with follow-up between 24 and 97 months reported a pooled survival rate of about 88%, with direct veneers at 91% and indirect at 84%. A 10-year RCT comparing indirect composite with ceramic reported 75% survival for composite against 100% for ceramic at the ten-year mark. The familiar “five to seven years” phrase in patient-facing material is not a research finding; it’s a consumer-facing summary. The research says: expect good performance in the first few years, with chipping and marginal staining appearing earlier than they do on ceramic.
How are intraoral scans and conventional impressions handled for this material?
Scans arrive as STL or PLY; impressions are poured and die-prepped by our model department before layering begins. Either workflow produces the same die accuracy for a hand-layered restoration, so the choice is yours. Where it matters is the margin: a sharp, readable finish line in a scan or a well-displaced sulcus in an impression gives us the same thing. A compromised margin in either does not.
Can the finish be stained chairside after cementation?
Yes, within limits. Composite accepts chairside extrinsic stain and a final polish without the firing step a ceramic would need. We prefer to deliver the final characterisation ourselves, from the brief you sent, because the technician who built the layering has already seen how it reads under light. If you want to adjust after cementation, use a composite stain system compatible with the resin family we built the case in, and finish with a polishing sequence that matches the composite’s filler loading.