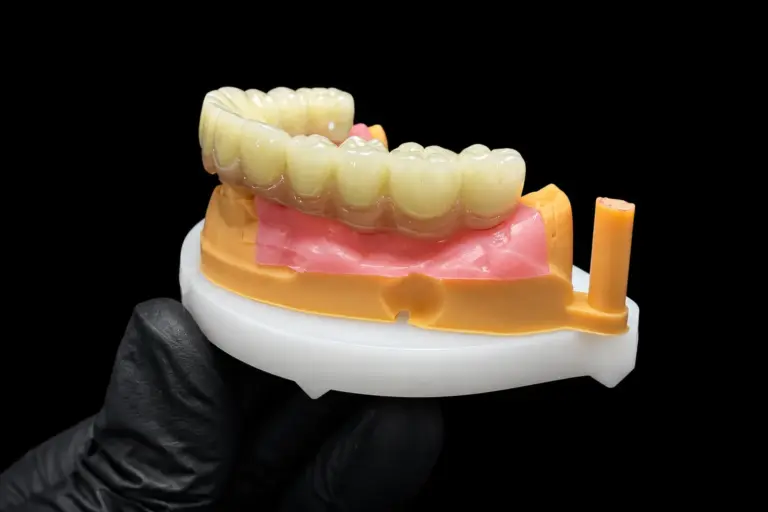
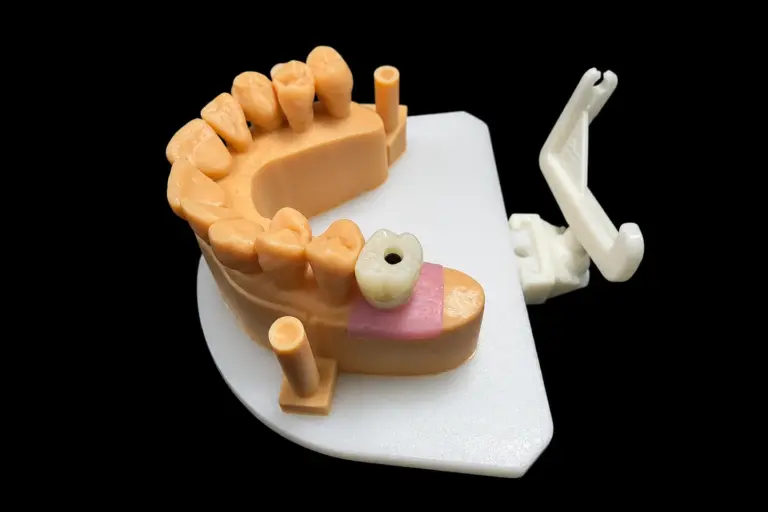
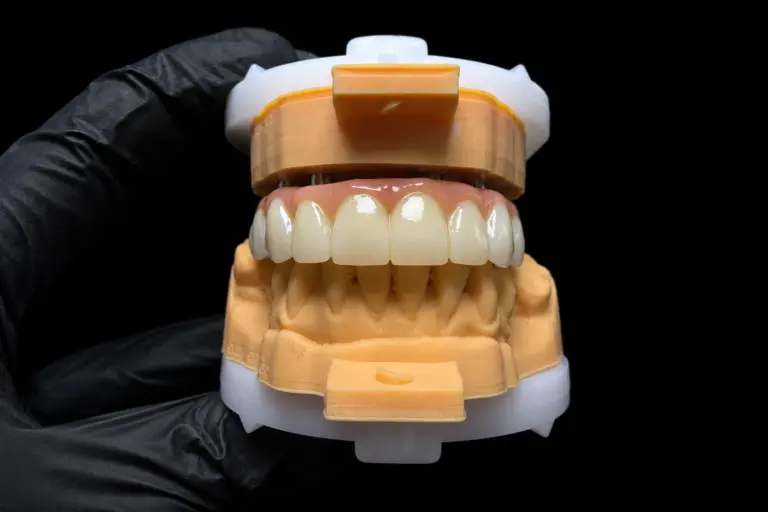
Custom Screw-Retained Implant Crowns
Single-unit screw-retained implant crowns, built to the implant system, the tooth position, and the soft tissue you send us. Monolithic zirconia, multilayer zirconia, layered zirconia, lithium disilicate (e.max), and PFM. On Ti-base, custom abutment, or stock abutment. Fabricated in-house at our Shenzhen and Huizhou facilities for dental clinics across the US and EU, with no cases outsourced.
Case turnaround from receipt of complete records: 3–5 working days on the restoration itself. Overall internal rework rate across all restoration categories: 2–3%. We’d rather you see that number than read “quality guaranteed.”
Anterior screw-retained implant crowns
Anterior cases live or die on three things: where the screw access channel exits, how the emergence profile matches the healing soft tissue, and whether the ceramic reads as natural at the incisal third. We design around all three in the same CAD session, not in sequence.
Where the channel exits
On an anterior case, the native implant angle often sends the channel toward the labial or incisal edge. We never let the channel exit through visible porcelain. We use an angled screw channel (ASC) component up to the implant system’s approved maximum, redirect through a multi-unit or custom abutment when ASC isn’t enough, or recommend cement retention and tell you why on the design file. The angle ceiling is read from the system’s own CAD library and manufacturer documentation for each case, not from a universal number. For context on how much correction is clinically available, FOR.org’s single-tooth treatment guideline cites up to 25° for one commonly used system; other systems differ.
If the geometry still can’t hide the channel without compromising emergence or esthetic contour, we flag the case before CAD finalization and offer three paths on the same design file: ASC, custom abutment with corrected axis, or cement retention. You pick, we execute.
What the finished crown looks like
- Zirconia-based routes (3Y, 4Y, 5Y, or multilayer): a chroma gradient from cervical to incisal that reads with the adjacent natural tooth under 5500 K photography. Multilayer disks (such as Aidite A3 Multilayer, Yucera UT, 3M Lava Esthetic) carry the gradient in the disk itself; for high-demand anteriors we build layered zirconia with a cutback and hand-stacked incisal feldspathic porcelain. 3Y is specified when strength governs; 4Y and 5Y are specified when translucency governs. The call is case-specific and goes on the Rx.
- Lithium disilicate (e.max press or e.max CAD): used when translucency and surface character matter more than fracture strength, usually for single centrals and laterals with light occlusion and adequate axial thickness.
- Emergence profile: shaped as a sub-gingival S-curve that supports the papillae without blanching the free gingival margin. We copy the emergence from a scan of your healing abutment or provisional whenever you send one; without that reference we design a conservative straight emergence and ask you to approve before milling.
- Access channel opening: on anteriors the channel exits on the palatal surface. We cap the opening with Teflon tape and composite as a routine. If you prefer a different seal protocol, tell us on the Rx and we’ll leave the channel accordingly.
- Characterization: internal and external staining, line-angle contouring, surface texture, and incisal halo on request. White, gray, orange, violet, and blue incisal effects are specified on a shaded diagram you draw on the Rx; we send a design screenshot back before firing.
Anterior material matrix
| Route | Flexural strength | Translucency | When we recommend it |
|---|---|---|---|
| 3Y monolithic zirconia | ~1,200 MPa | Lower | Short clinical crown, heavy function, limited ceramic space |
| 4Y monolithic / multilayer | ~1,000 MPa | Moderate | Default for anteriors with normal function and standard space |
| 5Y monolithic / multilayer | ~700 MPa | High | High-demand esthetics, anterior with light-to-normal function |
| Layered zirconia (zirconia core + feldspathic cutback) | Core as above | Highest | Single centrals where incisal character carries the smile line |
| Lithium disilicate (e.max) | ~400 MPa | High | Lower-function anteriors where translucency is the governing factor |
| PFM (noble or non-precious alloy, feldspathic) | Alloy-dependent | Metal-limited | Specified when the clinic prefers PFM for a specific restorative history |
Flexural ranges above reflect manufacturer-stated values for the specific disk and ingot brands we stock. Clinics can specify the exact material brand and lot; we record the lot number against your case ID.
Posterior screw-retained implant crowns
Posterior cases are different problems. Access through the central fossa is usually geometrically available, so the channel question is smaller. The questions that matter are chip resistance, occlusal space, and screw-joint stability under cyclic load. Posterior restorations spend their service life being bitten on.
What the finished crown looks like
- Default configuration: monolithic zirconia on a Ti-base, with the access channel exit at the central fossa, deliberately off the occlusal contact zone and off the proximal contact. The restoration seats to full seat under its own weight on the model before it leaves the QC bench.
- Material default: 4Y or 5Y monolithic for a balance of strength and natural chroma, 3Y when ceramic space is limited or the opposing dentition is heavy. 3Y multilayer disks give the chroma gradient without going to layered construction.
- Why we rarely recommend layered on posteriors: clinical reports consistently show that monolithic zirconia posteriors chip less than veneered constructions, by a factor of several in annual rate. The clinical gain from a layered posterior is small; the fracture risk gain is not. We will build layered posteriors when you specify it, with a note on the design file.
- Occlusion: static contacts in centric at the opposing cusp tips; dynamic contact profile designed to the Rx. We don’t adjust occlusion past the design screenshot you approved without emailing first.
- Access channel seal: Teflon tape plus composite as a routine. The opening is deliberately placed within the central fossa and ground down to a radius that doesn’t interrupt the occlusal anatomy once sealed.
Posterior material matrix
| Route | Flexural strength | When we recommend it |
|---|---|---|
| 3Y monolithic (full-contour) | ~1,200 MPa | Molars with limited ceramic space, heavy function, bruxism history |
| 3Y multilayer | ~1,100 MPa | Standard posterior with a chroma gradient from gingival to occlusal |
| 4Y monolithic / multilayer | ~1,000 MPa | Default posterior for normal function |
| 5Y monolithic / multilayer | ~700 MPa | Premolars with higher esthetic demand and controlled occlusion |
| Layered zirconia (porcelain-fused-to-zirconia) | Core as above | On request only; carries higher chip rate than monolithic |
| PFM | Alloy-dependent | On request, for clinics with established PFM preference or specific occlusal history |
Pick the abutment route
| Route | What it is | Where it fits |
|---|---|---|
| Ti-base | A pre-milled titanium link mated to the implant connection and bonded to the restoration above | Default for both anterior and posterior single units in the materials above |
| Custom abutment | A single milled abutment, in zirconia or titanium, designed to the specific tooth position | Anterior cases with thick soft tissue or axis correction; posteriors with challenging emergence; cases where emergence must be shaped at the abutment rather than at the crown |
| Stock abutment | A manufacturer-supplied abutment used as-is | Posterior cases with ideal implant position where function is the sole priority |
Angled-screw-channel components and multi-unit abutments are specified against the implant system’s approved maximum angulation per case. We don’t substitute a universal 25° rule.
Implant systems we work with
Straumann, Nobel Biocare, MIS Implants, and other systems supplied by partner implantologists. When the system’s CAD library isn’t present in the shipping scan file, send a photograph of the scan body or implant label with the Rx and we verify the library match before CAD finalization.
How this crown gets built
Nine stages. We call it out because the point where a case usually fails is in handoffs, not in any one step.
- Rx and records review (same day). We check that the implant system, scan body library, bite registration, shade reference, and emergence reference are all usable before we design. If anything’s missing, you hear from us within one working day with a specific list.
- CAD design. Channel axis, abutment geometry, emergence contour, occlusal anatomy, and material thickness are set in the same session and sent back for your approval as a screenshot.
- Milling or pressing. Zirconia disks and lithium disilicate ingots are selected by shade and translucency class to match the approved design.
- Sintering on calibrated furnace cycles specific to each disk brand. Each cycle is logged against the case ID.
- Characterization. For monolithic routes, internal and external staining and glaze. For layered routes, feldspathic porcelain stacked, fired, contoured, and glazed on a zirconia or alloy core.
- Ti-base bonding (for Ti-base routes). The implant connection face is masked. Only the bonding surface receives sandblasting with 50 µm aluminum oxide at low pressure, followed by ultrasonic alcohol cleaning and a 10-MDP metal primer. Adhesive resin cement is applied with a 20–50 µm cement space designed into the CAD. Excess is removed before full cure, under loupe. The reason we spell this out: debonding is the main failure mode on Ti-base restorations, and the way to prevent it is to run bonding as a controlled sub-process rather than as a finishing step. Published surface-treatment research also shows that over-sandblasting the Ti-base reduces pull-out strength instead of improving it, which is why we don’t deviate from the base manufacturer’s instruction.
- Try-in on the model. The restoration seats to full seat on the implant analog under its own weight. No rocking. No reliance on the screw to pull it down.
- Three-level QC. The designer at CAD stage, a dedicated inspector at the finished-restoration stage, and a technical supervisor for complex cases. Four release criteria apply to every screw-retained unit:
- Connection fit on the analog, clean and burr-free
- Access channel geometry matches the design file; the prosthetic screw threads smoothly without resistance
- Passive seat on the model under its own weight
- Component match: abutment, screw, and restoration all keyed to the case prescription
- Pack and ship. Each case ships with the restoration, its prosthetic screw, a case card bearing the case ID, a batch certificate for the material lot, and labeled bags.
What a case packet needs to contain
Send these together. If one is missing, we hold the case and email you within one working day.
- Intraoral scan or physical impression carrying the implant position (via scan body), the opposing arch, and a precise bite registration
- Implant label photograph showing brand, platform, connection, diameter, and length
- Scan body brand, model, and CAD library name; if the library isn’t present in your software, a photo of the physical scan body with packaging works
- Shade reference under 5500 K lighting, with a neutral card in frame
- Emergence reference: a scan of the healing abutment or a provisional showing the soft tissue cuff; a soft tissue thickness note if the biotype is thin
Digital files we accept
STL, PLY (with color), OBJ as universal mesh. 3Shape .dcm and .3oxz packages. Medit native project packages. iTero STL or PLY exported from the back office; we can’t ingest iTero’s encrypted private format. CEREC/Sirona STL or PLY exports; DXD and RST aren’t ingestible. Milling runs from STL. PLY, DCM, and 3oxz travel with the case to carry color and metadata.
Physical records
Polyvinyl siloxane (PVS) is first choice for impressions. Polyether and condensation silicone work. Alginate does not survive international shipping, as it dehydrates and distorts, and biological material carries customs risk. For the same reason we don’t recommend wax bite registrations: shipping temperatures soften wax enough to shift the recorded vertical dimension. PVS or polyether bite material holds up. Pack models with transparent bubble cushioning. Declare the goods as “dental gypsum model / impression” at the actual case fee value. Send tracking before the parcel leaves. We can issue a prepaid courier label on request.
QC, traceability, and what we publish per case
The four QC criteria above are the only release criteria on our bench. If a case fails any of them, it does not ship.
Every case carries a unique case code tied to the operator, equipment, material lot, and inspection record. On request, every case ships with its lot number and material compliance certificate. For group accounts, we produce a monthly report by customer covering on-time delivery rate, rework rate, and complaint rate.
Overall internal rework rate across all restoration categories is tracked at 2–3%. That figure includes rework caught internally before shipment, not only cases returned by clinics. We publish it because the rate matters more than the adjective.
Documentation and regulatory status
Our facilities are registered to ISO 13485. Our devices are registered with the US FDA and listed in the FDA product listing database, and are notified to the EU authorities under MDR Annex XIII for custom-made devices. For the UK, we are registered with the MHRA as a manufacturer of custom-made devices.
A deliberate point of language: custom-made dental restorations are a registered and listed device category, not a CE-marked or FDA-approved category. We publish only the status that applies. Registration numbers and listing extracts are supplied under customer account on request; we don’t post them on the website because they can be misused for impersonation.
Shenzhen and Huizhou are open to clinic visits and partner audits. If you can’t travel, we schedule a live video walk-through of the CAD stations, milling bay, sintering line, ceramics bench, and QC area.
Turnaround and remakes
Case turnaround on the restoration itself: 3–5 working days from receipt of a complete, usable record set. Three things sit outside that window:
- Design approval time (waiting for your sign-off on the design screenshot)
- International transit (DHL, FedEx, UPS; depends on origin and destination)
- Customs clearance in the destination country
Rush fabrication is available with prior arrangement.
If a case comes back for a fit, contact, occlusion, finish, color, or passive-seat defect we introduced, we remake it at no charge. We’d rather fix it than discount it. The remake runs from the current design file, not from zero. Minor chairside adjustments to occlusion or contour that don’t touch the margin, seat, or retention surface are chairside adjustments, not remakes; we’ll say so and explain how. Transit damage requires photos within 24 hours.
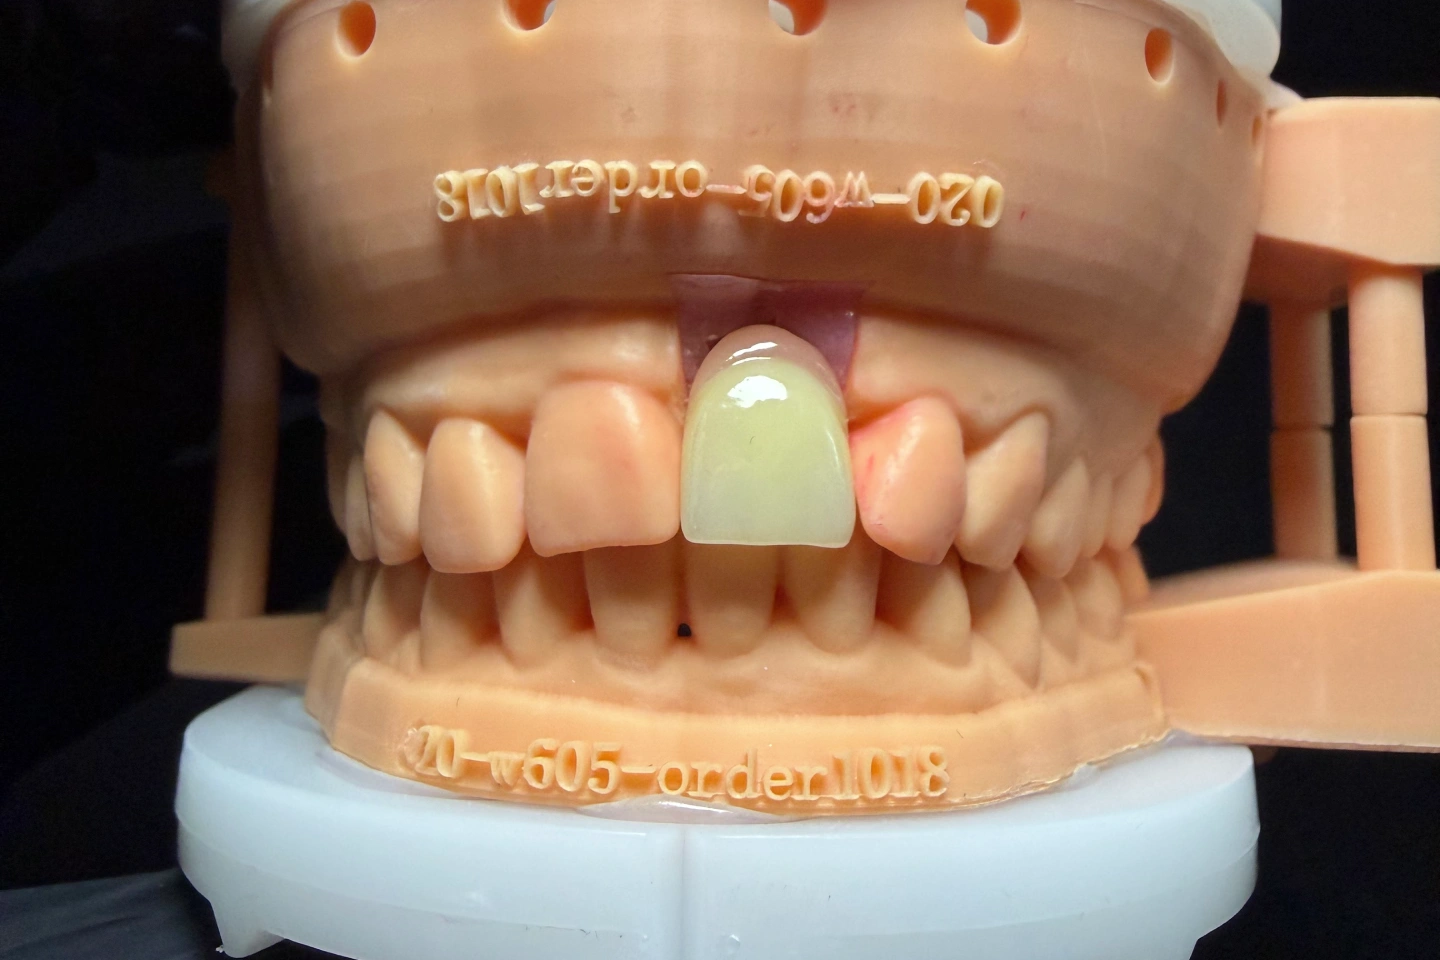
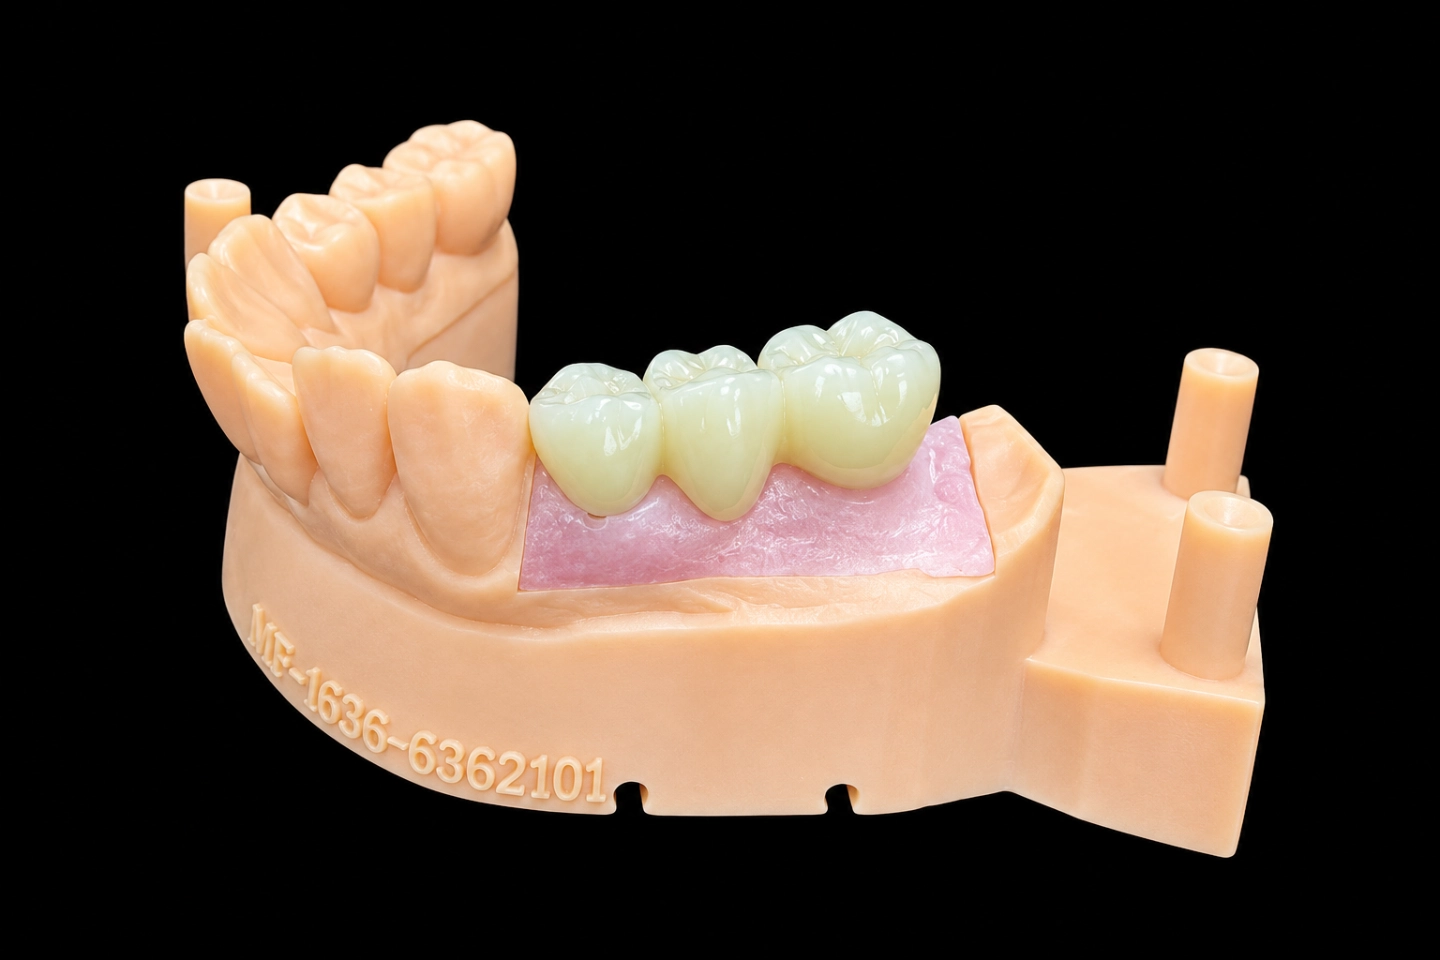
Cases from our lab
FAQ
Can you build on my implant system even if you don't list it on this page?
Yes if a CAD library exists for it. Send a scan body photograph with the Rx; we verify the library match before design.
Do you build layered zirconia on posterior cases?
On request. Our default is monolithic because the clinical chip rate on layered posteriors is materially higher than on monolithic. We’ll build layered when you specify it, with a note on the Rx.
What torque value should I use at seat?
Follow the implant system manufacturer’s instructions for your platform. Published general ranges for single screw-retained crowns cluster around 20–30 N·cm, with 25 N·cm as a common example cited in a review of screw-retained restorations; the system’s own documentation takes precedence over any general number. A calibrated torque driver matters: the same review notes that chairside hand-tightening averages 11.5 N·cm, well below the typical target. A 10-minute re-torque after initial seating is a common clinical convention to compensate for preload settling.
How do I pick between a Ti-base and a custom abutment?
Ti-base is the default for both anterior and posterior single units in our materials. Custom abutment is specified when soft tissue is thick, when the implant axis needs correction greater than ASC can handle, or when the emergence must be shaped at the abutment instead of the crown. Ask us about a specific tooth position and we’ll tell you, including when the answer is the simpler option.
Can I specify the exact zirconia brand and lot?
Yes. Specify the brand on the Rx. We record the lot number against your case ID and ship the batch certificate with the case.
Are the restorations CE-certified?
No. Custom-made dental restorations are a registered and notified category under EU MDR Annex XIII, not a CE-marked category. We supply the registration and notification extract under customer account.
Can I visit the facility, or audit remotely?
Yes to both. We host clinic and partner visits in Shenzhen and Huizhou, and we run a live video walk-through if you prefer not to travel.
Start a case
Three ways in, depending on where you are:
- Unsure the case fits our workflow. Email the implant label photograph plus one intraoral photo. One-working-day response: go, modify, or recommend cement retention with reasons.
- Ready to send a test case. Request our Rx template and case checklist. Send records through your preferred digital channel, or ship impressions and models to Shenzhen. We can issue a prepaid courier label.
- Evaluating us for a volume account. Schedule a 30-minute video walk-through of the facility and a conversation on group terms, white-label packaging, and the monthly performance report.
Tell us the implant system, tooth position, scan body library, and your preferred material route. One working day to confirm feasibility.